This post contains affiliate links, please read our disclosure policy.
How to make a DIY handlettered scroll artwork with your Cricut. A cute “Dear Santa” letter for the letters to santa mailbox.
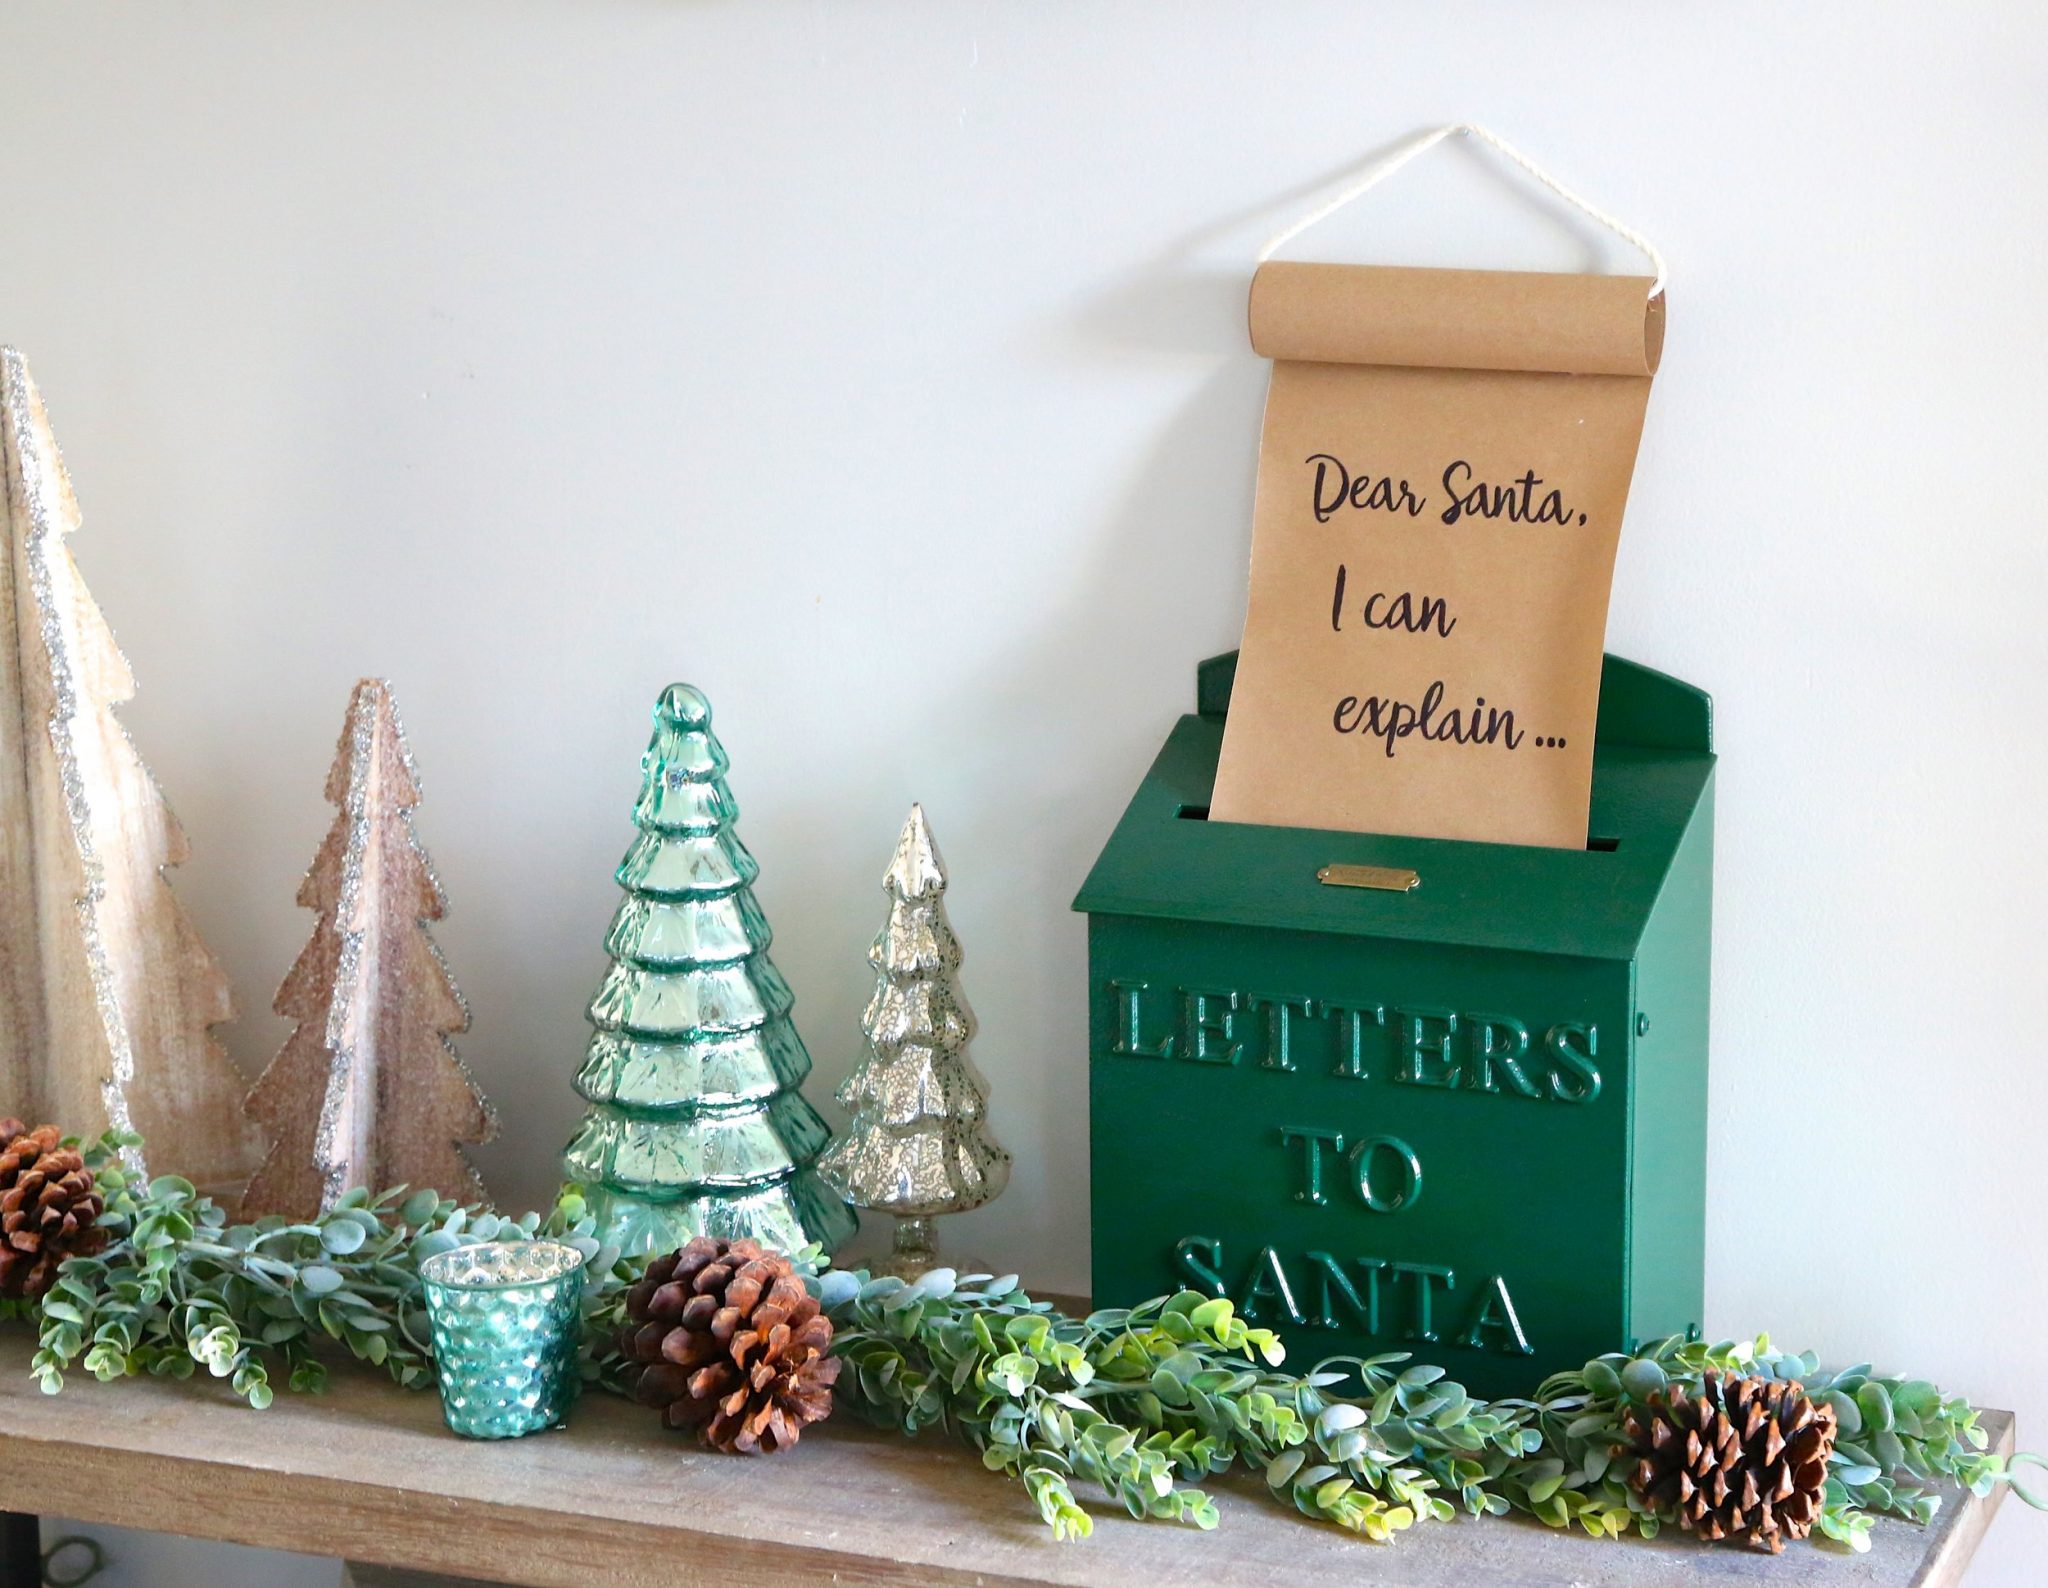
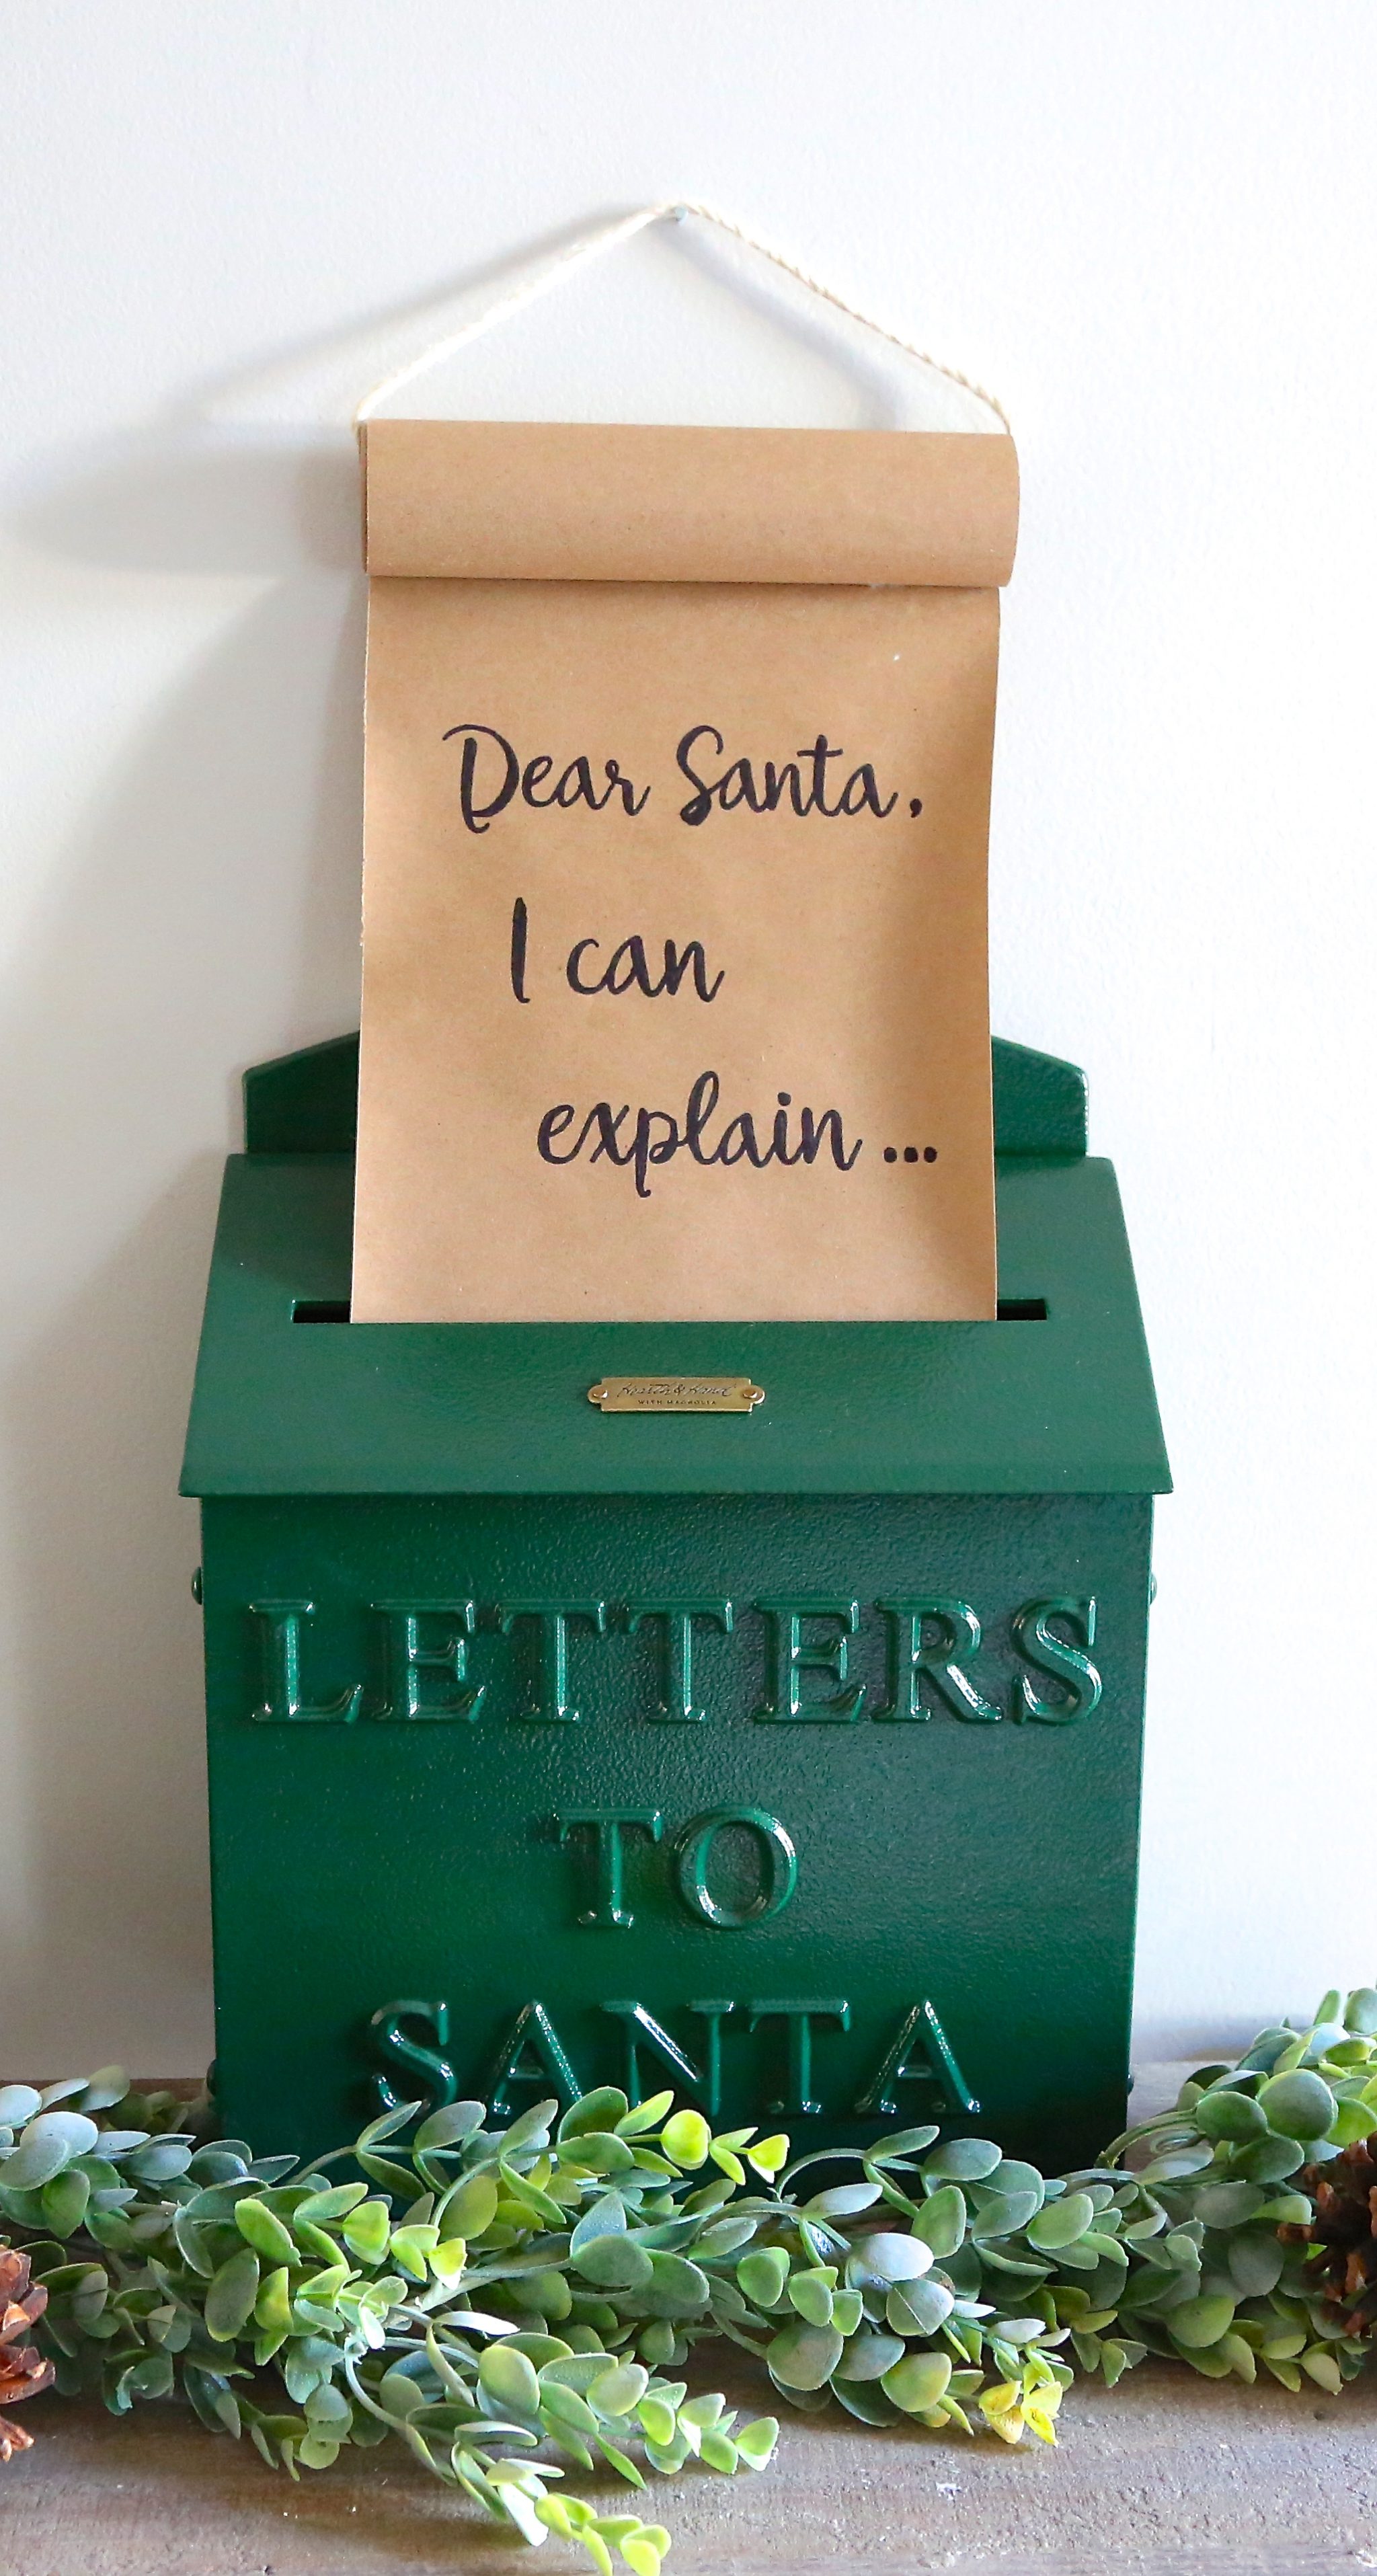
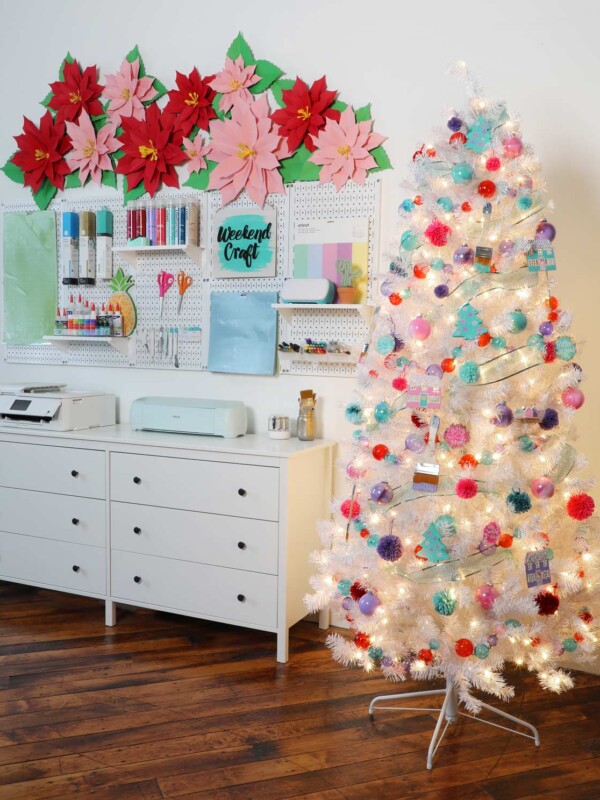
I posted about how much I loved the Hearth and Hand collection at Target and since then I have been staring at my Letters to Santa mailbox wondering how I could incorporate a letter to Santa. On instagram I have been seeing a lot of handlettering on scrolls for Christmas. I have even looked up a few of them but they are bit expensive for my budget. I decided why not try to create a smaller version using kraft paper and my Cricut!.
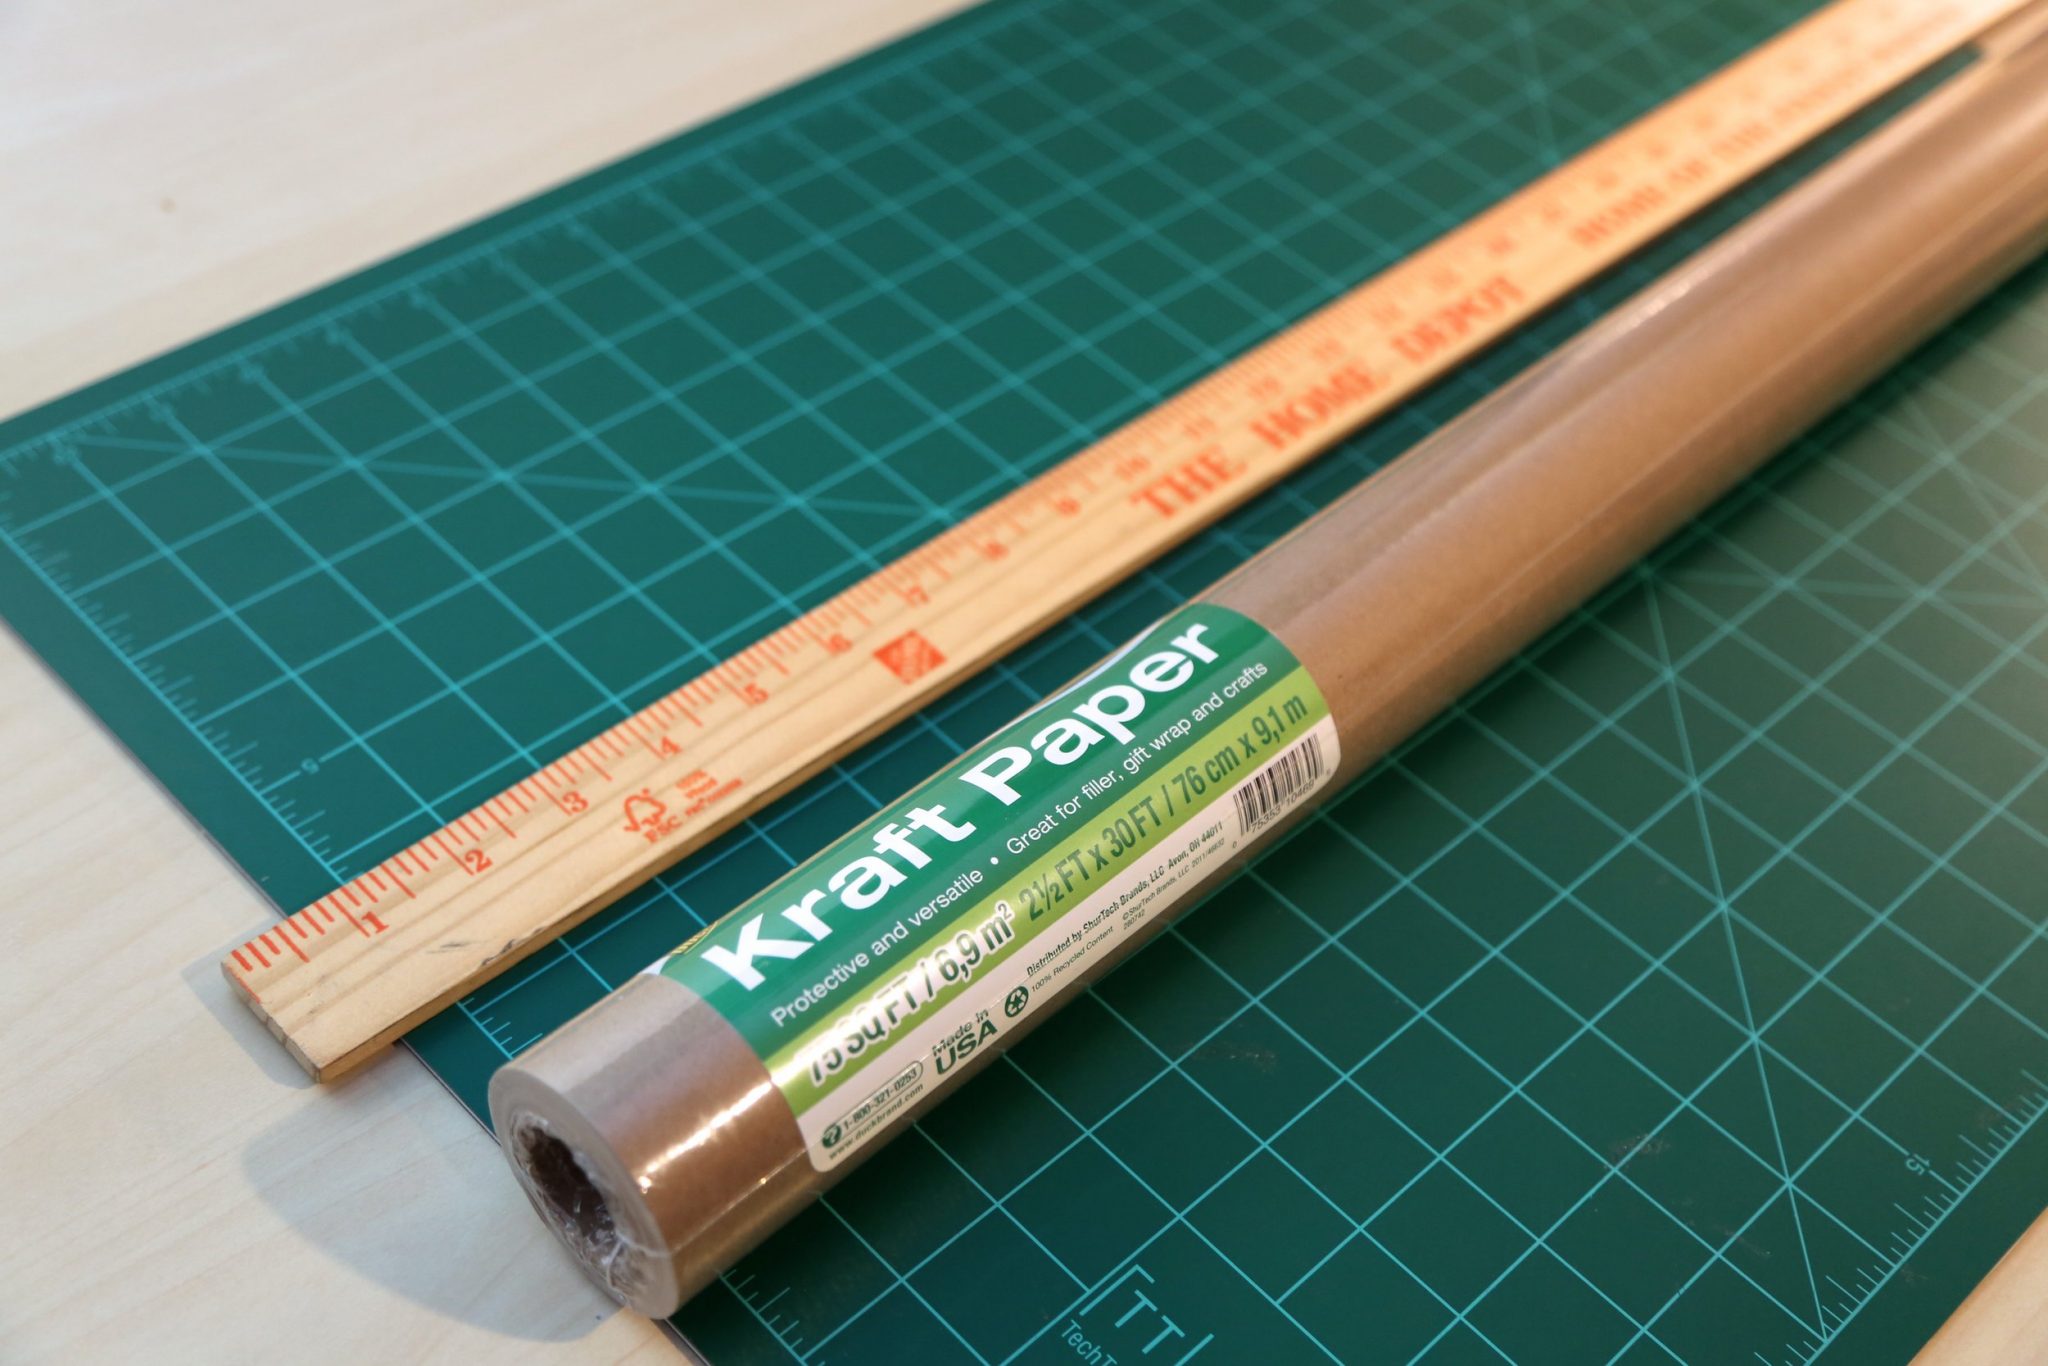
I picked up a kraft paper on a roll knowing I would only need a small amount but I love to have it around to wrap gifts.
![]()
What you’ll need
-
Exacto knife
-
Yard stick
-
If handlettering use a sharpie (skipping the Cricut)
-
String
-
Tape
-
Double sided tape
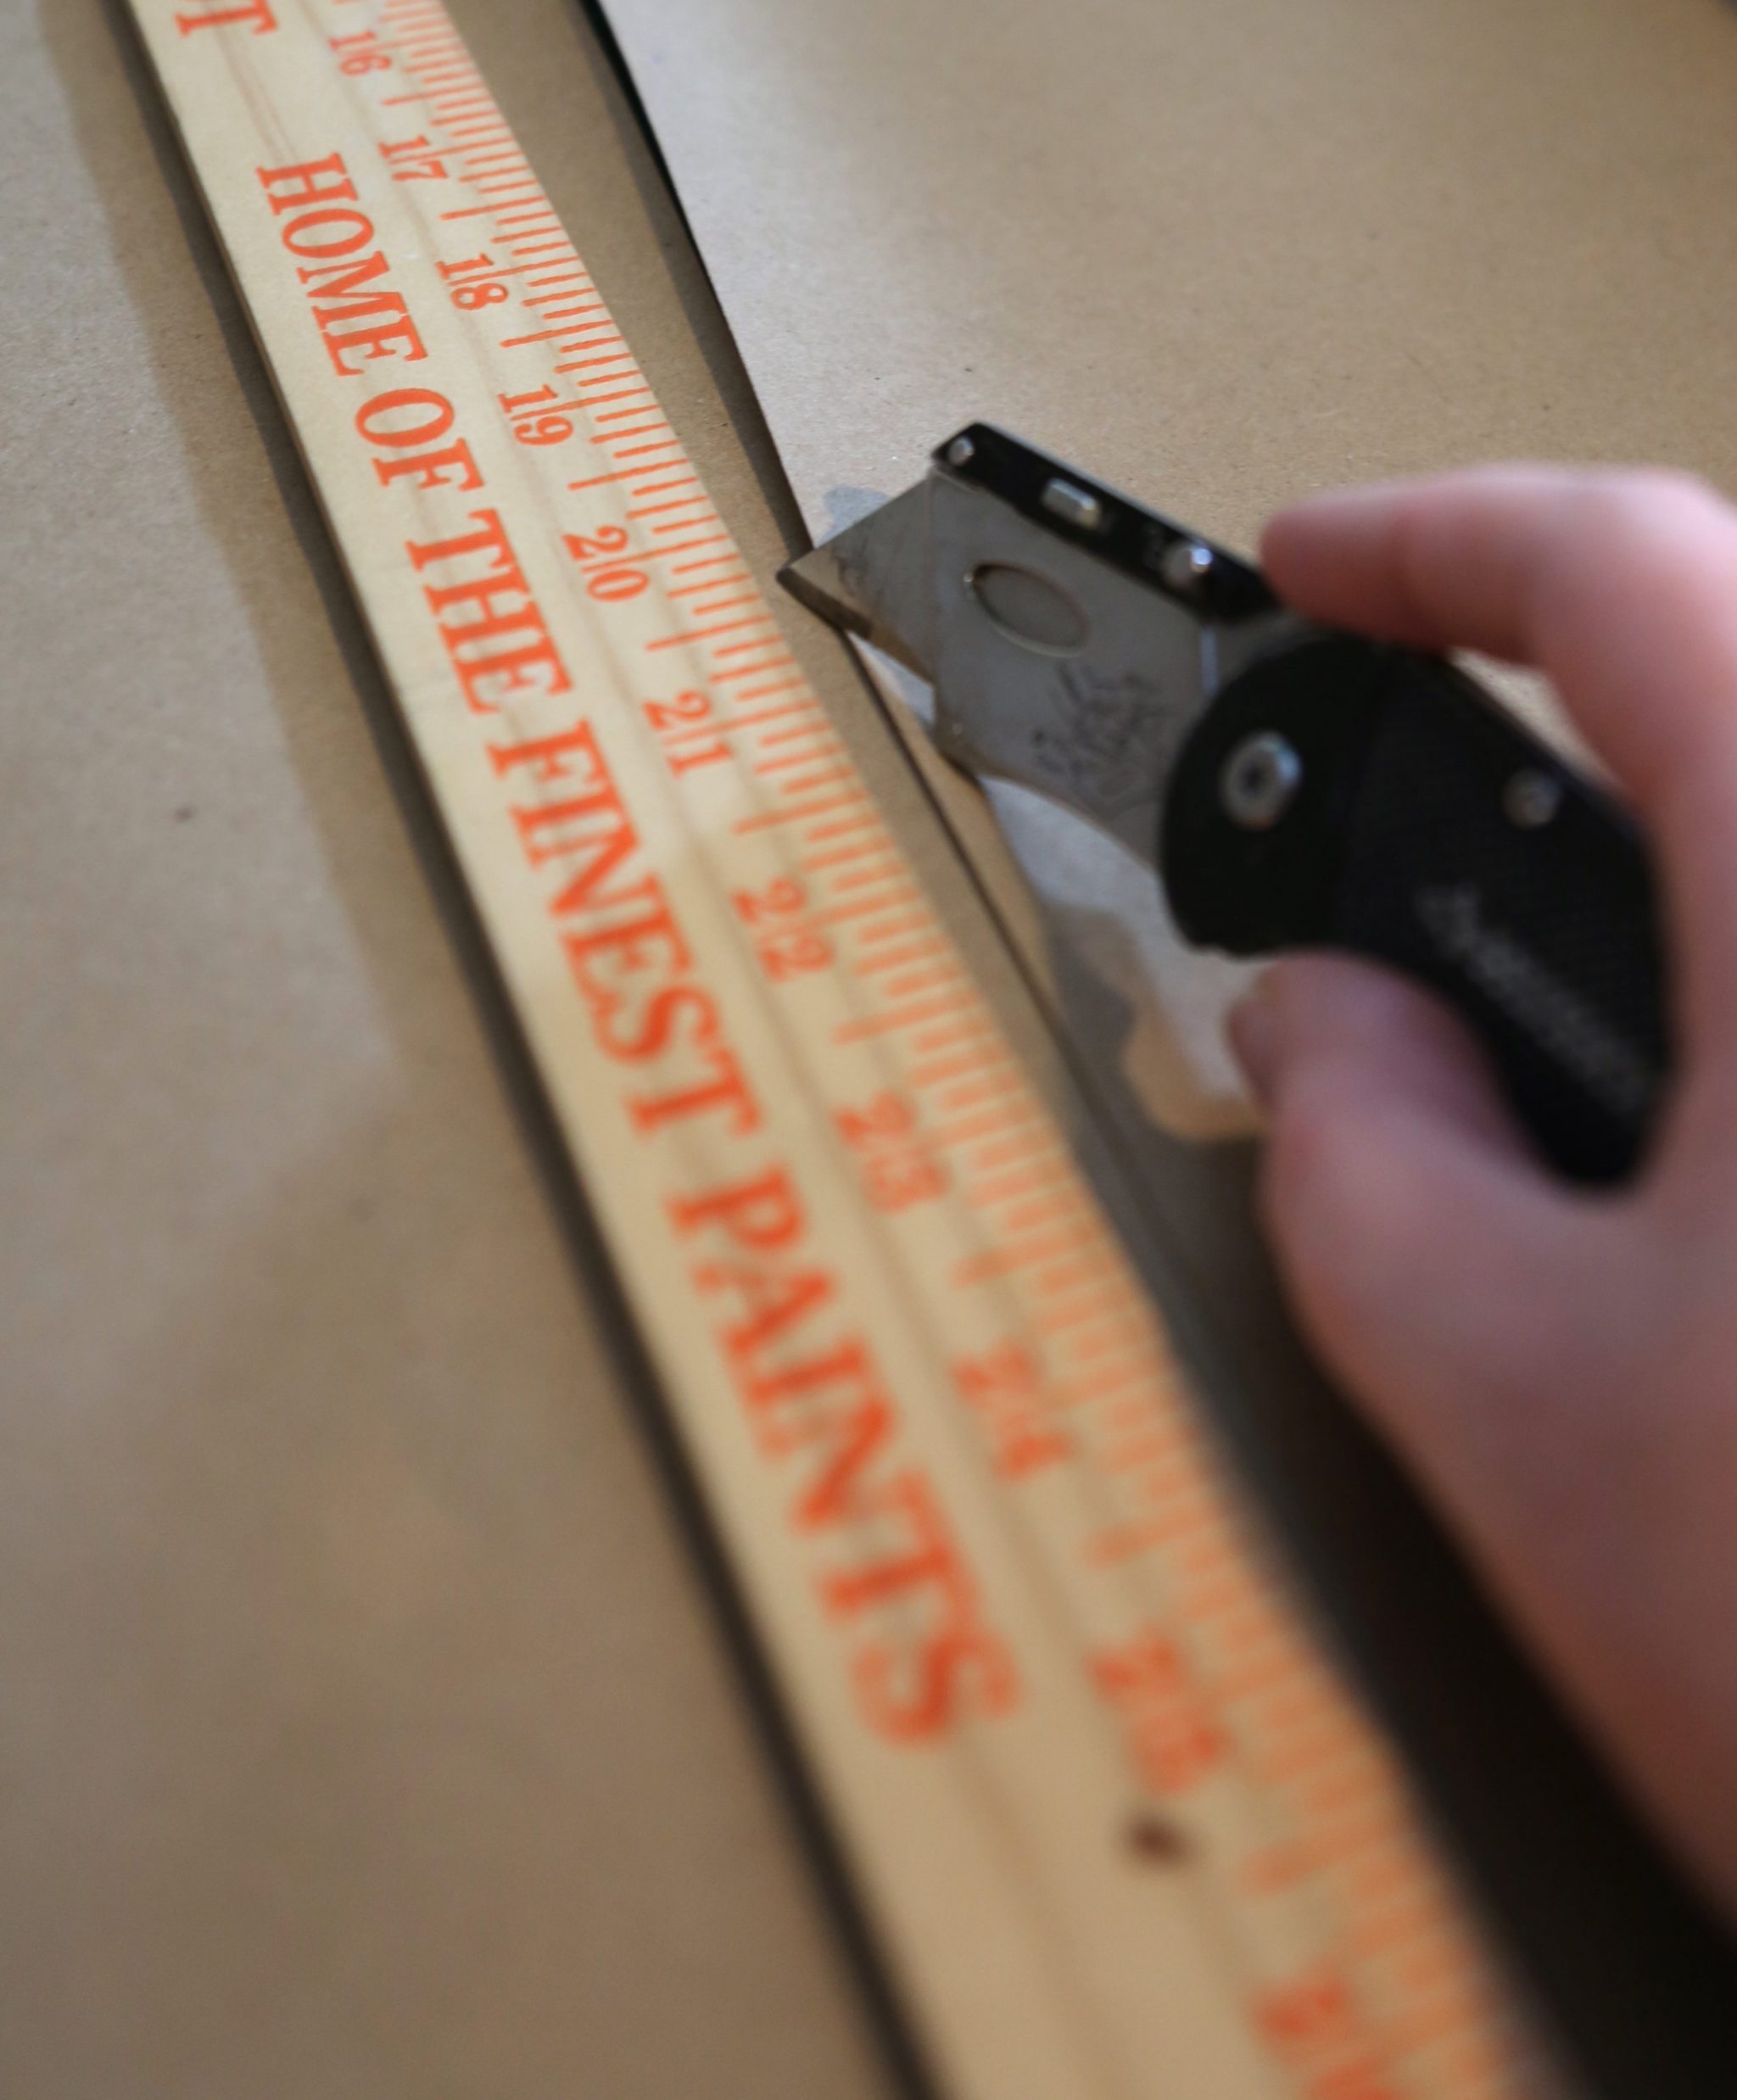
Measure twice cut once.
Using your yardstick measure the mailbox slot. You want the width of the scroll to fit into the mailbox with some space to the left and right of it. The largest mat I have for my cricut is 12×24 (longer than the standard mat) so I cut my craft paper 8 x 24 inches. Next I put the kraft paper onto the mat making sure it’s placed straight.
Now there are two options for making this project. One you can use the writing feature with a pen if you own a Cricut. Or the second option is to try your hand at handlettering it with a sharpie. Now I know I don’t have handlettering skills so I opted to use my Cricut.
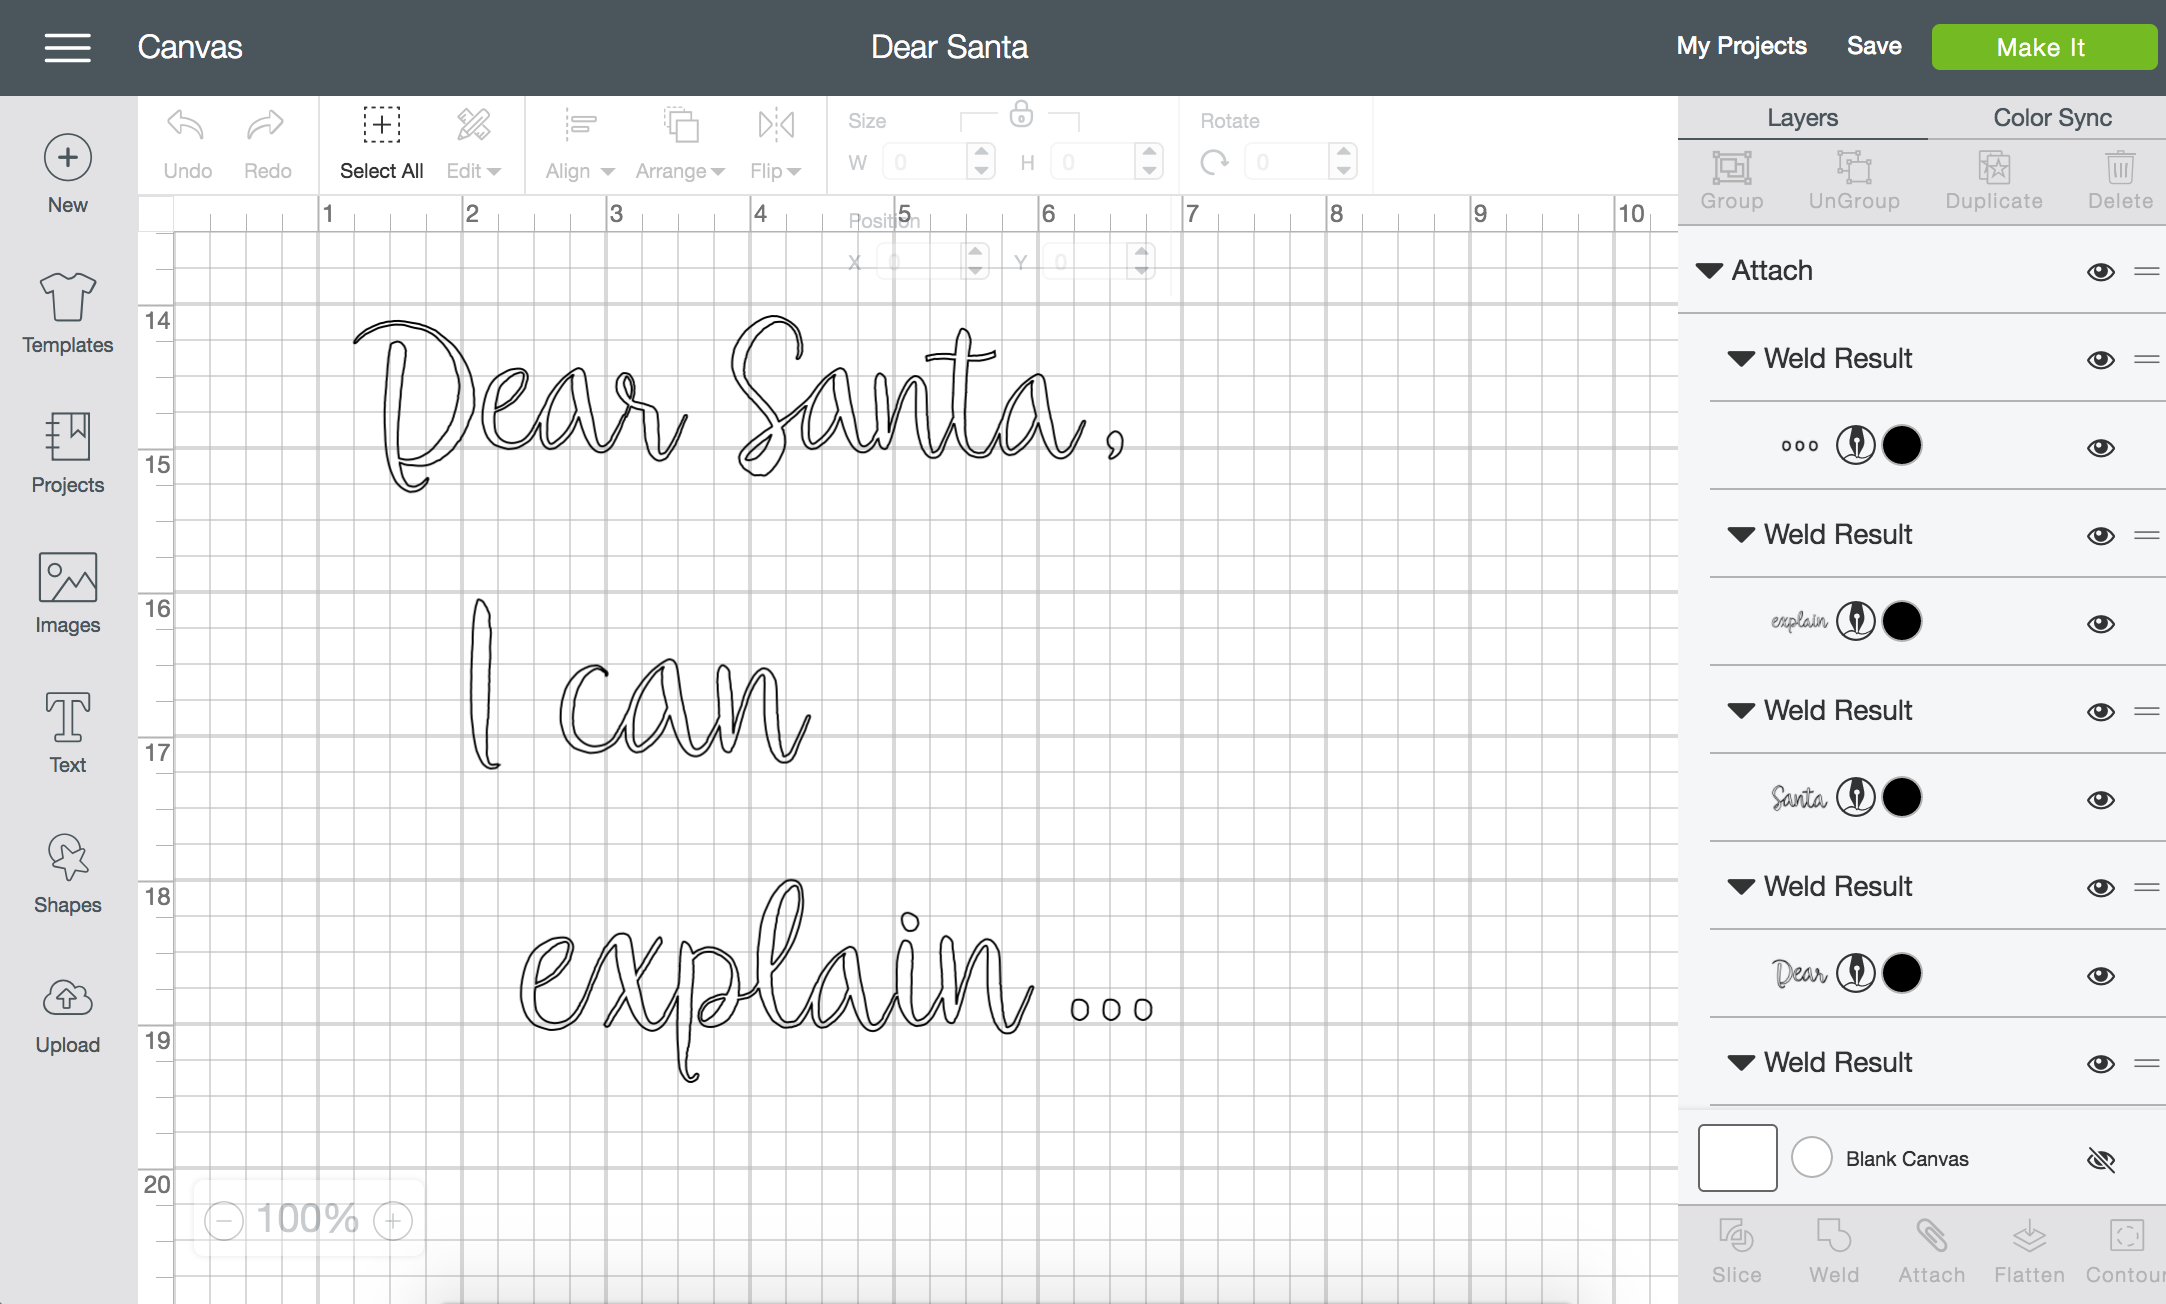
You are going to start by laying out your design in the Cricut Design Space. I chose a script font that I have in other places in my house called Ballarea. I did ungroup the letters and space them by hand. Then I used the weld tool to connect the words back together.
Change your settings in Cricut from Cut to Write
You can change your settings from cut to write under the layers menu. Double click the layer and a layers attribute screen will open. Click on the pen that says write and choose the type of pen you would like to use. I used the Black 1.0 Med Tip pen. I placed the artwork 14 inches down the artboard to leave room to roll the kraft paper into a scroll.
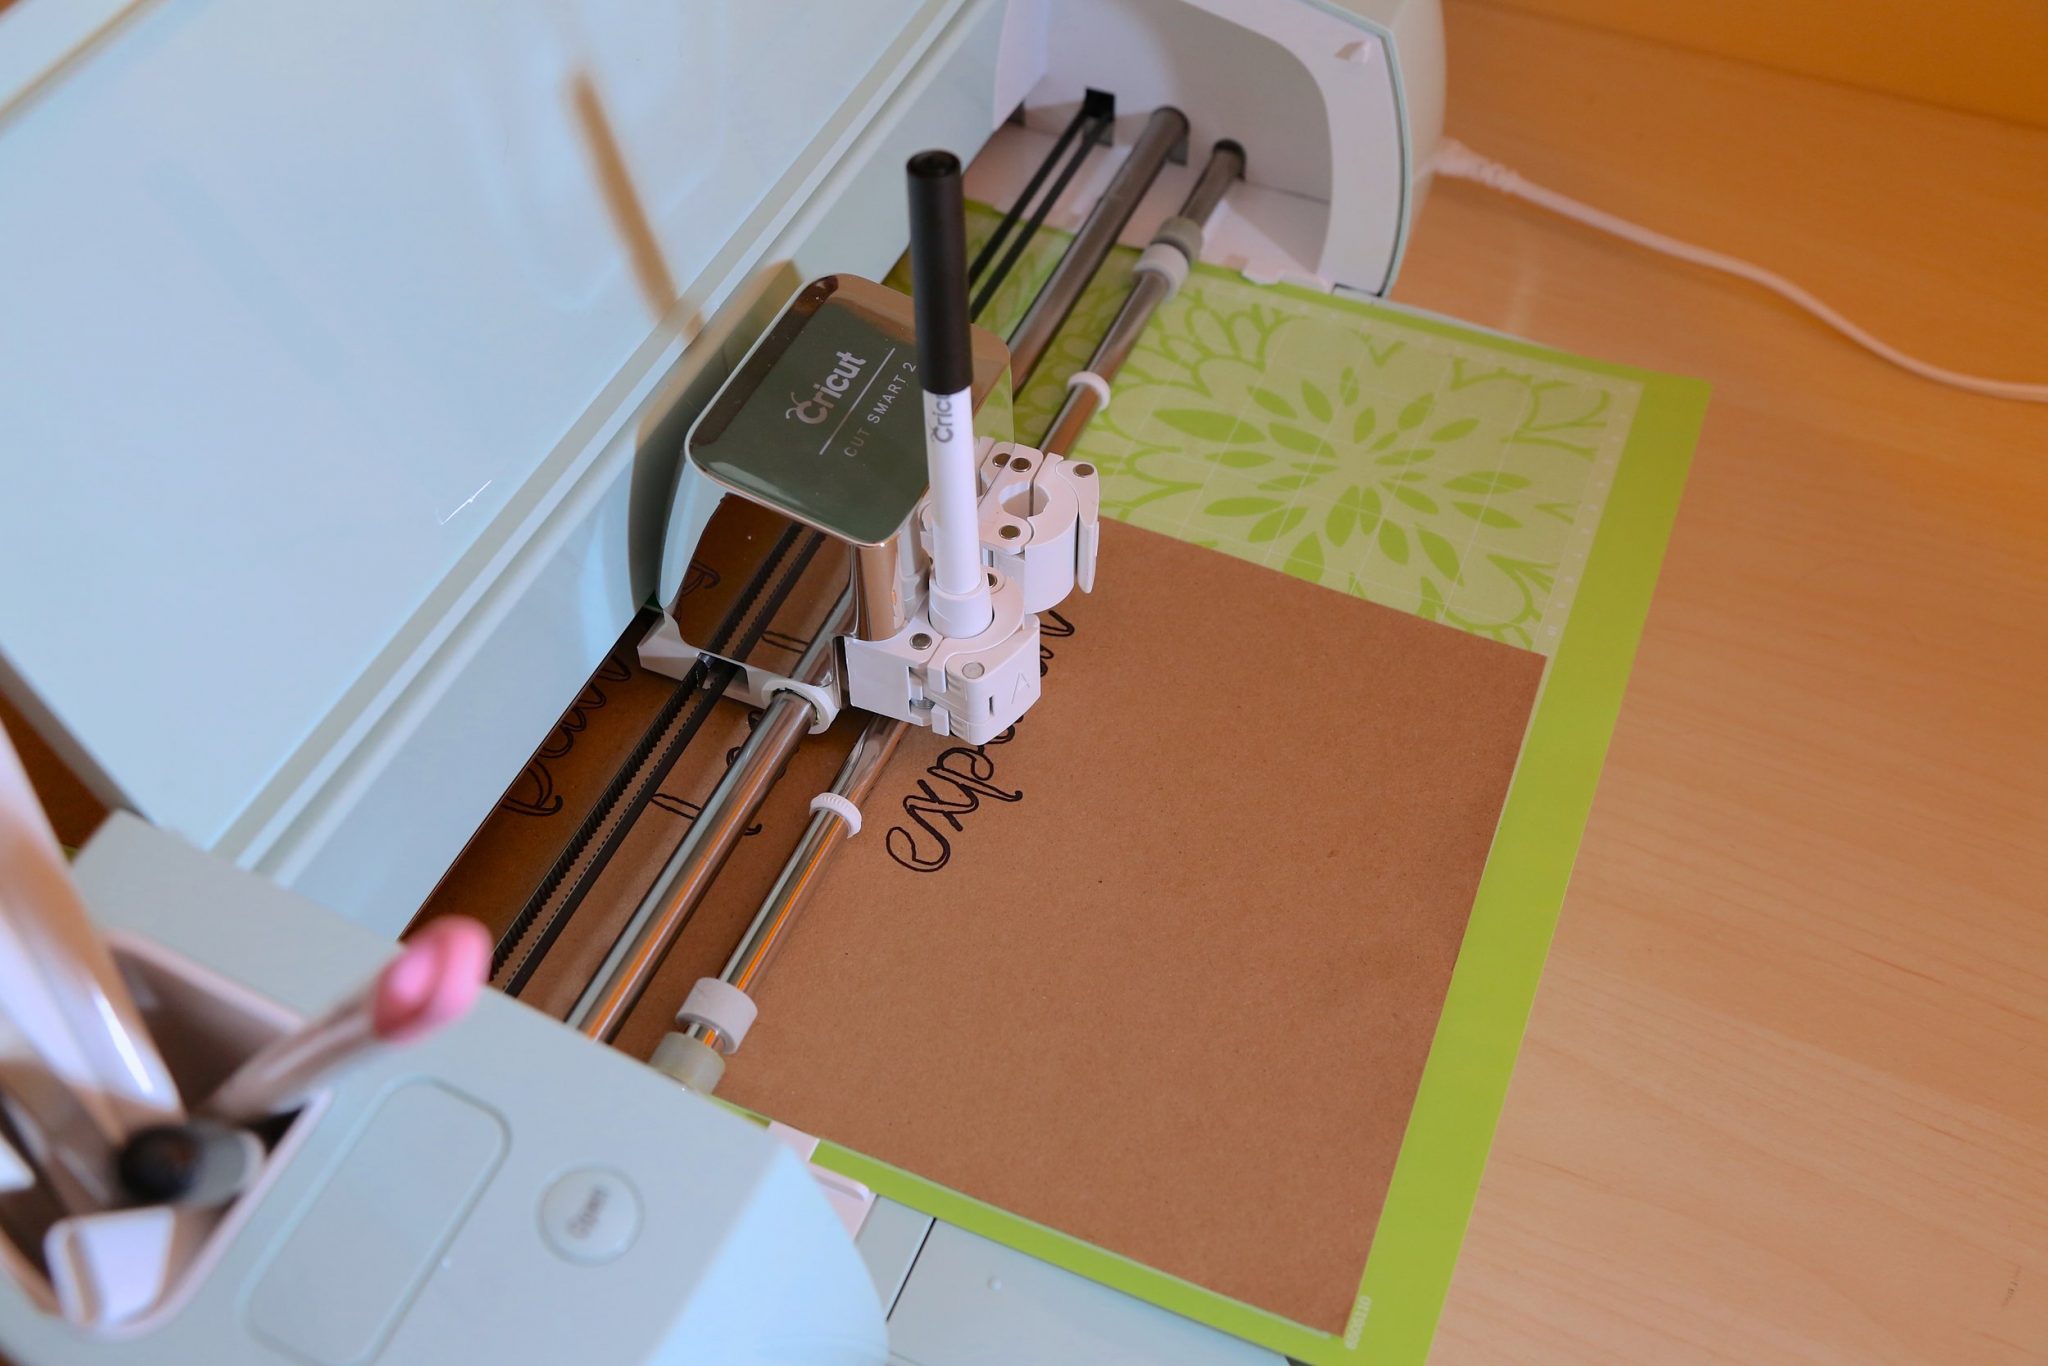
The Cricut Explore Air 2 has two places to add accessories I snapped the pen into the first accessory slot. You have to push a bit harder than you would think (but not to hard) you will hear the pen click in place.
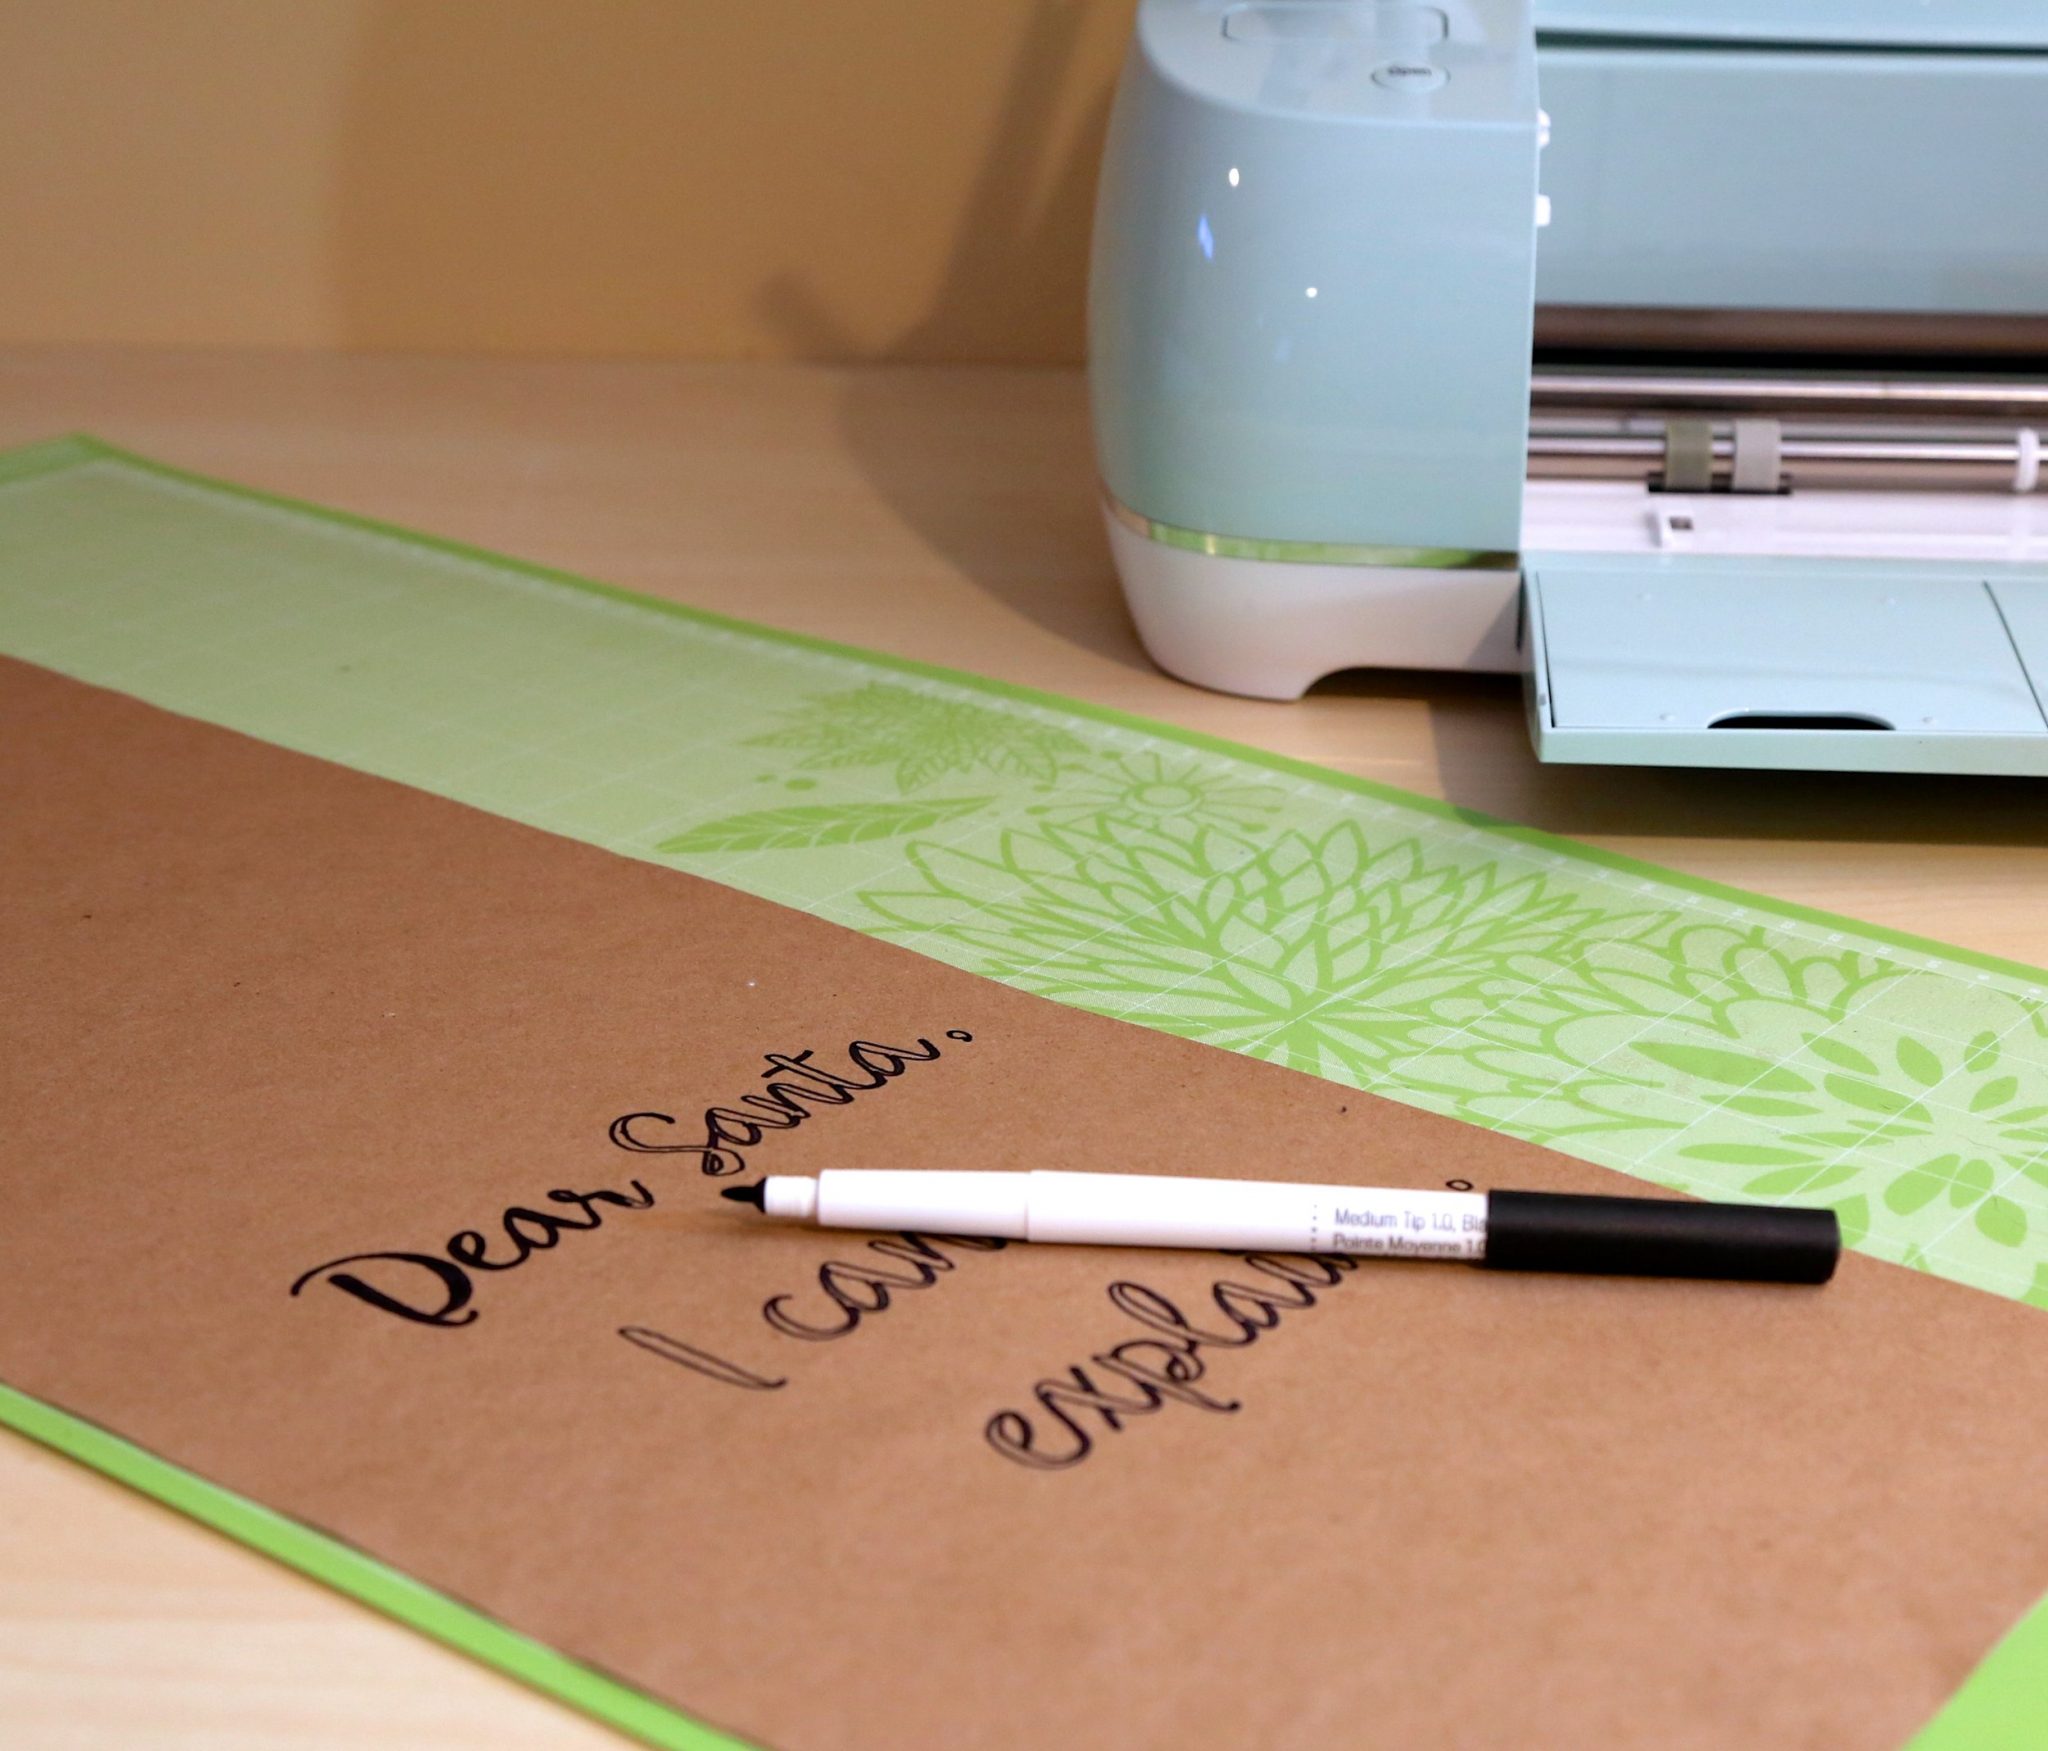
Now the font that I chose does not have the option to fill in so I chose to just have it write the outlines. I then used the same pen to carefully fill in the outlines. This is way easier than freehanding and quite therapeutic.
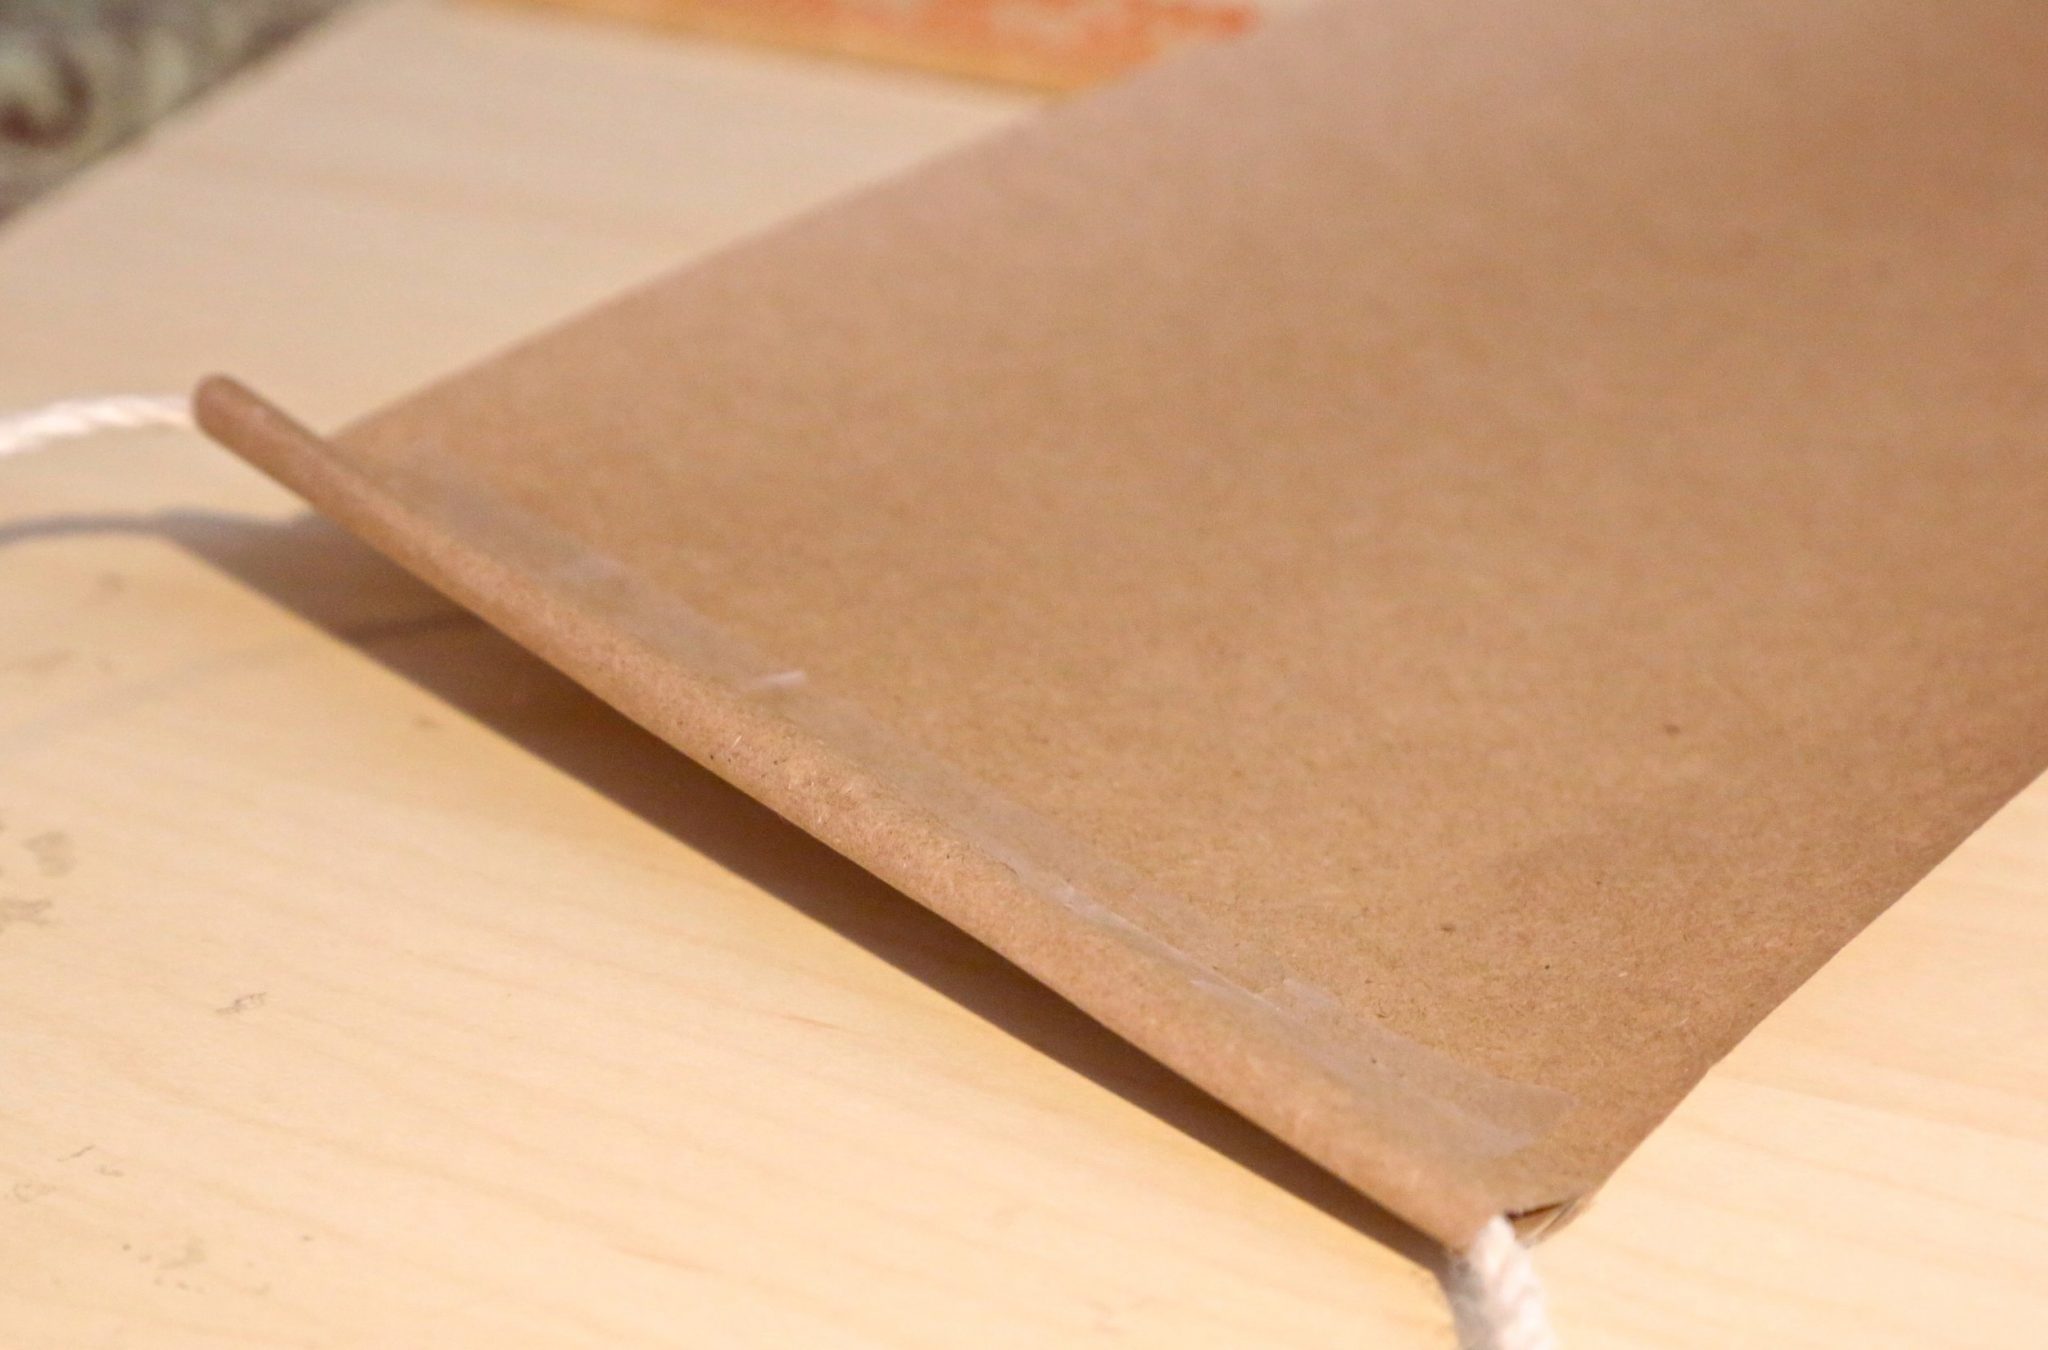
Using a nice craft rope I cut a piece that was the perfect length to hang the finished scroll. I tied a knot making the rope connected into a circle. Holding the rope tight and making sure the knot is on the kraft paper. I folded over the kraft paper and taped it holding the rope in place.
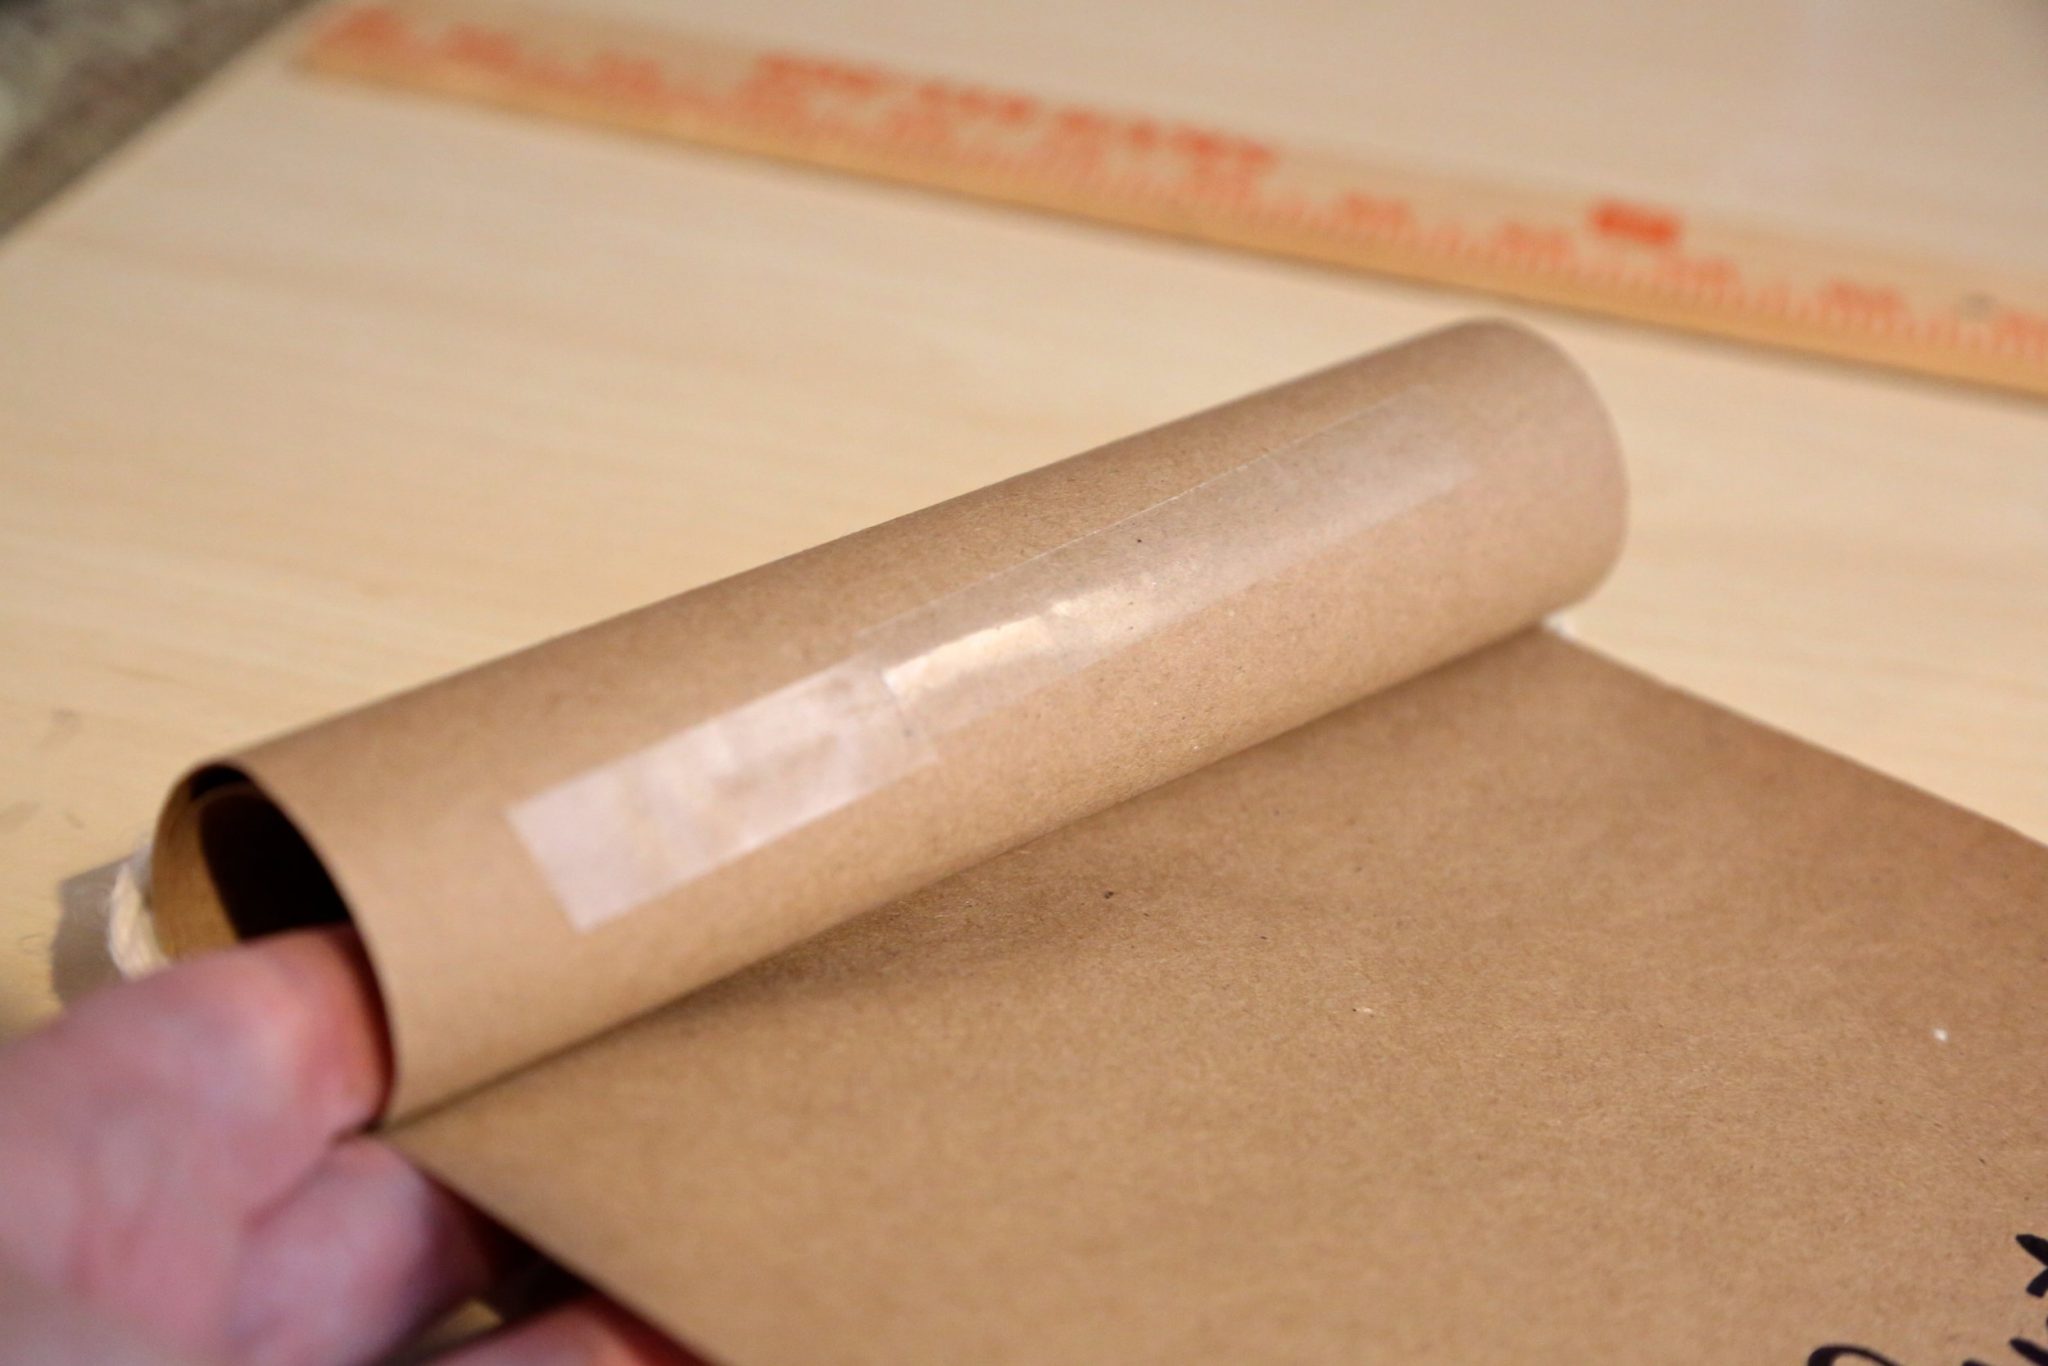
Roll the paper loosely to where you want it to stop, leaving a few inches before the lettering starts. Place double sided tape onto the roll and press it firmly to adhere to the kraft paper. Do this carefully as to not make any creases in the paper.
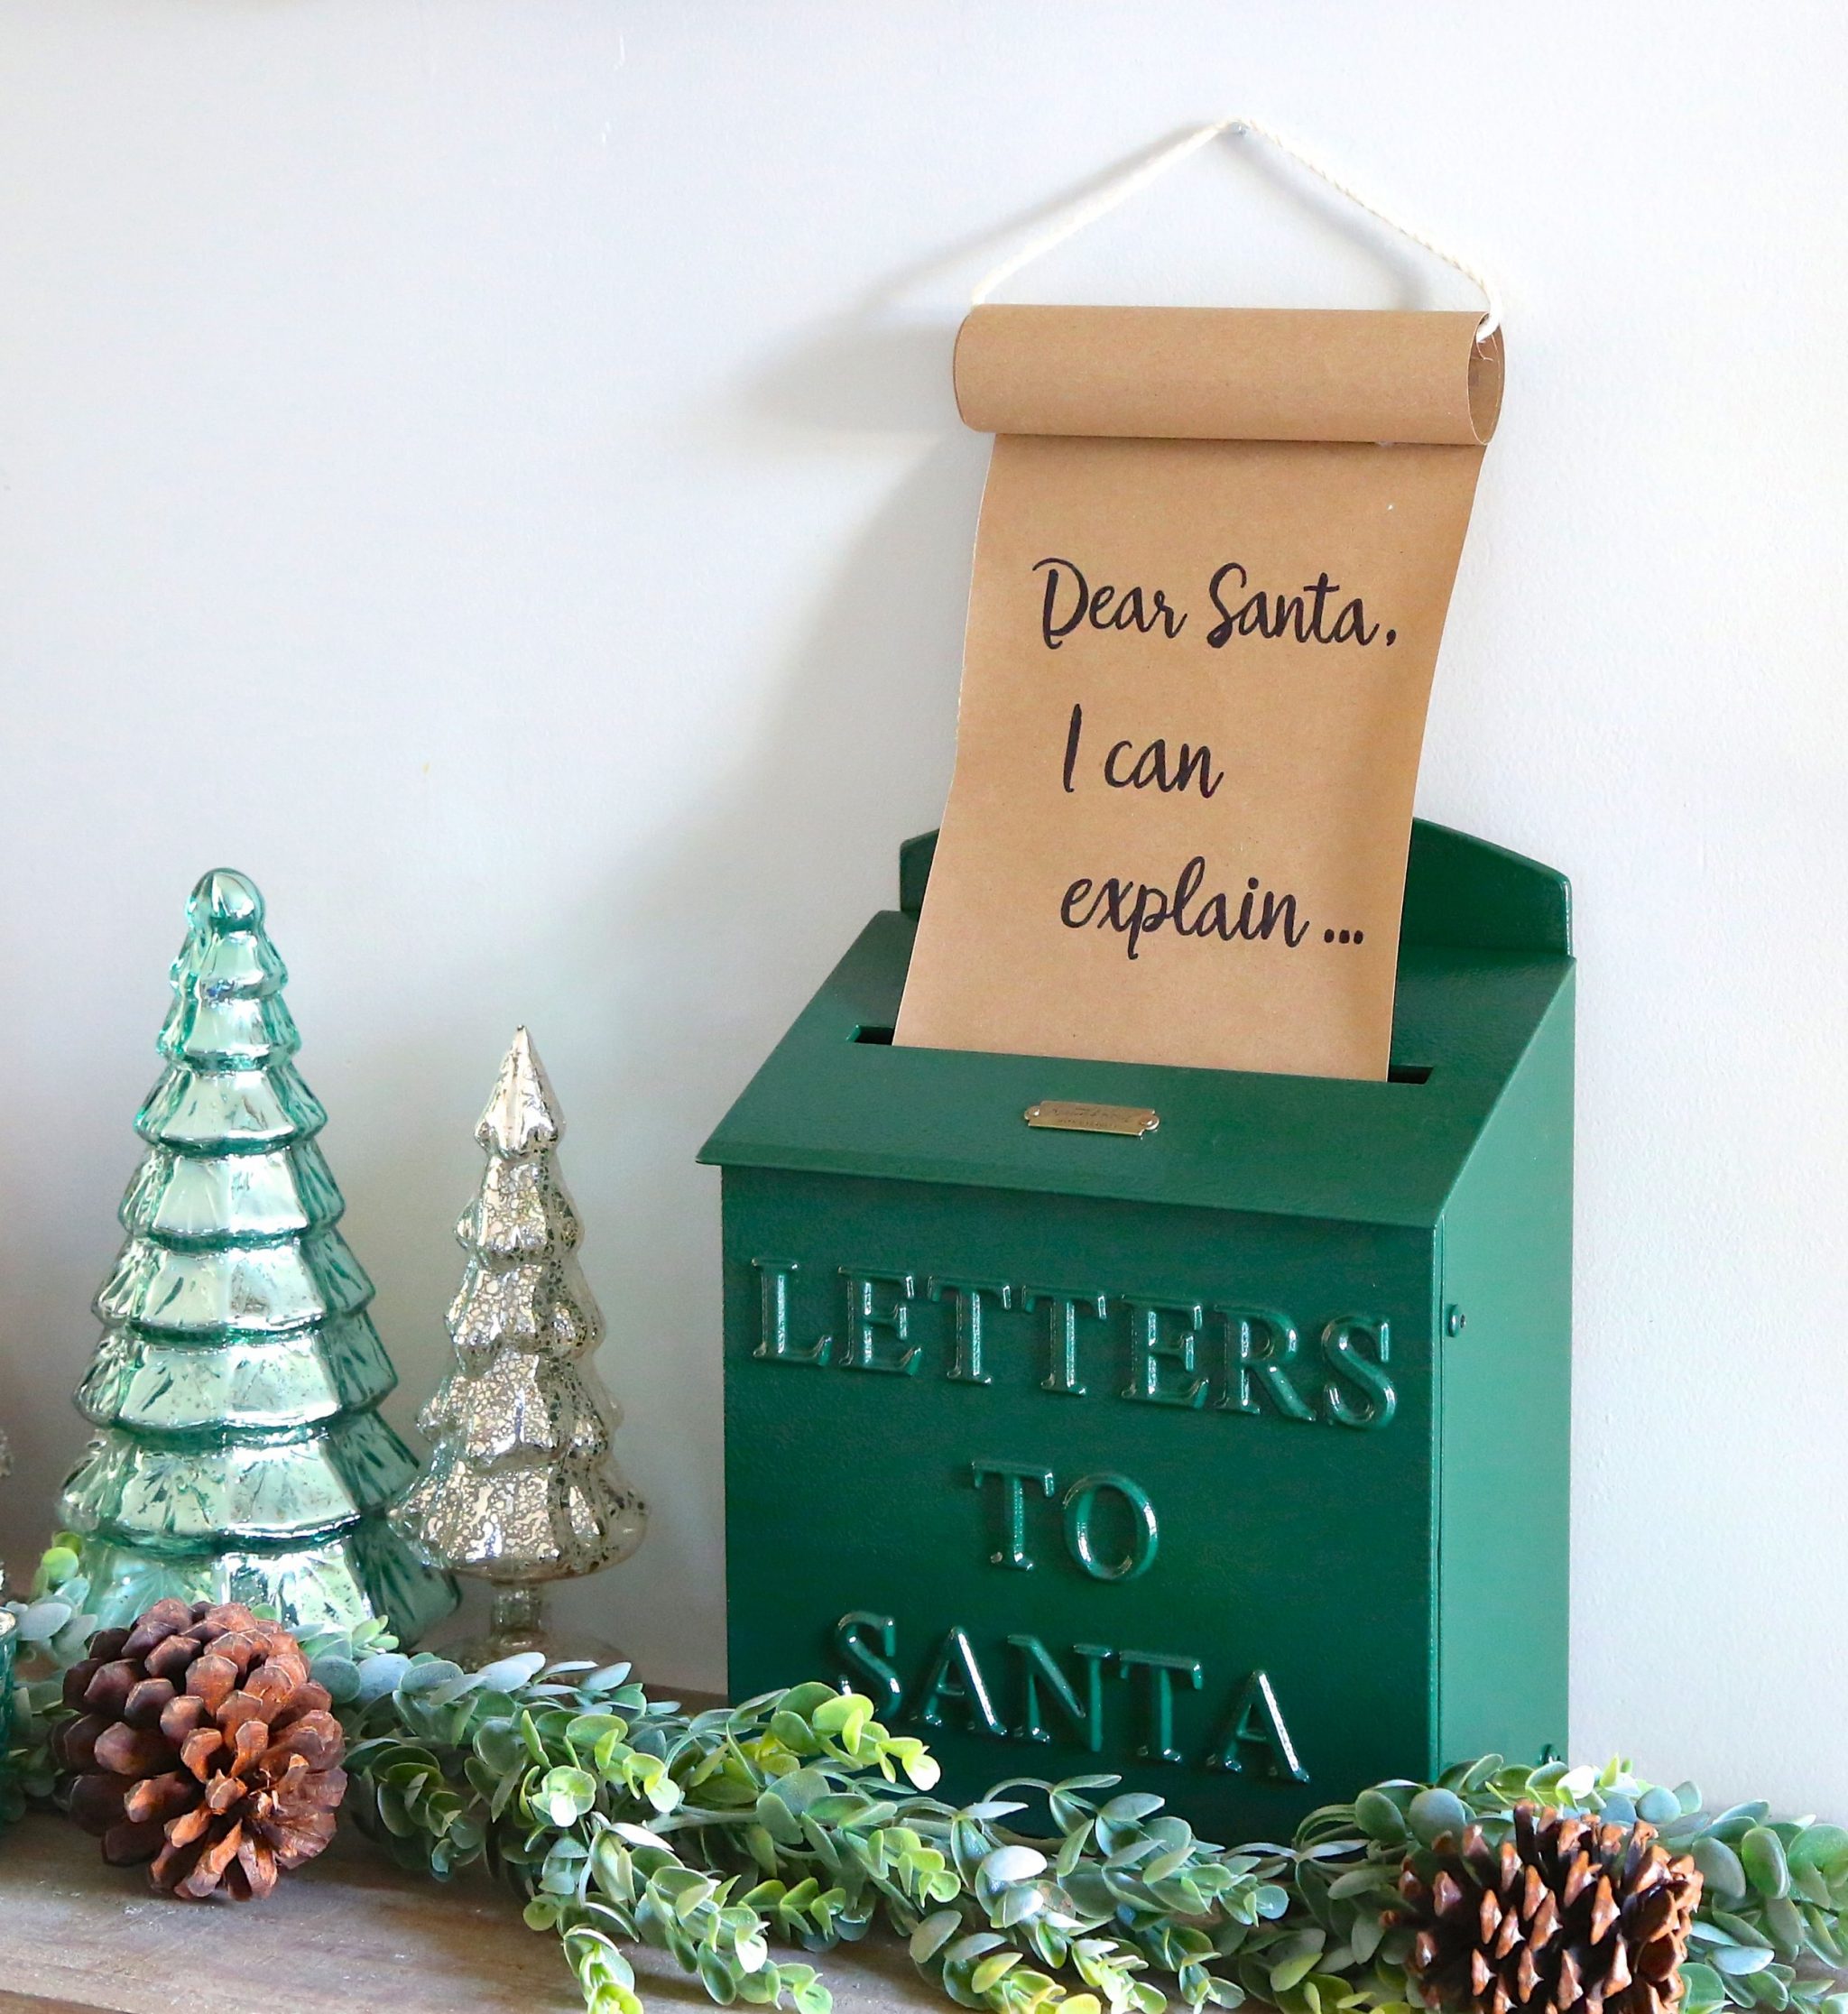
Place your mailbox into the perfect spot on your shelf. Place the bottom of your letter into the mailbox and measure where to nail the string to hold your scroll up. Use a small wire nail to hang the rope.
Guys this project took what seemed like 30-45 mins, (longest part was the design) and it looks fantastic! I am even thinking about how I can make a large scale handlettered scroll. This is the perfect quick weekend craft. The longest part of this project was actually figuring out what the letter should say. .
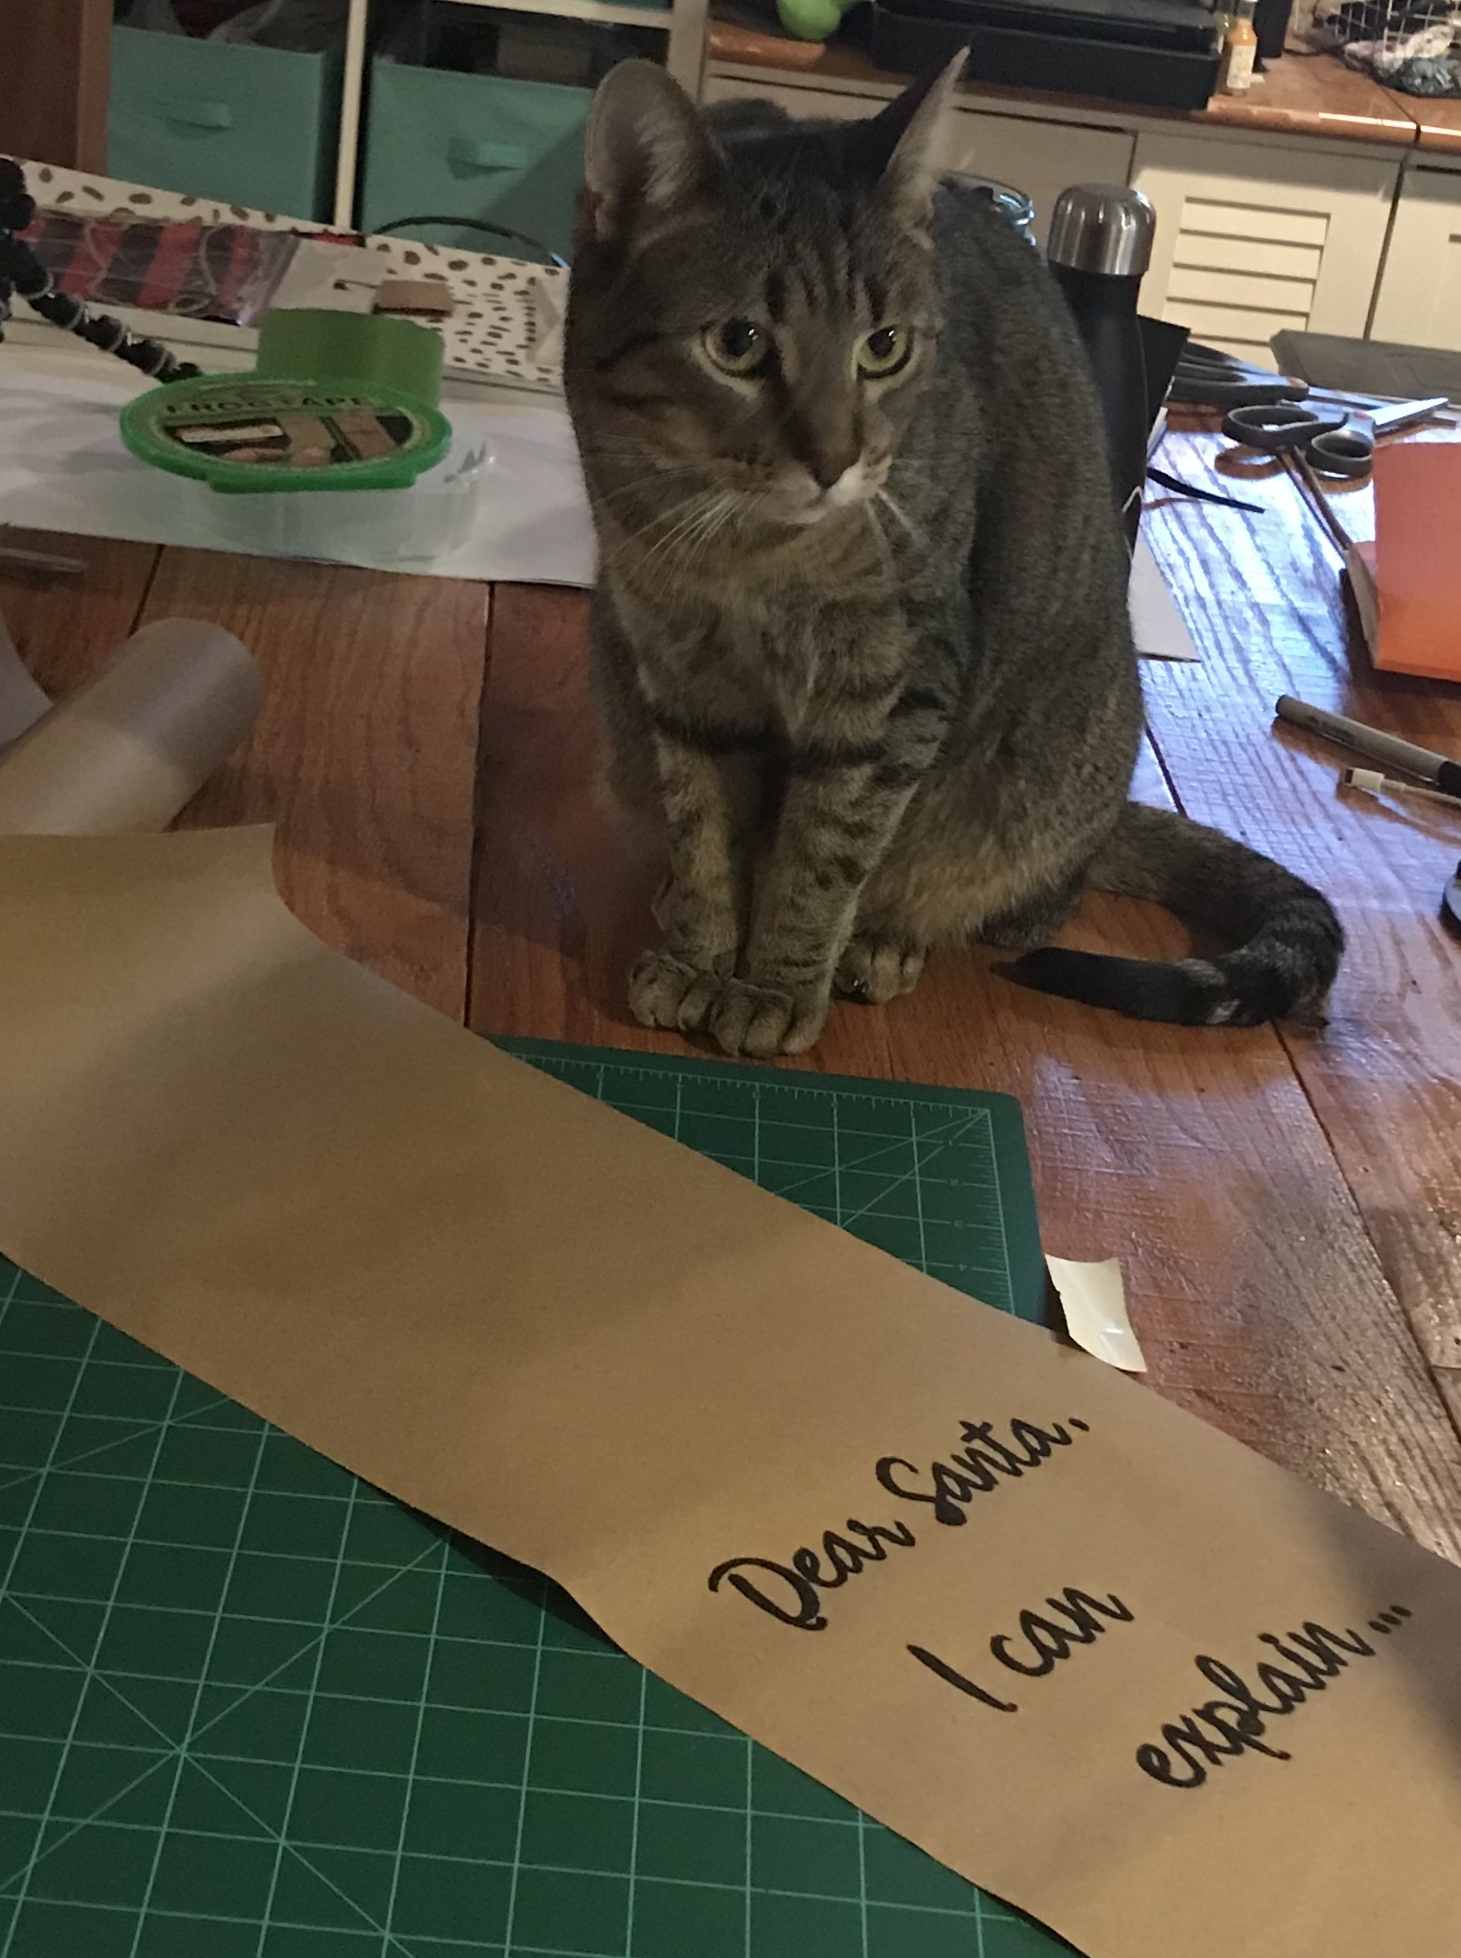
One of my friends thought it would be funny if it would be about Zoey being on the naughty list. Since she likes to live in the Christmas tree. Now not wanting to be a complete over the top cat lady I thought this was a cheeky compromise. It’s almost like an inside joke I am letting you guys in on. Of course I go upstairs to get a cup of coffee and I come down to find Zoey on the craft island trying to be apart of the project. So I knew it was the right choice.
I am so in love with how this project came out. I feel like all the years of watching Fixer Upper that I channeled my inner Joanna Gaines. I hope this inspires you to not let a price tag stop you. Use your craftiness and see if you can come up with a solution to do it yourself! Maybe this can be your next weekend craft!
Oh it’s so precious, Michelle! I love that it’s from Zooey. 😀 Cats always have something to explain!