This post contains affiliate links, please read our disclosure policy.
A step by step tutorial on how to cut veneer with a Cricut and a deep Point Blade.
Did you know a Cricut could cut wood? It can. Today I want to show you how to cut veneer with your Cricut. All you need is a strong grip mat, painters tape and a deep point blade. One of the reasons I love having a Cricut is that it can bring your crafting to the next level. Using mediums or substrates that you wouldn’t necessarily use or be able to use with out it.
Don’t own a Cricut but thinking about buying one? Check out this guide about which Cricut should I buy.
What Is Veneer?
A veneer is a thin sheet of wood that can be applied to another surface. Cricut Natural Wood Veneers can be stained, painted, molded, glued, and layered.
Do you need a Cricut Maker to cut veneer?
No, you can cut veneer sheets on the Cricut Explore, Explore Air 2 and the Maker. You just need to use the deep point blade.
This post contains affiliate links.
Have a Cricut but don’t like designing?
Join the monthly SVG club and get cut files delivered to your inbox along with a monthly live craft night in the exclusive Facebook group. Learn more about it here.
What Kind Of Wood Can The Cricut Maker Cut?
Check out how to cut basswood with your Cricut Maker here.
How Thick Of A Wood Can The Cricut Maker Cut?
The Cricut Maker can cut materials up to 2.4mm or 3/32 of an inch.
Here’s what you’ll need:
How To Cut Veneer With Your Cricut
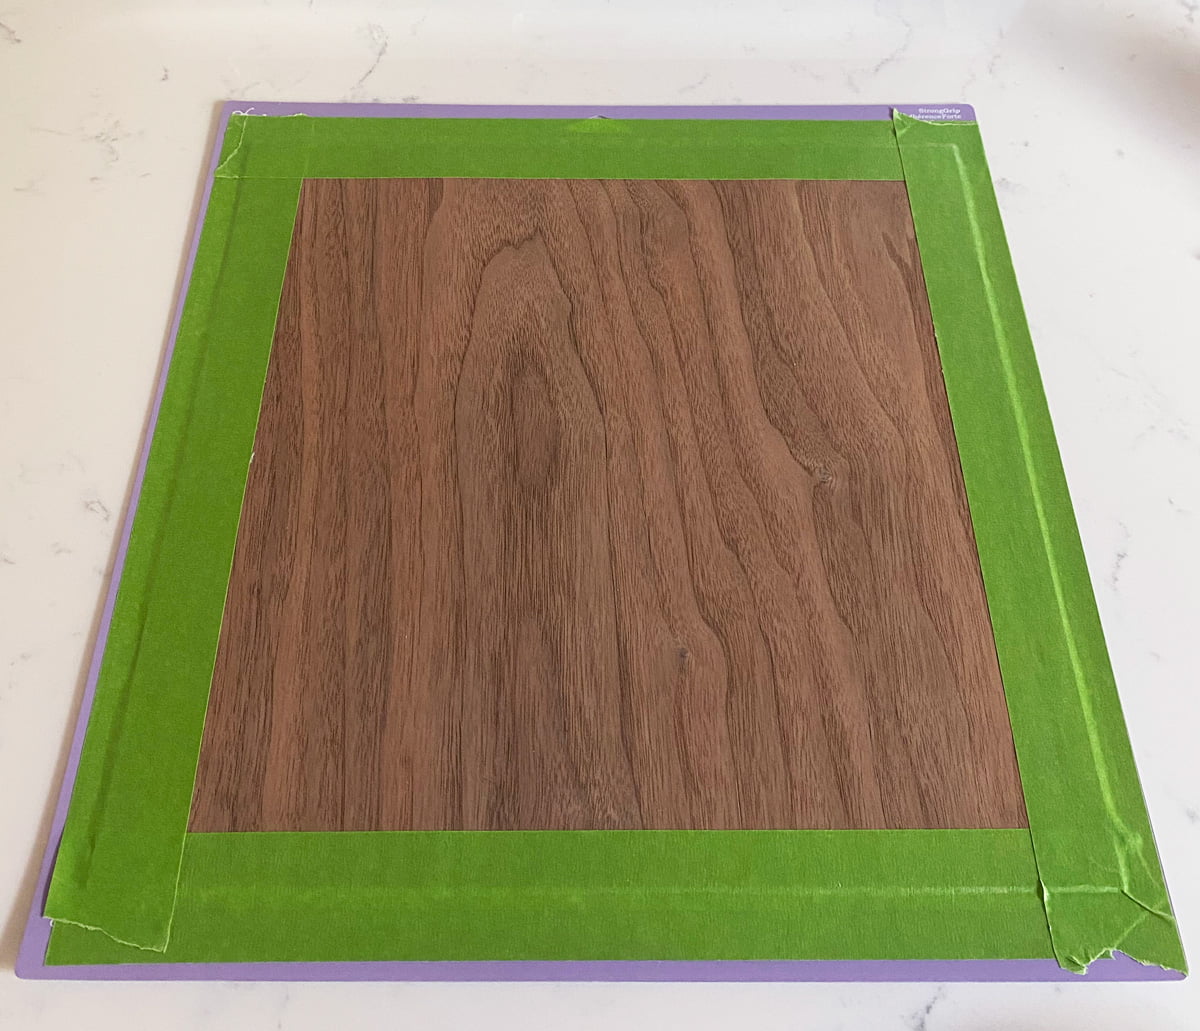
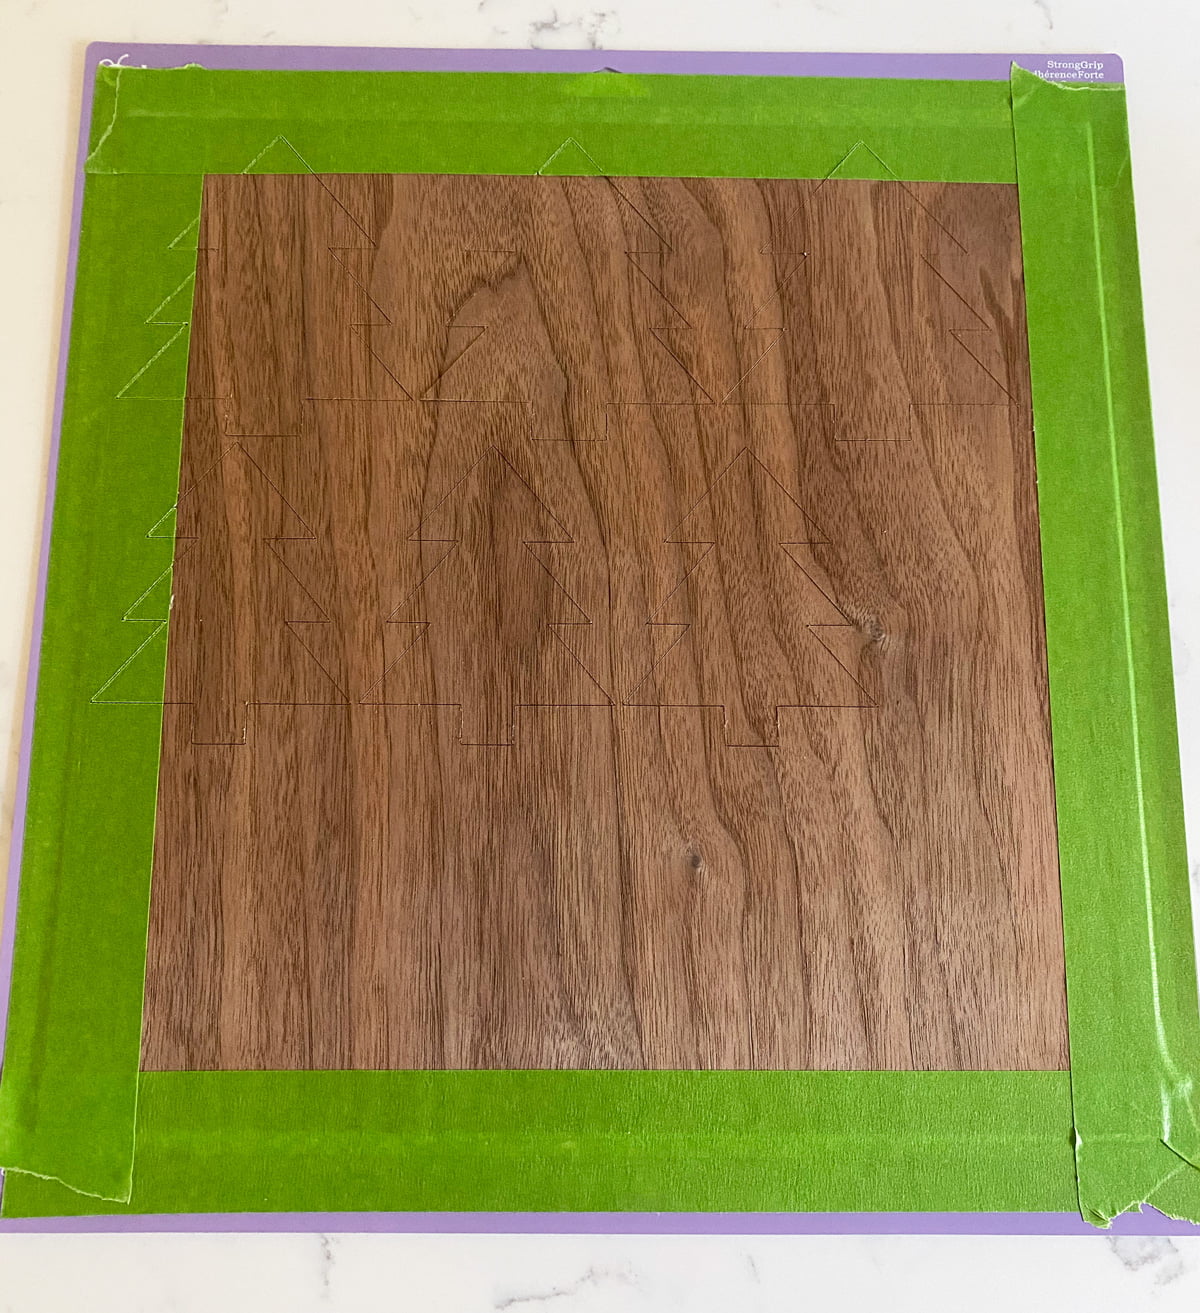
Step 1: Secure Veneer T0 Mat
Place the veneer sheet onto the StrongGrip mat with the grain of the veneer running along the length of the mat. You will want to make sure that the veneer Is adhered to the mat. I like to use a brayer when working with veneer. Grab your painters tape and tape your veneer around all for edges. I like to use frog tape.
Step 2: Set Material
In Cricut Design Space create and size the image you want to cut. Cricut Explore- Turn dial to custom. On the maker and explore set your materials by selecting browse all materials. Then, select Natural Wood Veneer from the list.
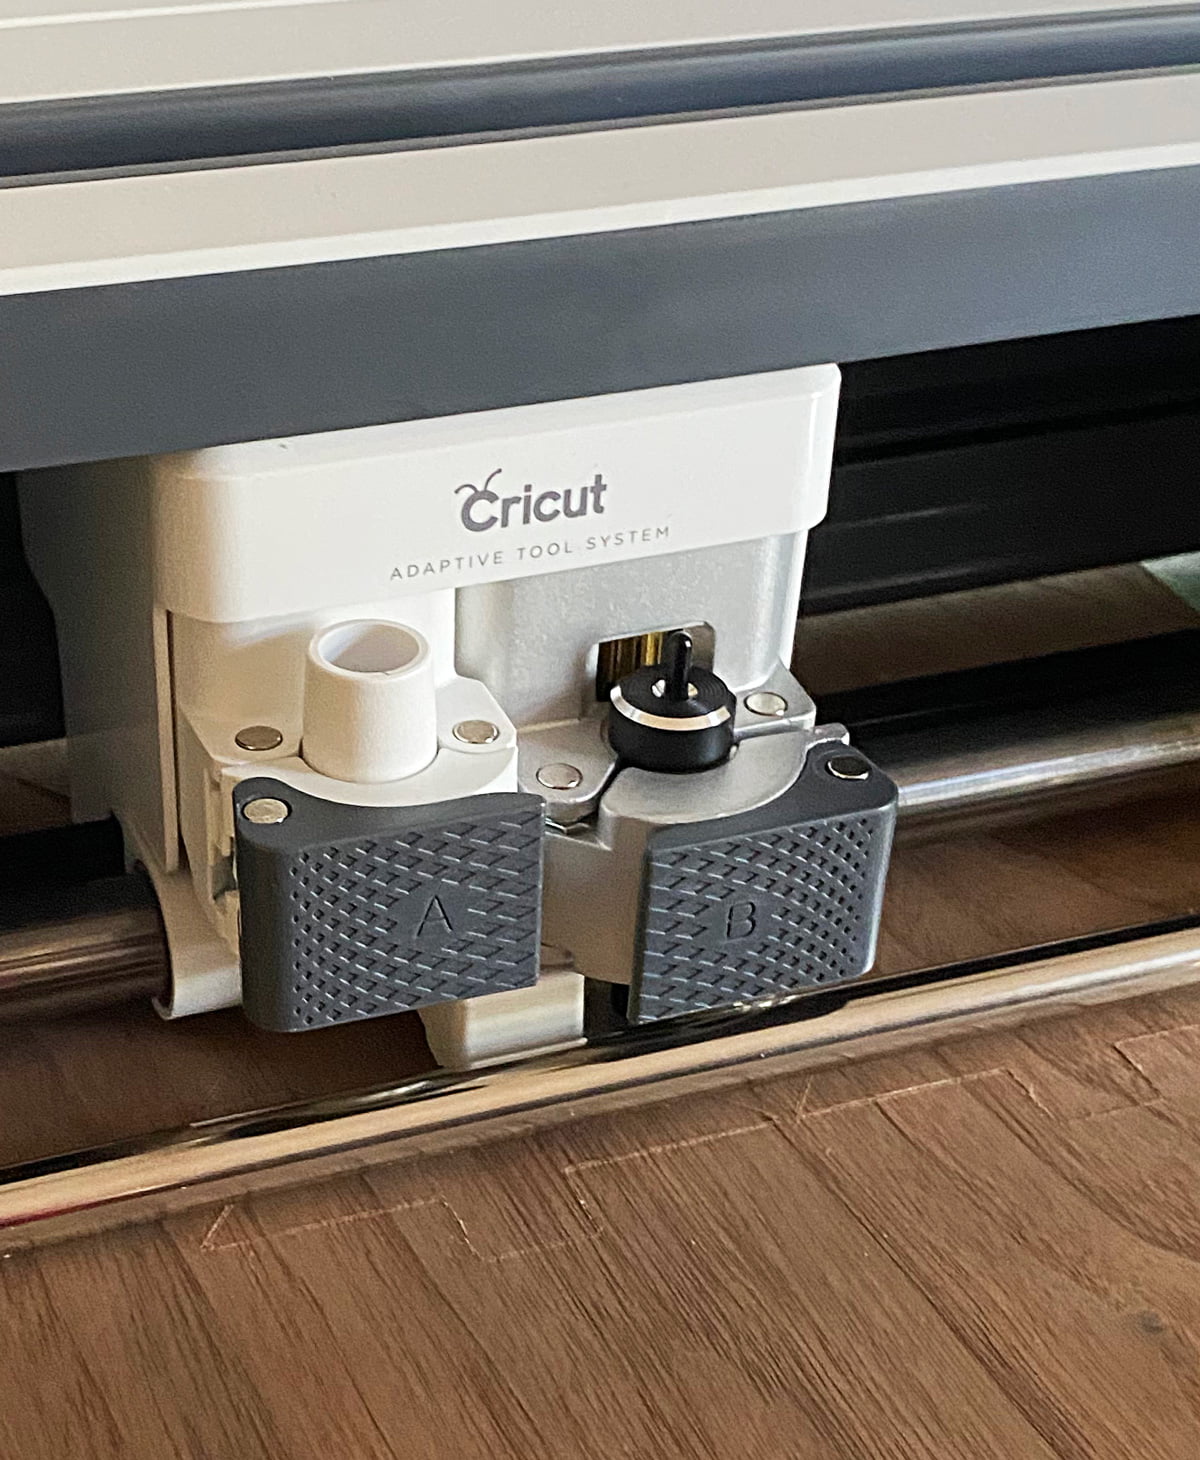
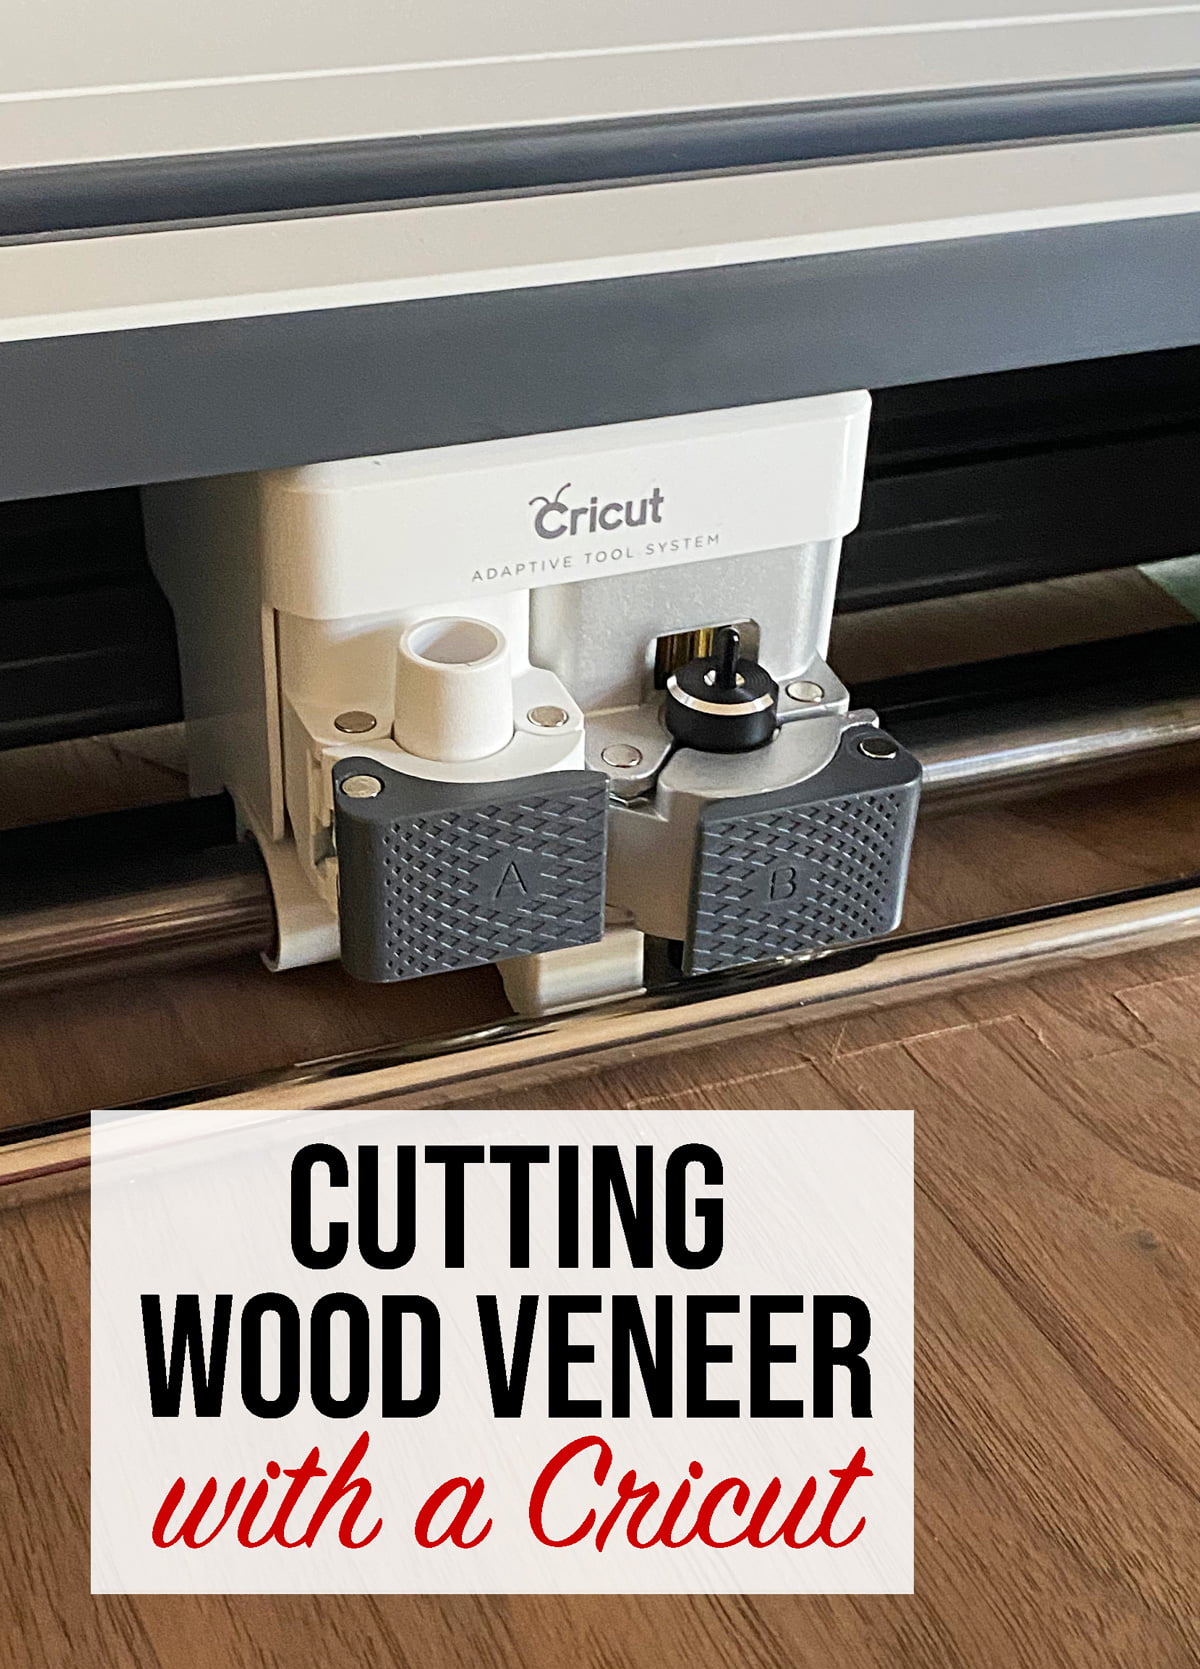
Step 3: Deep Point Blade
Install into clamp b the Deep-Point blade and housing.
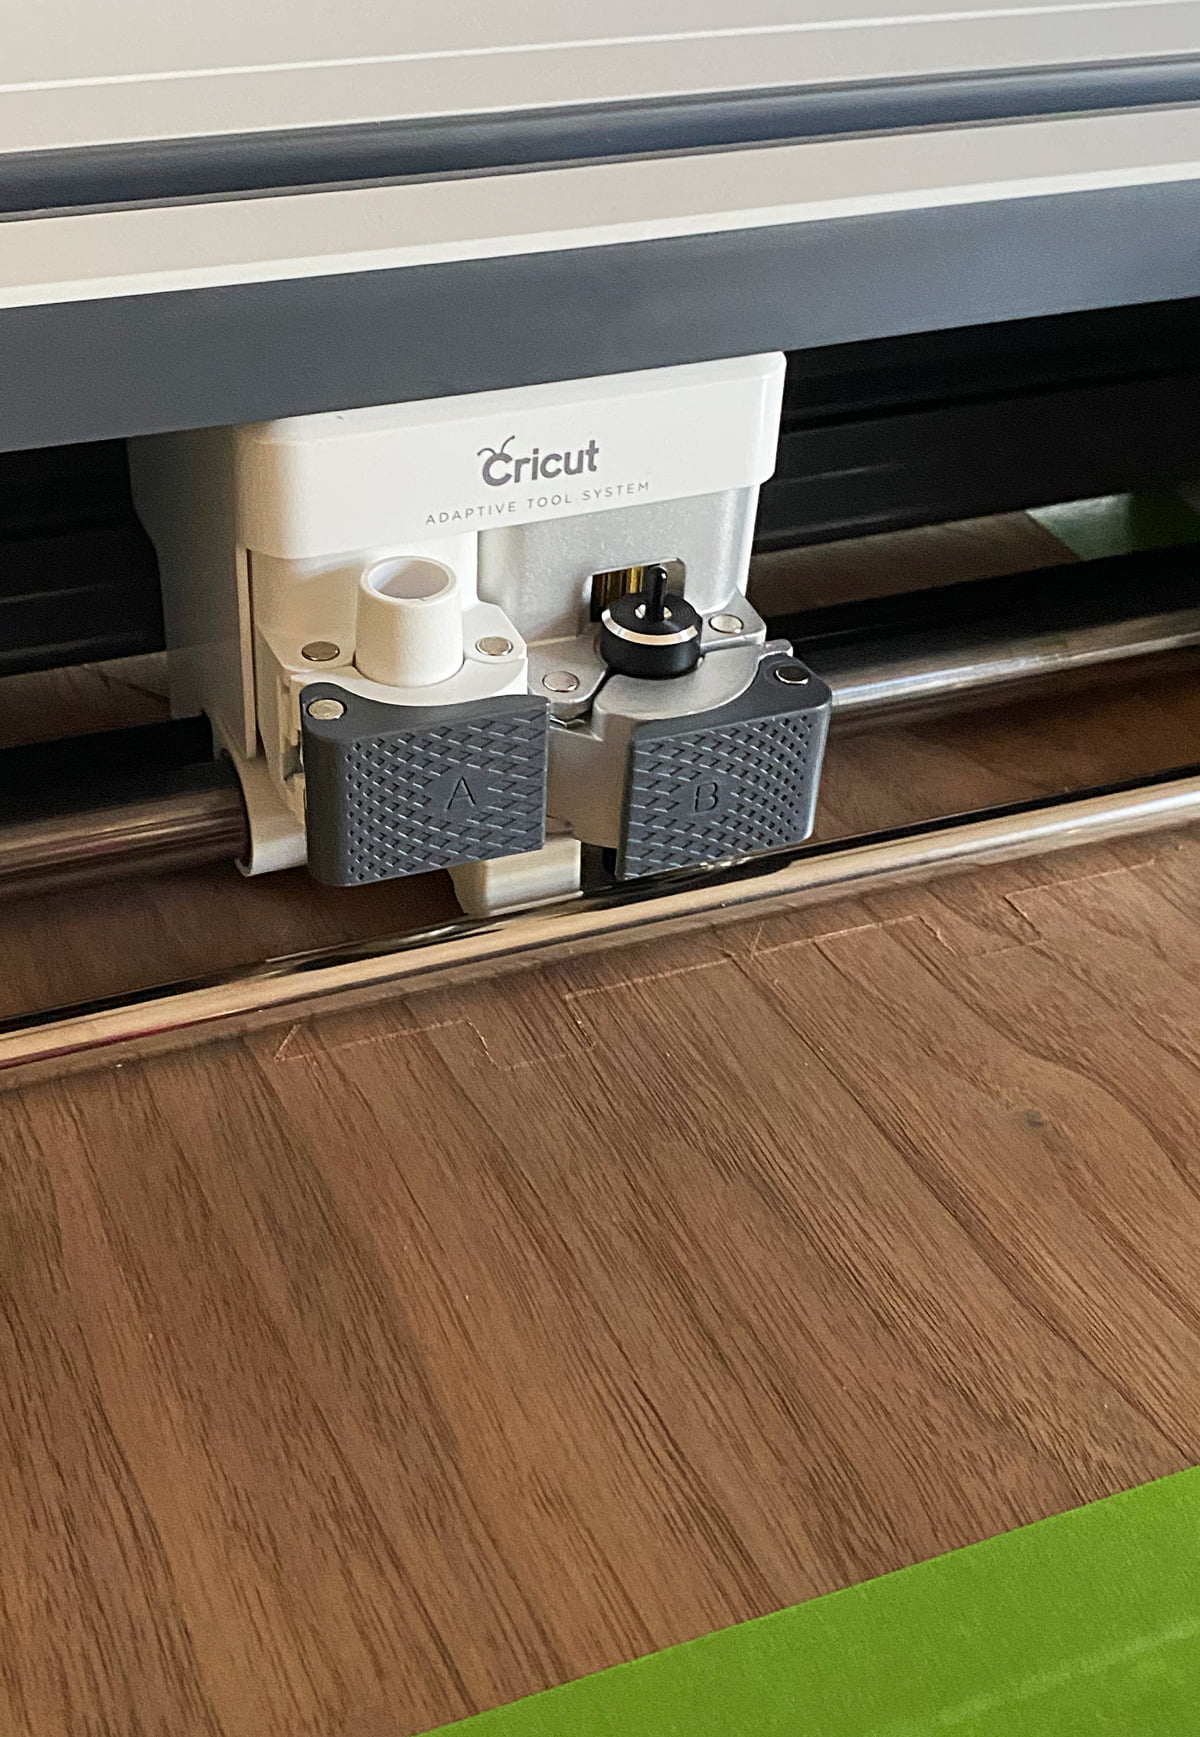
Step 4: Cut Veneer
Now you are ready to load your mat. Place your mat within the groves and press your lit up arrow buttons. Once your mat is loaded the Cricut “C” should also be lit up. Press this and your Cricut should begin to cut.
Step 5: Final Step
Remove the painters tape from your mat. Flip mat upside down and remove the veneer. Pop your cut pieces out. If there is resistance you may need the assistance of an exacto knife. If your blade is dull and needs to replaced it may not cut all the way through your veneer. Not to worry trace along the likes with your exacto knife. I suggest doing this on a self healing cutting mat.
I am so pleased with the results and can’t wait to show you guys the final ornaments I’ve made!


2 Comments