This post contains affiliate links, please read our disclosure policy.
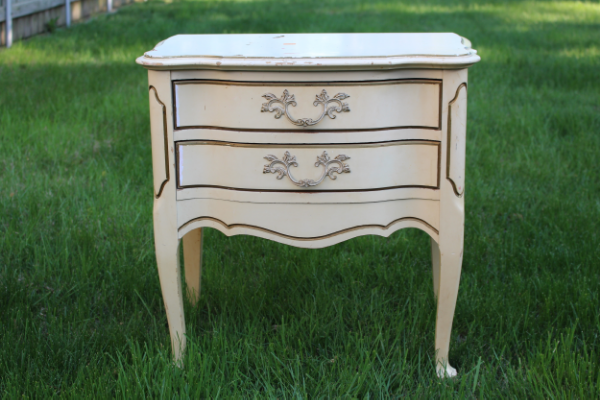
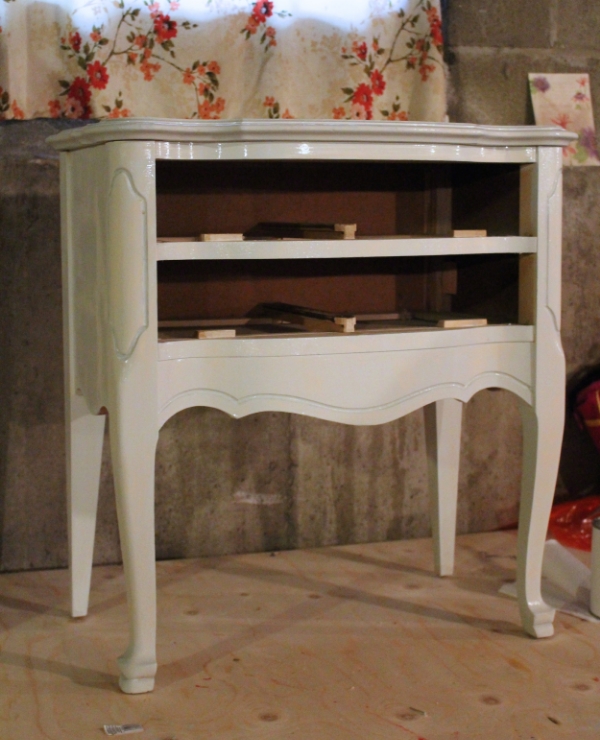
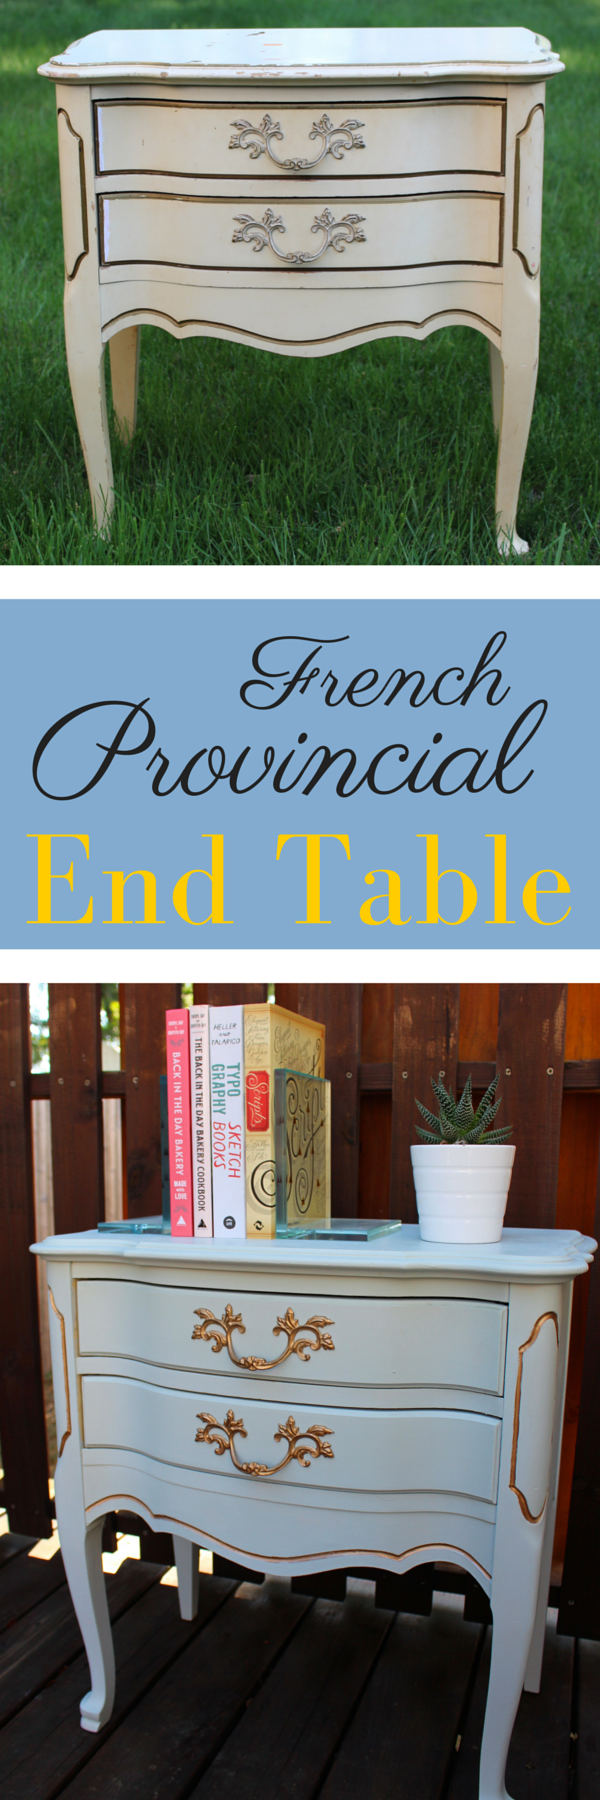
A little over a year ago I was browsing my local thrift shop and saw this French Provincial end table for only $7.99. I immediately thought that would be a beautiful piece for my bedroom if I refinished it. Well as it goes when you have a project for yourself it usually gets put on the back burner. So this piece moved with me to the new house then sat getting collecting dust in my basement. Until last week! I had a long weekend off from work and I decided this was my weekend project. So I said no to all my potential plans and went down into the basement to paint!
You must think I’m crazy willingly declining plans to paint an end table? Well let me tell you I am a little burnt out this Summer between working, friends, weddings, showers this has been a busy summer. I’ve only been to the beach twice! So the idea of spending a few days by myself and painting and reading a book in between waiting for paint to dry sounds amazing!
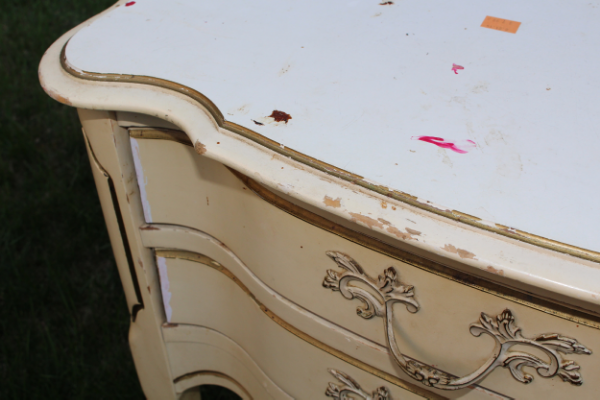
Now this table needed a lot of love. While it had good bones the previous owner had to have been a smoker and the top had stuff stuck to it that I don’t even want to imagine what it was. I cleaned down the entire end table and left it outside to air out for a few days placing dryer sheets inside the frame and removing the drawers.
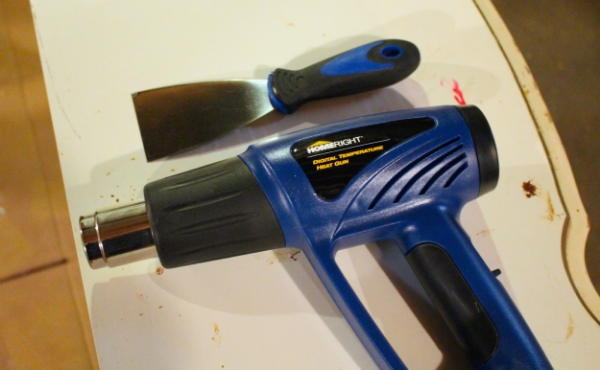
HomeRight had sent me a heat gun this Spring that I had been dying to try and this was the perfect project for it! Using the gun at a high heat I started to heat the top of the end table and using the scraper to remove all the gunk. This only took me about 5 mins which I was ecstatic about because it was about 90 degrees in my basement and that gun was at about 700 degrees but it worked amazing and I had a nice smooth surface to work with as a base.
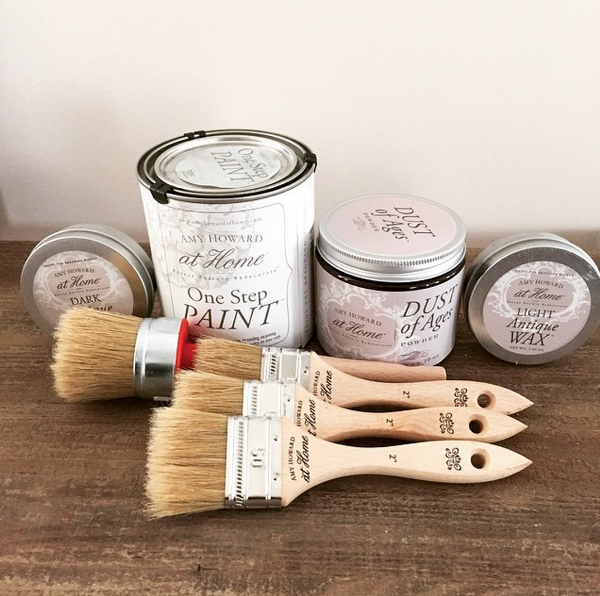
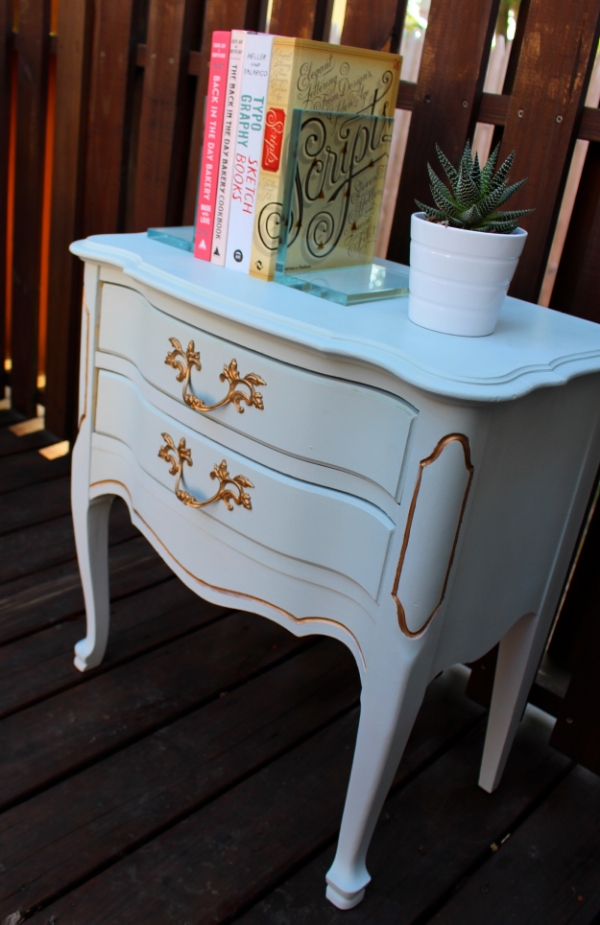
I was really excited to do this because I had been saving this paint since the winter for this project. As soon as I opened the box from Amy Howard I knew immediately that this Bergere Blue was the perfect blue for the end table.
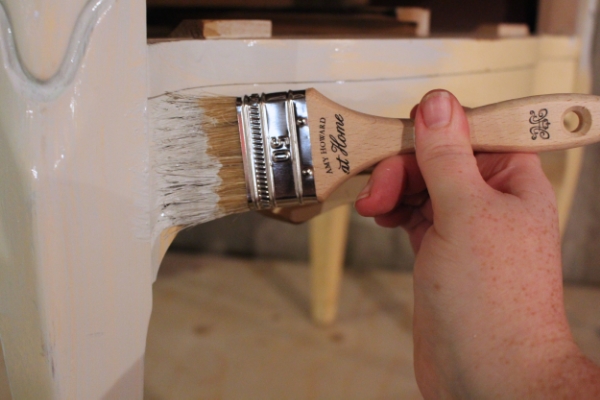
I painted the first coat of the chalk paint on with both a brush and a roller. I use a cabinet roller for large areas so you do not see brush strokes. Why I normally use chalk paint is because there is barely any prep work needed, no sanding and no priming. Chalk paint also has a great matte finish.
Now for Christmas my Dad had built me a workbench which I love especially when I am working on furniture. For years I’ve been painting from the floor which let’s face it always ends up with me bending over awkwardly or sitting on the floor inevitably missing a spot I couldn’t see. Now I can place the piece on the bench and turn it and get every spot, lifting it down when I need to paint the top.
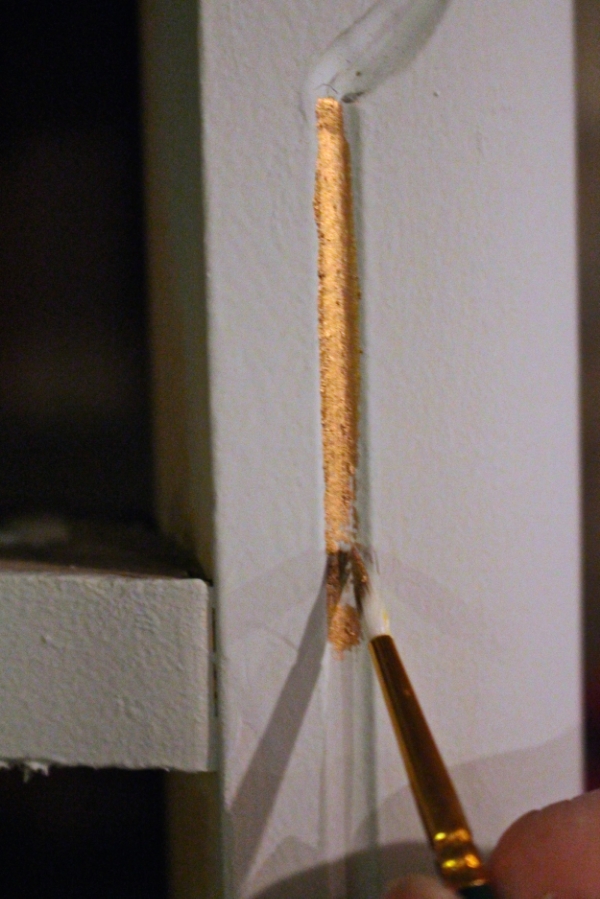
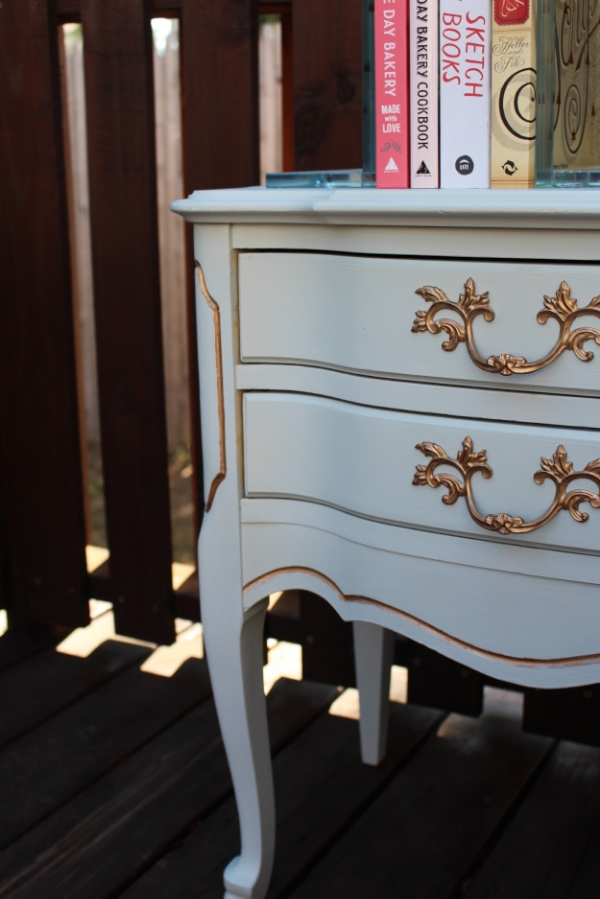
Now when I originally picked up this end table I thought what could I do to make this different to modernize it. Then I realized I wanted to update it and clean it up but keep that regal feeling. Now last Summer I came across a project from Brepurposed that helped inspire this makeover. Not only was it a French Provincial dresser but she kept the integrity of the original piece and use antique gold Rub ‘n Buff to paint the inlaid trim. It was very simple I used a small detail brush and a dollop of Rub ‘n Buff, a little bit goes a long way. Now on the original piece it had a lot of gold trim. I decided to no paint all of it to keep it slightly simpler and a bit understated.
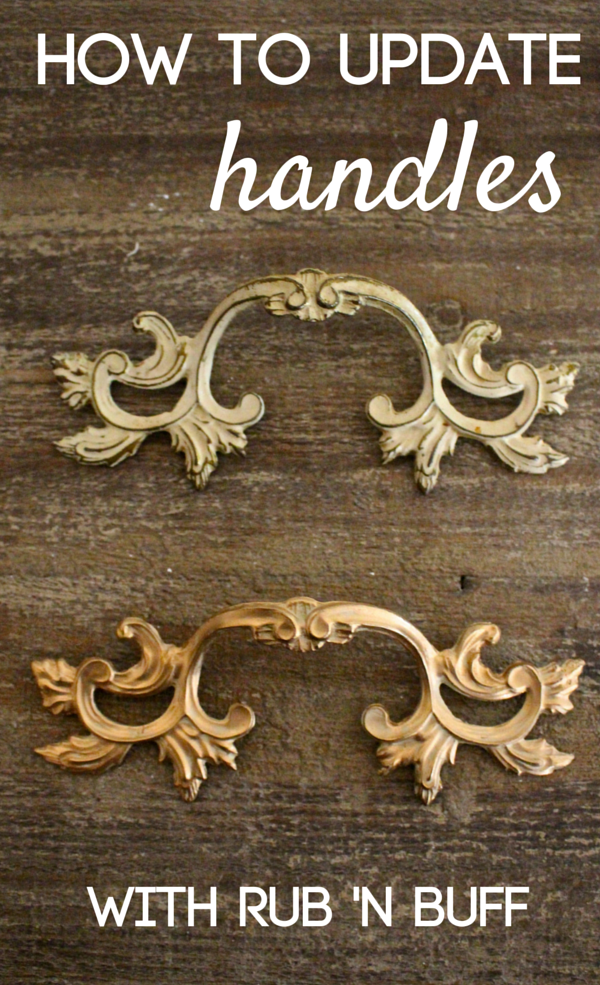
Often the first thing you do to update a piece of furniture is replacing the handles. That doesn’t always need to be the case. If you like the look of the handles with the piece there’s a simple way to give the handles new life. I loved the regal feel of the piece so I decided to keep the handles. For the full tutorial on how I updated these handles click here.
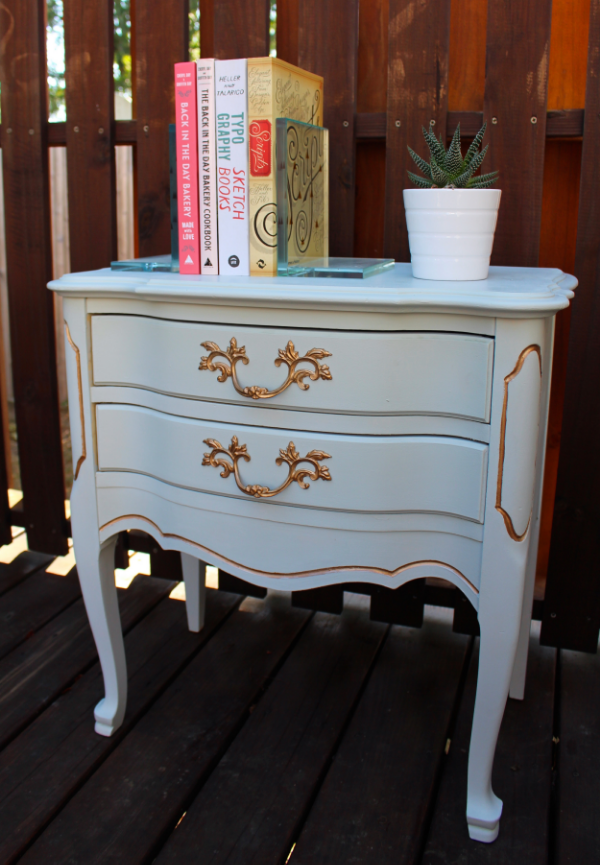
I painted three coats of chalk paint and finished off the end table with Amy Howard light antique wax. I let it dry about an hour then lightly went over the piece with a clean rag to get any excess wax off and just like that she was done!
Disclaimer: I did receive some of the refinishing products for free but all opinions are my own. This post also contains affiliate links.


I have a hutch that is from the same line (only differences are that there are three drawers, it sits a little lower to the ground and it has the shelves on top). It has the same markings and same hardware and started out with the same sad paint. I redid mine with a fresher white paint and repainted the hardware with a brushed nickel spray paint. I love the piece and the way you refreshed yours. I had thought about trimming mine out with some metallic paint and your redo just sealed the deal! Nice job!
This is so beautiful, Michelle! It’s amazing what a fresh coat of paint can do!