This post contains affiliate links, please read our disclosure policy.
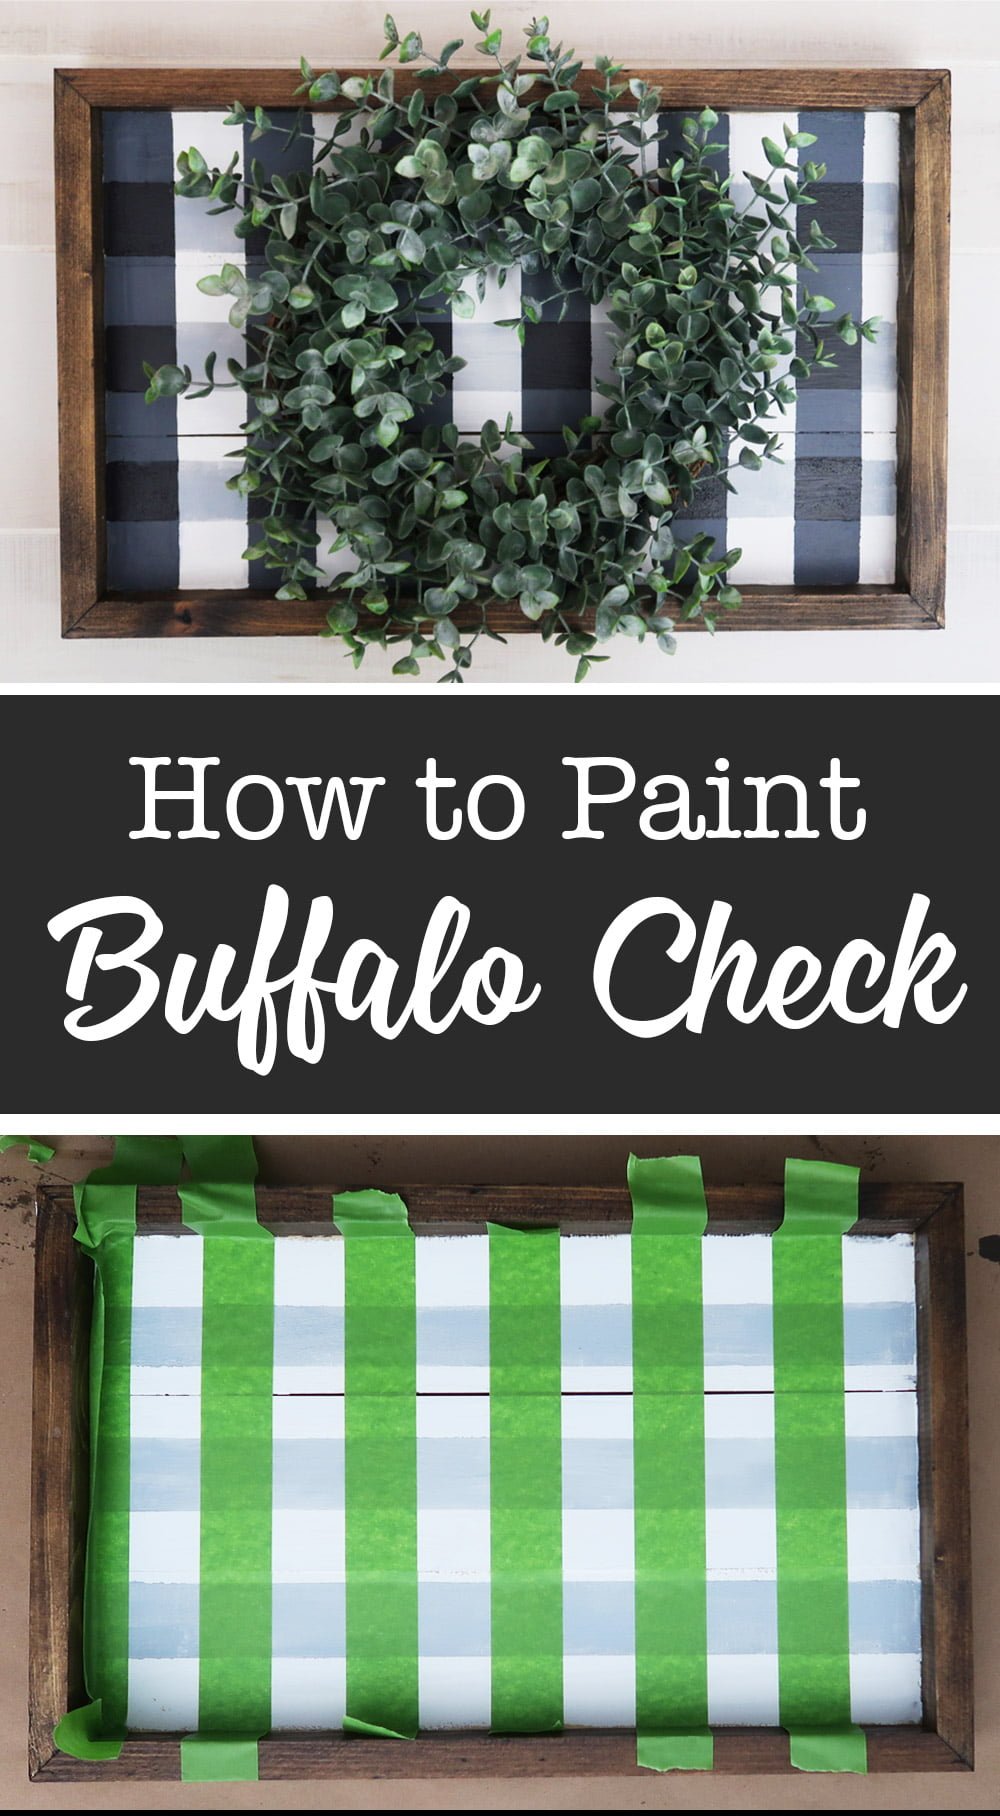
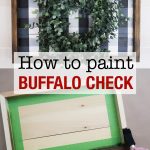
How to paint a buffalo check sign
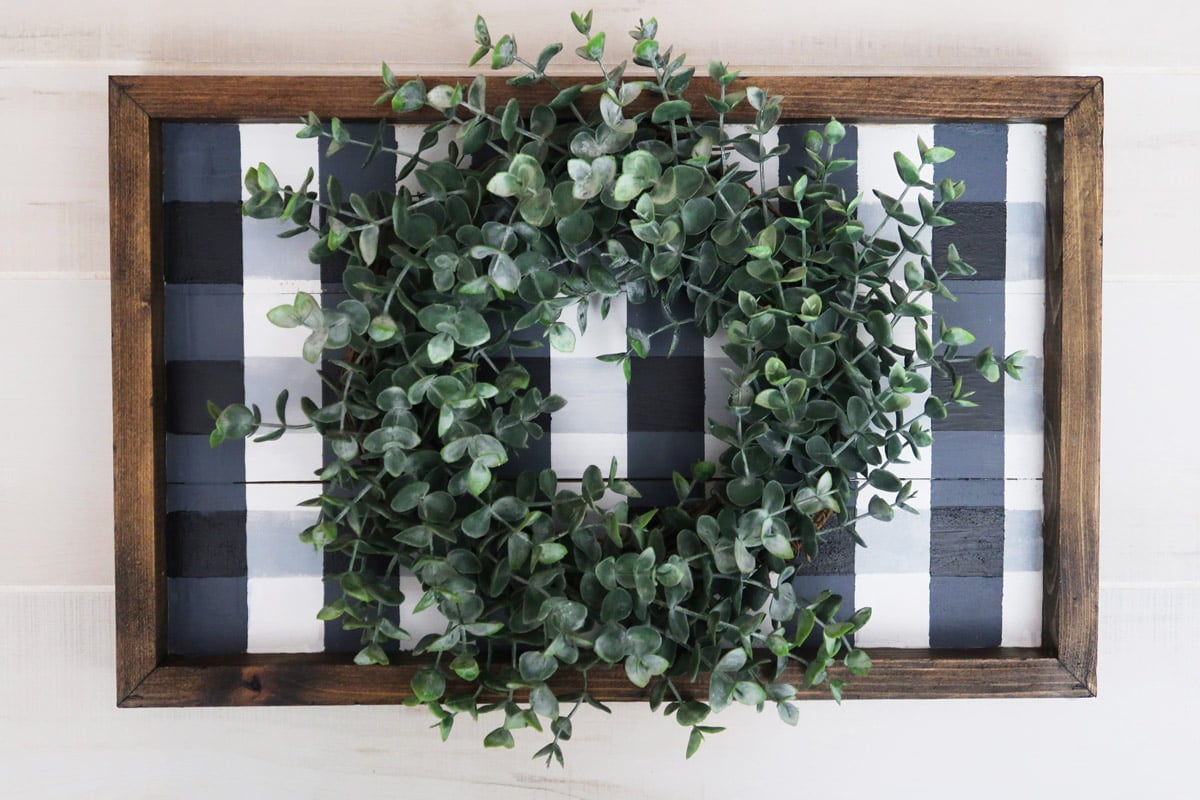
To know me is to know my obsession with buffalo check. Today I am going to show you how to paint buffalo check using painters tape. Now I made this sign with Fall in mind but I kept it transitional so it can work for every season.
Like buffalo check? Learn how to paint a buffalo check mason jar here. If you have a Cricut you can see how I made a buffalo check stencil here.
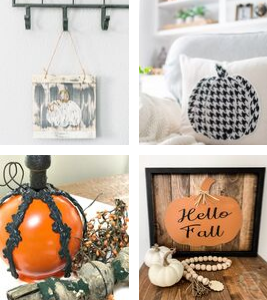
This week I am teaming up with a group of my favorite bloggers for a Fall Ideas Tour. We have 29 bloggers sharing ideas for mantels, tables, and porches, as well as some wreath and DIY/craft ideas. A big thank you to Angie from Postcards from the Ridge for putting this together. Be sure to stay until the end of this post to see a sneak peek of their Fall projects.
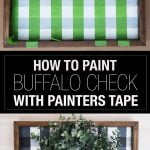
Buffalo check seems to be everywhere this fall so why not create it ourselves with some paint and Frog tape.
This post contains affiliate links.
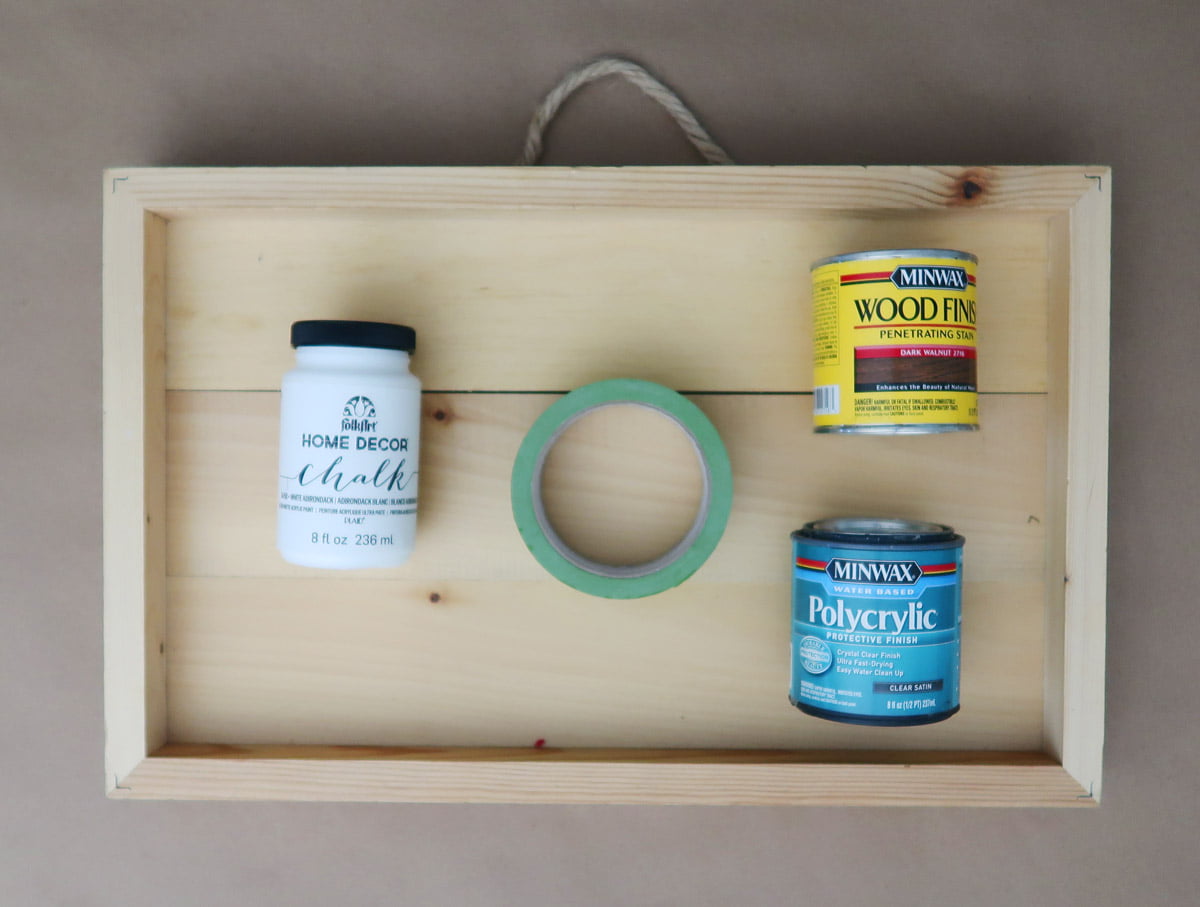
Here’s what you’ll need
- Blank sign (this one is from Joanns)
- Frog Tape
- Stain
- Polyacrylic
- Foam Brush or Rag
- White Chalk Paint
- White and Black Acrylic Paint
- Paint Brushes
- Wreath
- Fall Words
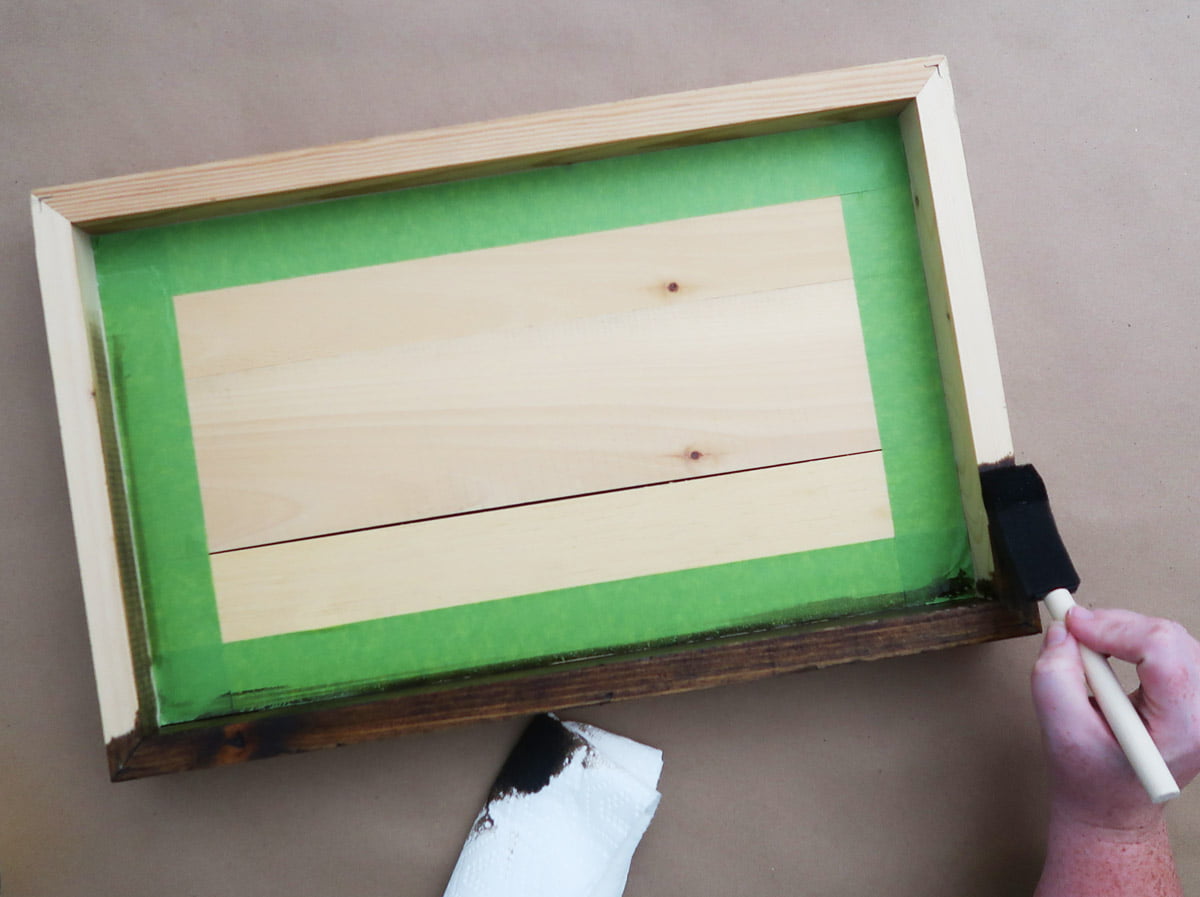
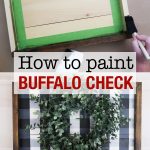
Prep Your sign
Let’s start by prepping our sign. Now I want a two tone farmhouse look for this sign. In order to accomplish that we need to stain the frame. Let’s tape off the inside of the sign and use a rag or foam brush to apply stain to the frame. I used a Minwax dark walnut stain. Let it dry completely and seal it with a coat or two of polyacrylic.
Once the frame is dry paint the inside base of the sign with white chalk paint. Let dry completely.
Mix Paint colors
Now you are going to need 3 colors to make this black and white buffalo check. A light grey, darker grey and black. Now you can do this by purchasing all the colors or mixing your own with white and black paint.
Tape off Horizontal Stripes
Starting at the top of your sign tape horizontal stripes. Pressing them down smoothly on the wood to create a seal. Use a piece of tape as a spacer in between stripes. This is more efficient than measuring and marking spaces with a pencil.
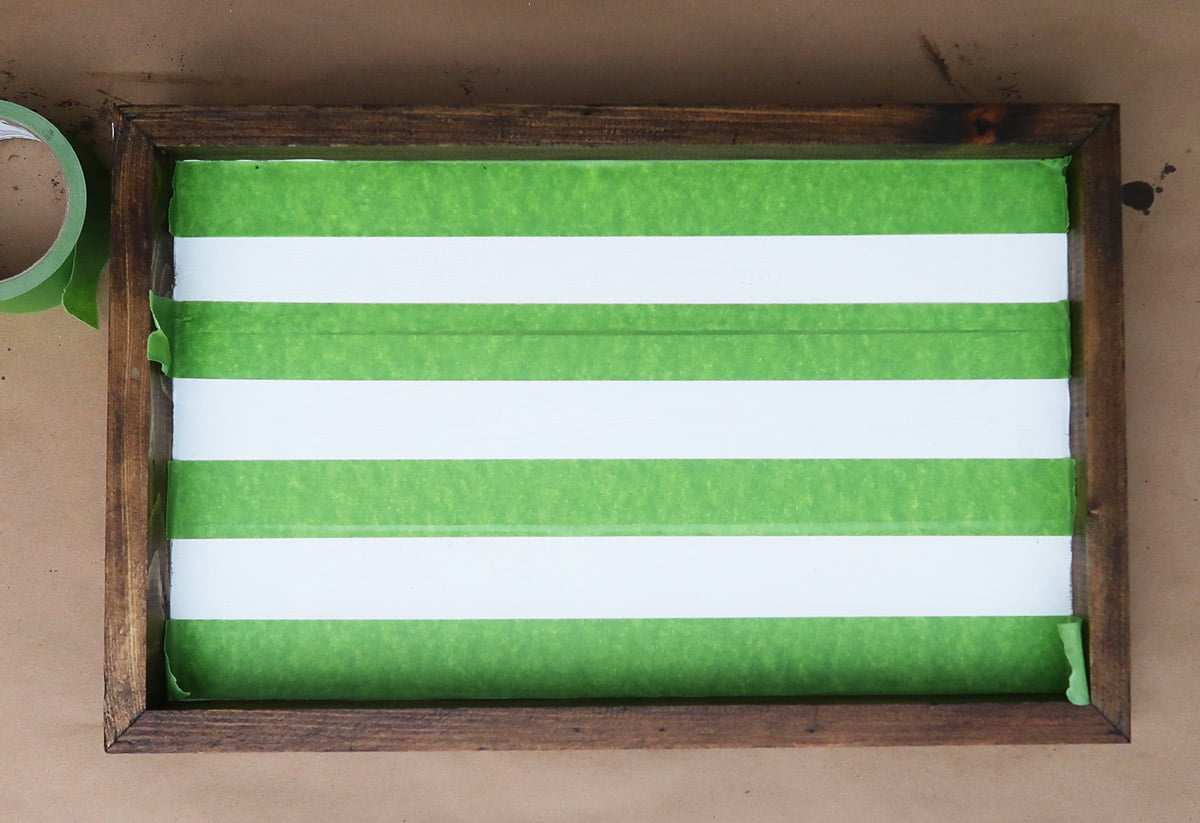
Paint horizontal Stripes
Using your lightest grey paint the horizontal stripes. Be sure not to over saturate your paint brush. A few light coats can help with bleeding. Also check out this technique for painting crisp lines.
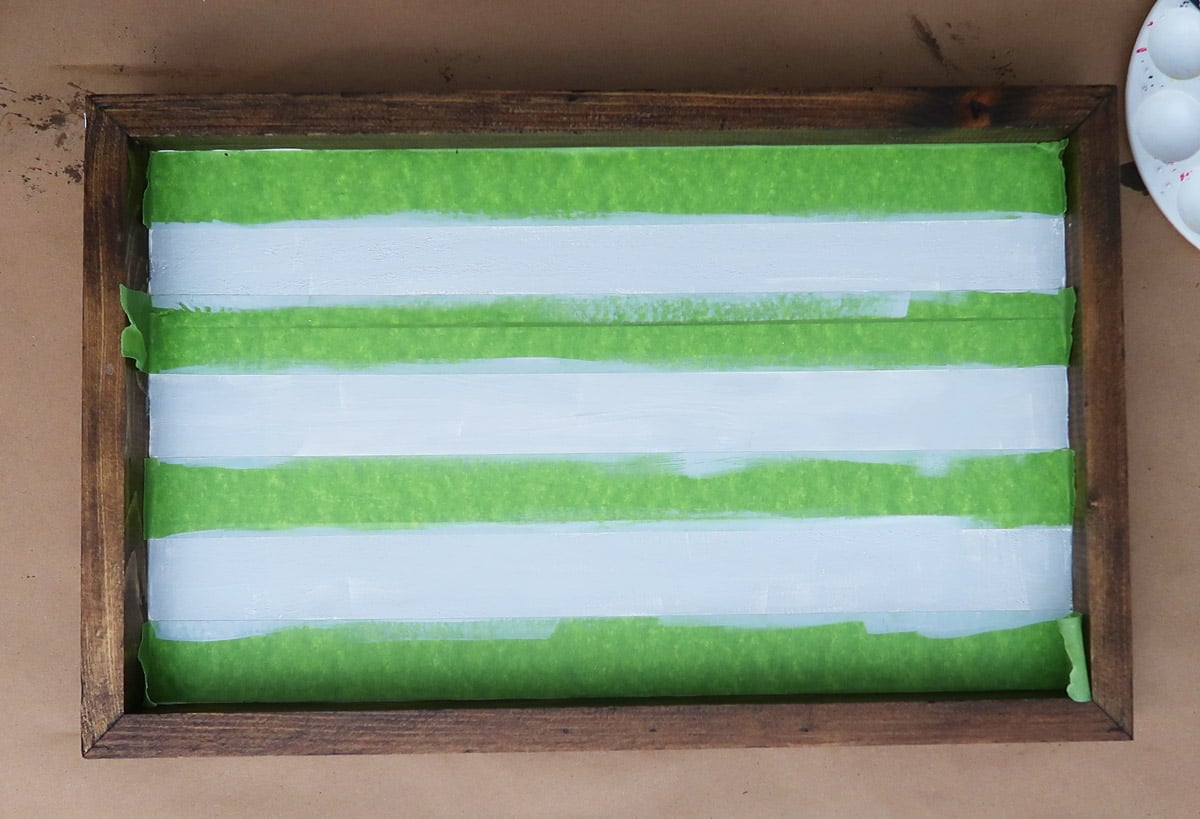
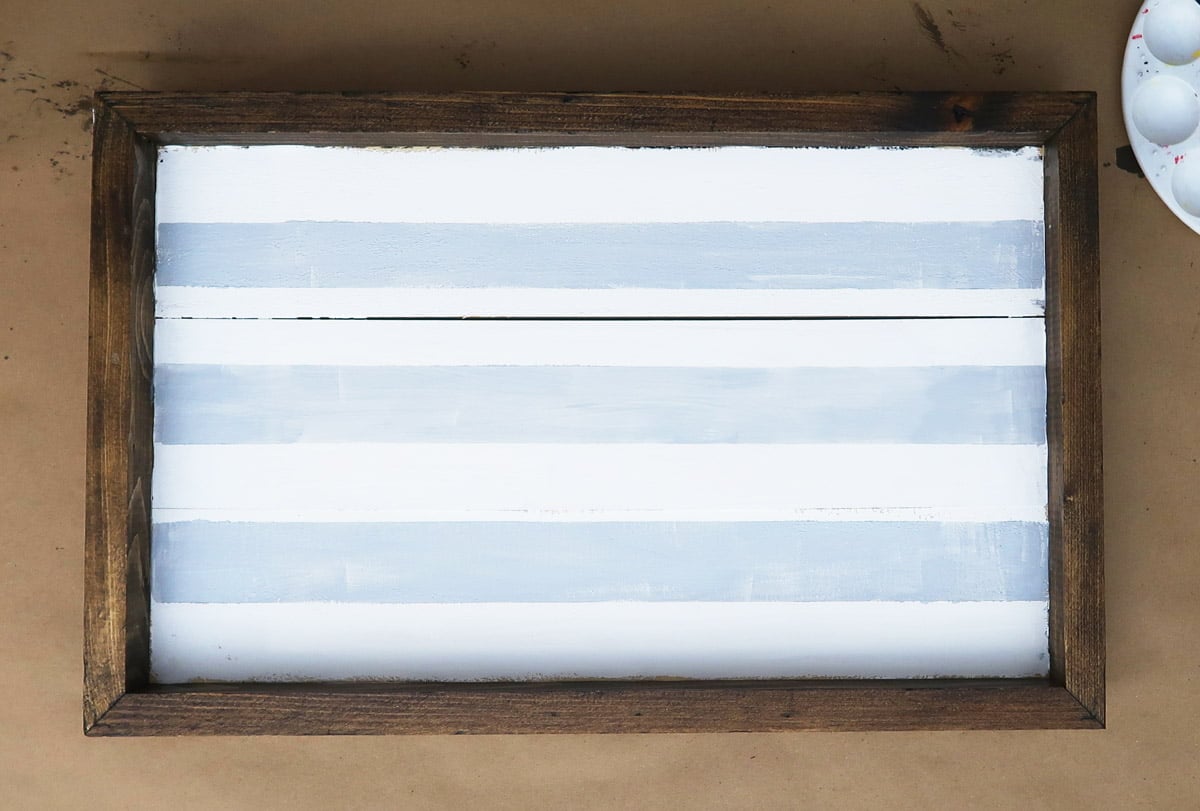
remove tape
Remove painters tape while it’s still a bit wet. Let the paint dry completely.
Tape off vertical Stripes
Starting at the far side use your space tape flush against the side. Then start to tape your vertical stripes.
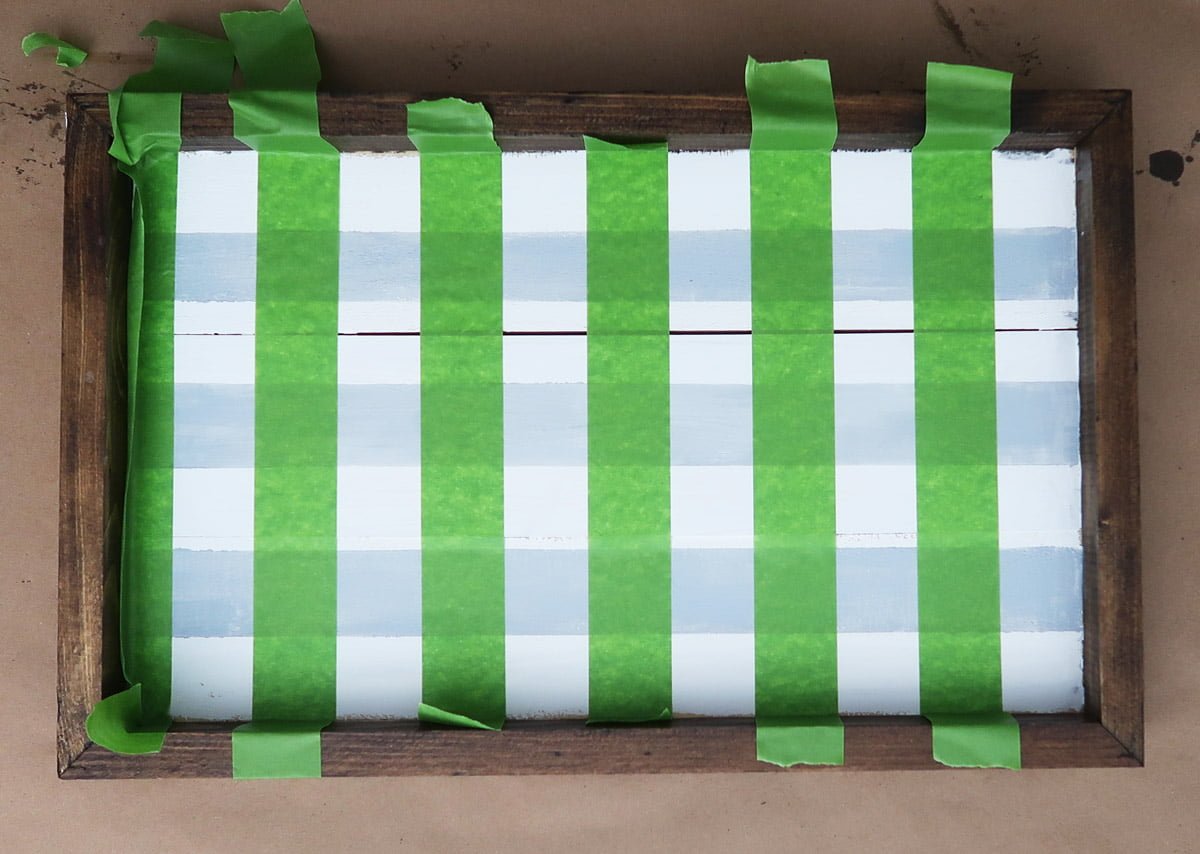
Paint Vertical Stripes
Using the darker grey start to paint your vertical stripes. DO NOT remove the painters tape. Let paint dry completely.
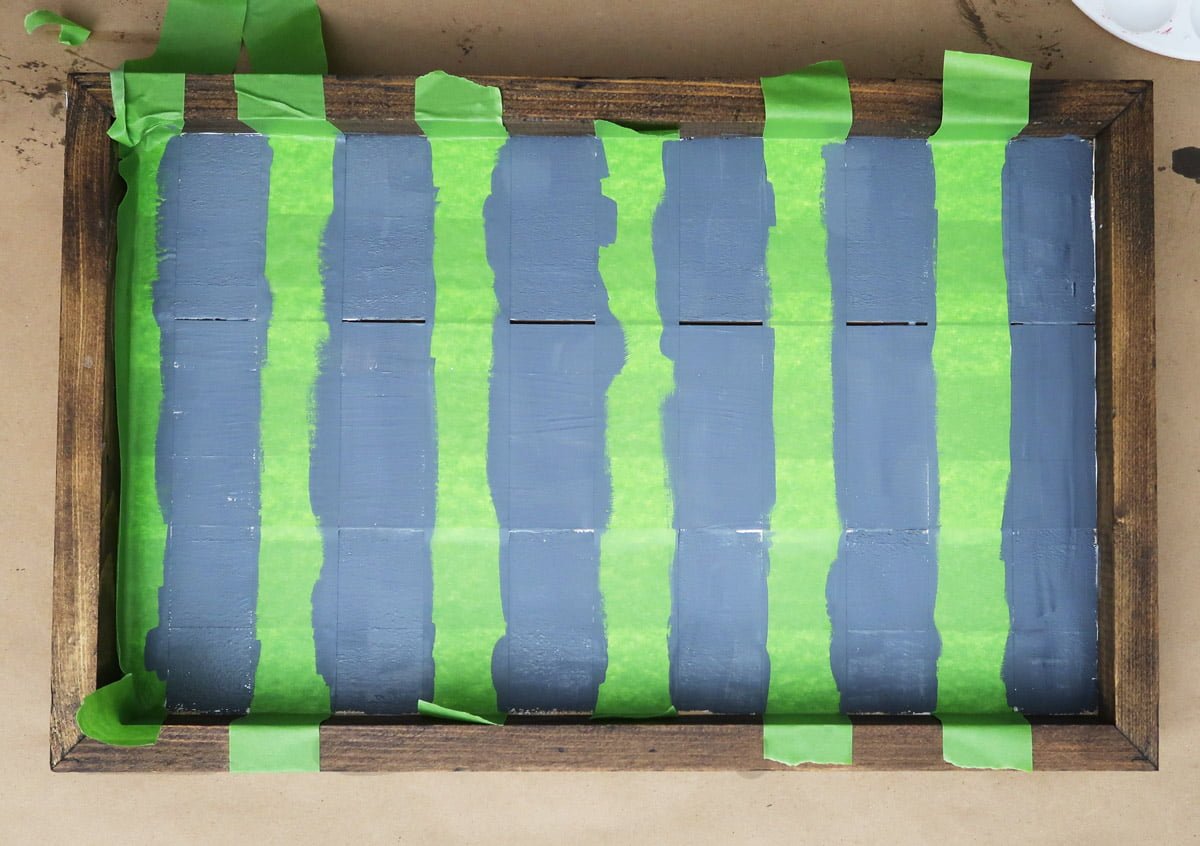
Tape horizontal stripes.
Starting at the top of the sign start to tape your horizontal stripes.
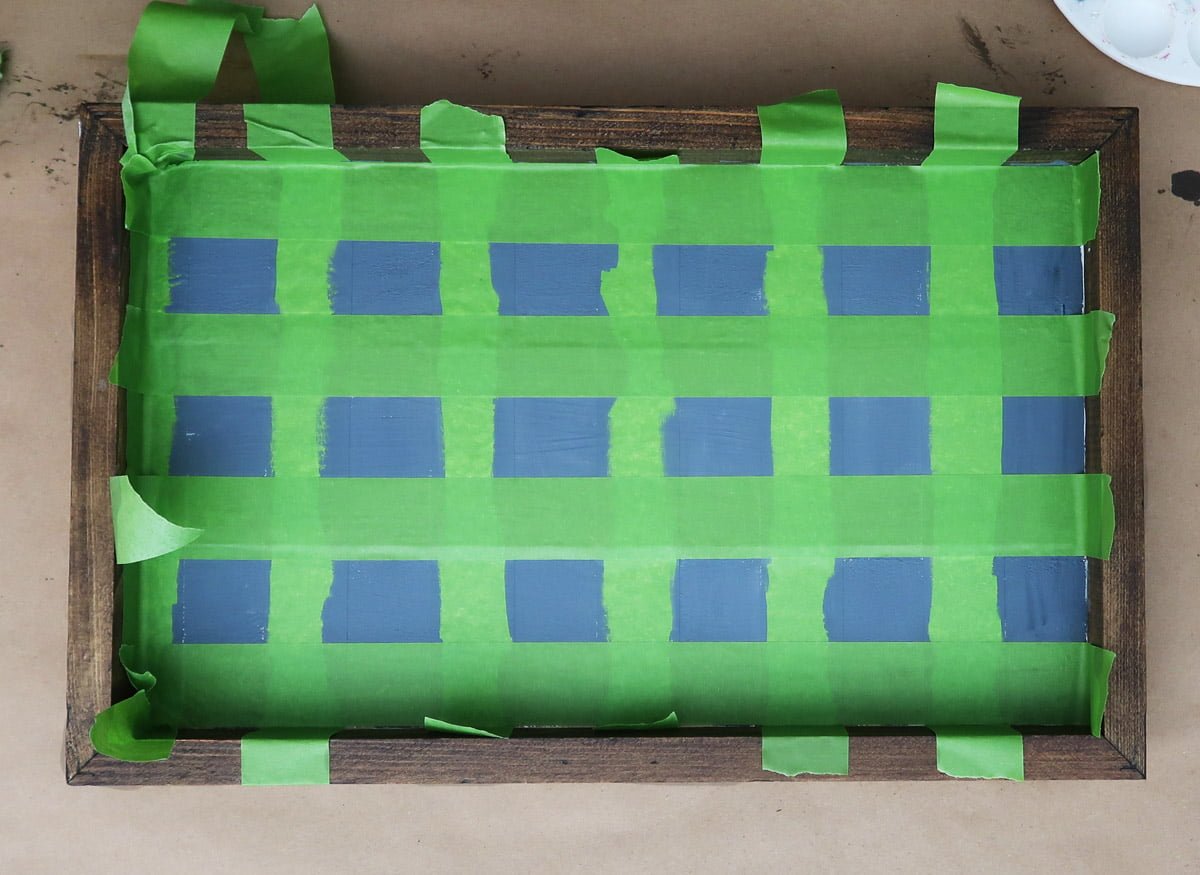
Paint the check
With a thin amount of black paint on your brush start painting the open squares on your sign. Apply two thin coats of the black paint.

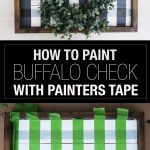
Now here is to see if we did it correctly. Peel back all of your painters tape. And just like that you have created your own buffalo check sign.
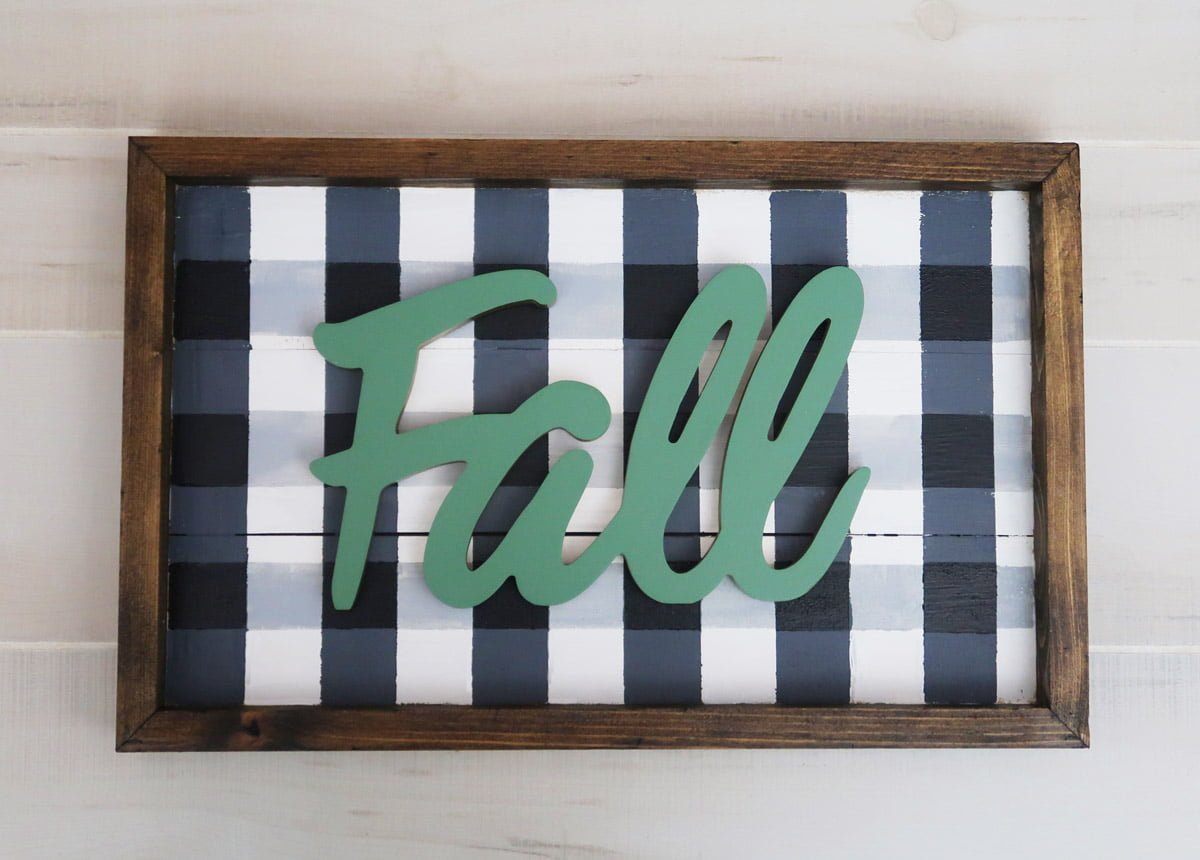
Now theres a few options for embellishments for your sign. If you have a Cricut you could vinyl it or cut bass wood or chip board. Or if your like me you can use lettering that you found in the Target dollar spot from a few years back.


Tuesday – Tablescapes

Sand Dollar Lane / Aratari at Home / Nourish and Nestle
JenRon Designs / Salvaged Living / Our Southern Home
Wednesday – Wreaths

Petticoat Junktion / Lora Bloomquist / Exquisitely Unremarkable
Bliss Ranch / The Interior Frugalista / Chatfield Court
Thursday – Crafts & DIY
Domestically Speaking / DIY Beautify
Homeroad / Christina Faye Repurposed
not pictured Weekend Craft
Friday – Porches


Would you mind linking the exact colors you used? I love the look you have and would like to replicate it! Thanks!
I actually mixed the colors myself to get the right shades that I wanted.