This post contains affiliate links, please read our disclosure policy.
Learn how to make DreamBox Covers with your Cricut FREE SVG files included.
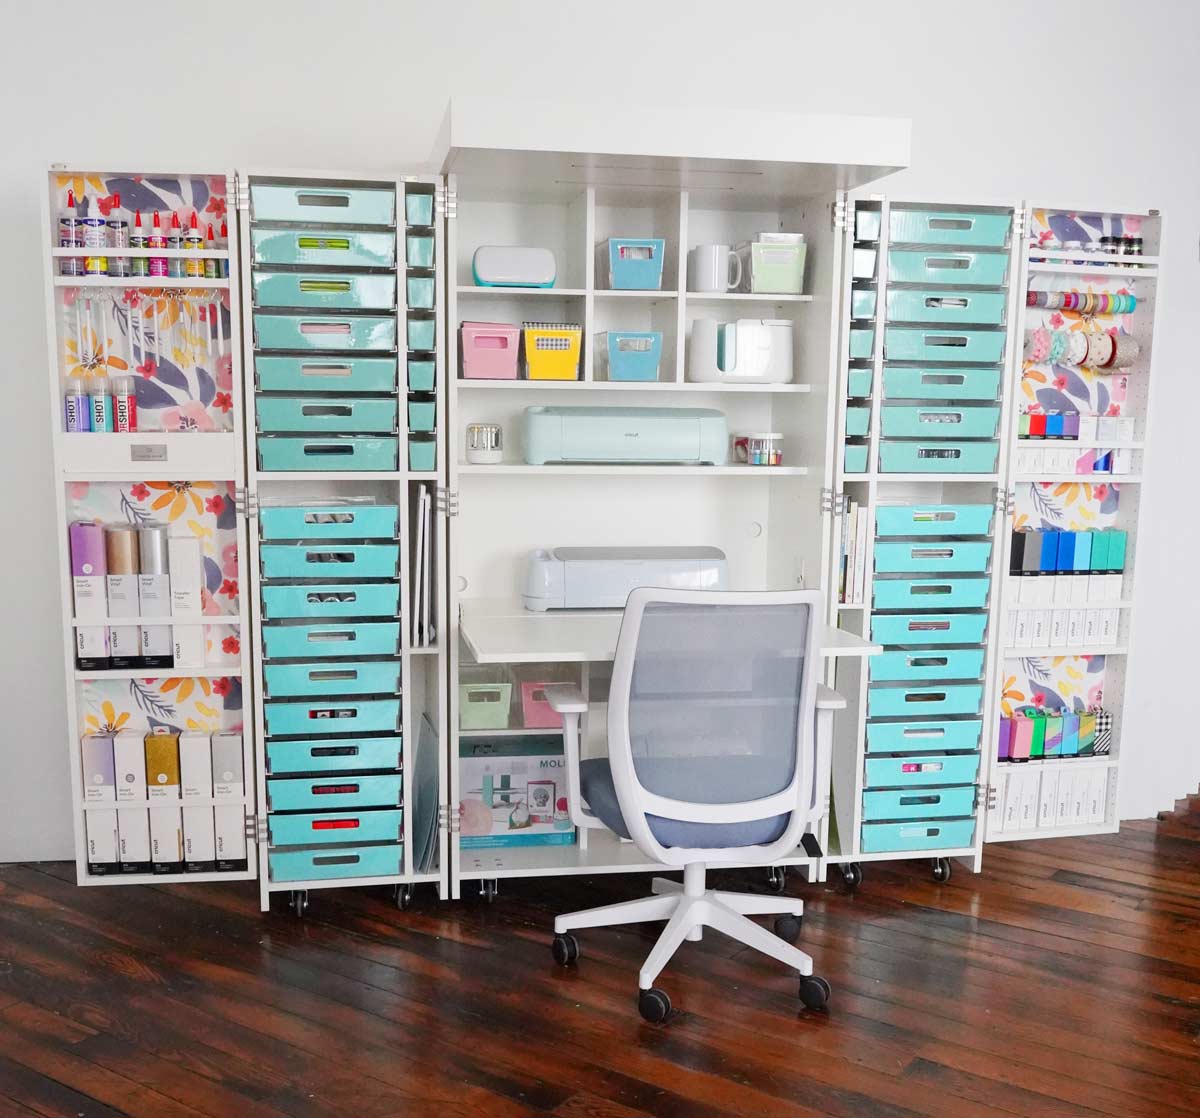
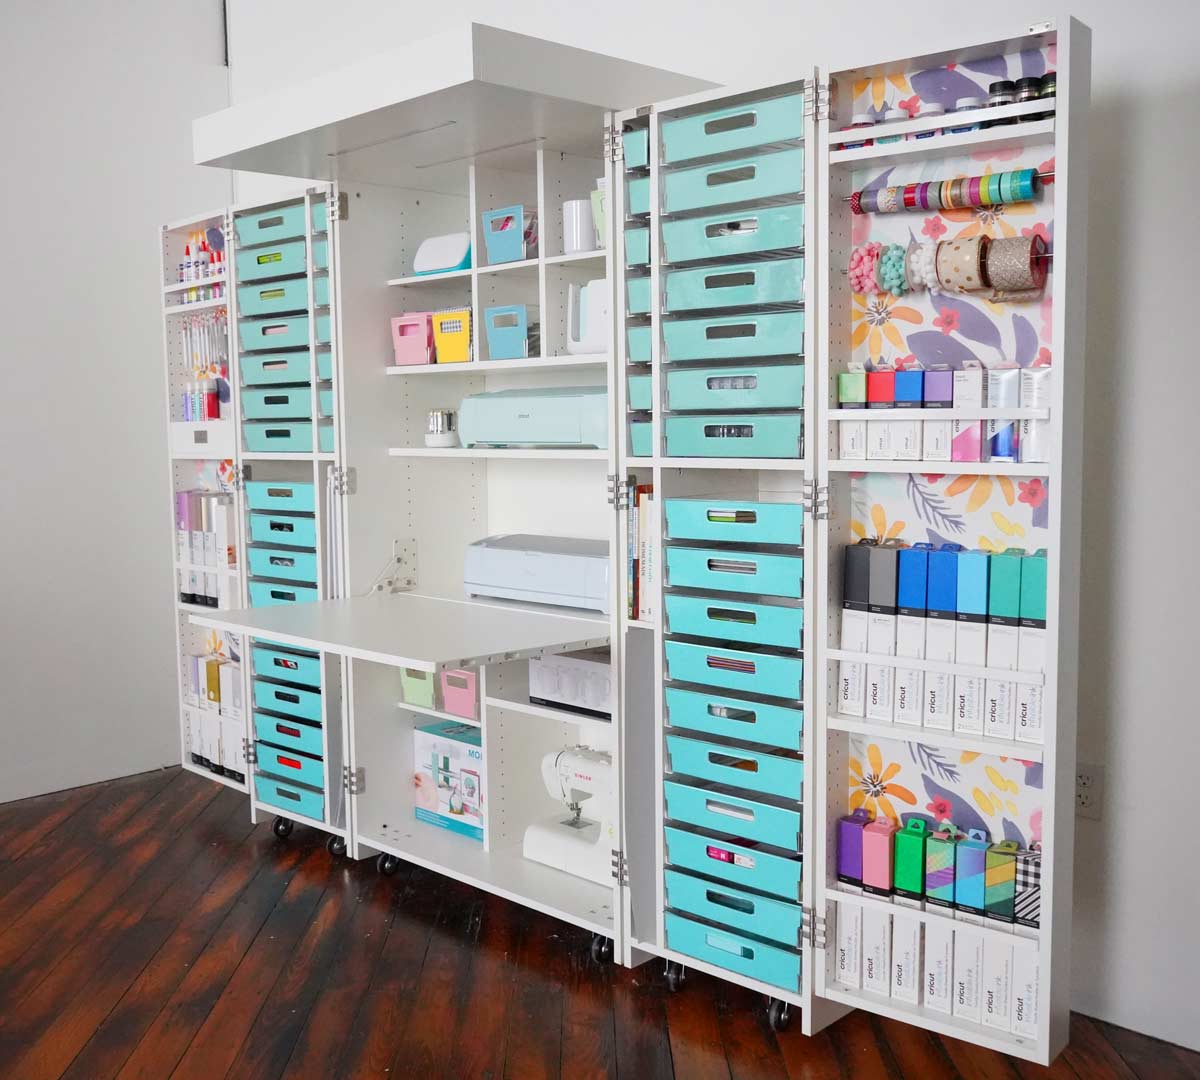
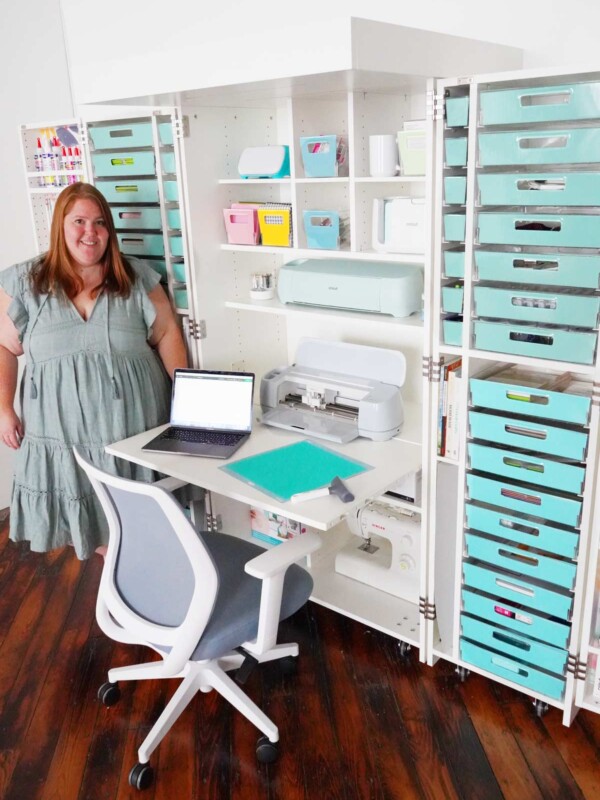
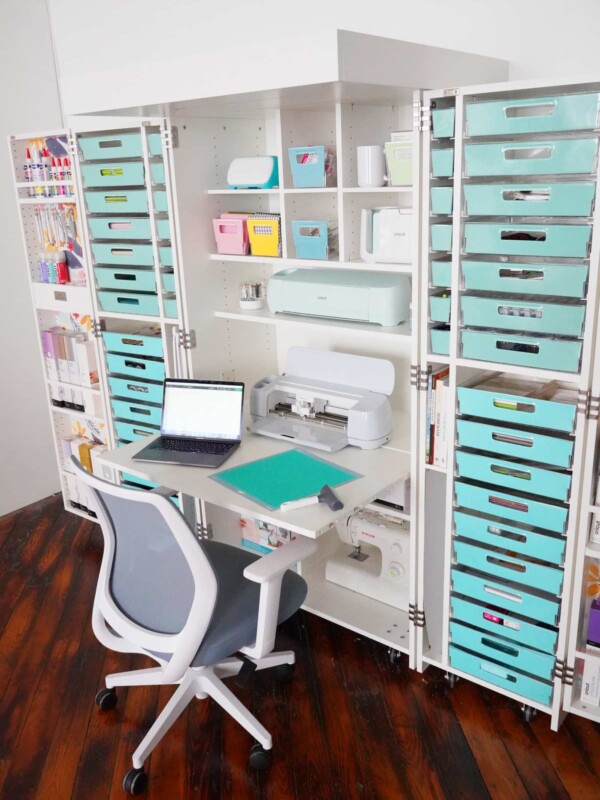
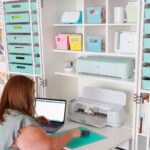
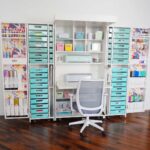
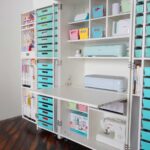
I recently got a DreamBox 2 from Create Room and I’ve spent the last week putting it together, organizing it and personalizing it with peel and stick wallpaper and tote covers. Today I want to show you how to make these cardstock tote covers for your DreamBox using a Cricut.
This post contains affiliate links.
These are so easy to make and will only take you about an hour. Now you may be asking why would I want to make covers for the totes? Isn’t there a rule in organizing to use clear bins so you can see whats inside? Well this is true but visually I don’t love seeing everything that’s inside the totes. I love seeing a beautiful DreamBox craft organizer that’s the focal point of my craft room. Honestly it’s mostly for aesthetics but it gives the DreamBox some personality by adding the covers and wallpaper. Your DreamBox is a blank canvas to show off your creativity.
Are you thinking about getting a DreamBox 2? Check out my full review here. Just want to know what the differences are between the DreamBox 2 and the Original DreamBox? Learn about the updates here.
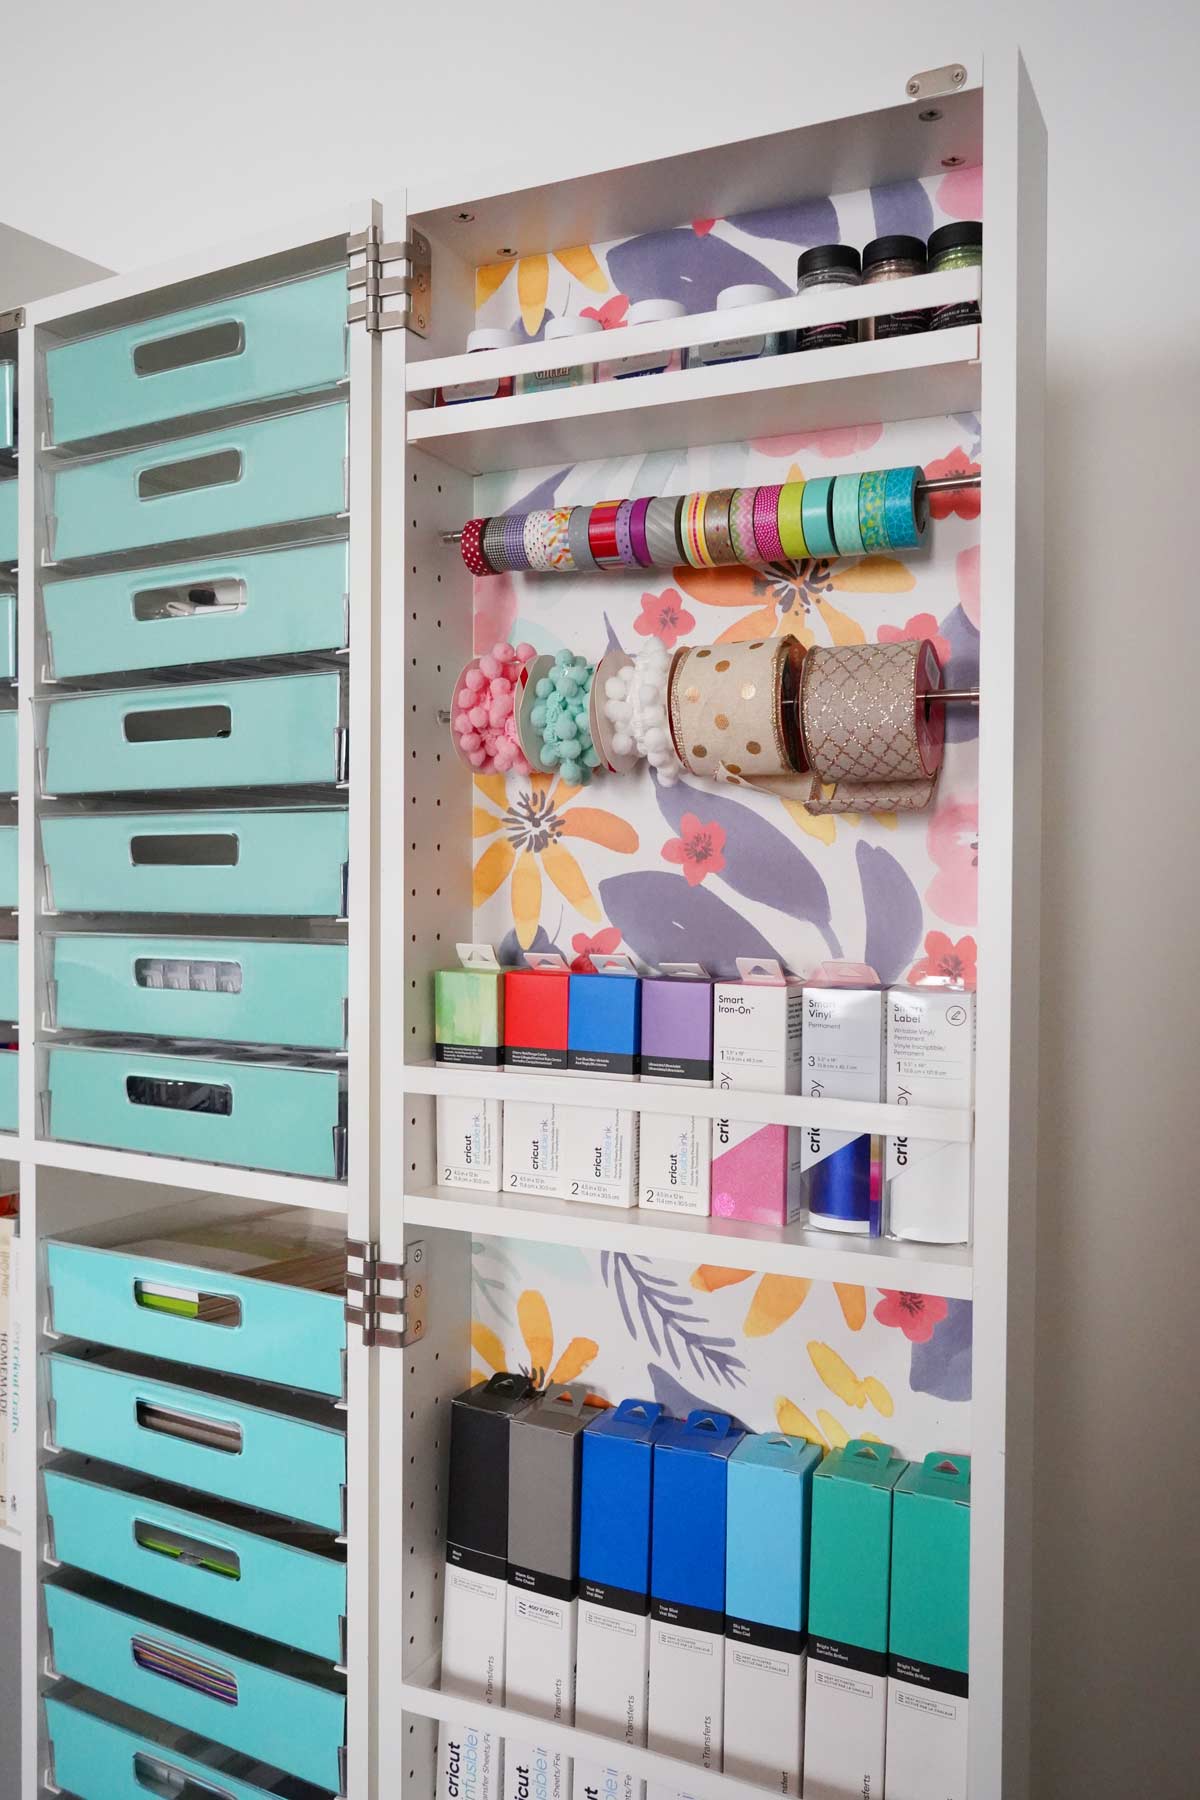
Table of Contents
How to add wallpaper to your DreamBox
Want to add wallpaper to your DreamBox also? It was really easy to do and took under an hour. The hardest part was figuring out which peel and stick wallpaper to order. I used this wallpaper. Because of the pattern repeat on this wallpaper I needed two rolls. I have a lot left over that I may use for another project. Check out this YouTube video. Love the wallpaper you can get it here.
How to download your free SVG file
Downloading this free SVG cut file is so easy. In the form below just add your name and email this FREE cut will be delivered right to your inbox. This will also sign you up for my newsletter. Once you’ve received the email, just open the cut file and save the SVG file to your computer.
Please note this file is for personal use only.
Don’t have a Cricut but thinking about getting one? Check out my guide for which Cricut should I buy. You can also use code WEEKENDCRAFT at check out to get 10% off Cricut machines (exclusions may apply).
How to make cardstock covers for the DreamBox totes with your Cricut

Here’s What You’ll Need
- Cardstock
- Glue Dots or Double Stick Tape
- Cricut Maker 3 or Cricut Explore 3
- Light Grip Mat
- Brayer (optional)
Upload SVG in Cricut Design Space
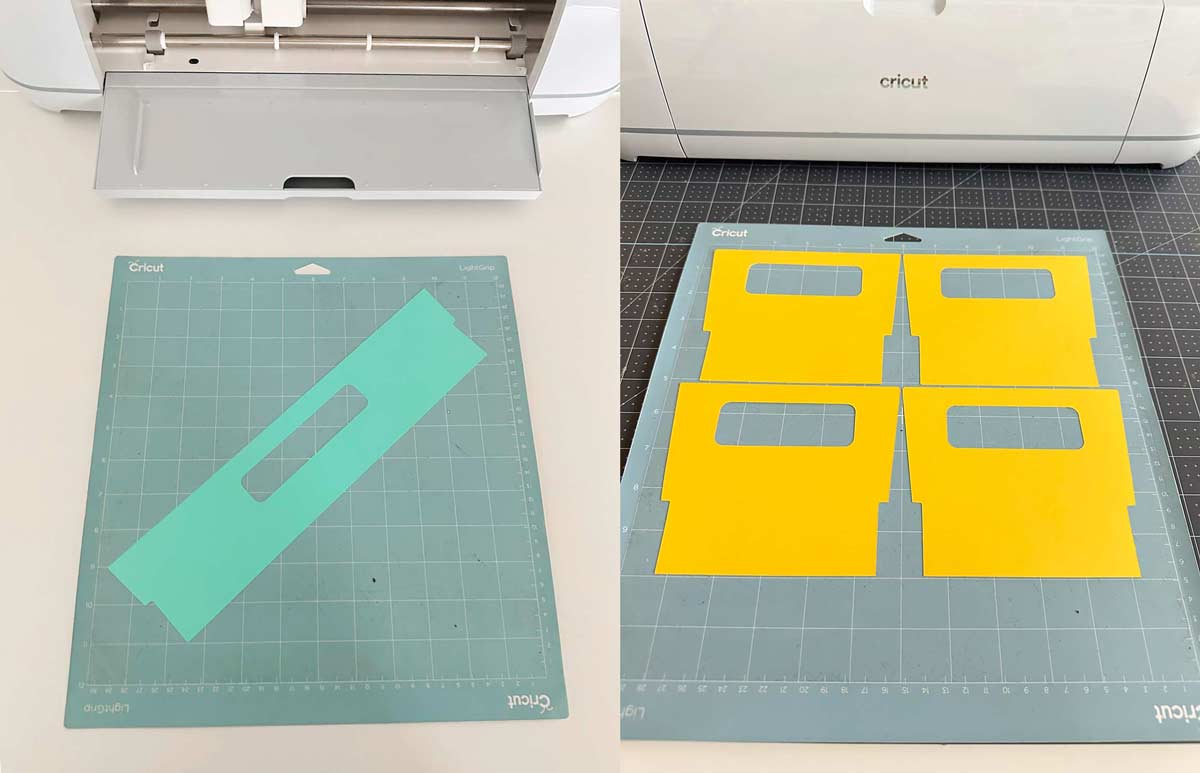
Make sure to download the SVG file above. Once the file is unzipped follow these steps to upload the SVG files in Cricut Design Space. You will find the upload button on the left tool bar towards the bottom. There are 3 sizes of tote covers. If you are using the same color of cardstock for all three you can cut multiple size on a 12×12 sheet of cardstock.
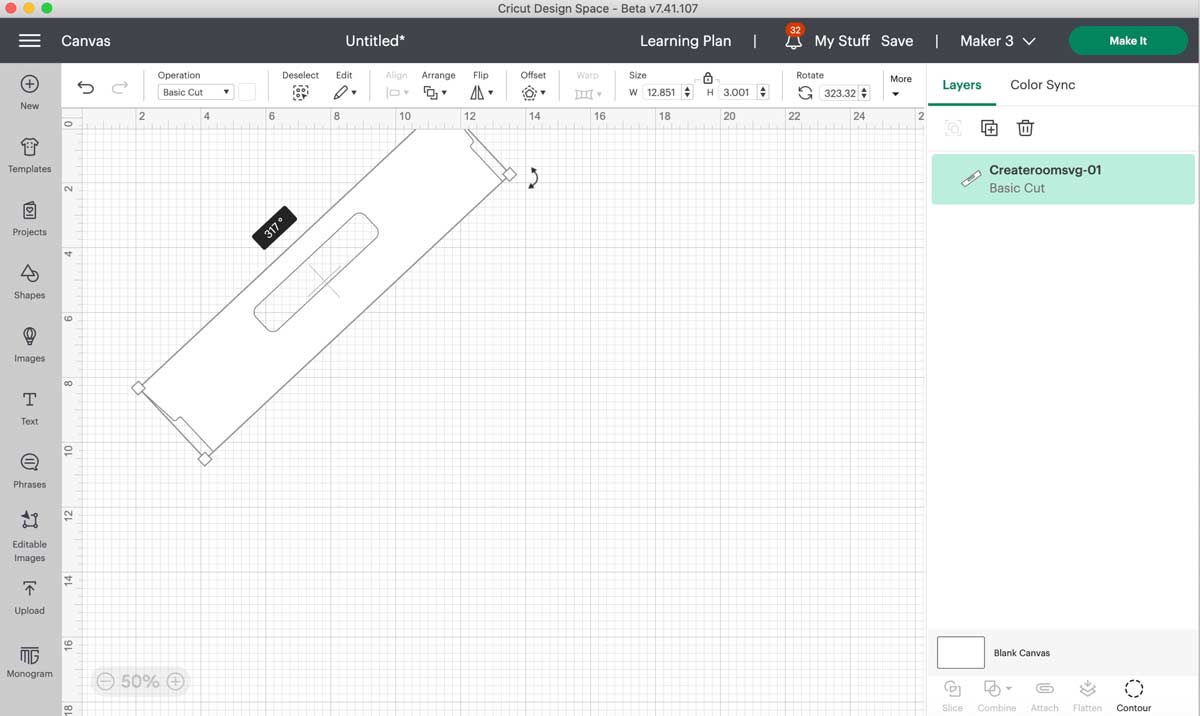
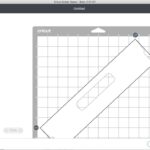
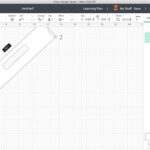
Once the files are uploaded you will notice that the large tote is larger than the 12×12 Cricut mat. It needs to be rotated 317º and you will be able to cut it on a 12×12 mat with 12×12 cardstock. When you are ready to cut select “Make It” the green button in the top right.
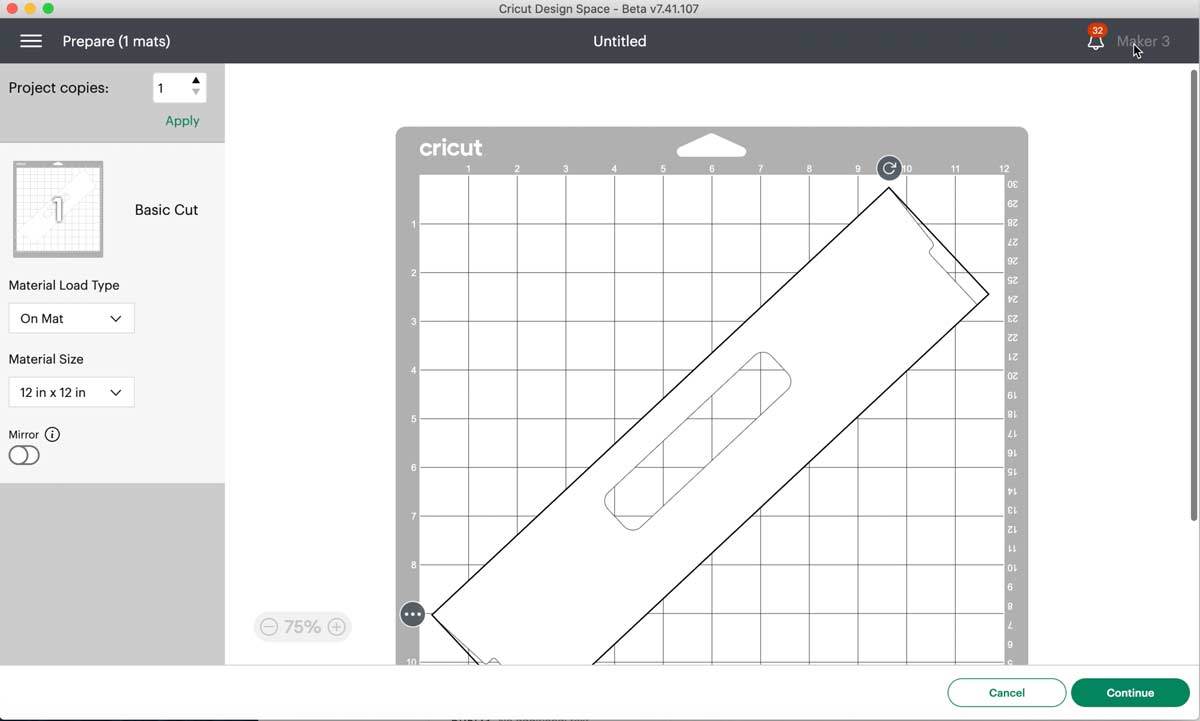
Make sure that the mat selected is 12×12. If only 12×24 is available make sure that your large tote is rotated to 317º. Next select continue.
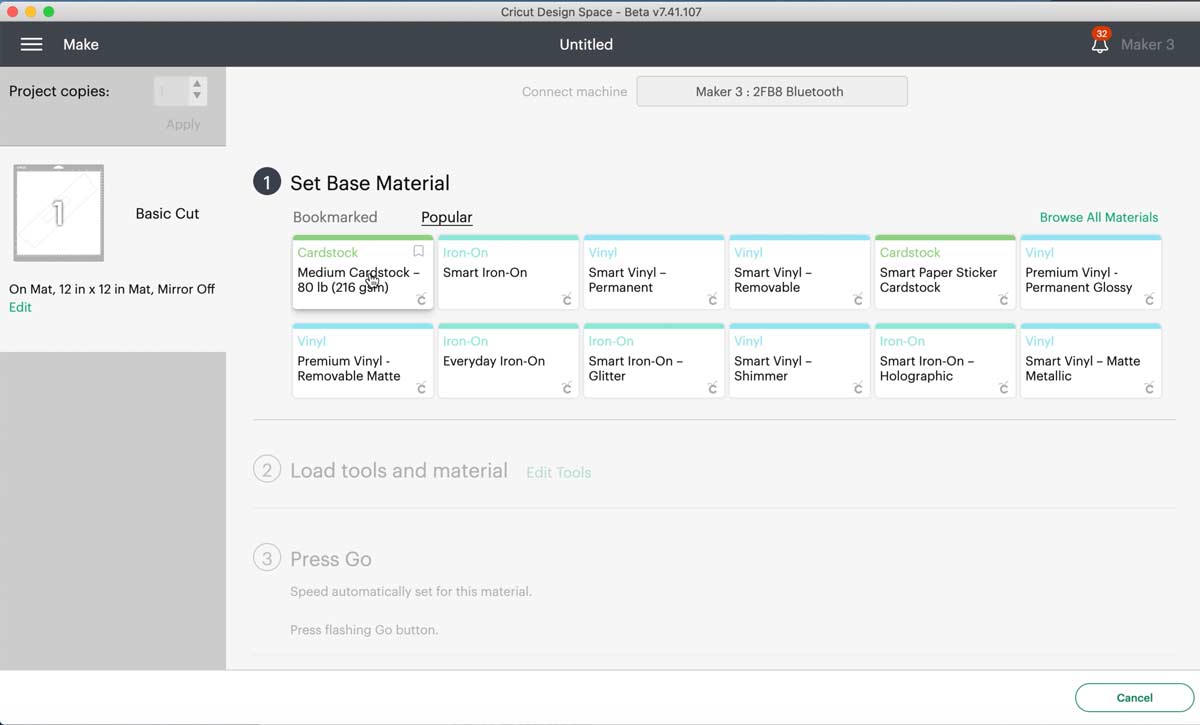
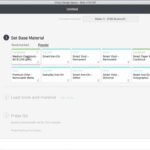
I am using a 65lb cardstock. I like to use the medium cardstock setting and the fine point blade.
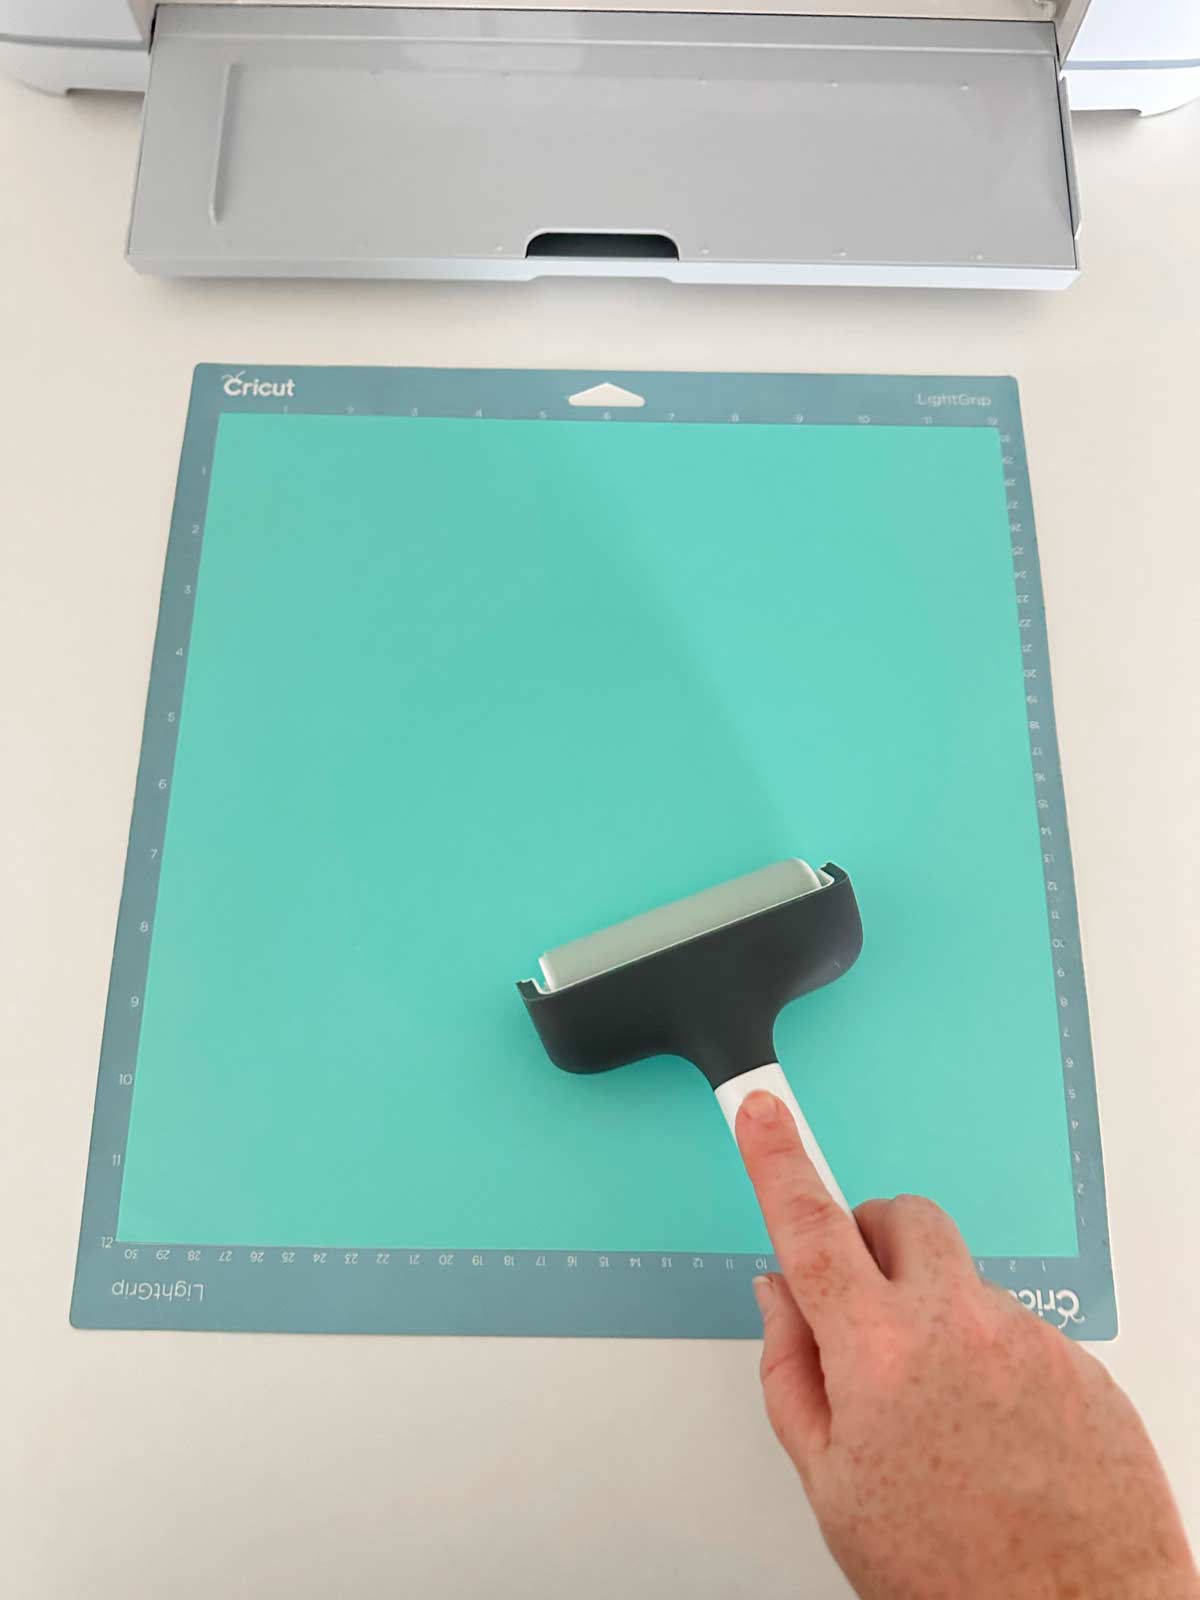
Once I am ready to cut. I will grab my light grip mat, cardstock and brayer. I will place the cardstock on to the mat and roll the brayer on top to make sure it is adhered.
Load your mat into the Cricut machine and press play. Once the Cricut is done cutting and the arrows are flashing unload your mat.
It’s as easy as that. To remove your cardstock from the mat without curling the paper flip the mat over and remove the mat from behind the cardstock.
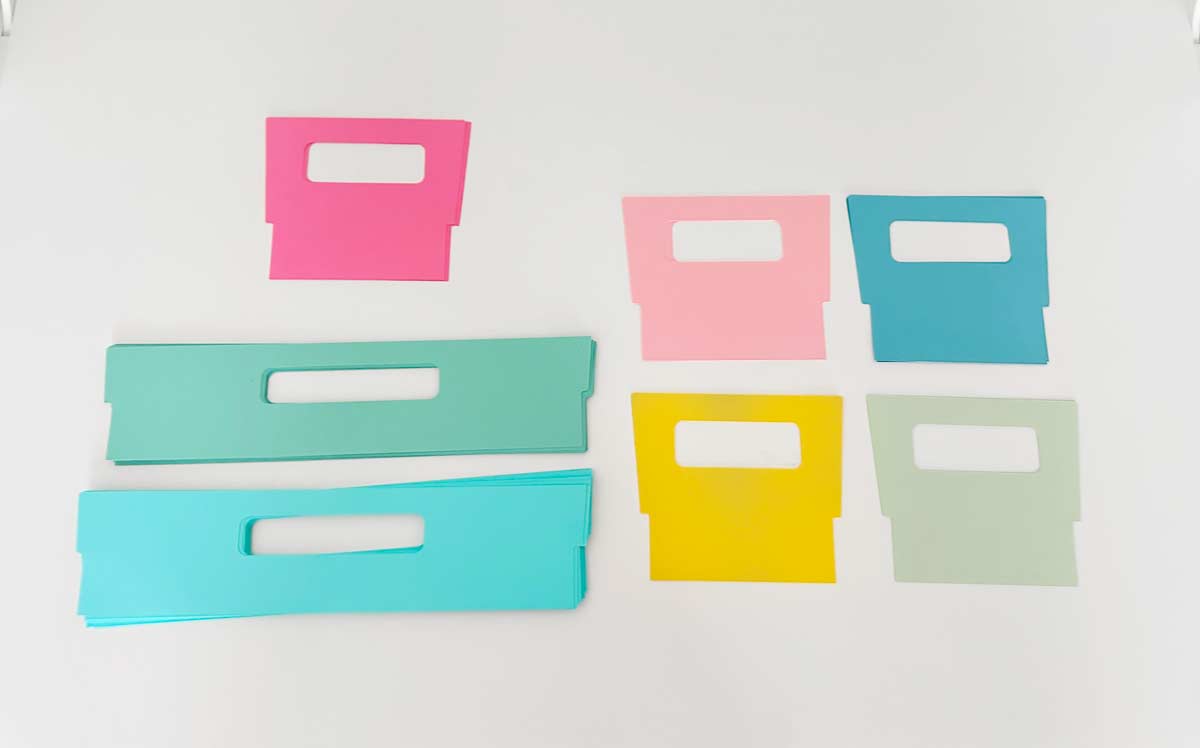
You will need to repeat this process a few times. It’s helpful to have multiple mats ready to go. Depending on how you configured your DreamBox you could need up to 80 covers. I cut just over 55 covers for my DreamBox.
Adding Tote Covers to the Dreambox
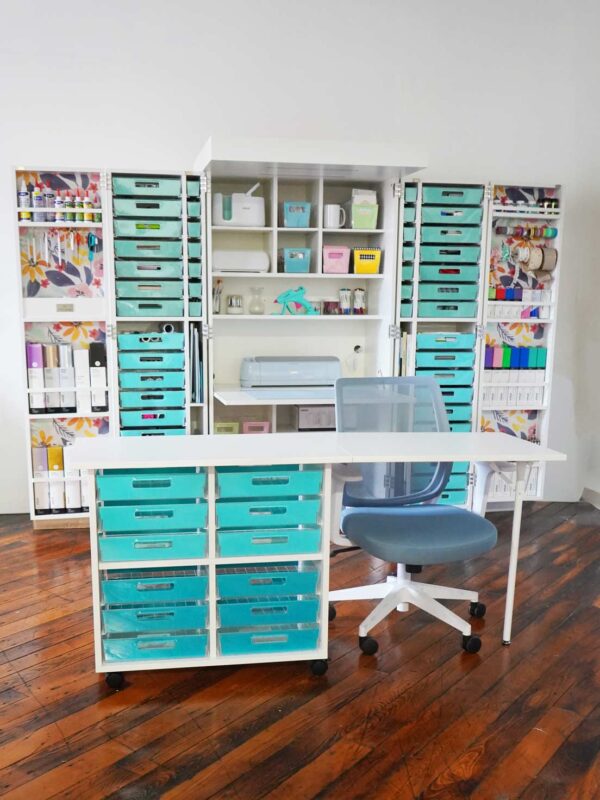
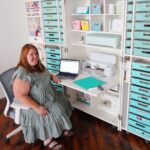
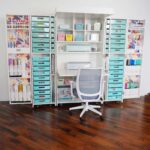
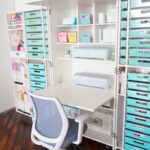
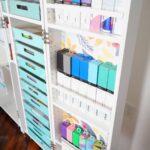
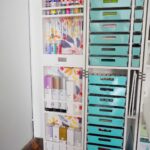
The cardstock tote cover simply fits snuggly into the front of your tote. You can see below that if you don’t use glue dots or double sided tape the cardstock can move or tilt backwards. I suggest using glue dots in the top left and right corners. They are barely visible. You can also use clear scotch tape and tape them from behind.
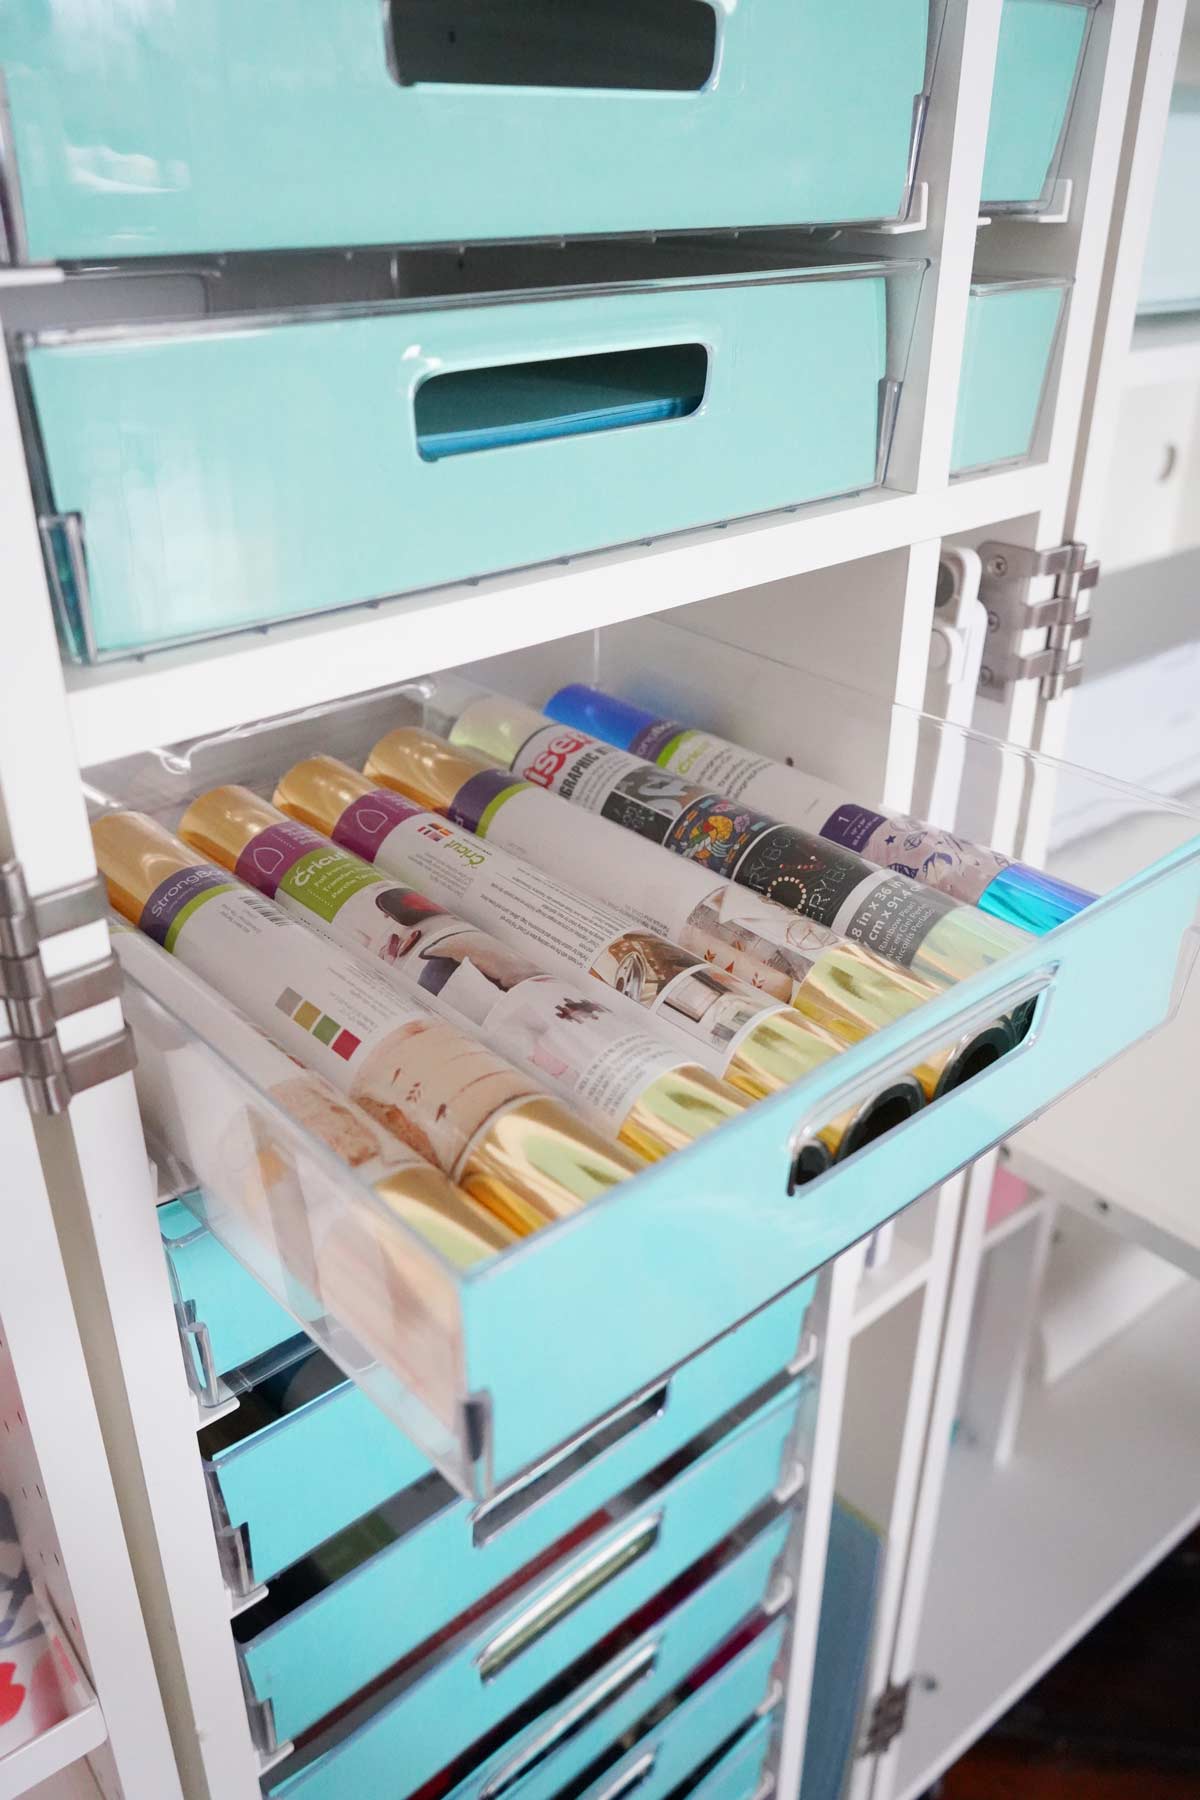
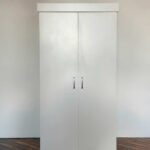
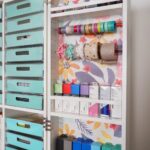
I love the way the covers came out. The colors compliment the wallpaper on the doors. Overall the DreamBox that was feeling very much like a white box now has some personality. I even matched the cardstock and wallpaper colors to my branding.

Does the DreamBox 2 go on sale?
The DreamBox does occasionally go on sale throughout the year. Sometimes you can even stack my discount code WEEKENDCRAFT for additional savings. Want to be the first to know about a sale. Sign up below and I will keep you up to date!
DreamBox 2 Discount Code
If you are looking to save on the Create Room DreamBox 2 use code WEEKENDCRAFT at checkout for a $100 off!