This post contains affiliate links, please read our disclosure policy.
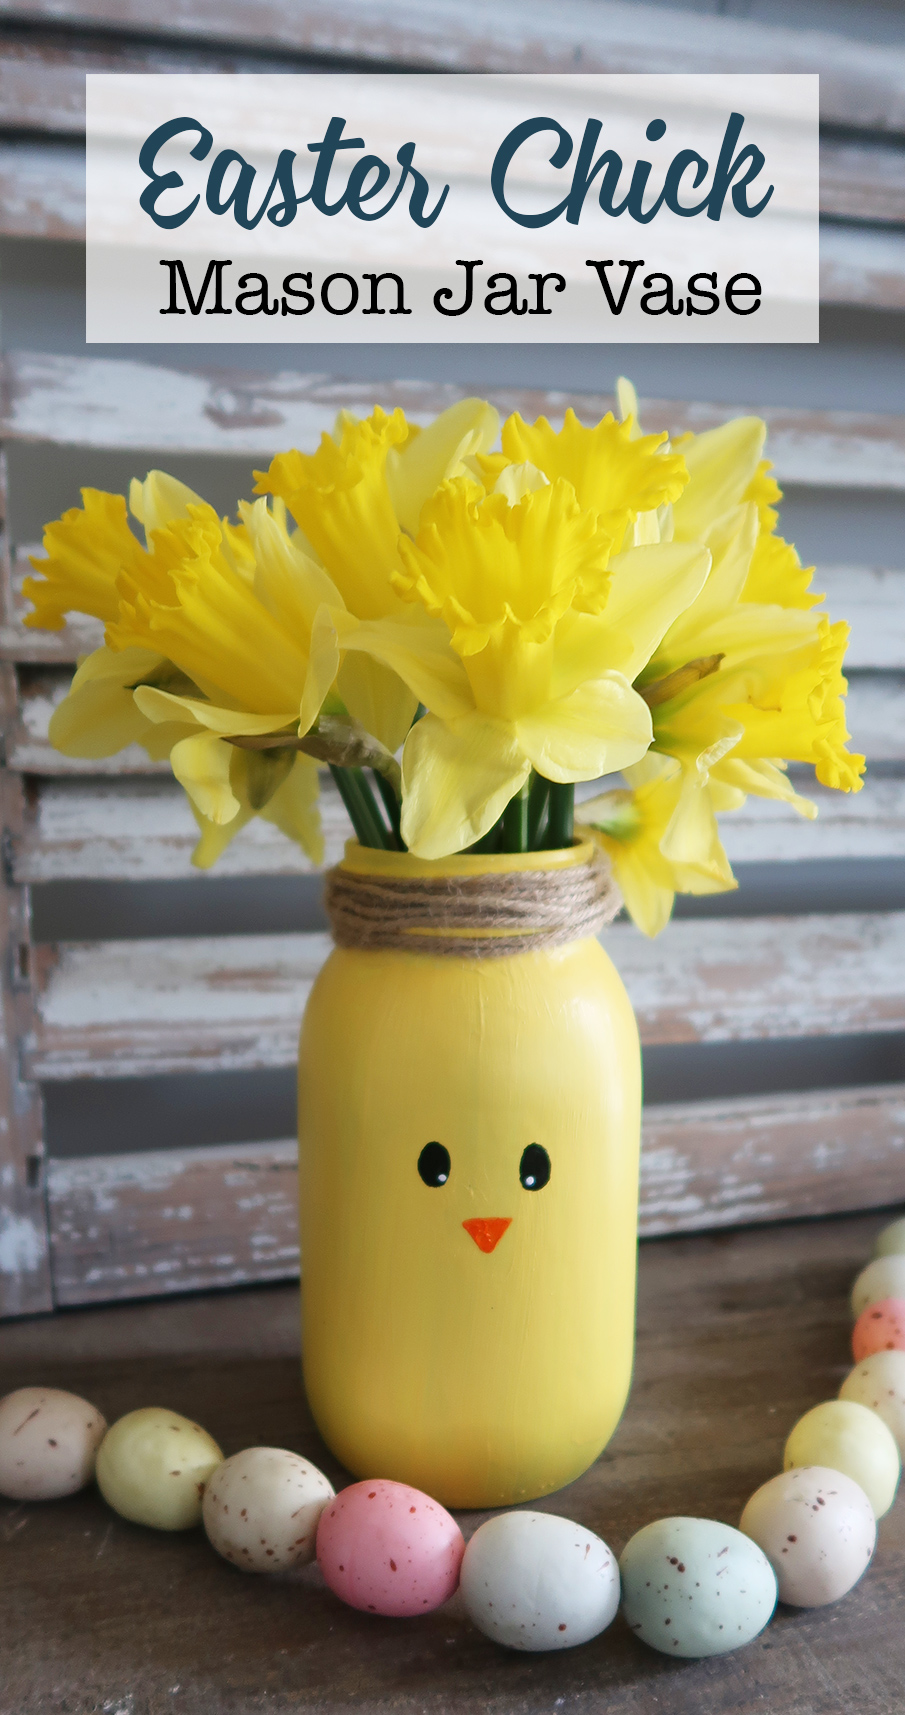
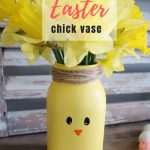
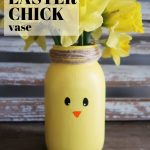
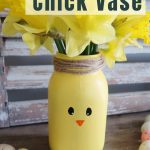
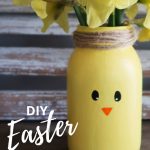
A simple DIY craft for Easter. Paint mason jar chicks to make a perfect vase and Easter decor.
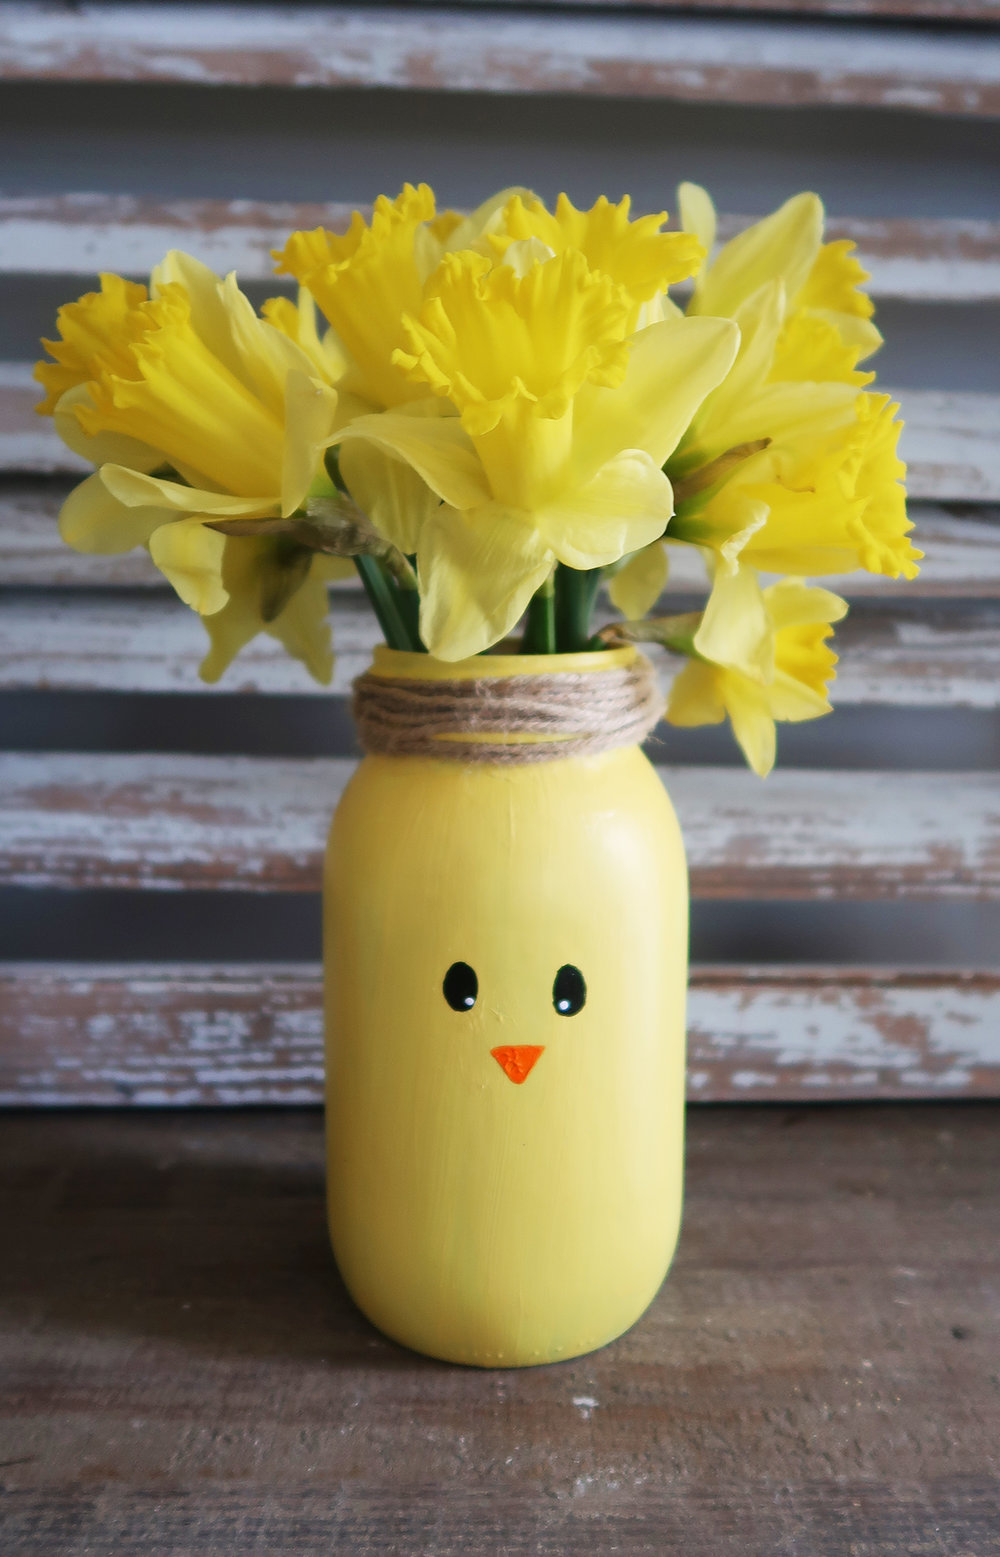
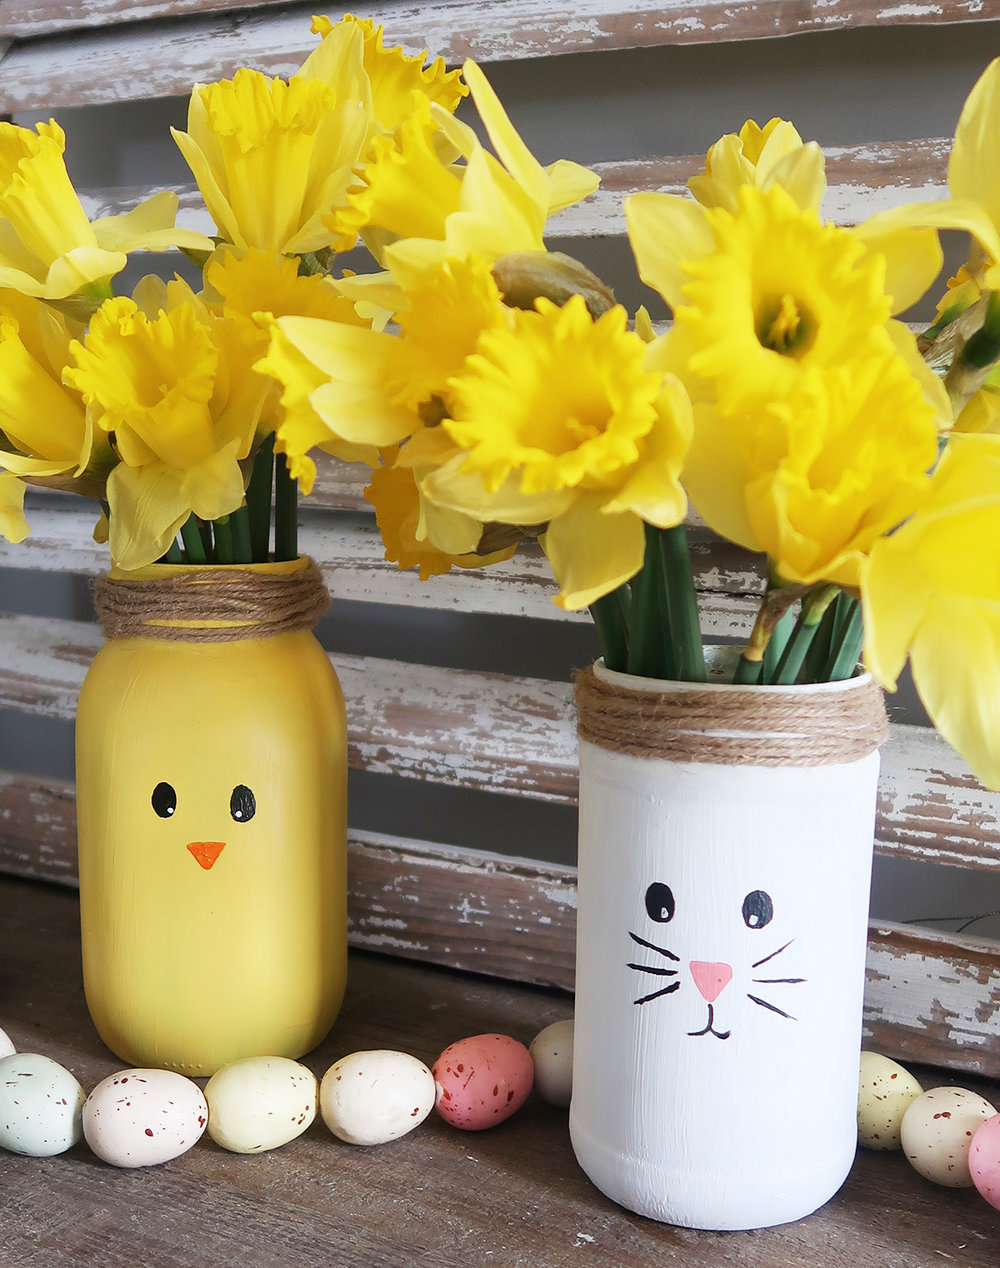
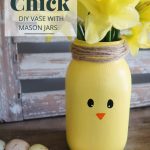
I am getting a jump start on Easter this year by starting to make Easter decor early. Today I am going to show you how to paint a mason jar so it looks like a chick. This little chick is the perfect vase for your Easter tablescape or mantle. Do you remember the DIY recycled Easter bunny vase from a few years ago? See it here. Well this bunny needed a friend so I decided to make him chick.
Today I am joining up with some of my favorite crafty bloggers to share Easter mason jar crafts. Make sure you stay until the end of the post to see their projects.
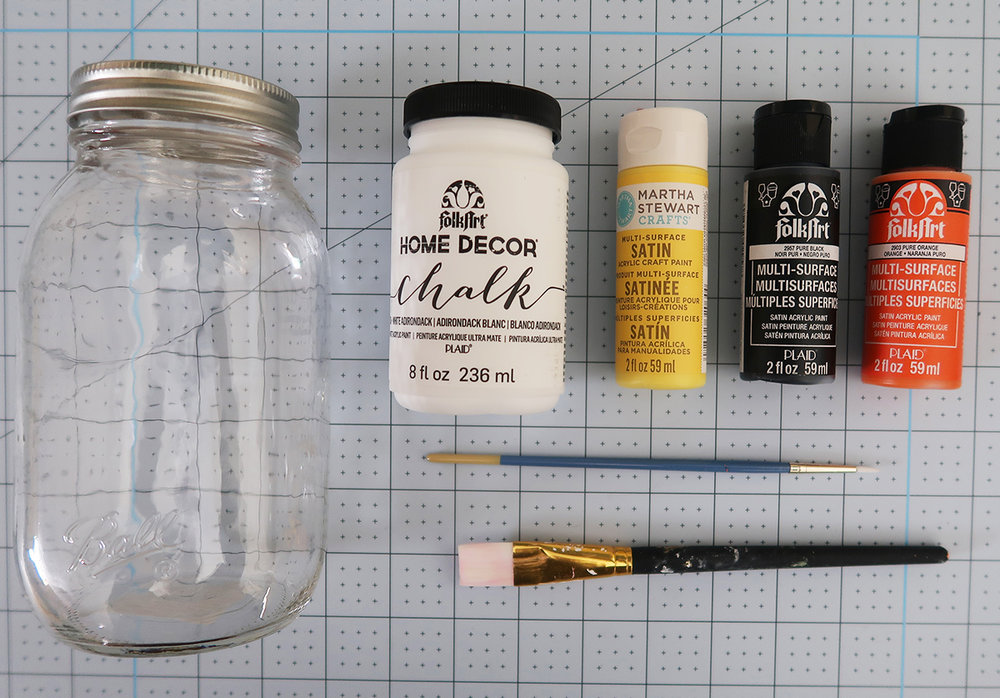
Here’s what you’ll need
-
Mason Jar
-
Chalk Paint
-
Yellow multi-surface Acrylic Paint
-
Black multi-surface Acrylic Paint
-
White multi-surface Acrylic Paint
-
Various size brushes
-
Twine
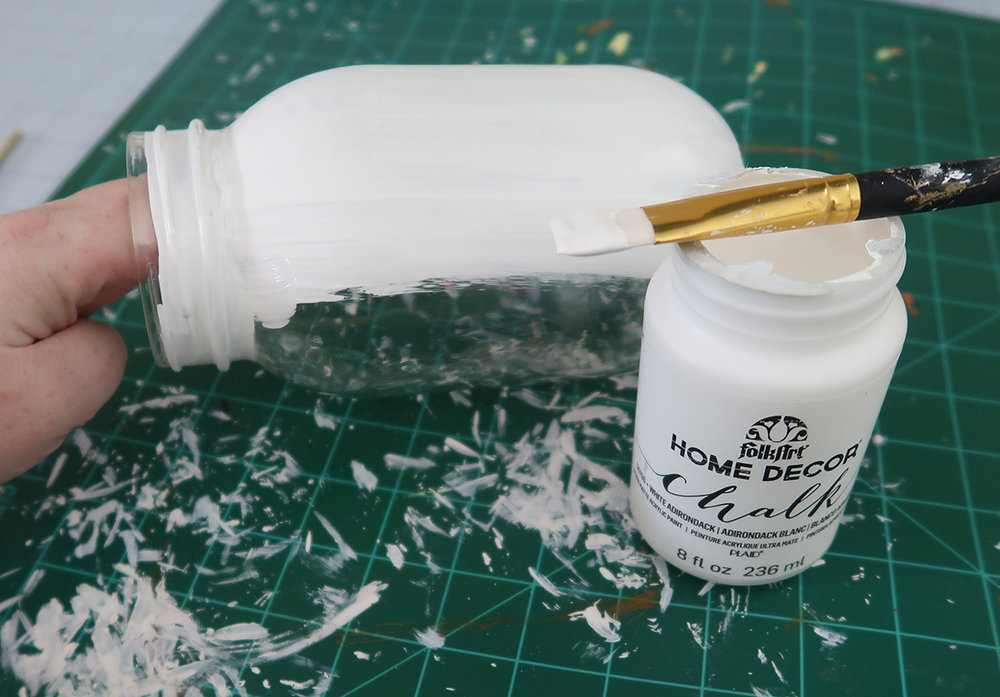
The key to painting mason jars is to prime it with a base coat of chalk paint. Even if you’re final design isn’t white believe me using this as a primer will reduce streaks and give a surface for your paint color to adhere to. Let the chalk paint dry completely.
Tip: I put my hand inside the jar and hold the jar up as I am painting. This allows 360 degree access while painting. Also just paint to the edge of the bottom. No need to paint the bottom of the jar.
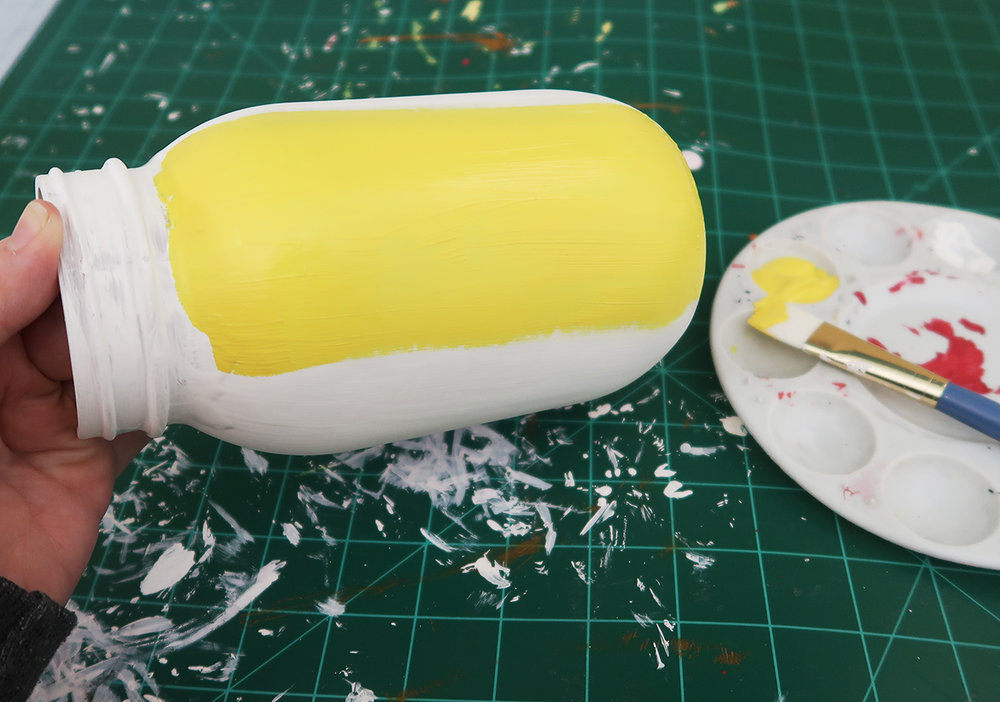
Now that the chalk paint is dry grab your yellow acrylic paint and paint the entire mason jar. Let the paint dry completely.
Tip: Try to go in one direction with your brush if you go back and forth too much paint will start to lift and the glass will start to show.
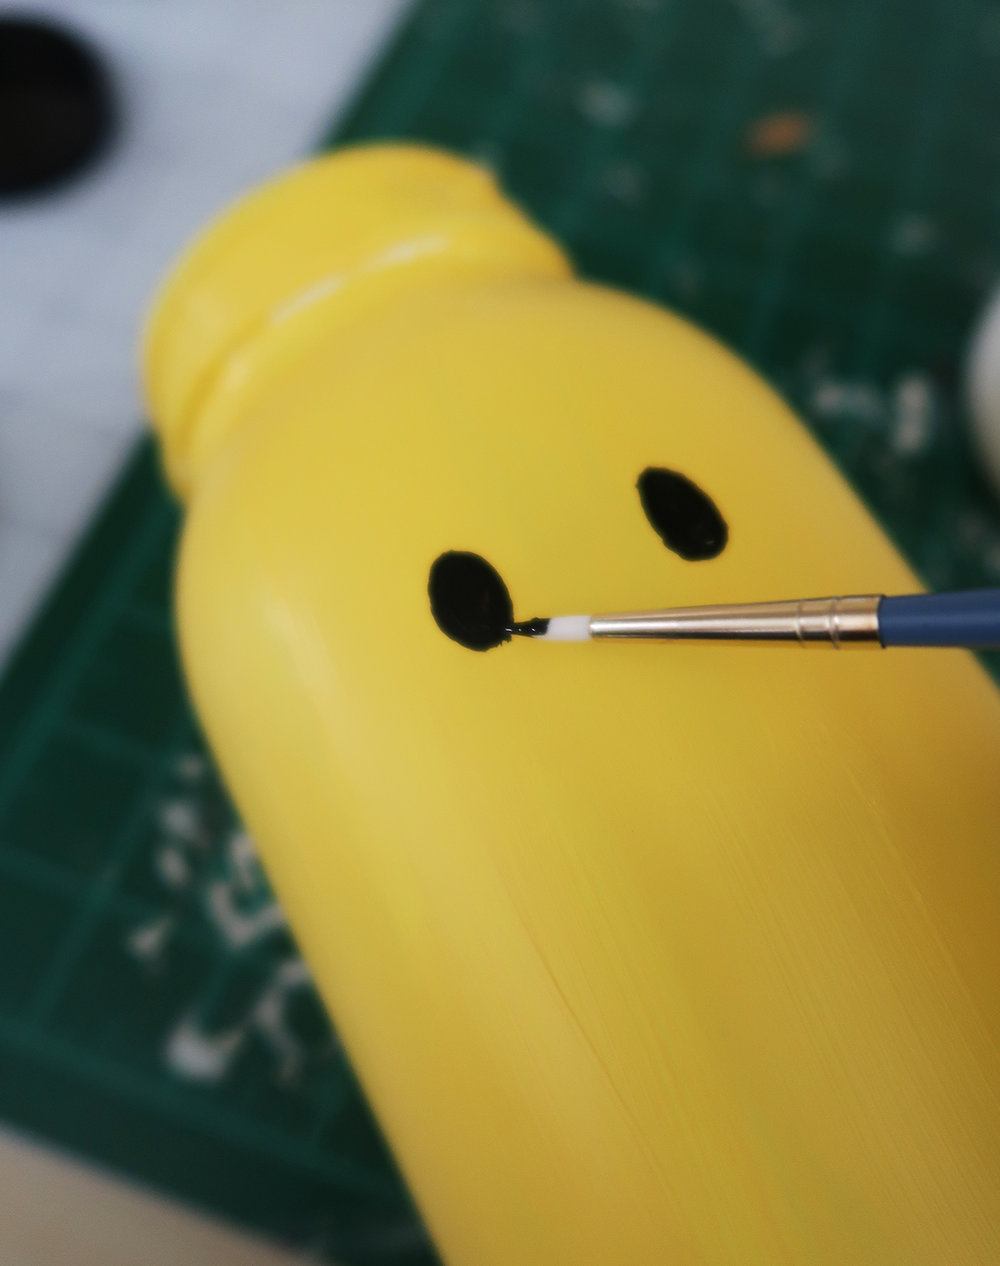
Now I am not much of a free hand painter or drawer but this was not hard at all. Using a smaller detailed brush about a quarter of the way down the jar I painted two small black dots for eyes. I modeled these eyes after the Easter bunny mason jar. I added white dots when the paint was completely dry.
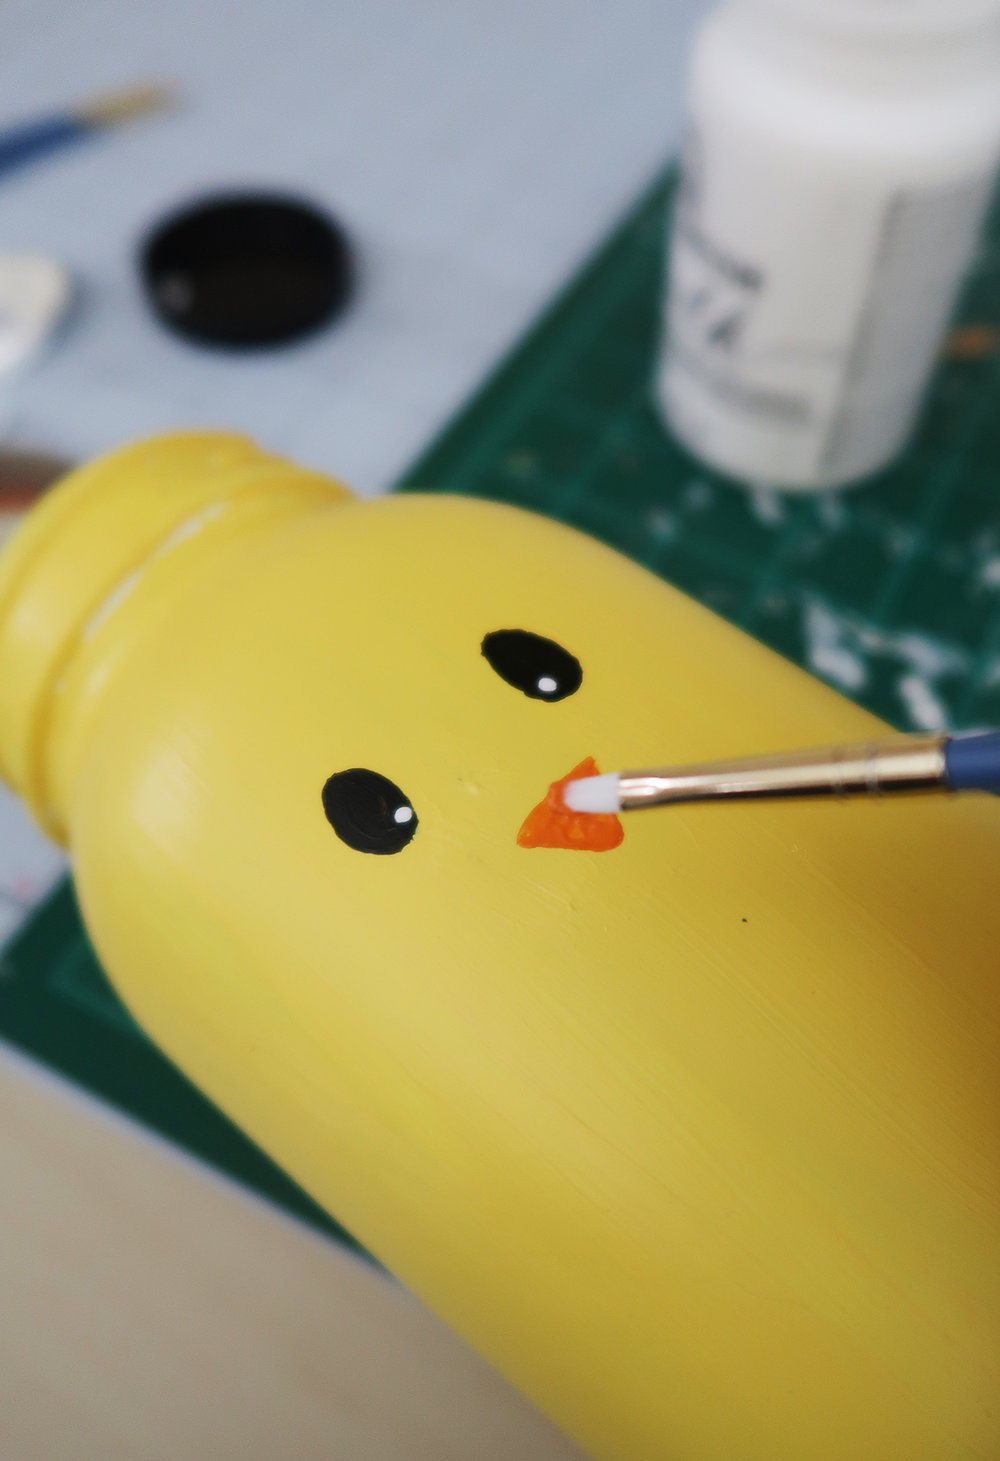
With a similar detail brush and orange paint I painted a rounded triangle for the chicks beak. These three small hand painted elements are easy enough for any skill level and a fun craft to do with your kids.
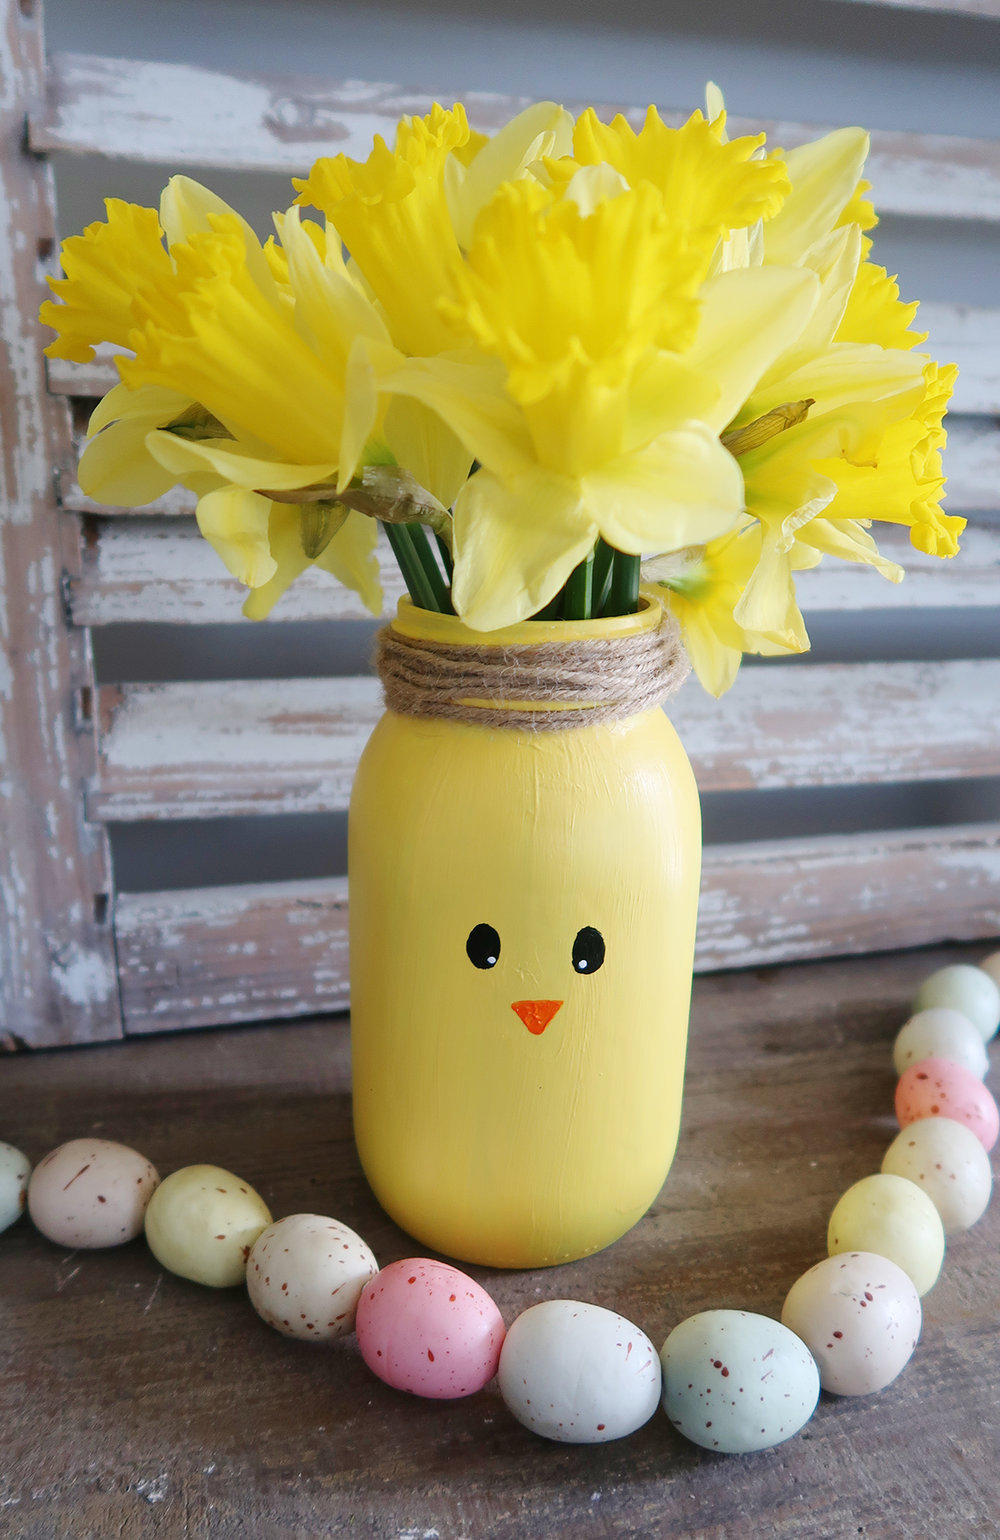
Once the paint was dry I added twine around the top of the mason jar to make it look a bit more finished than leaving the grooves of the mason jar finished. Easter signifies the start of Spring and new beginnings which makes me think of daffodils and tulips. I was so excited that my local market had daffodils in already. My home is starting to feel like Spring, even if there is still snow on the ground.
This was the kick in the behind I needed to start pulling out all my Spring decor. Let me know in the comments when you start decorating for Spring. I’d love to know.
I’ve talked so much about this Easter bunny vase I needed to dig him out of storage. Maybe each year I will have to add on a different mason jar challenge. I wonder how I could do a cute little lamb?!
If you enjoyed this project and want to save it for later make sure you pin it here.
6 Easter Mason Jar Crafts
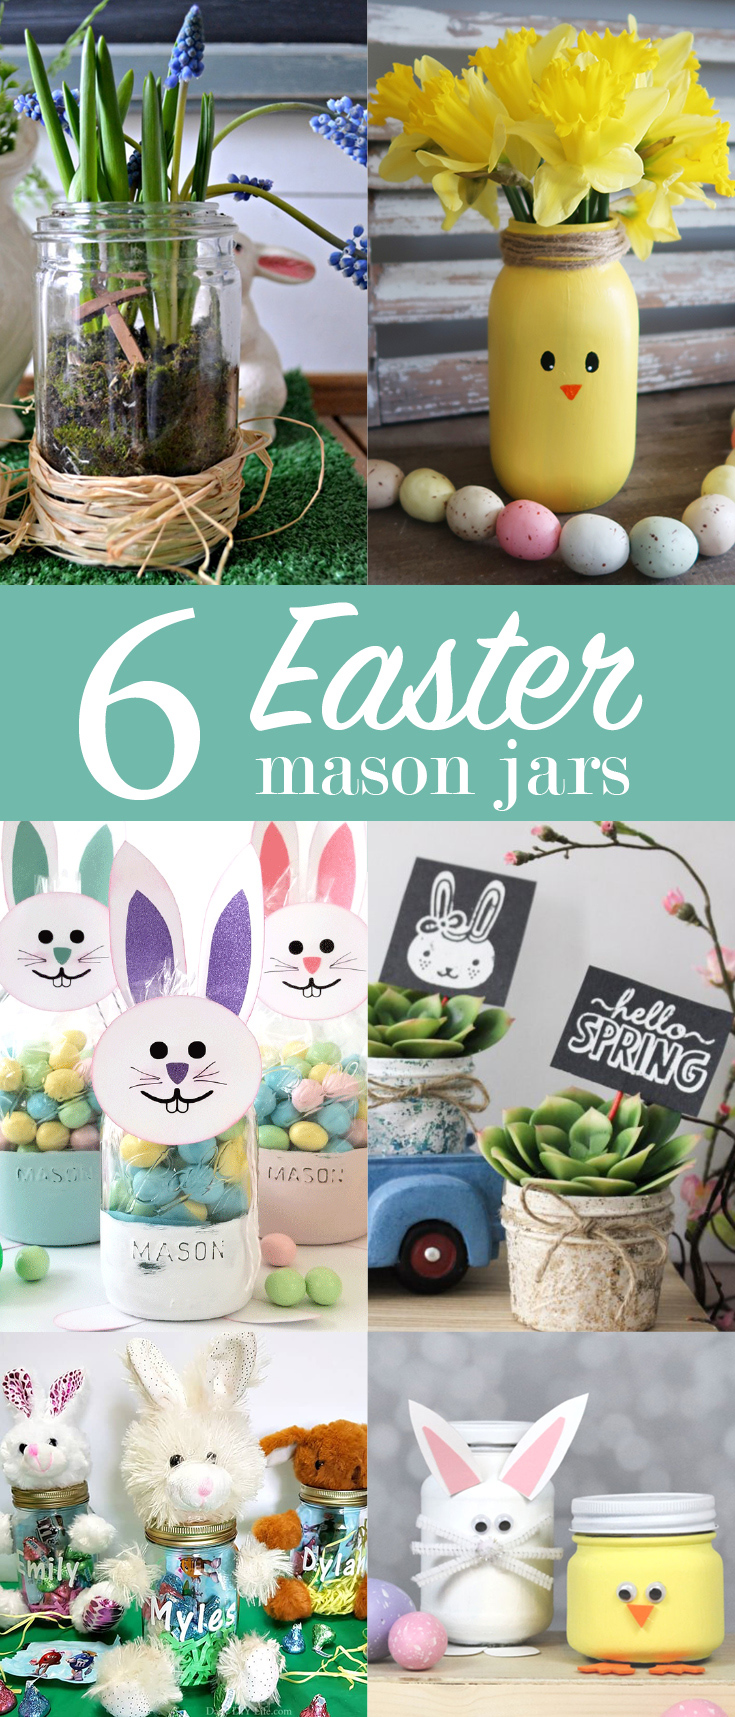
Easter Mason Jar Terrarium from Red Cottage Chronicles • DIY Easter Chick Mason Jar Vase from Weekend Craft • DIY Bunny Mason Jar Craft from Michelle James Designs • Mason Jar Succulent Planter For Easter from Our Crafty Mom • Personalized Easter Gift Idea from Daily DIY Life • Bunny and Chick Easter Mason Jars from Creative Ramblings

This is adorable! It looks perfect with the daffodils. It really has me dreaming of spring!! Great tip using the chalk paint as a primer too!!
I loved you bunny jar and this chick is just as cute!
Both of these are so cute and perfect for Easter. I just love your entire blog!
How long did you wait in between coats of paint? Did you let it set overnight or just until complete dry(couple hours?). I’m arranging a craft day with family and trying to figure out if we could do this. Thanks
Hey Jennifer! The key to this craft is the base coat of chalk paint. I would say it dries in 30 minutes or less. I definitely made these in one afternoon.
Did you hot glue the twine on the mason jars or just tie it?
I just tie it!