·

How to Paint Crisp Lines When Stenciling Pallets

Sharing is caring!

I paint a lot of pallet signs and I share a lot of them on Weekend Craft but I have recently realized that I haven’t shared my technique for how to paint crisp lines when stenciling a pallet. It’s such a simple trick that can save hours of either touch up or completely redoing a sign. Nothing is worse than cutting the wood, assembling the sign, cutting the vinyl, and painting only to pull off the stencil and see that the paint had bled through the stencil.
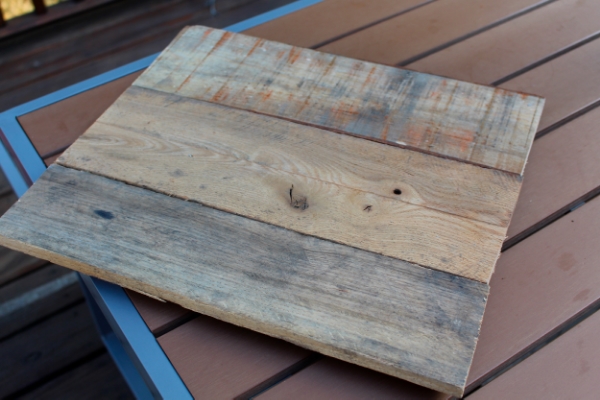
Have you made a pallet sign before or is this your first? If so I have some helpful tutorials to get you started. 
Learn how to disassemble a pallet without power tools here. 
Learn how to build the pallet sign base and stencil it here. 

Just need some inspiration here are 15 Pallet Projects here.
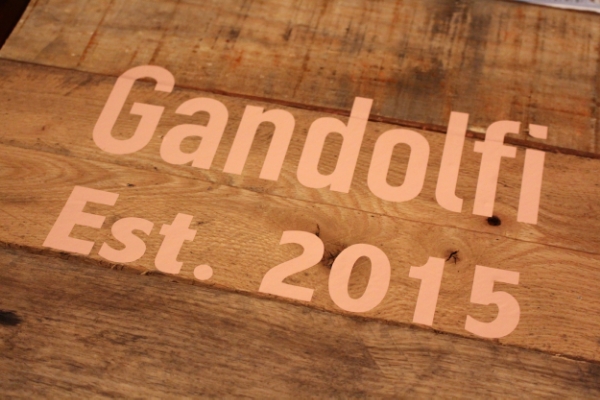
Once you have your stencil made and cut, place the stencil on to the wood. Make sure to use the a scraper tool or a credit card to press out all the air bubbles beneath the surface. To cut these stencils I used my Silhouette Cameo, you could use a similar cutting machine like a cricut or order a stencil on etsy.
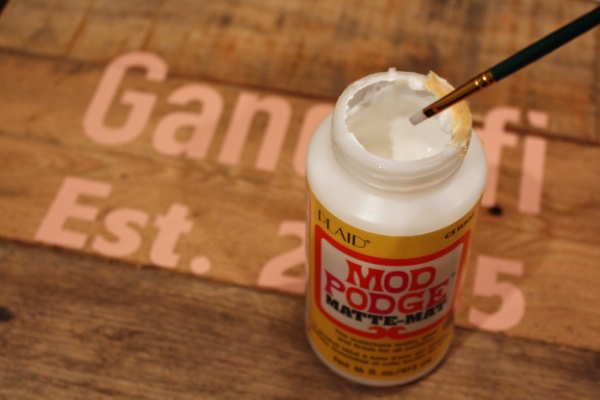
So what is the secret to painting crisp lines…… MOD PODGE

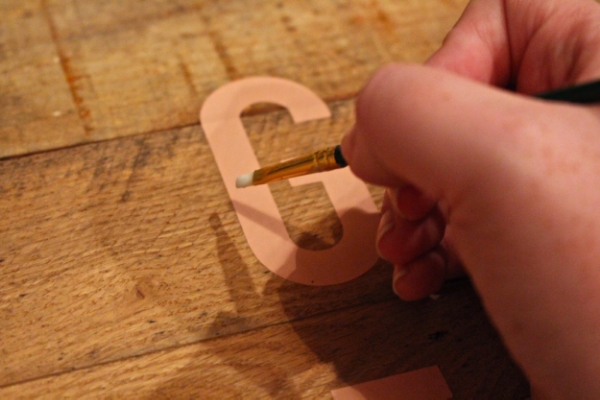
Using the mod podge and a small detail brush paint a light coat around the edges of your lettering. This will create a seal between the wood and the vinyl prohibiting the paint to bleed. A light coat is all you need. Let the mod podge dry. I usually walk away for about 10-15 mins. The light coat should dry fast. 
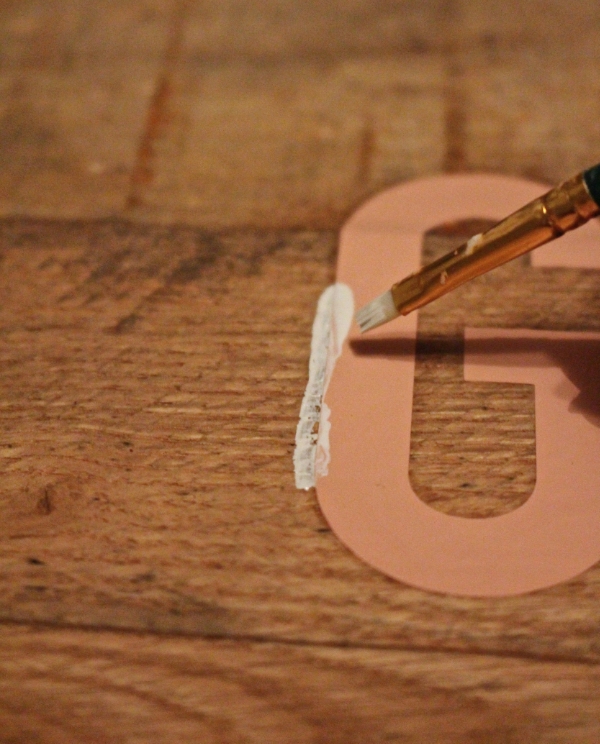
Using a small detail brush go back over the edges but this time with paint. 
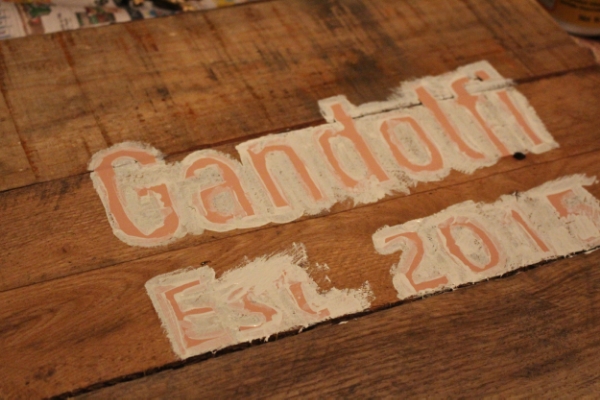
Paint around the letters first. 
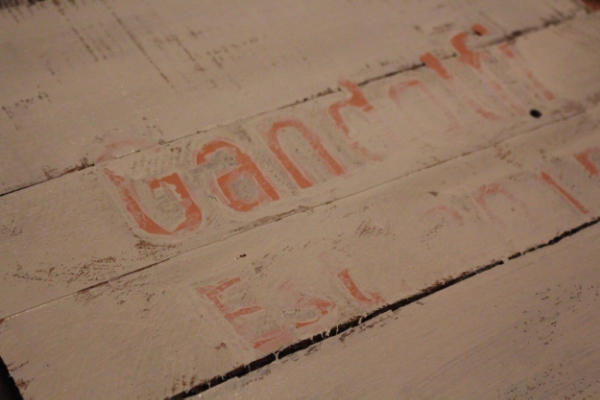
Then continue to paint the rest of the boards.
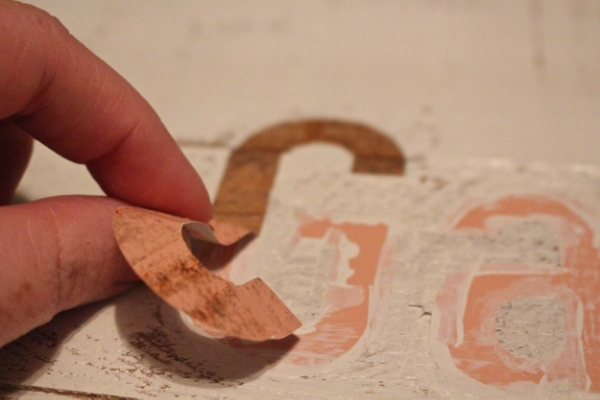
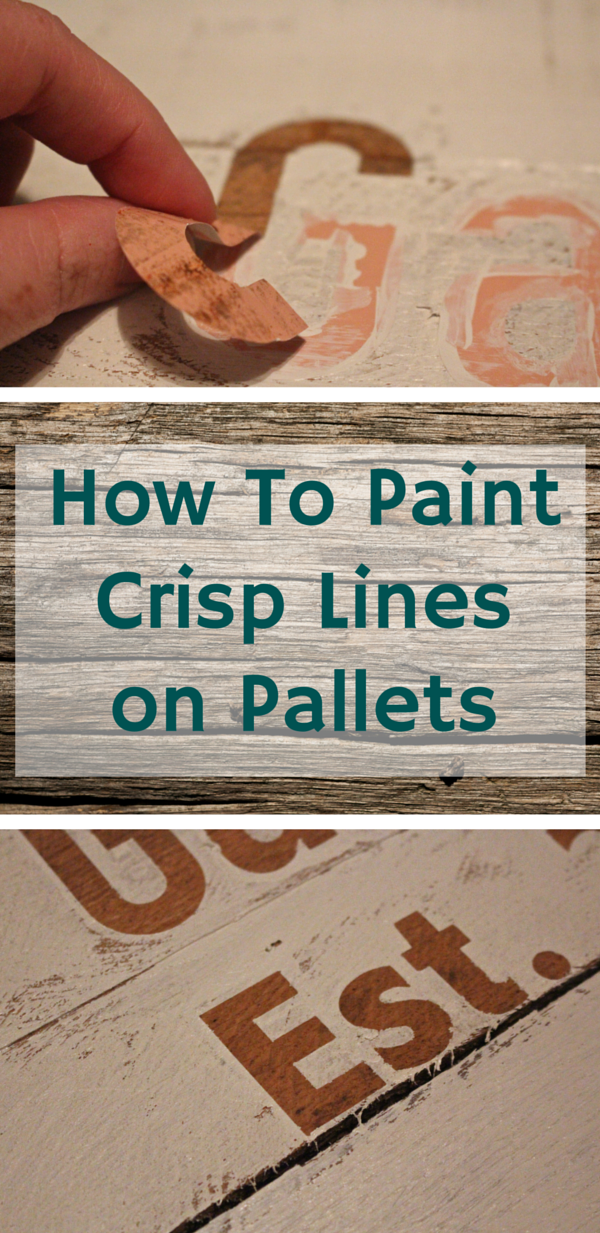
Once the paint is dry (or almost dry I’m impatient) pull back the vinyl letters. You can either use your nails or the hook tool to lift the stencil from the wood. 
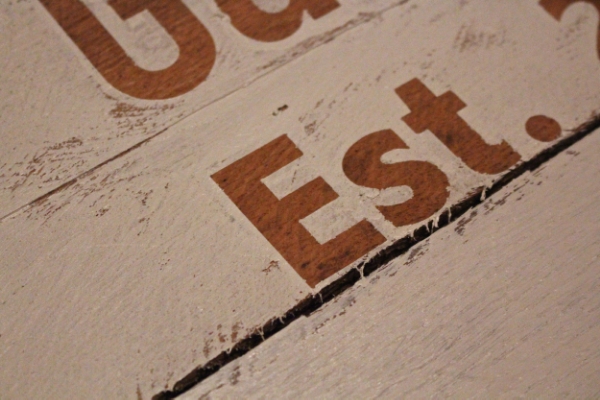
Look at those crisp lines! Now I don’t always use mod podge on my stencils but when I am creating a sign where the wood shows through like this one or where the wood is the background I always use mod podge. The thing is you can always touch up paint on paint but really there is no way to take the paint off the wood if it bleeds. 
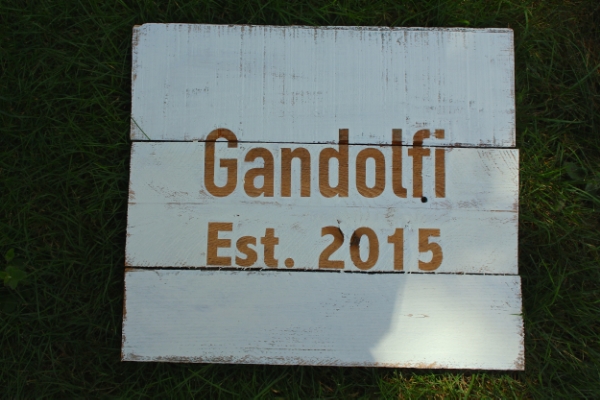
Hope this was helpful and feel free to share your creations with me on facebook or instagram! I’d love to see what you’re working on. 
Sharing is caring!

50 Comments

    1. Carol you definitely could. I like the shabby chic look with the wood showing through so very rarely do I sand or prime. Depends what look you are going for.

  1. Where do you buy your vinyl. Also how,do you keep from wasting so much vinyl when your making a sign. Do yiu cut letters,and words out all on one sheet?

    1. Hi Raejean,I am a collector of vinyl on sale. If I am in a pinch a run to Joann’s or if I’m planning ahead I amazon it or expressions vinyl. I do try to make the most of my vinyl using left over scraps and strategically placing them on one sheet.

  2. Thanks for this article. I got a lot of bleeding letters last time I tried to make a sign….. My question is, what if I want a different color? My wife loves Annie Sloan colors and I have a sign I’d like to do for her. With your technique you only ever do white because of the Mod Podge? Is that correct? Or is there a way to do other colors?

    1. Hey Mark,

      Modge podge actually dries clear so it works with all colors! Love that you are making a sign for your wife. Hope this technique helps.

  3. To Mark: Mark, I have the same question. I did find a site that said to use freezer paper. Print the reverse image using an inkjet printer, then transfer the image to the wood using a credit card (or flat wide tool) to go over the freezer paper to transfer the image. It’s worth a shot!

    1. Hey Fran! Just be careful with that method. I tried it with wax paper and it got stuck in my printer and left a coating. I ended up having to buy a new printer :/ Just wanted to give you a warning.

      1. Hi, Mark. Yes, you have to buy the Quilter’s paper (normally called freezer paper) and you can use a printer that uses any type of heat (ie, thermal inkjet). Thanks for the warning though.

  4. What about when you are using a stencil to paint the letters on ? Not paint around the letters to show the wood .. My vinyl stencils do not like to stick to the wood that great …

    1. Hey Renee what kind of vinyl do you use? I would suggest a stencil vinyl from Silhouette? On trickier wood or when I am etching glass I tend to use it because it has a stronger adhesive. Here it is on amazon http://amzn.to/1Qkd2mA (affiliate link)

    2. Sand your wood down really good then apply a clear finish on the raw sanded wood. Let dry and that creates a surface for your letters to stick on. Apply the letters then paint over them. This will also prevent from having to apply mod podge around the letters . If you apply your first coat lite around the letters then your second coat a little heavier you shouldn’t have bleed through. This is how info mine . Just sharing.

  5. Any tips on how to "erase" paint that has bled on to natural wood. It is easy when you are stenceling over a color because you just paint that color over the "bleeding". Not sure what to do about the natural wood?

  6. When using the mod podge, I found that the paint over it on the board was noticeably darker or brighter around the lettering. Is there any fix for that?

  7. I am having issues with the top coat paint pulling off when removing the stencil. Do I need to remove letter stencil before the paint dries? Is there a certain type of top coat paint I should be using? Thanks for any insight you can share.

  8. Hi There, I’ve been a signwriter for 35 years and use this technique occasionally, If i want to stencil something onto a painted surface, like a painted brick wall, the first coat over the stencil is always the wall colour, that goes in and fills and blocks all the potential bleeds, then i brush the final colour on trying to paint inwards so as not to push paint under the stencil, usually 2 coats, you get a perfect edge everytime, Cheers, Ghostwriter

  9. A friend told me that this would work and i didnt believe it- IT DOES! thank you so much for the info!

  10. Got a cricut for Christmas and just made a pallet sign today (first one ever). So badly wish I would have seen this first ? At least now I know for next time! Thank you!

  11. I like your idea of the mod Podge. It looks like you put it on the top of the letter to seal?? Or is it done on the back side of the stencil?

  12. What if you did a sign the other way… Where the lettering was painted but the background was left natural? Would I do the same?

    1. Yes, I do it all the time and I just paint the lettering’s negative space with mod podge first, allow to dry, then your paint over it. Works great, but make sure you use a LIGHT coat of mod podge.

  13. If your paint does bleed on the unpainted wood, like mine has in the past, you can use a fine grit sand paper, cut it in half and then fold it to make a sharp edge and sand off any paint that has bled. Just be sure to go slow so you don’t sand an area that you actually want paint to be on.

  14. Hi,I’m wondering if it would work to use the spray Mod Podge?Have you ever tried it?I’ve had so many letters that ran. Grrrr. Thanks so much.

  15. I just want to see the natural formation of the rings in the wood of the pallet. I think I just want it to be polished with varnise

Leave a Reply

Your email address will not be published. Required fields are marked *