This post contains affiliate links, please read our disclosure policy.

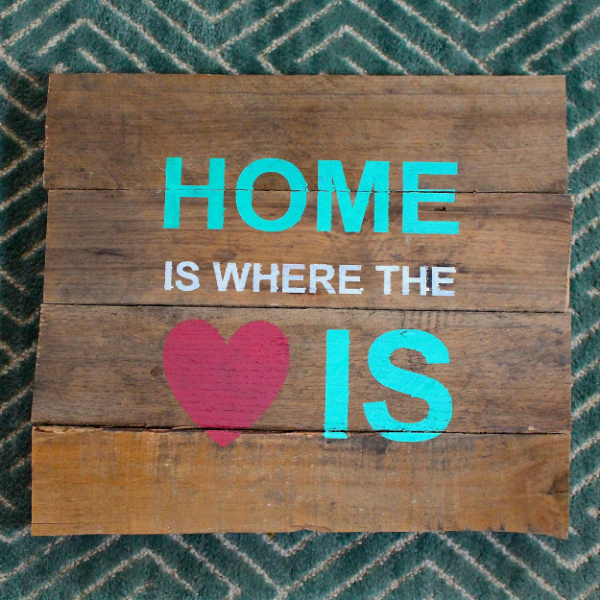
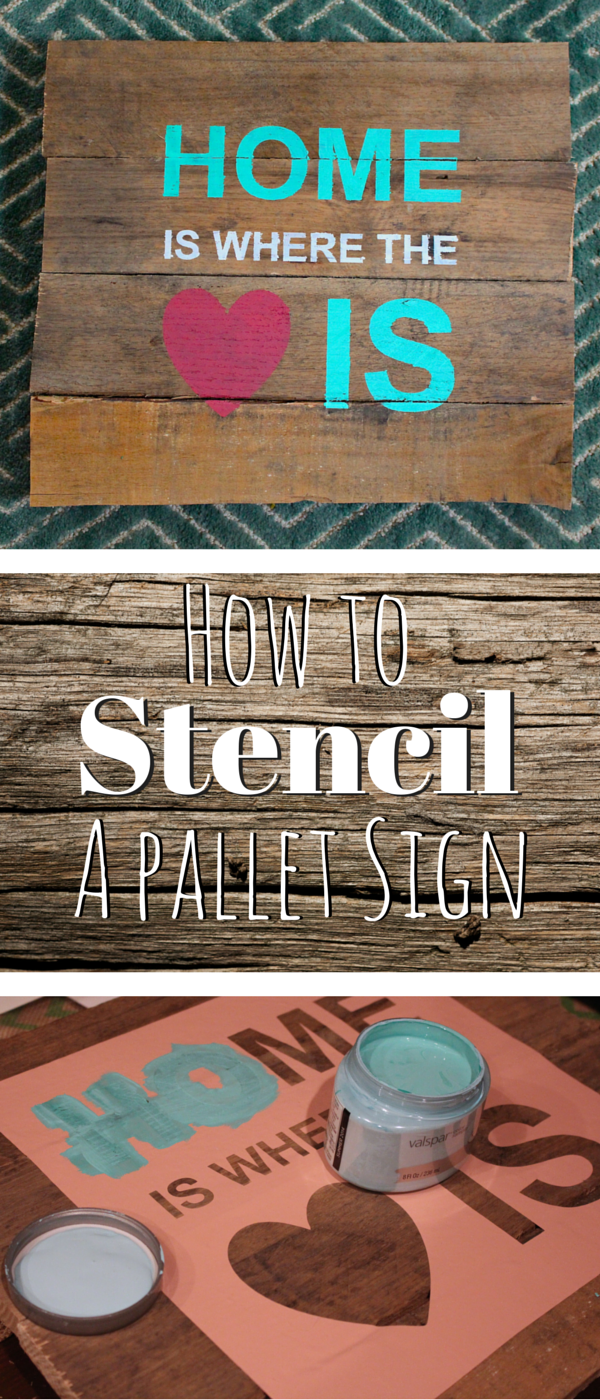
Pallet signs sure have been popular on Weekend Craft the past few months. So I thought today I would show you how I stencil pallet signs. This was also great timing because it’s Silhouette Challenge time and this month’s theme was home decor with the added bonus of using wood. Needless to say this month’s challenge was right up my alley. Now I get requests all the time from family and friends to make them a project that they have seen on the site and this was one of those occasions. You may have seen this sign before here when I was getting ready to head to Brimfield.
Now I always get asked how I make the signs since the lines are so crisp and I can customize the sign to whom I am making it for. I use the Silhouette Cameo to cut out a vinyl stencil that I either design with Silhouette Studio or using Adobe Illustrator and Silhouette Connect. Now you may see some signs use vinyl as the actual lettering but I like to use it as a stencil because paint is more of a permanent medium.
What you’ll need
• Pallet wood
• Vinyl
• Silhouette Cameo (or other cutting machine)
• Latex paint (paint samples from the hardware store work great)
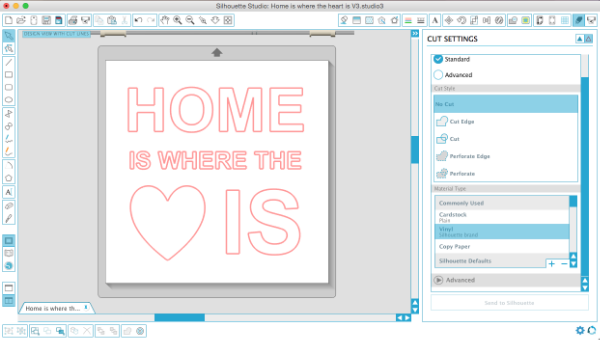
In Silhouette Studio I created the Home Is Where the Heart is Design. Which you can download the free cut file too for both V3 and V2.
Download the V3 Studio file here. Still haven’t updated? Download the V2 Studio file here.
Once your design is set make sure you change your cut settings to vinyl. I use these settings. Speed> 8 Thickness 9 > Blade 2.
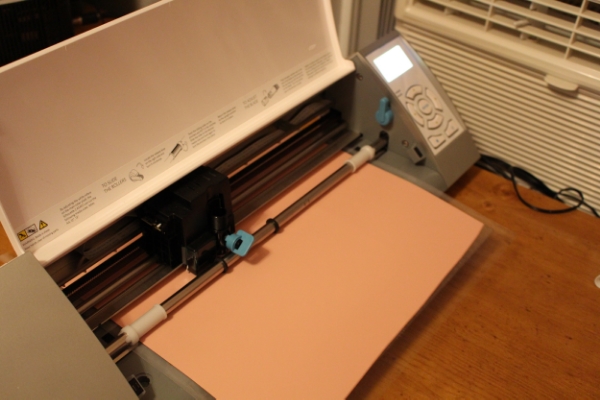
And you’re ready to start cutting. Have you read this far and really still have no idea what this machine is? Basically it is a machine similar to a printer but instead of printing the cartridge is a blade and it cuts.
Tip: To prevent sliding I always cut my vinyl on a cutting mat.
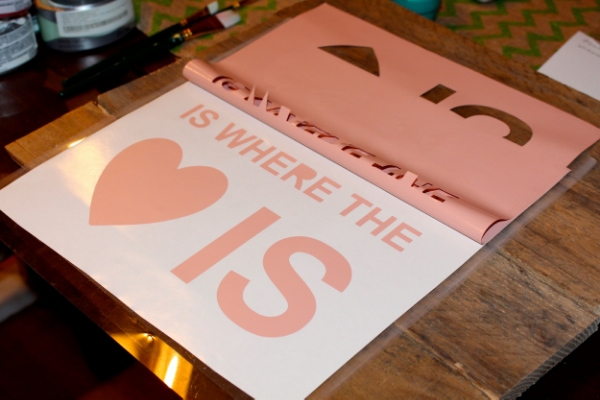
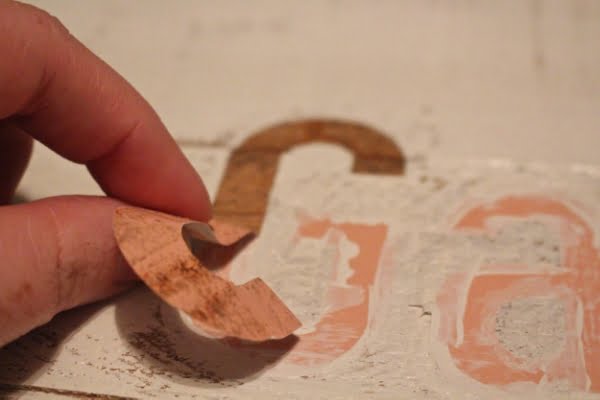
Now that your vinyl is cut there are two ways to stencil with vinyl. One you transfer the letters using transfer tape to the pallet then paint over only to pull them off to show the color or wood beneath it. The second way is to use the outline to fill in with paint. Now most tutorials I have seen weed out the excess vinyl and use transfer tape but me I have to be different. I hate wasting materials so I always try to make two stencils out of one cut.
How do I do this…. very carefully. My technique is quite simple I pull the vinyl back keeping to low to the table. Low and slow is the way to go. You want to make sure not to let the adhesive side touch the vinyl because it is very hard to remove without damaging it. I learned this the hard way a few Christmas’ ago.
Now make sure to hang on to this. You can easily make another sign!
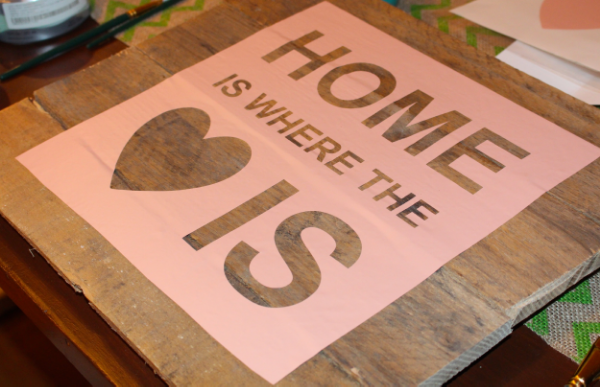
Now carefully lift and place the stencil on the the pallet boards you have already assembled (if you don’t know how to do that yet check out this tutorial here). Now when I place the stencil down I always try to see where the lettering falls in relation to each blank. Often I move the vinyl stencil a few times before it is in place. Make sure to use a ruler or measuring tape to center the stencil. Using the scraper tool that came with the silhouette or a credit card use it to smooth out the vinyl. This will get rid of air bubbles and create a tight seal.
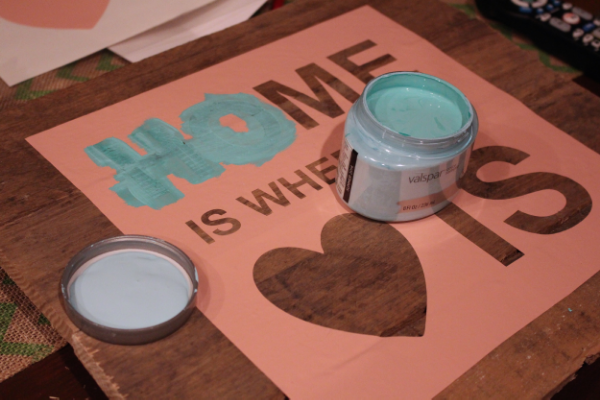
Now here comes my favorite part. Let’s paint! If you follow me on instagram you will see almost every Friday night after a long week at the office I am painting. It is so therapeutic whether it is a piece of furniture, a pallet sign or some watercolor I love to relax by painting. Whenever I am at Lowe’s or Home Depot I always grab some small paint sample cans. At this point I have them in about every color and they work great for painting signs.
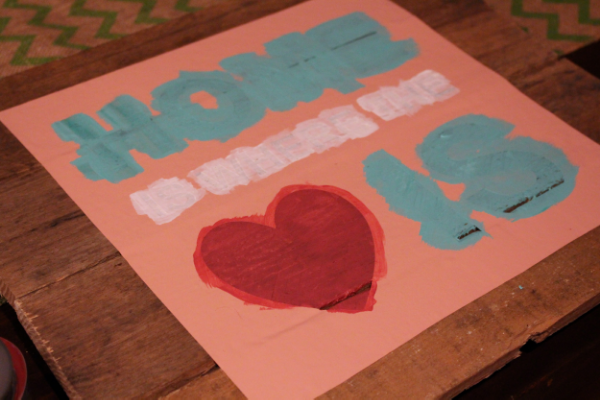
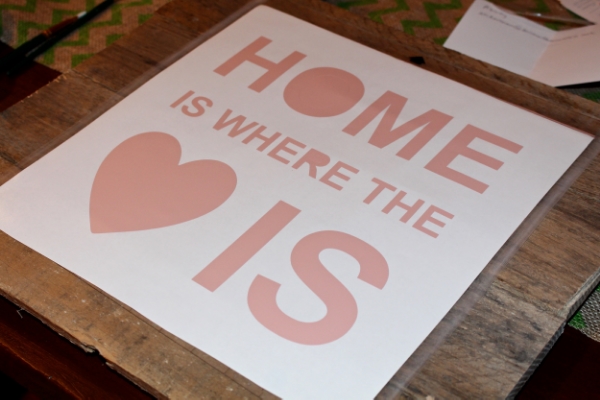
Now no need to over saturate while painting a little bit goes a long way and it’s less likely to bleed through the stencil. Once the paint is semi dry. Just a few minutes carefully pull back the vinyl and Viola! You have a custom made pallet sign! Now that wasn’t too hard was it?!
Want to Check Out More Silhouette Projects?
My Silhouette Challenge buddies and I are all sharing projects on our blogs today, so peruse the projects below for a wealth of Silhouette inspiration!
1. Whatcha Workin’ On? // 2. Two Purple Couches // 3. Made in a Day // 4. Ginger Snap Crafts // 5. Architecture of a Mom // 6. Simply Kelly Designs // 7. Crafty Bonds // 8. Practically Functional // 9. DailyDwelling // 10. DIY Just Cuz {Sam} // 11. unOriginal Mom // 12. Decor Adventures // 13. Creative Ramblings // 14. My Paper Craze // 15. Where The Smiles Have Been // 16. Get Silvered // 17. DIYJustCuz {Brittany} // 18. Weekend Craft // 19. Create & Babble
Do you sell these?
Hey Kate. I do sell them locally in RI and Mass. They are a bit heavy so I don’t tend to ship them. If you are local let’s chat!
I know you said you could use the same vinyl to make another sign but how do you store it?
I couldn’t find your answer to how you store your stencil to reuse. Also, how many times can you reuse it?
i know this post was 2 yrs ago, however I JUST got my silhouette and I LOVE IT so much more than my Cricut! but only because the Cameo 3 does SOOO much!
Now listen, I made a sign…you know one of those wedding type pallet signs….3 pieces of wood sanded down so there are no splinters and left natural colors, because wood is beautiful and rustic is cool! So I made my template with the 651 that came with the machine and yeah it was a bit intricate but I felt confident so I got the acrylic paint and dry brushed over the stencil until I had full coverage. I let that dry and then just for S&G I then stippled a 2nd coat, with a dry brush again, and let the whole thing dry through our grocery store run, the making of and eating of dinner and then took it off. To my dismay….I didn’t get the crisp lines I was expecting. I wanted to cry.
So I knew that in 1 spot the paint wasn’t going to be perfect because it was on a knot hole….but at the end of her name one of the letters bled and then in the est. 2017 part of the EST. bled as well. I did a monogram in the middle that was pretty intricate, a J with their name in the middle and fancy stuff surrounding it…looks great! but if you look close some of that bled as well… then I took a 4×6 picture frame in silver turned it sideways and attached it with a piece of velcro so they could remove it and place a picture inside any time they wished to change it out….but mainly I’m sad about the names bleeding….i mean….their names lol ya know.
Soooo what I did was took a butane torch and I scorched the wood, heavy around the outside of the wood and then lightly in the middle where the stencils are….some parts heavier burnt than others…depending on how much I felt i needed to "hide" or distract from the bleeding paint….it looks great and hey… marriages aren’t always perfect, and neither is their gift….as much as I’d like to write that on the back of the piece, I know she’d appreciate it, most everyone I’ve talked to has voted NO you CAN NOT write that on anything for them! LOL
What I want to know is when I make this for other people, or for sales even, how do I get the crisp lines? I saw the tutorial on how to use the modge podge around the outside of the letters if you are painting the entire pallet pieces, and it has been recommended to me to use spray paint next time, apparently that doesn’t bleed, which makes me even more frustrated lol because I use spray paint for EVERYTHING I mean EVERYTHING I paint usually, the one time I think…hmmmm I’ll try the real paint with a brush thing, its recommended to use the spray paint….go figure lol!!
I’d love to hear your tips and tricks to my lengthy question….. TY!!