This post contains affiliate links, please read our disclosure policy.
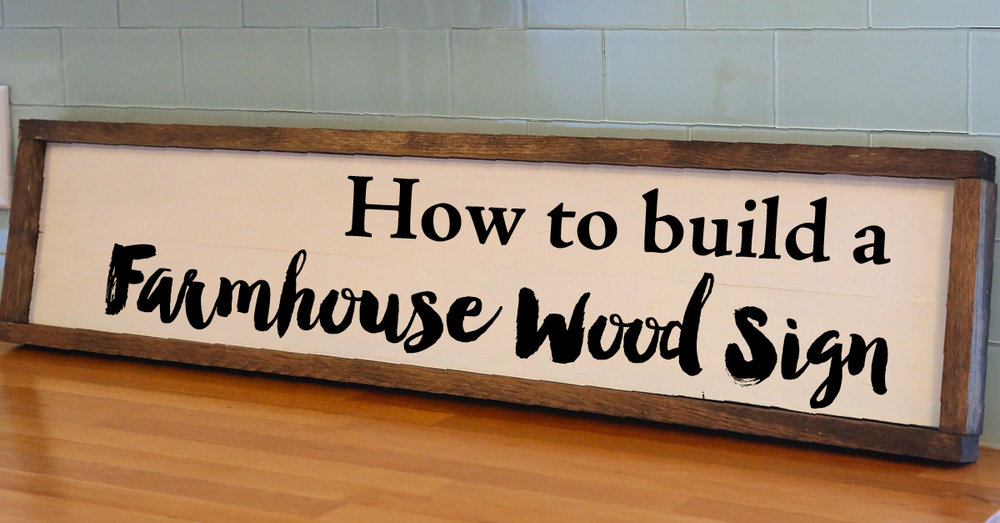
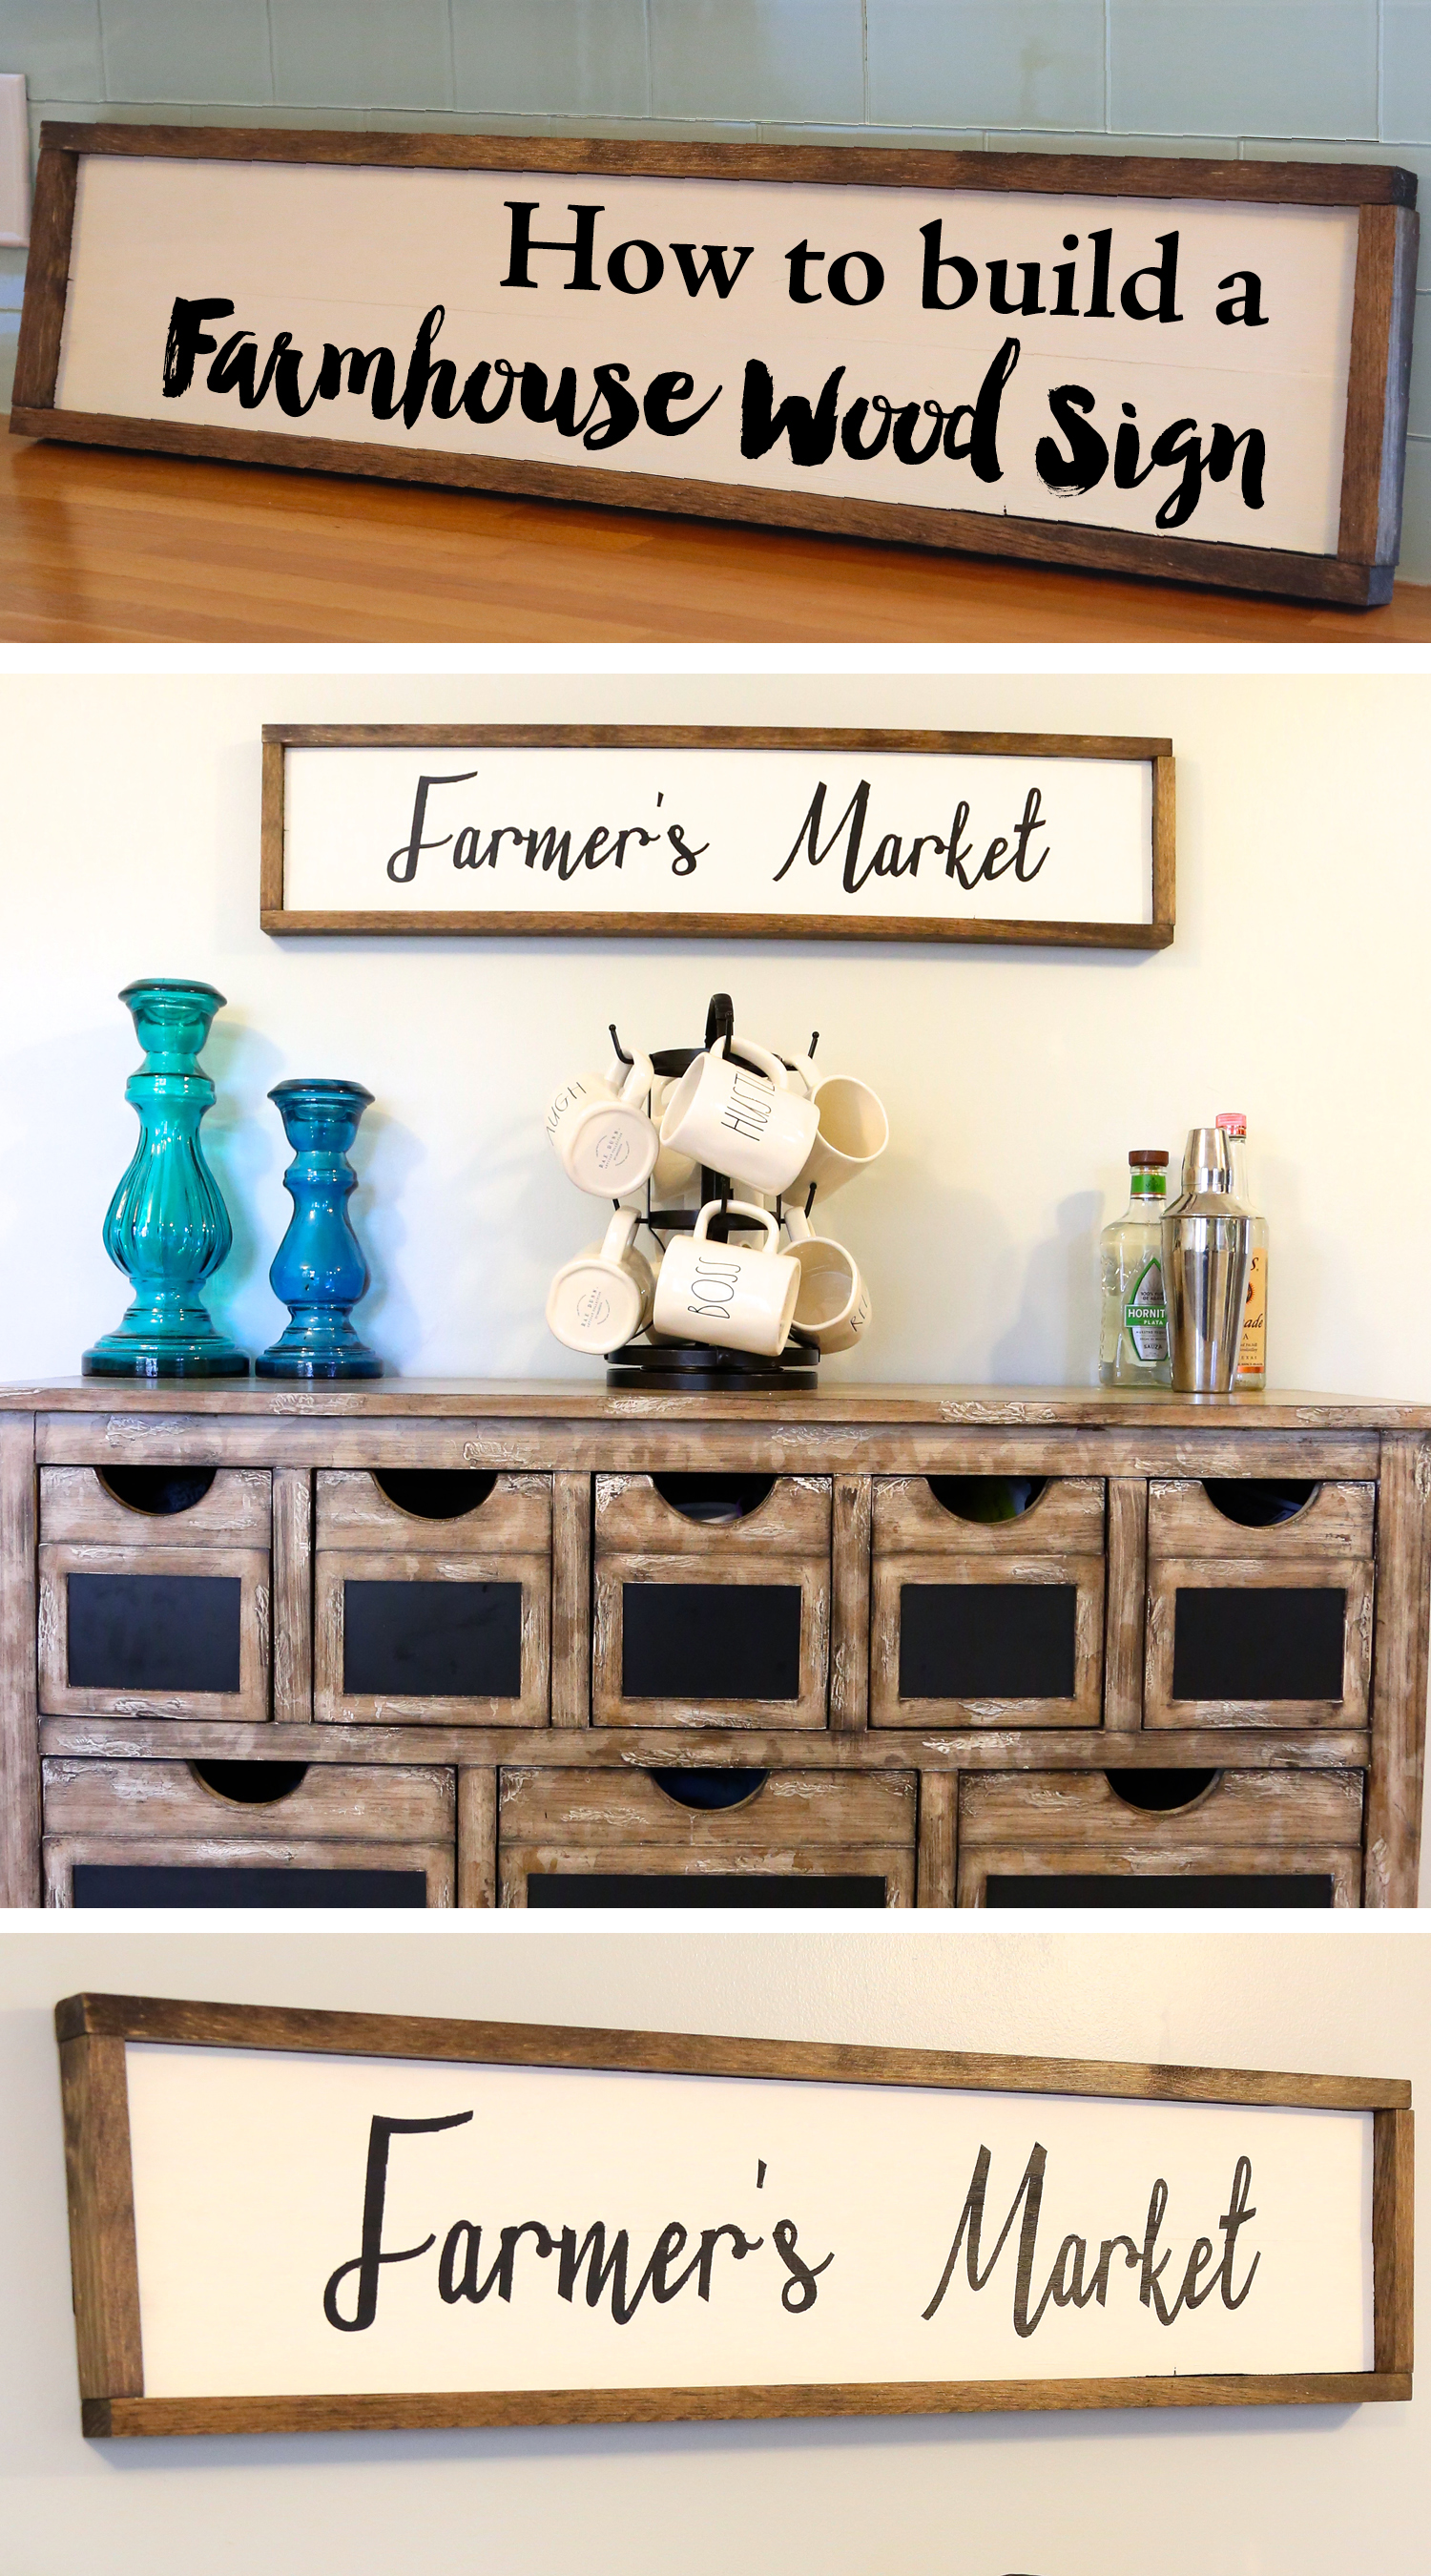
Today I am showing you guys how to build a farmhouse wood sign. With the farmhouse style blowing up over the last year I am seeing these signs everywhere from hobby lobby to etsy. They can be pricey but yet they are fairly simple to make. I am going to show you guys how to make them today and you can learn how to stencil them here.
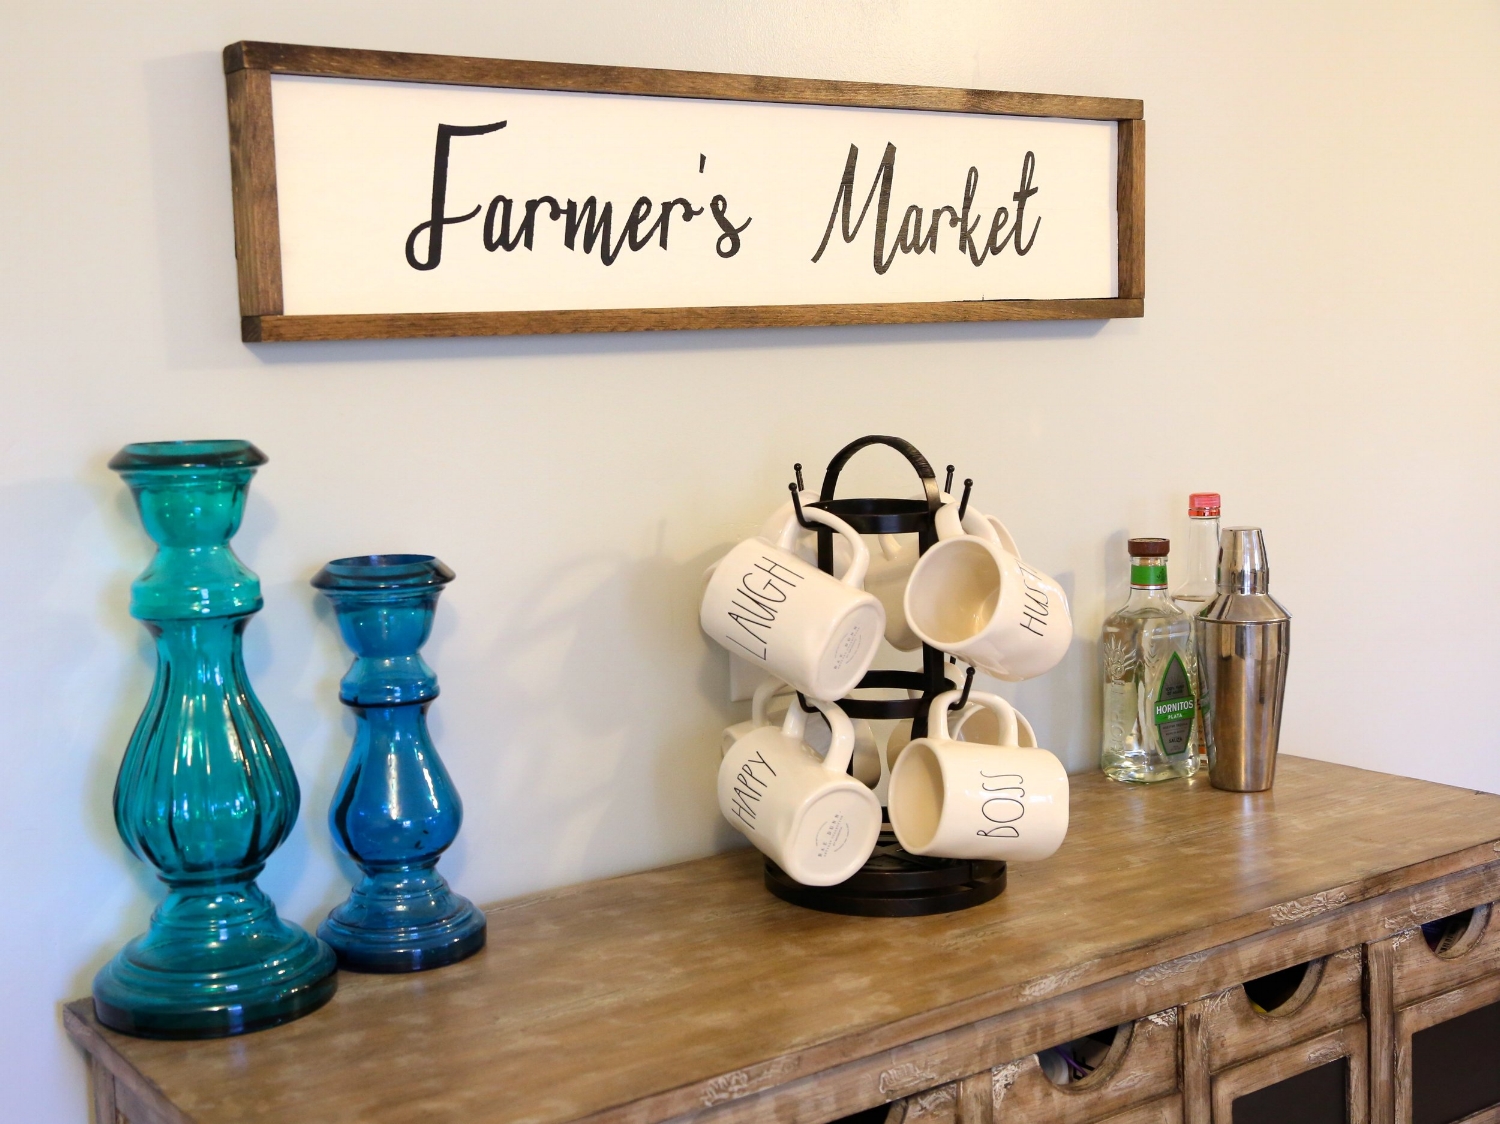
This is the sign that I made for my recent kitchen renovation. You see every Saturday from April til October I roll out of bed and walk down to the farmer’s market at the end of my street. Now I found a metal version of a farmer’s market sign online but the price tag was too steep for me. Why buy when you can DIY.
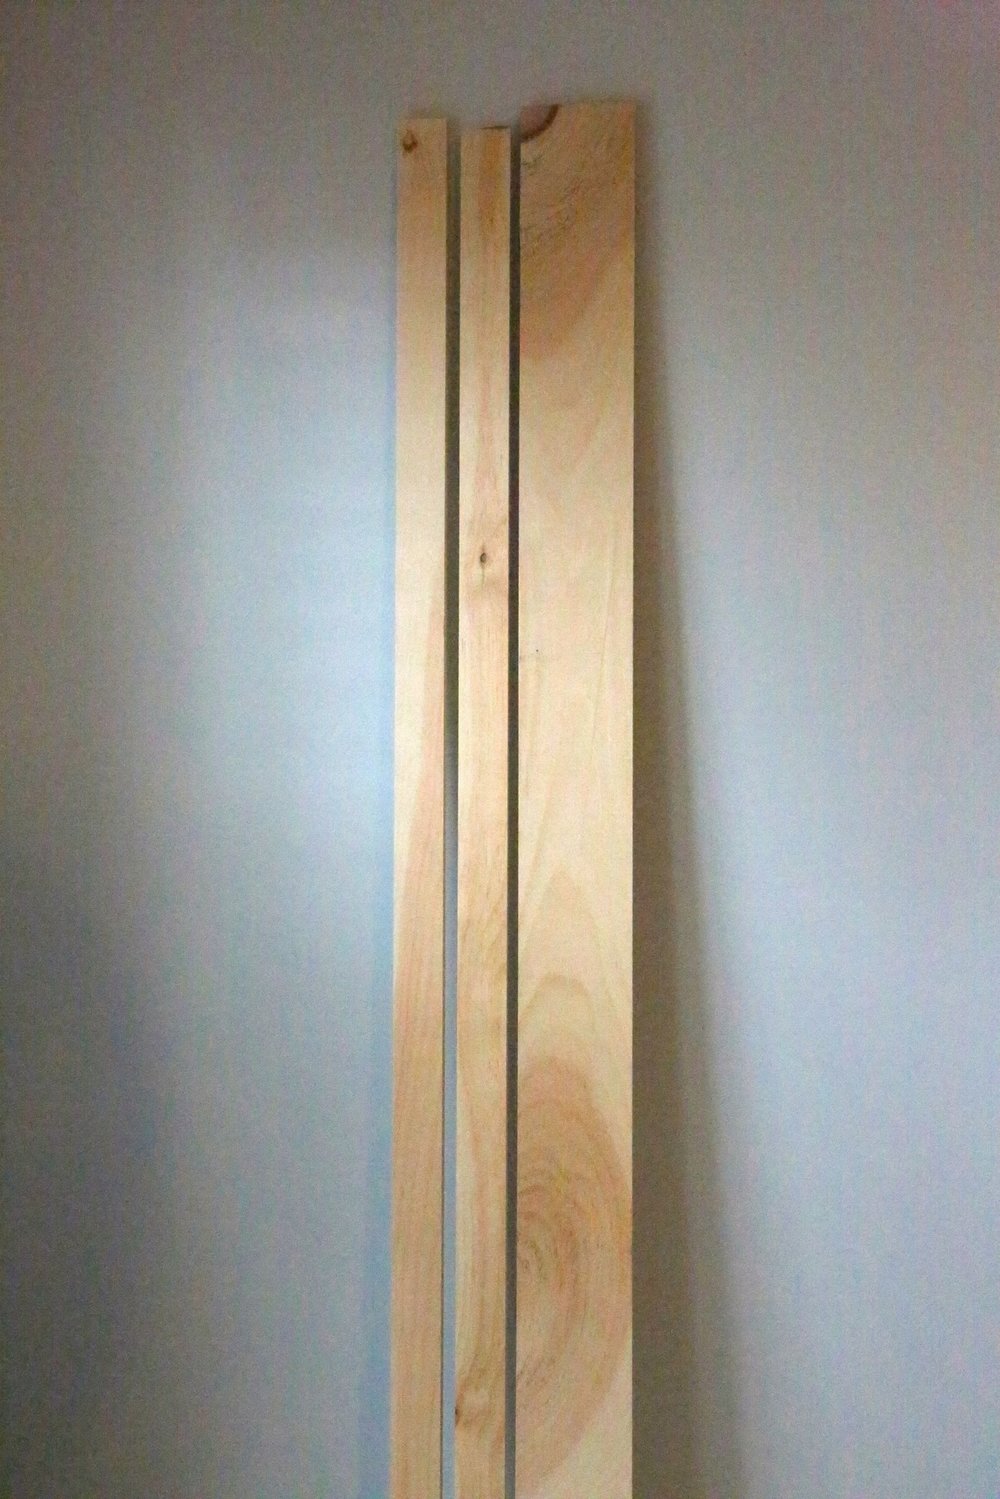
I stopped by the hardware store and grabbed some lumber. Now I wanted to make a fairly large sign. At least 3 feet long.
![]()
Here’s What you’ll need.
1- 1″ x 4 “x 6ft
2- 1″ x 2” x 8ft (strapping)
DecoArt Chalk Paint
Wood Stain
Kreg Jig (optional)
Nail gun – I used a Ryobi Airstrike
Foam Brush
A Rag
Paint Brush
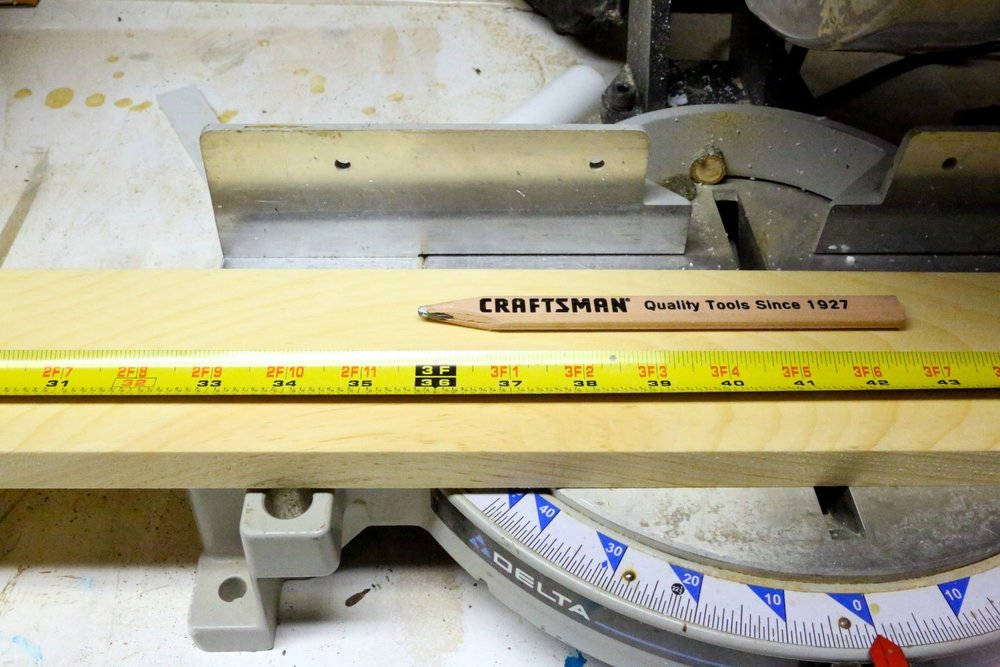
Mark your 1″ x 4″ x 6′ at 36 inches which should be half of the board. Cut along this line. These 2 boards are going to be where you stencil the words on your sign.
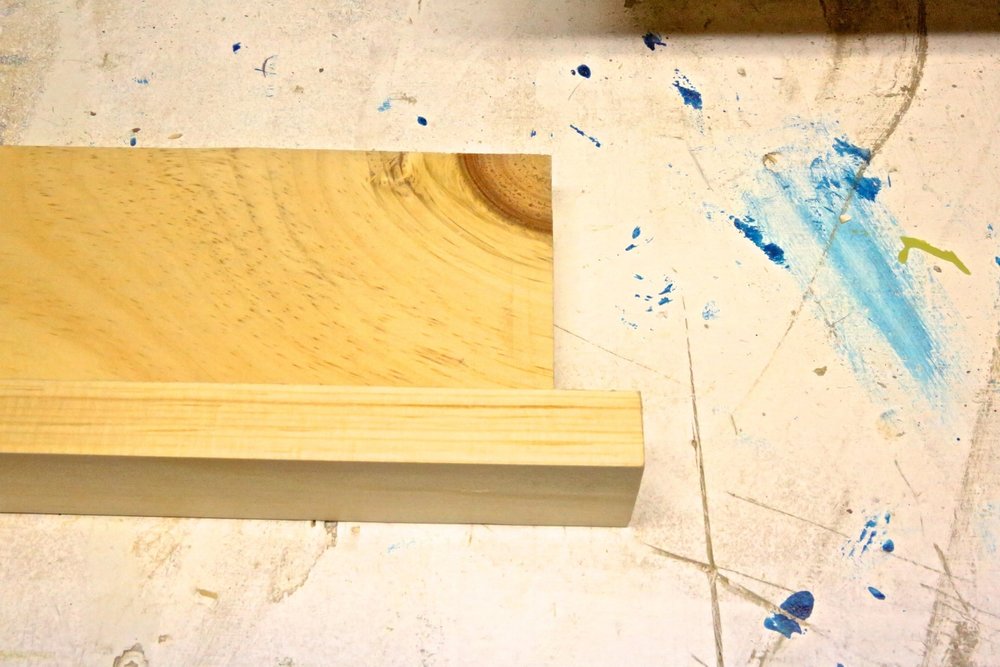
Now we are going to make a butt frame. What this means is we aren’t going to make a fancy 45 degree frame which were used to seeing on picture frames. This is a simple frame where the strapping butts against one another. .
To make these cut extend your strapping beyond the base of your frame. You should extend it the width of the strapping so it fits together snuggly.

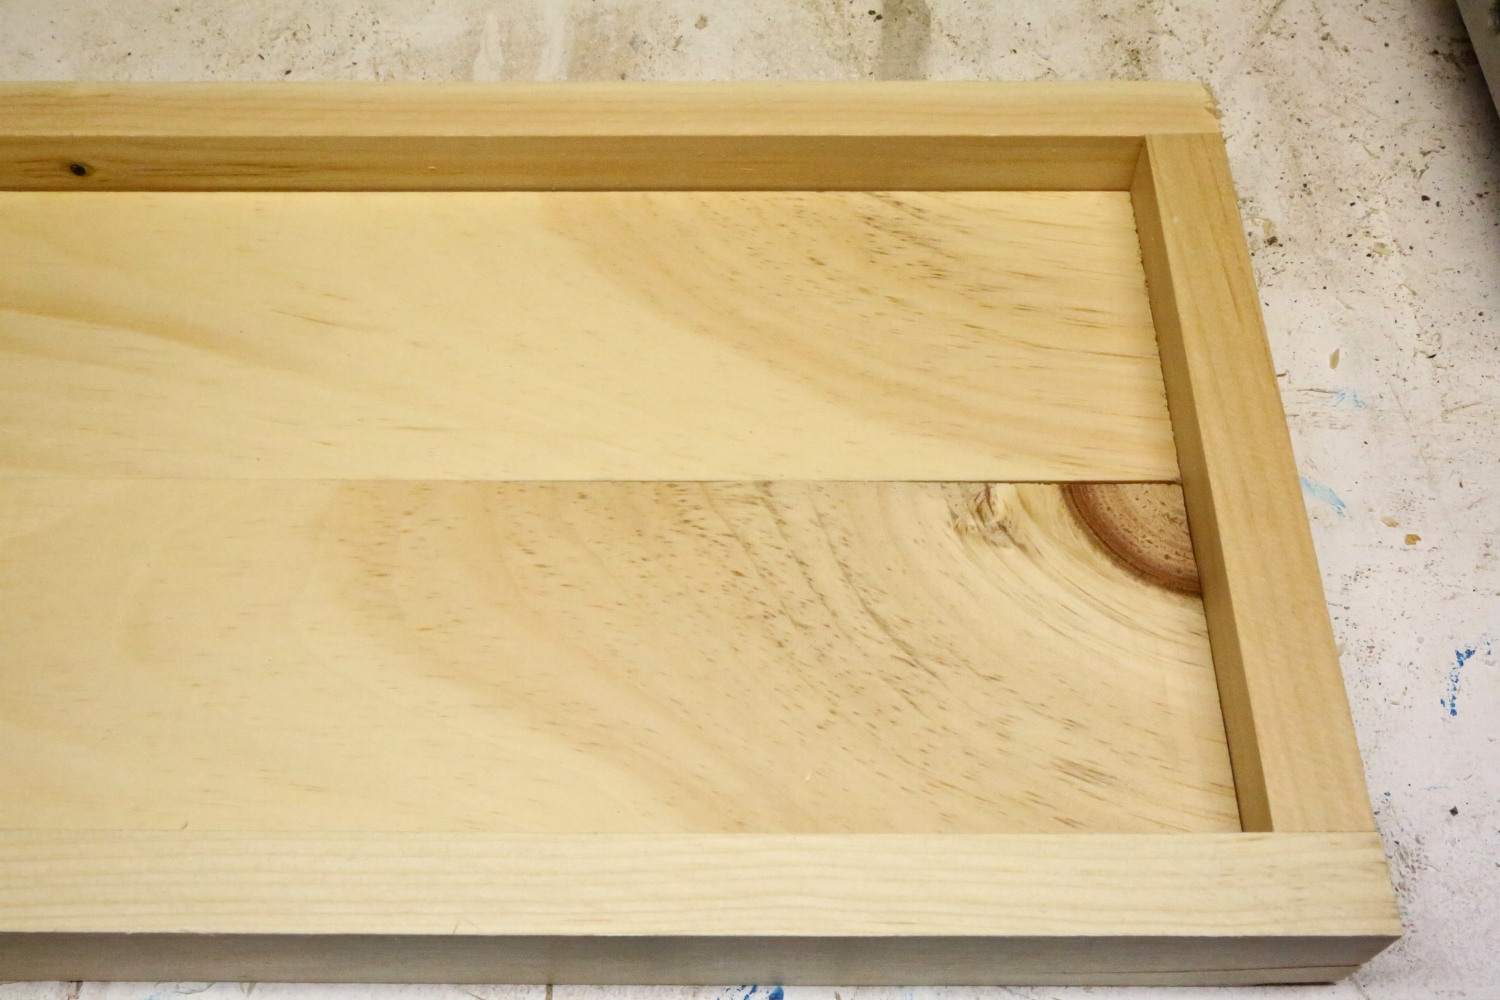
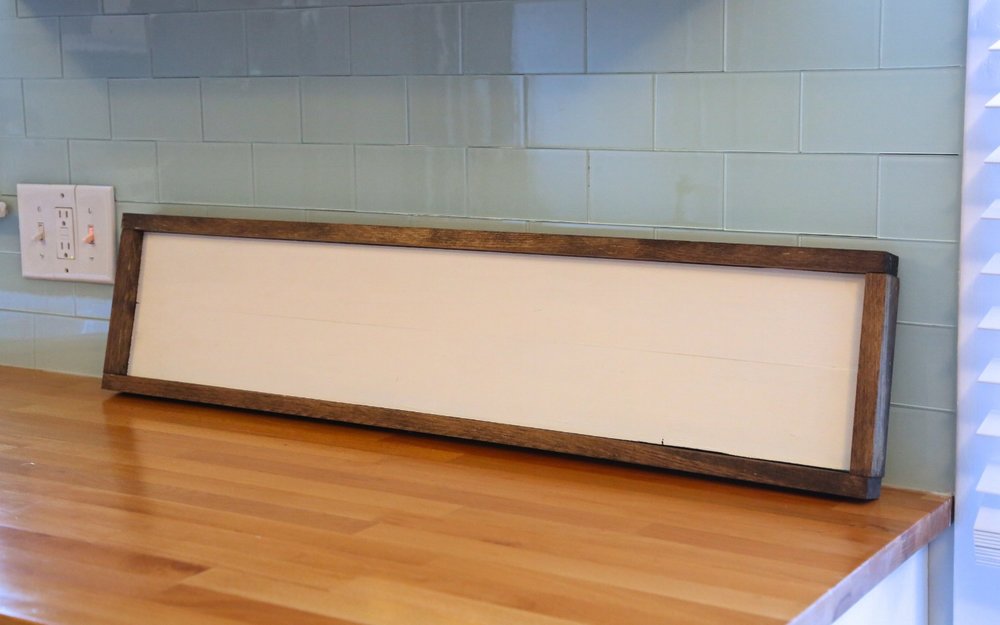
Once all your cuts are made your sign base should look like this. Now I recommend painting and staining it before assembling it.

I used a foam brush and a rag to stain the frame a dark walnut color. I was looking to contrast the board but to also accent the piece of furniture it was going to be hanging over.
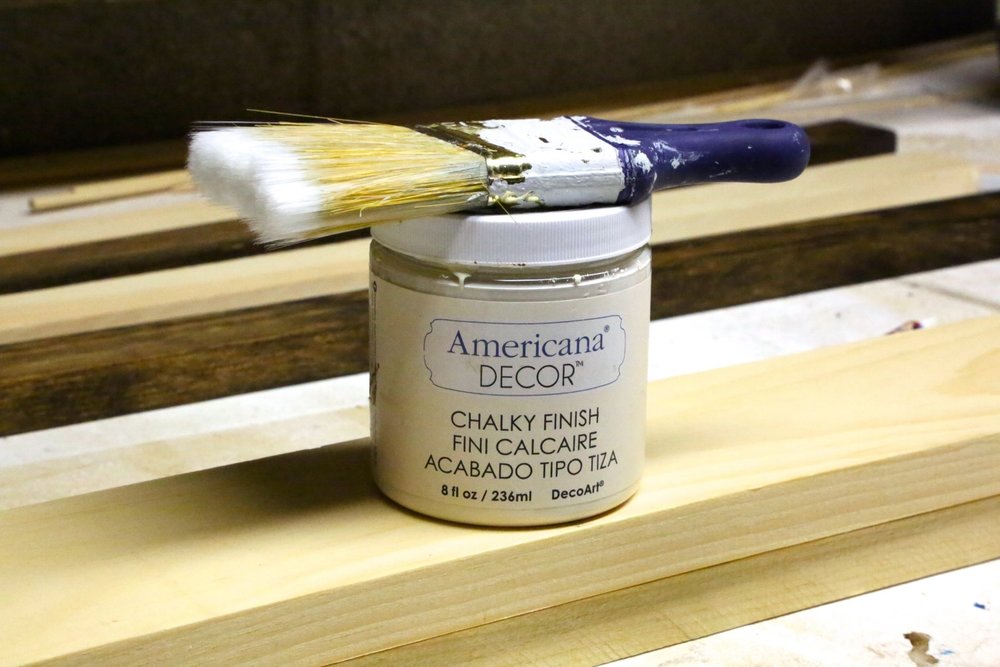
I used DecoArt Chalk Paint in lace for an off white base which will contrast the black lettering of the sign and the wood.
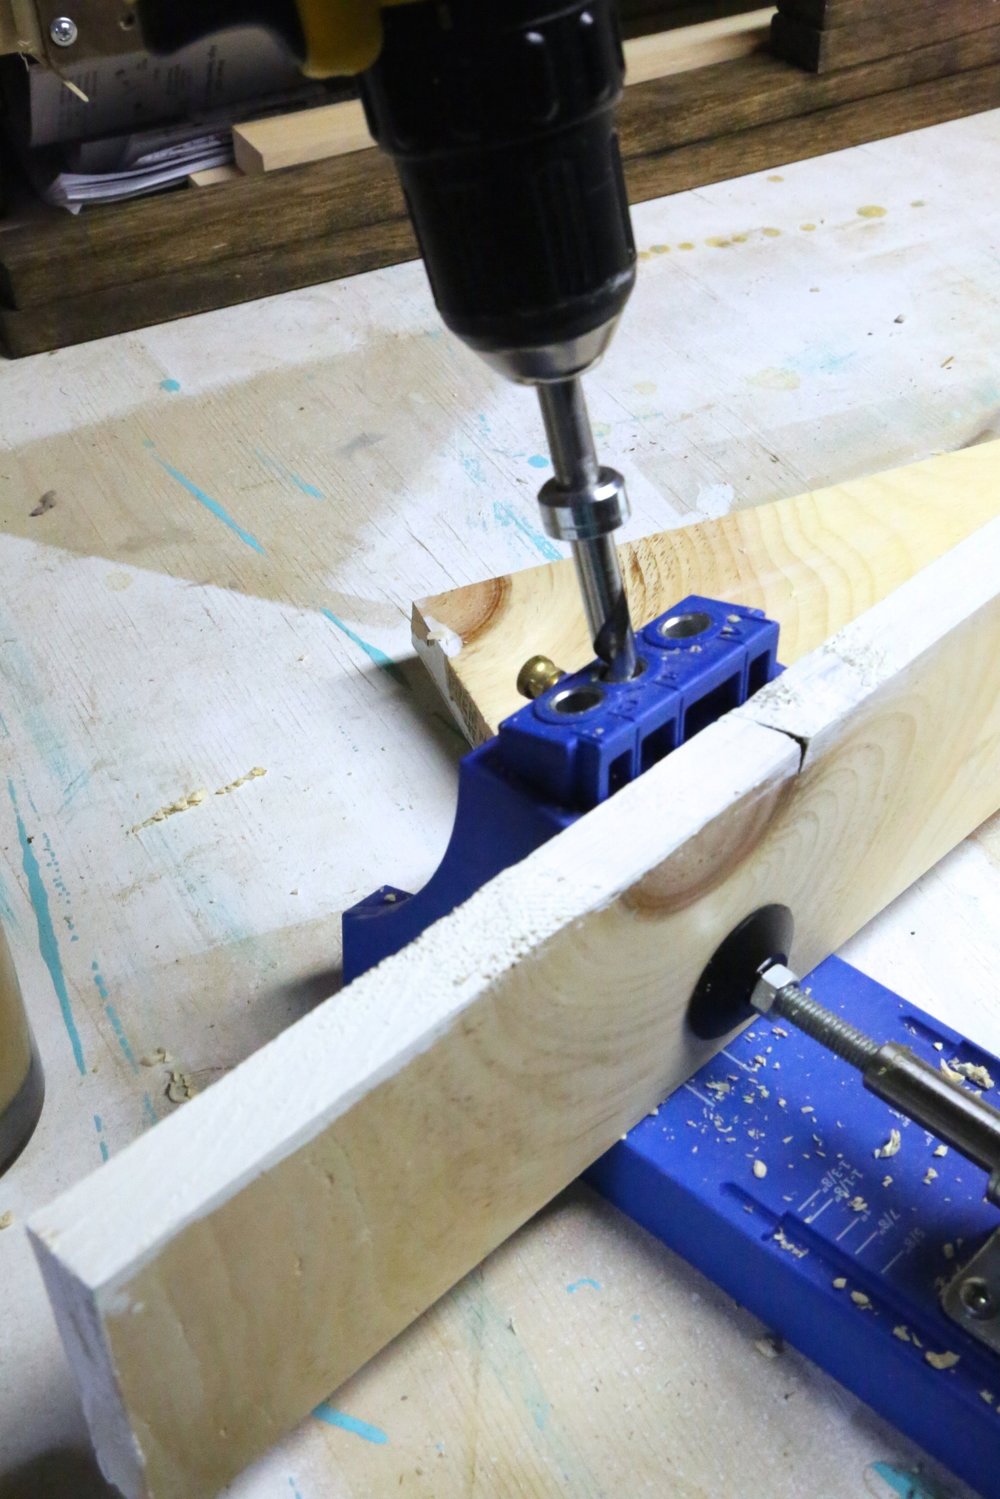
Now this step is optional but I like to use pocket holes with my Kreg Jig to get the boards to come together almost seamlessly. You could also use wood glue if you do not have a Kreg jig. I place a pocket hole about every 6 inches.
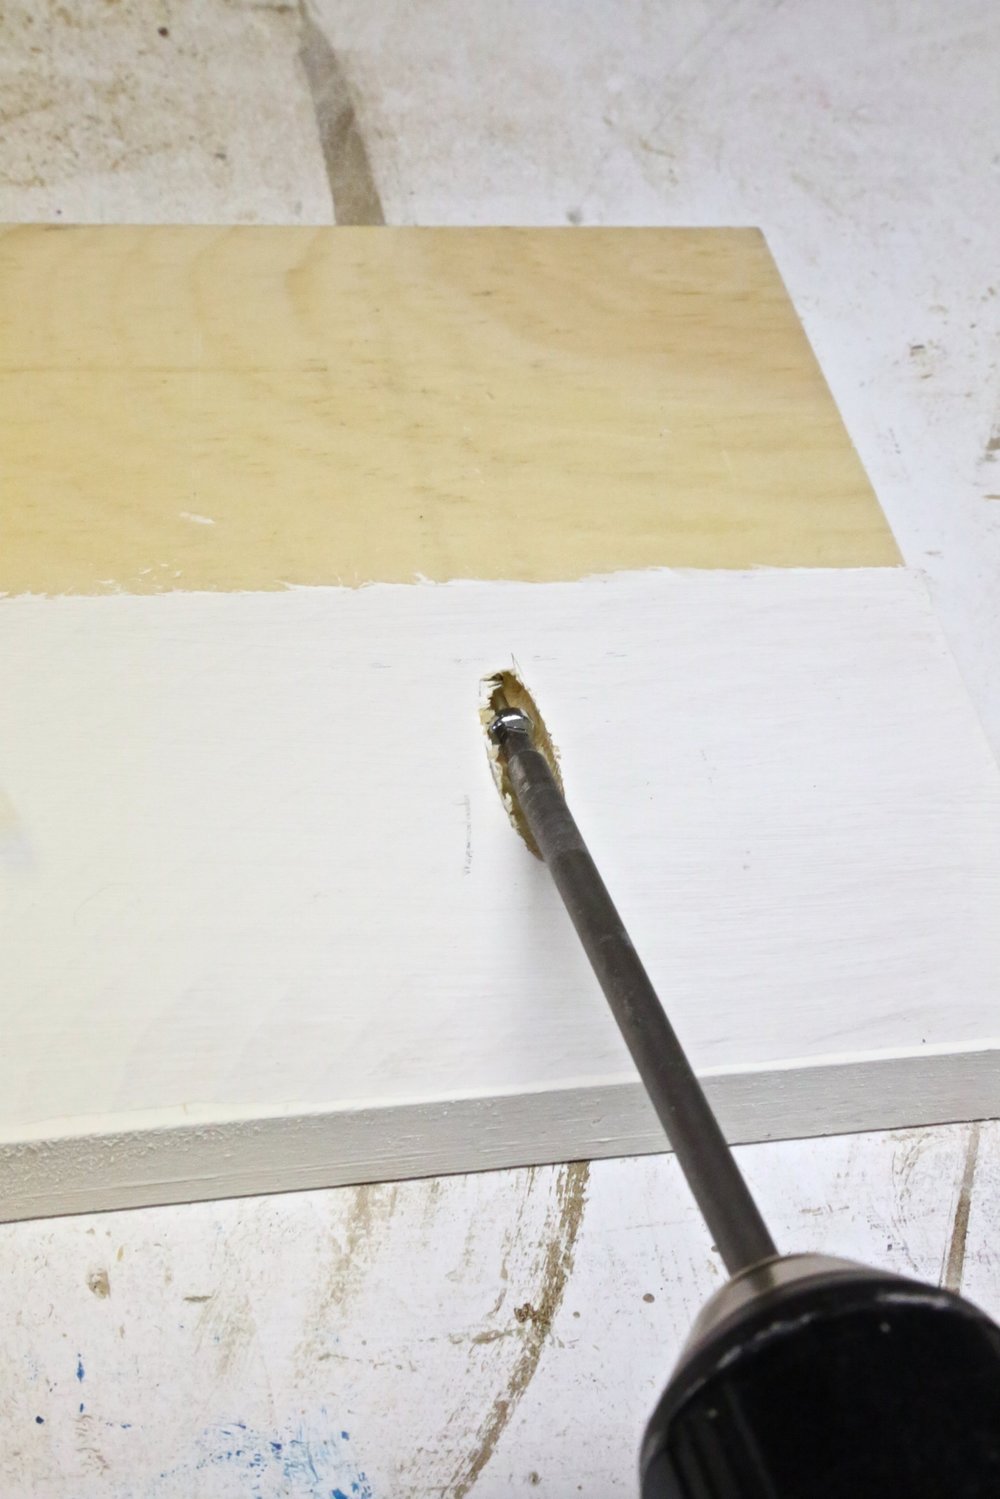
Using Kreg screws and my drill I attached the two white boards together.
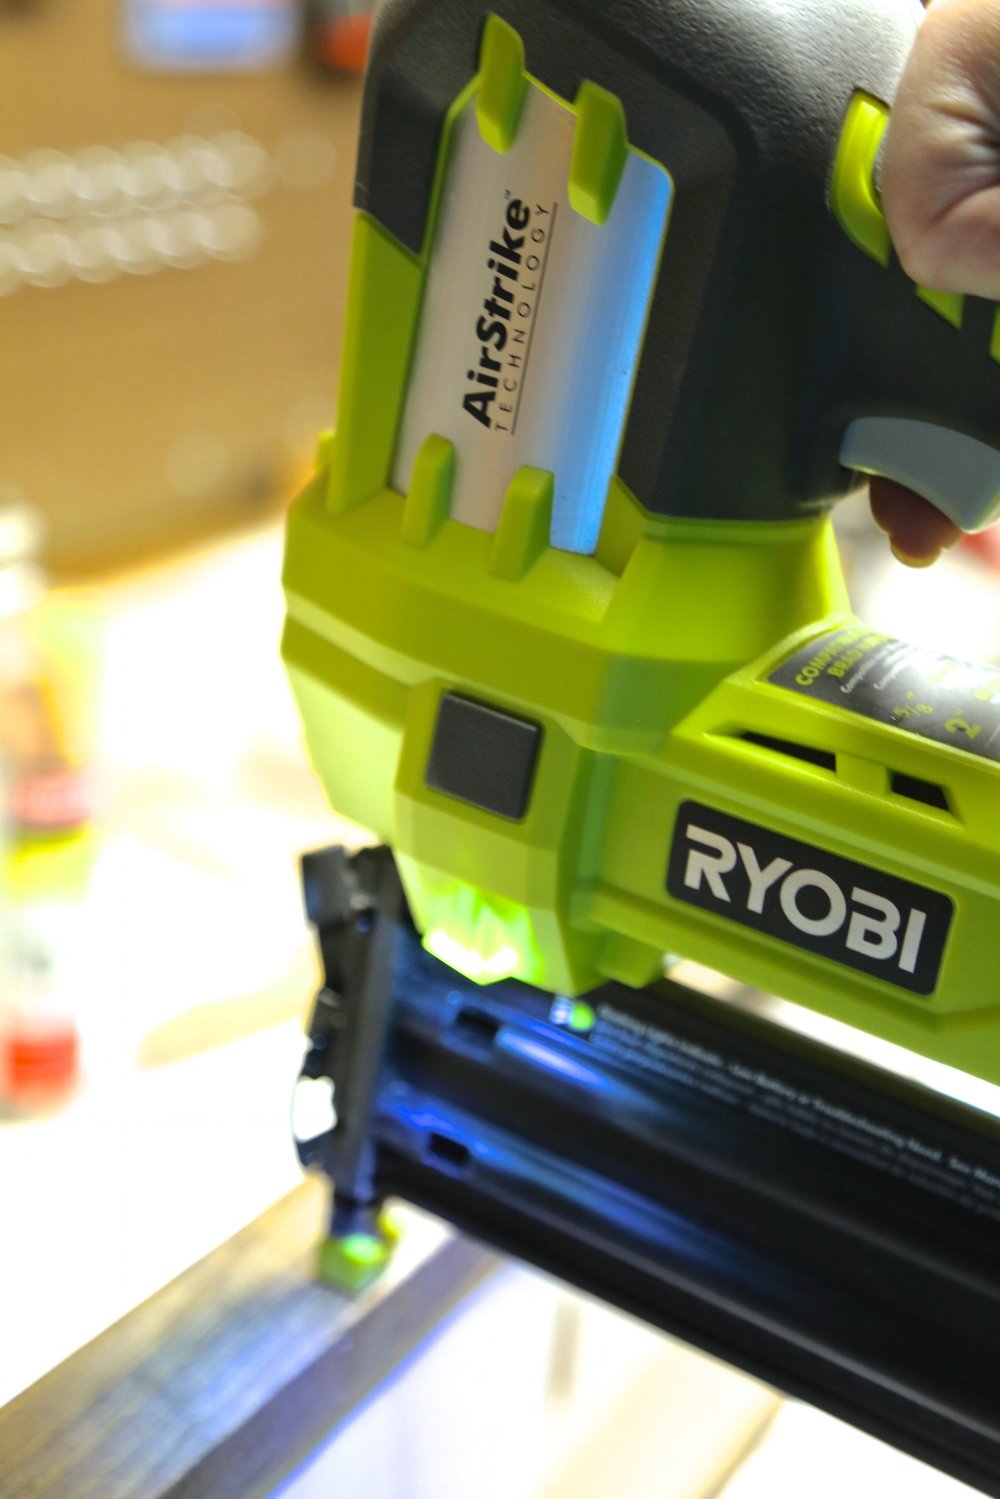
Using a nailgun add your frame nailing every few inches. Make sure not to over shoot to the front of your board.
And just like that you have a base to make a farmhouse style sign. So now what? You can freehand or hand letter the sign. I am not the best at handlettering so I chose to make a vinyl stencil. Learn how to make your own vinyl stencil here.


15 Comments