This post contains affiliate links, please read our disclosure policy.
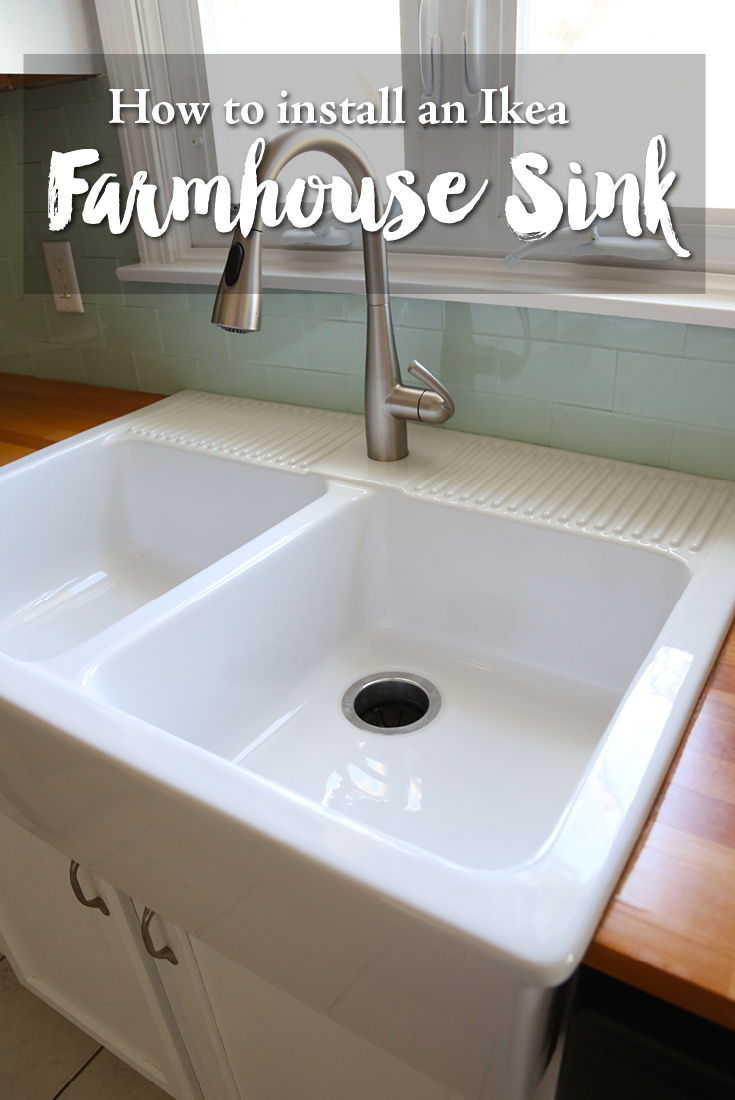
Everything but the kitchen sink…. or so it seemed. I am elbows deep in my kitchen renovation and all I’ve ever wanted is a farmhouse sink but I was truly finding it to be problematic. See most farmhouse sinks require a custom cabinet that was made for the an apron front sink. No matter the research I was doing or trying to figure out my cabinet situation I was just having no luck. Not to mention farmhouse sinks can run you upwards of $1,200. So to keep this kitchen on budget and to keep my plans of painting the oak cabinets I turned to trusty old Ikea.
Ikea had a few choices for farmhouse sinks. I ended up buying the DOMSJÖ it was 37 inches wide fitting my 36 inch cabinet. So now here comes the fun part. How do we install it?

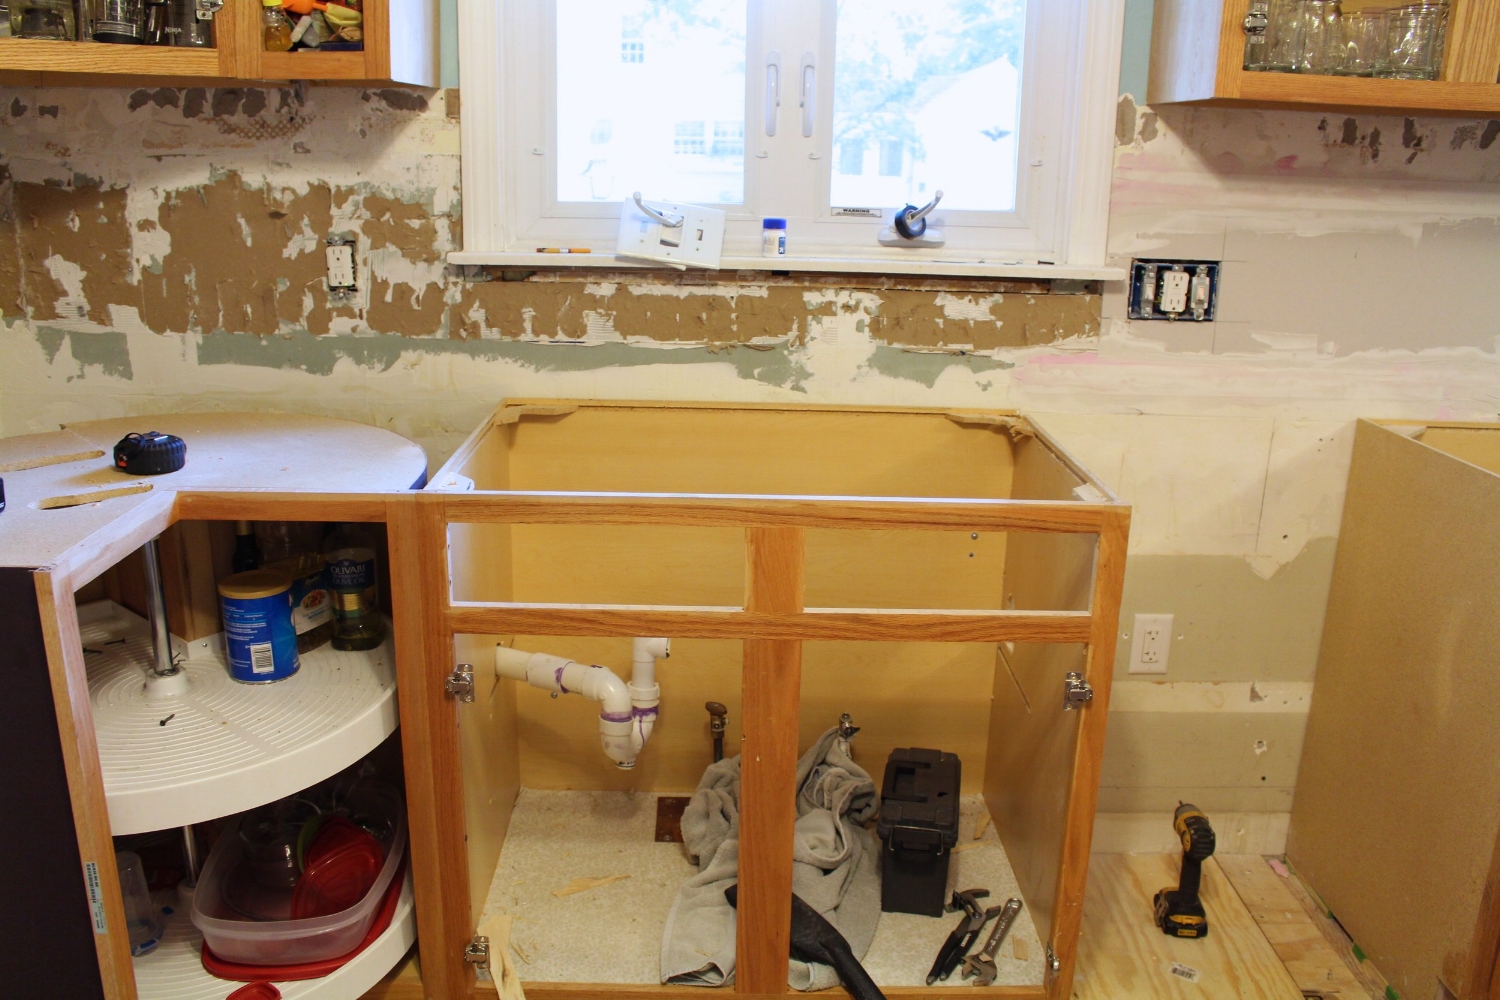
Remove the old sink
Can we just take a moment and gag over this black stained sink the previous owners had left behind. Now matter how much I cleaned it it always looked dirty. We started by removing the old sink. Before you do this remember to shut off the water and detach the faucet. Now this sink was heavy and fairly large. Definitely a two person job to remove it. We were able to easily remove the sink with a crowbar and a hammer.

Remove or cut your counters
Next step is to remove your old counters. Now if you are trying to reuse your counters you are going to want to cut them. See what I loved about this Ikea sink is that it sits on top of your counters and slides in place against the wall. That means you do not have to cut a hole into your counters. For me I installed butcher block counters so it was a just one cut.
Retrofitting your cabinet
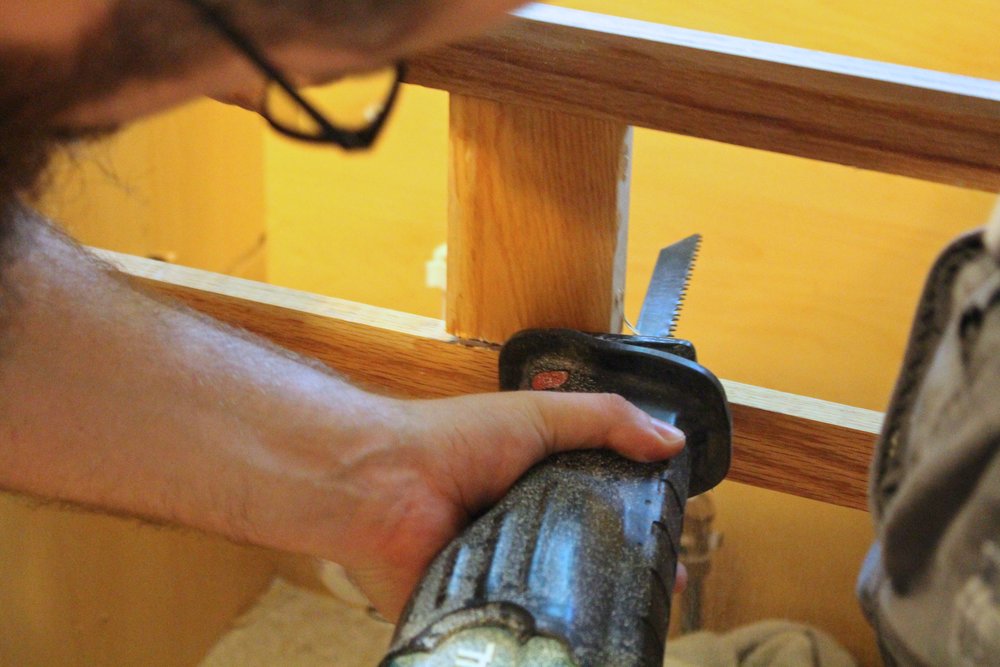
Now we have to make a few adjustments to the cabinet to make it secure and allow the sink to fit. First off a farmhouse sink has an apron front. Which means you see the front of the sink. So where the faux drawers were before in this cabinet we must cut that to adjust for the apron.
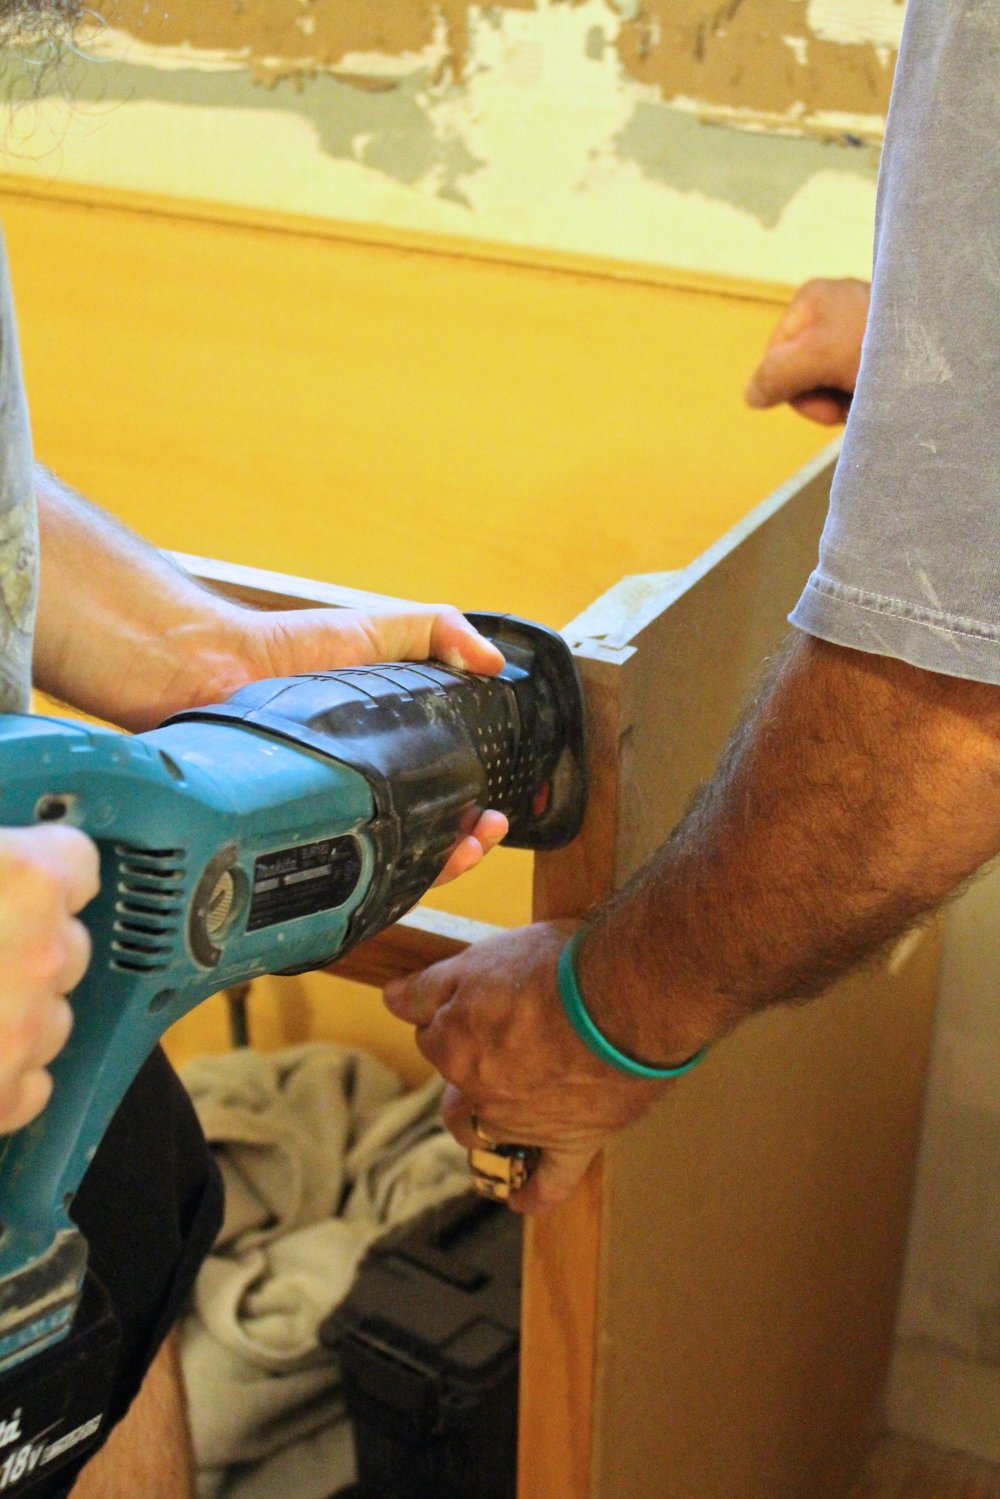
We did this by using a reciprocating saw or a sawzall. We removed the cross bar and the middle support.
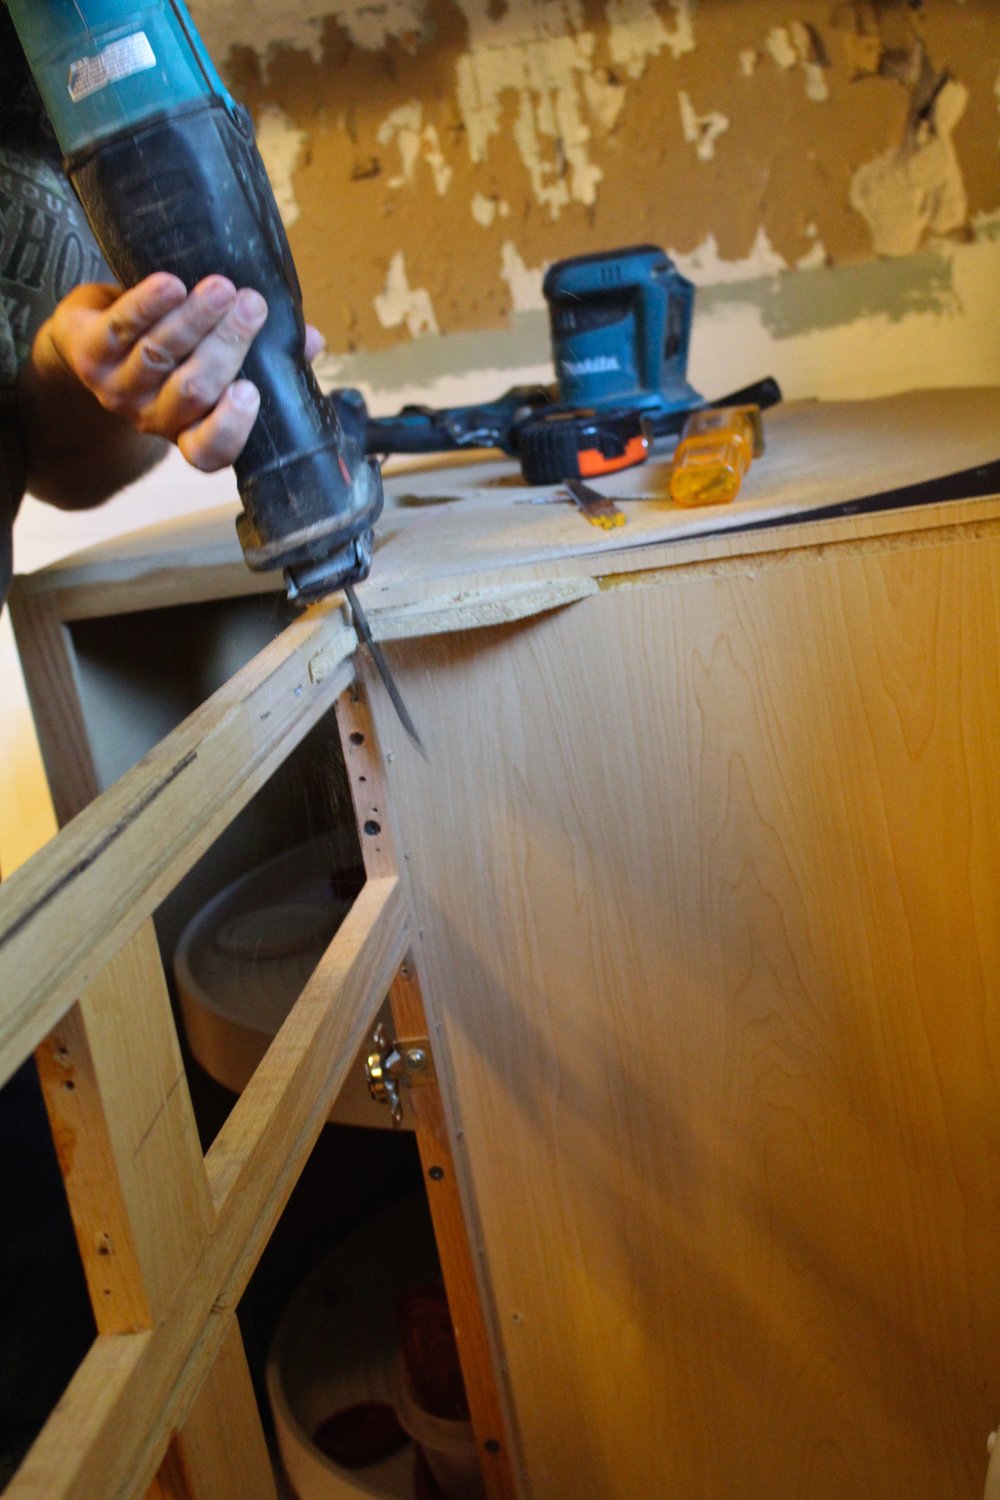
We also removed the corner support for the sink to fit.
Now the cabinet is starting to take shape and look like it’s ready for a farmhouse sink.
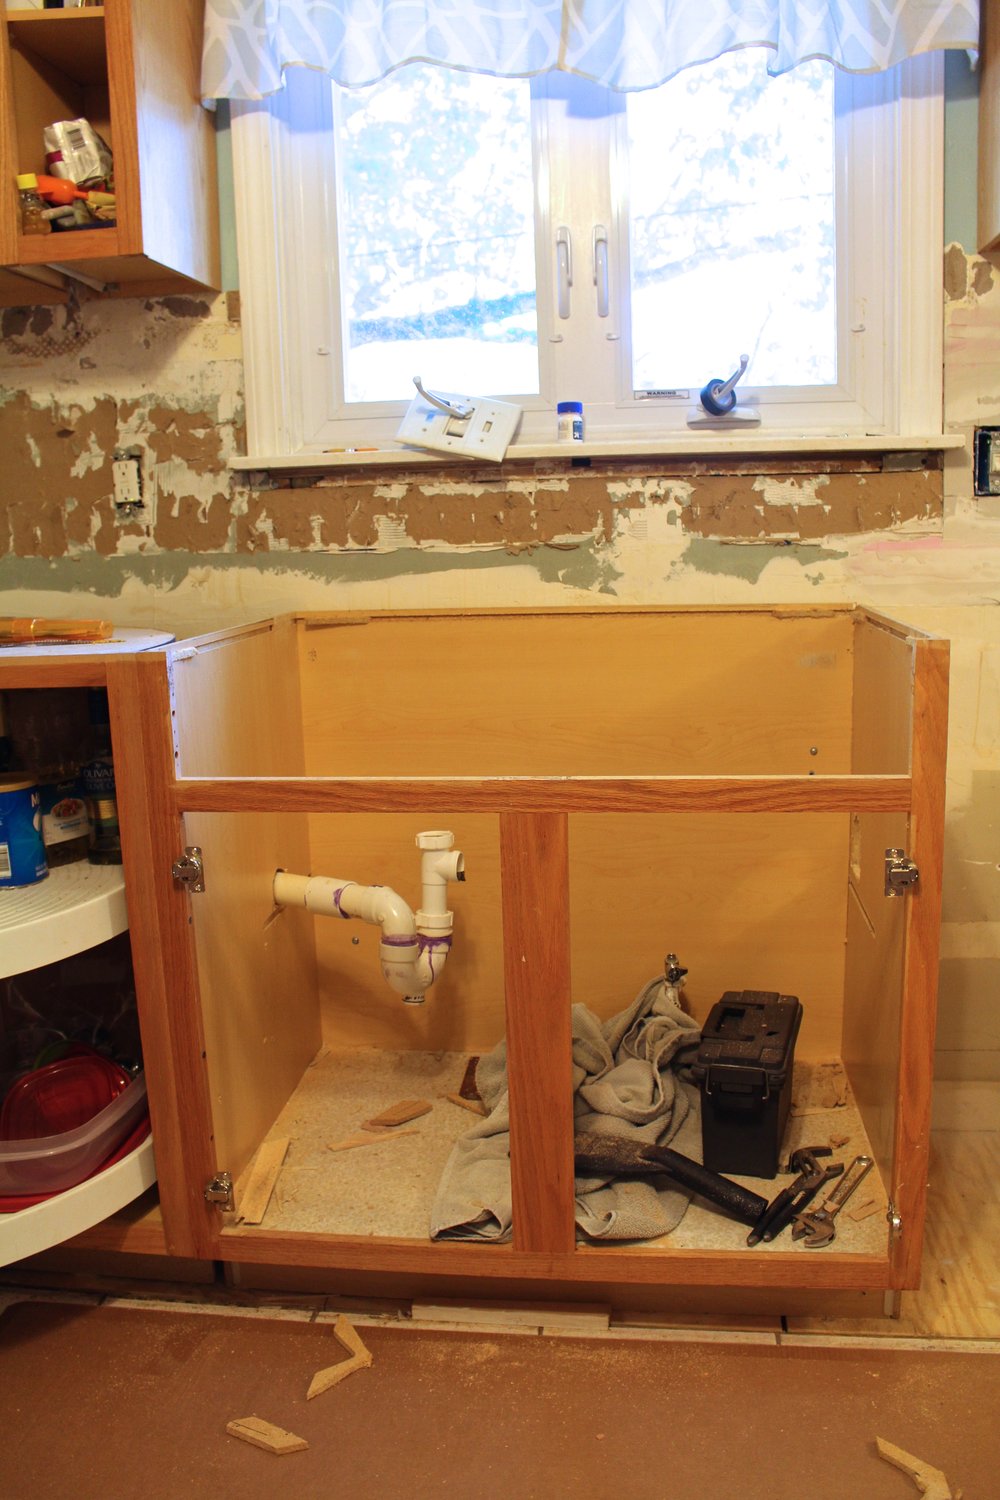
The ‘drawers’ and cross support are gone.
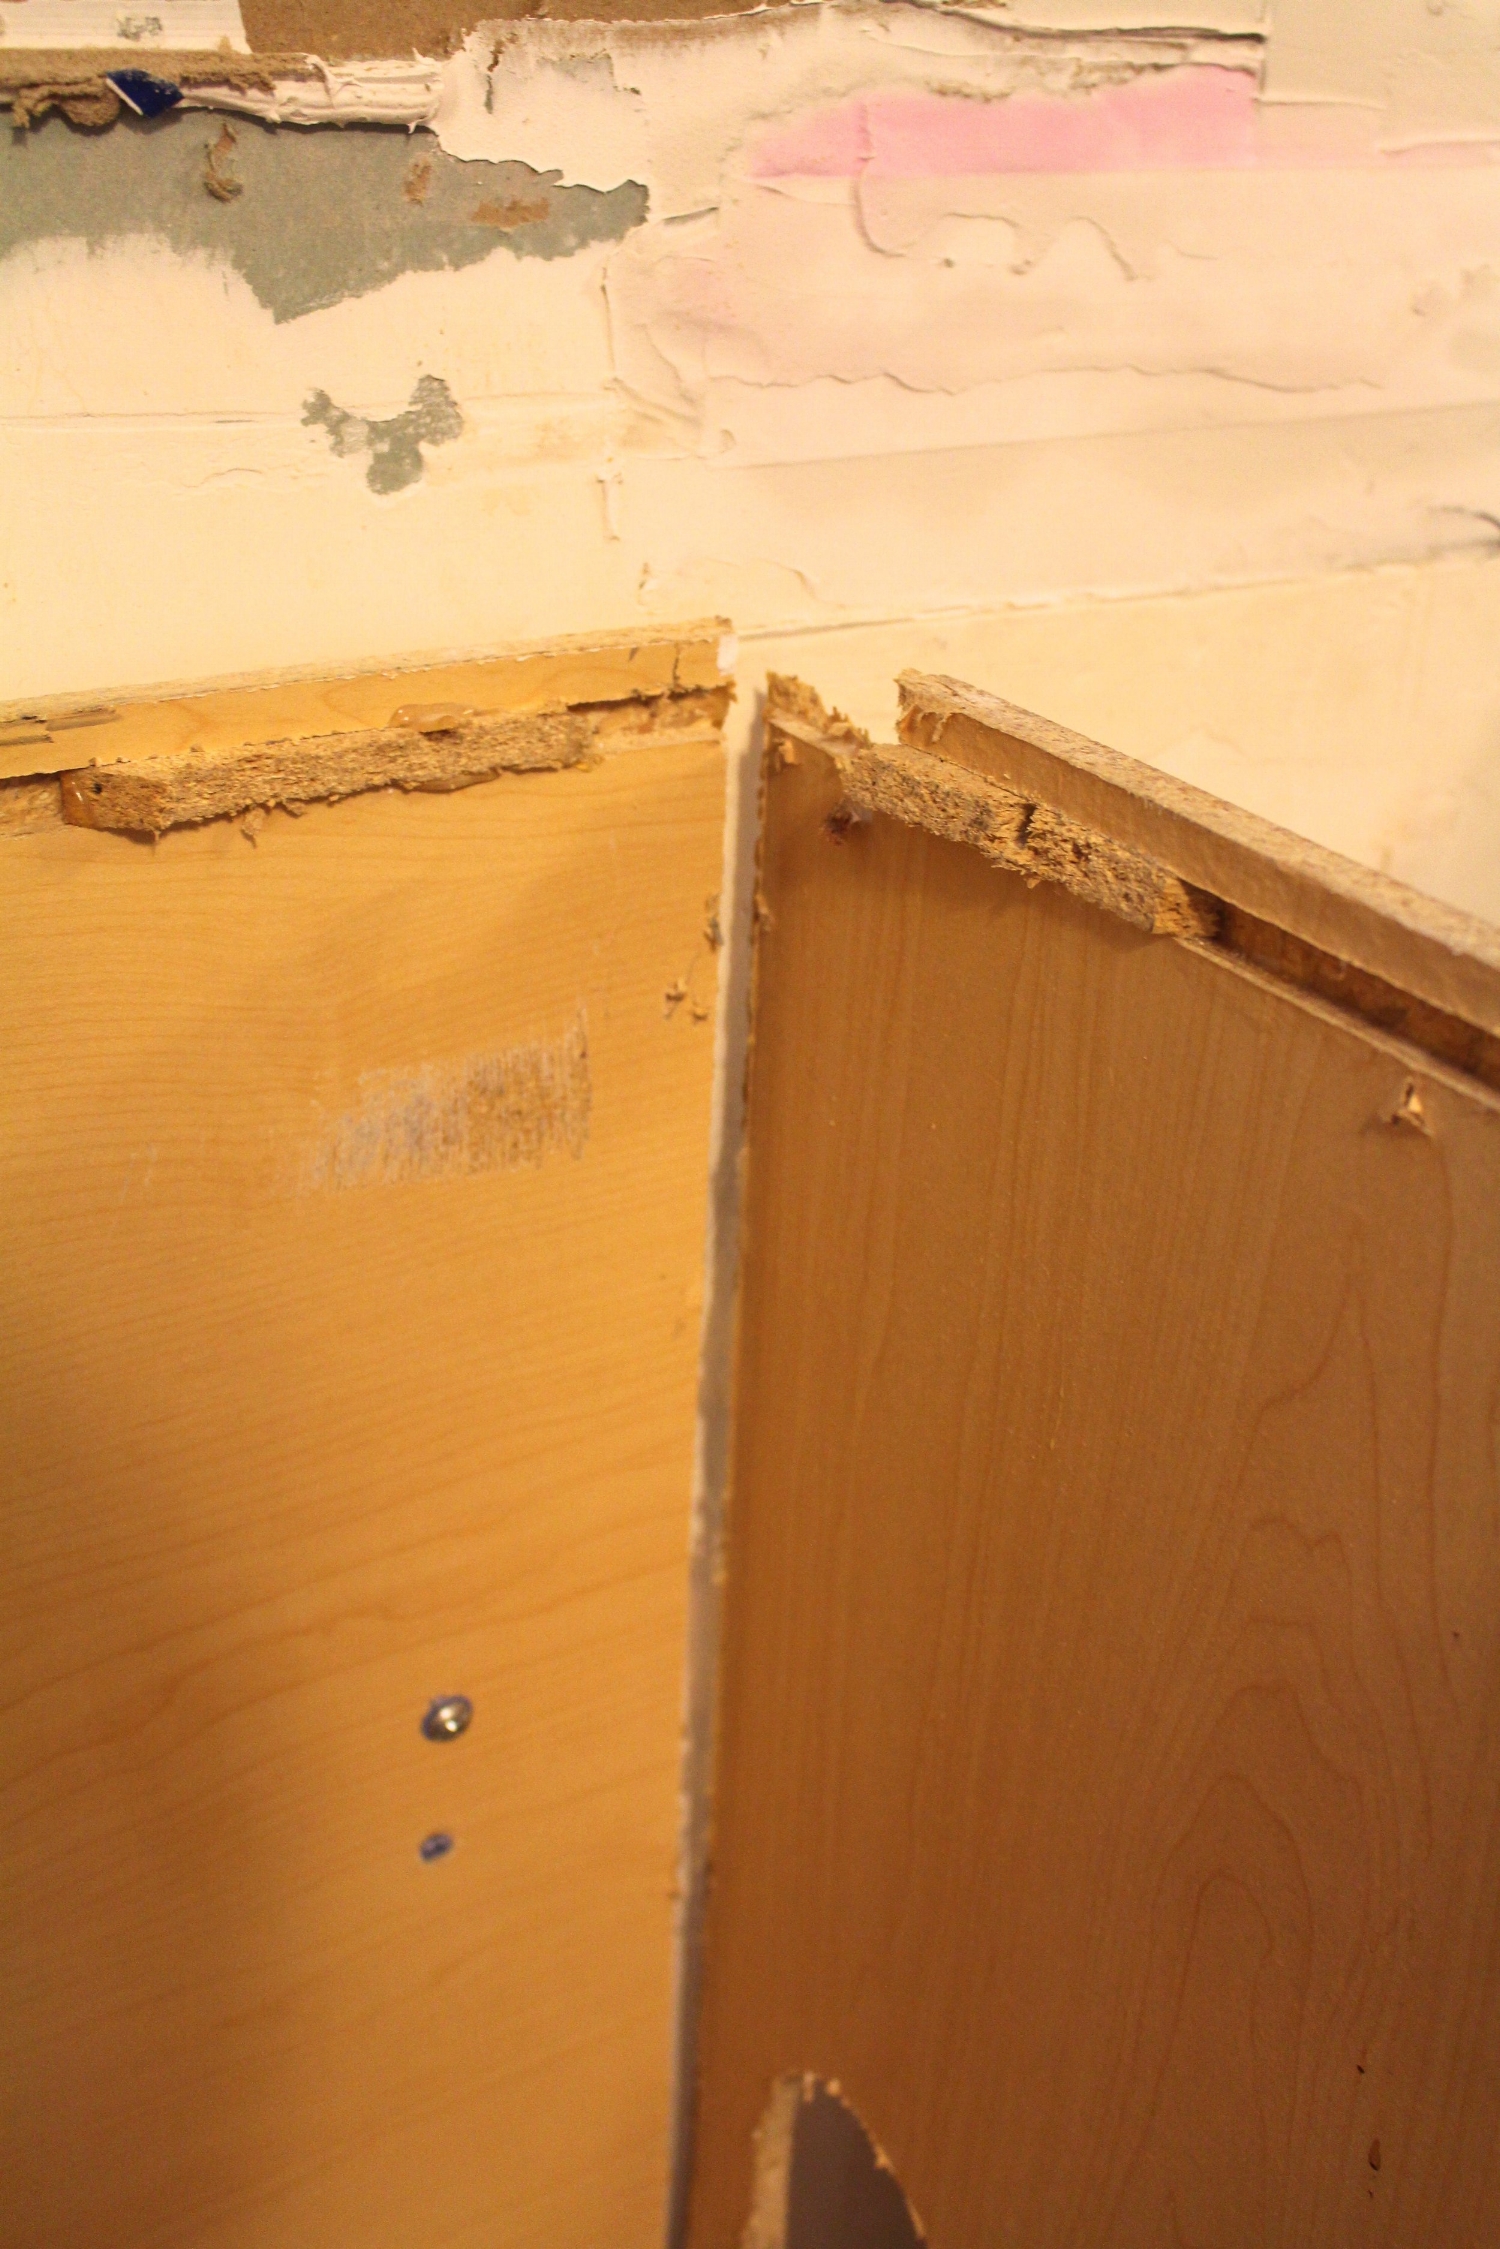
Now the existing cabinet was damaged from removing the back corner support. This was actually ok since there was not a cabinet besided it. Instead the dishwasher was next to it because of this we decided to make a supporting piece that would bridge the cabinets on both sides of the dishwasher. This will help provide structure and support for the sink.
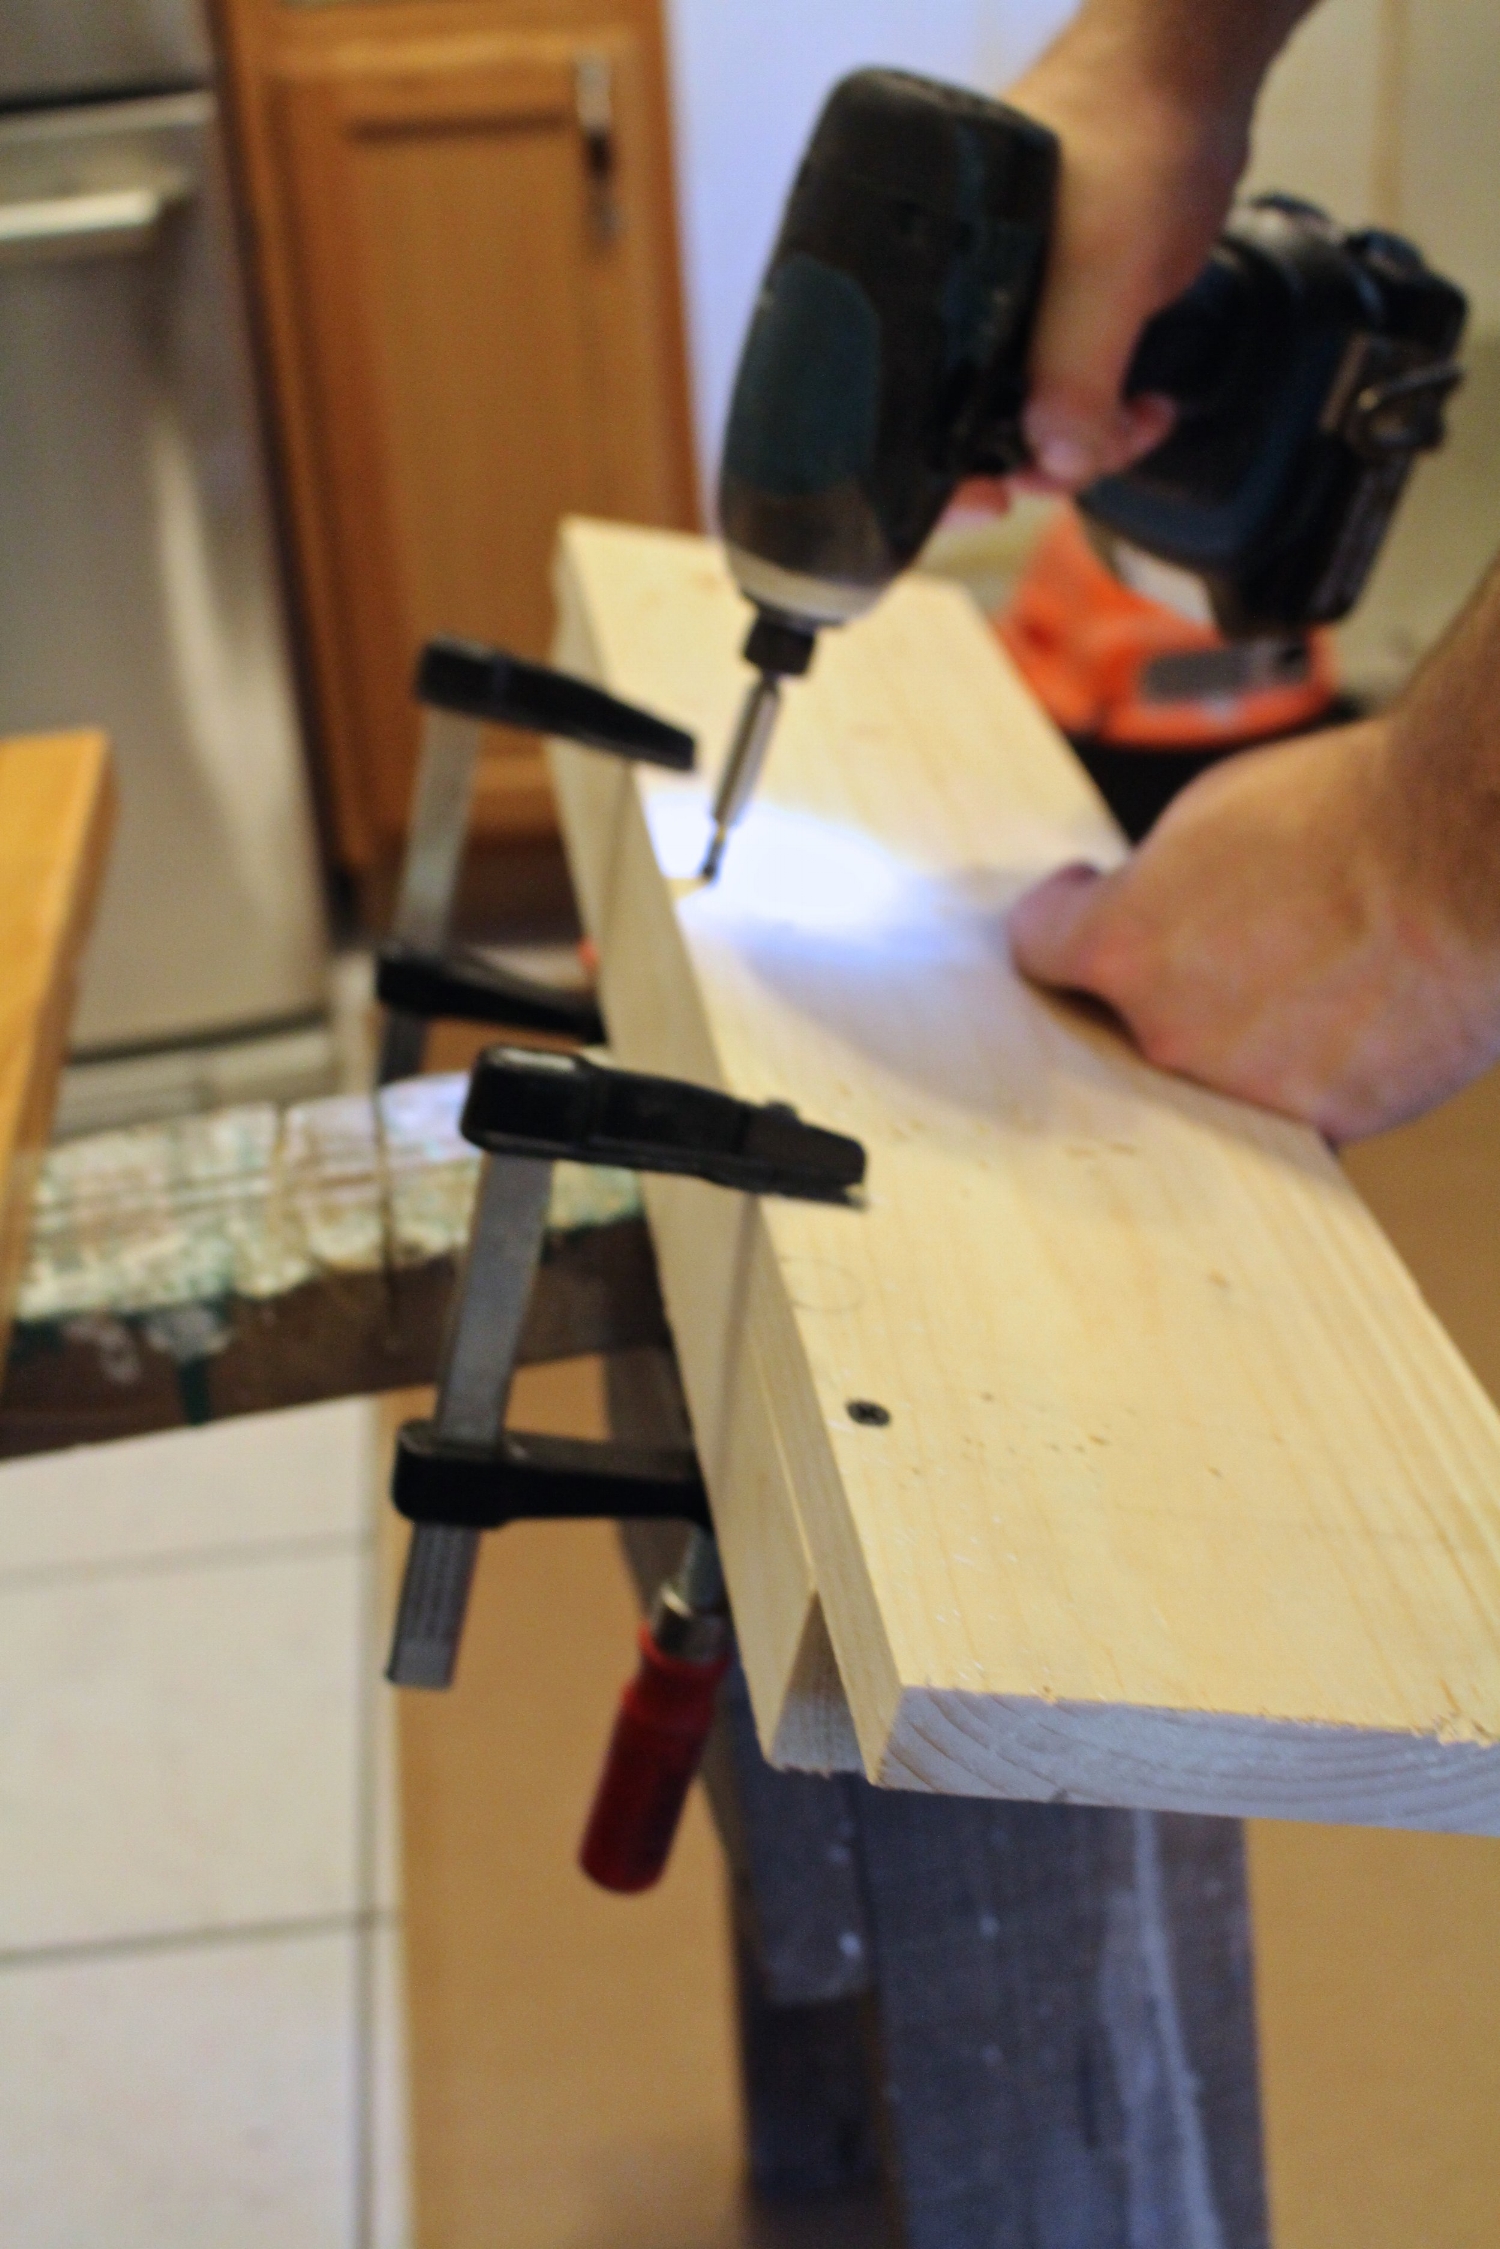
We used some scrap wood making it the width between the cabinets.
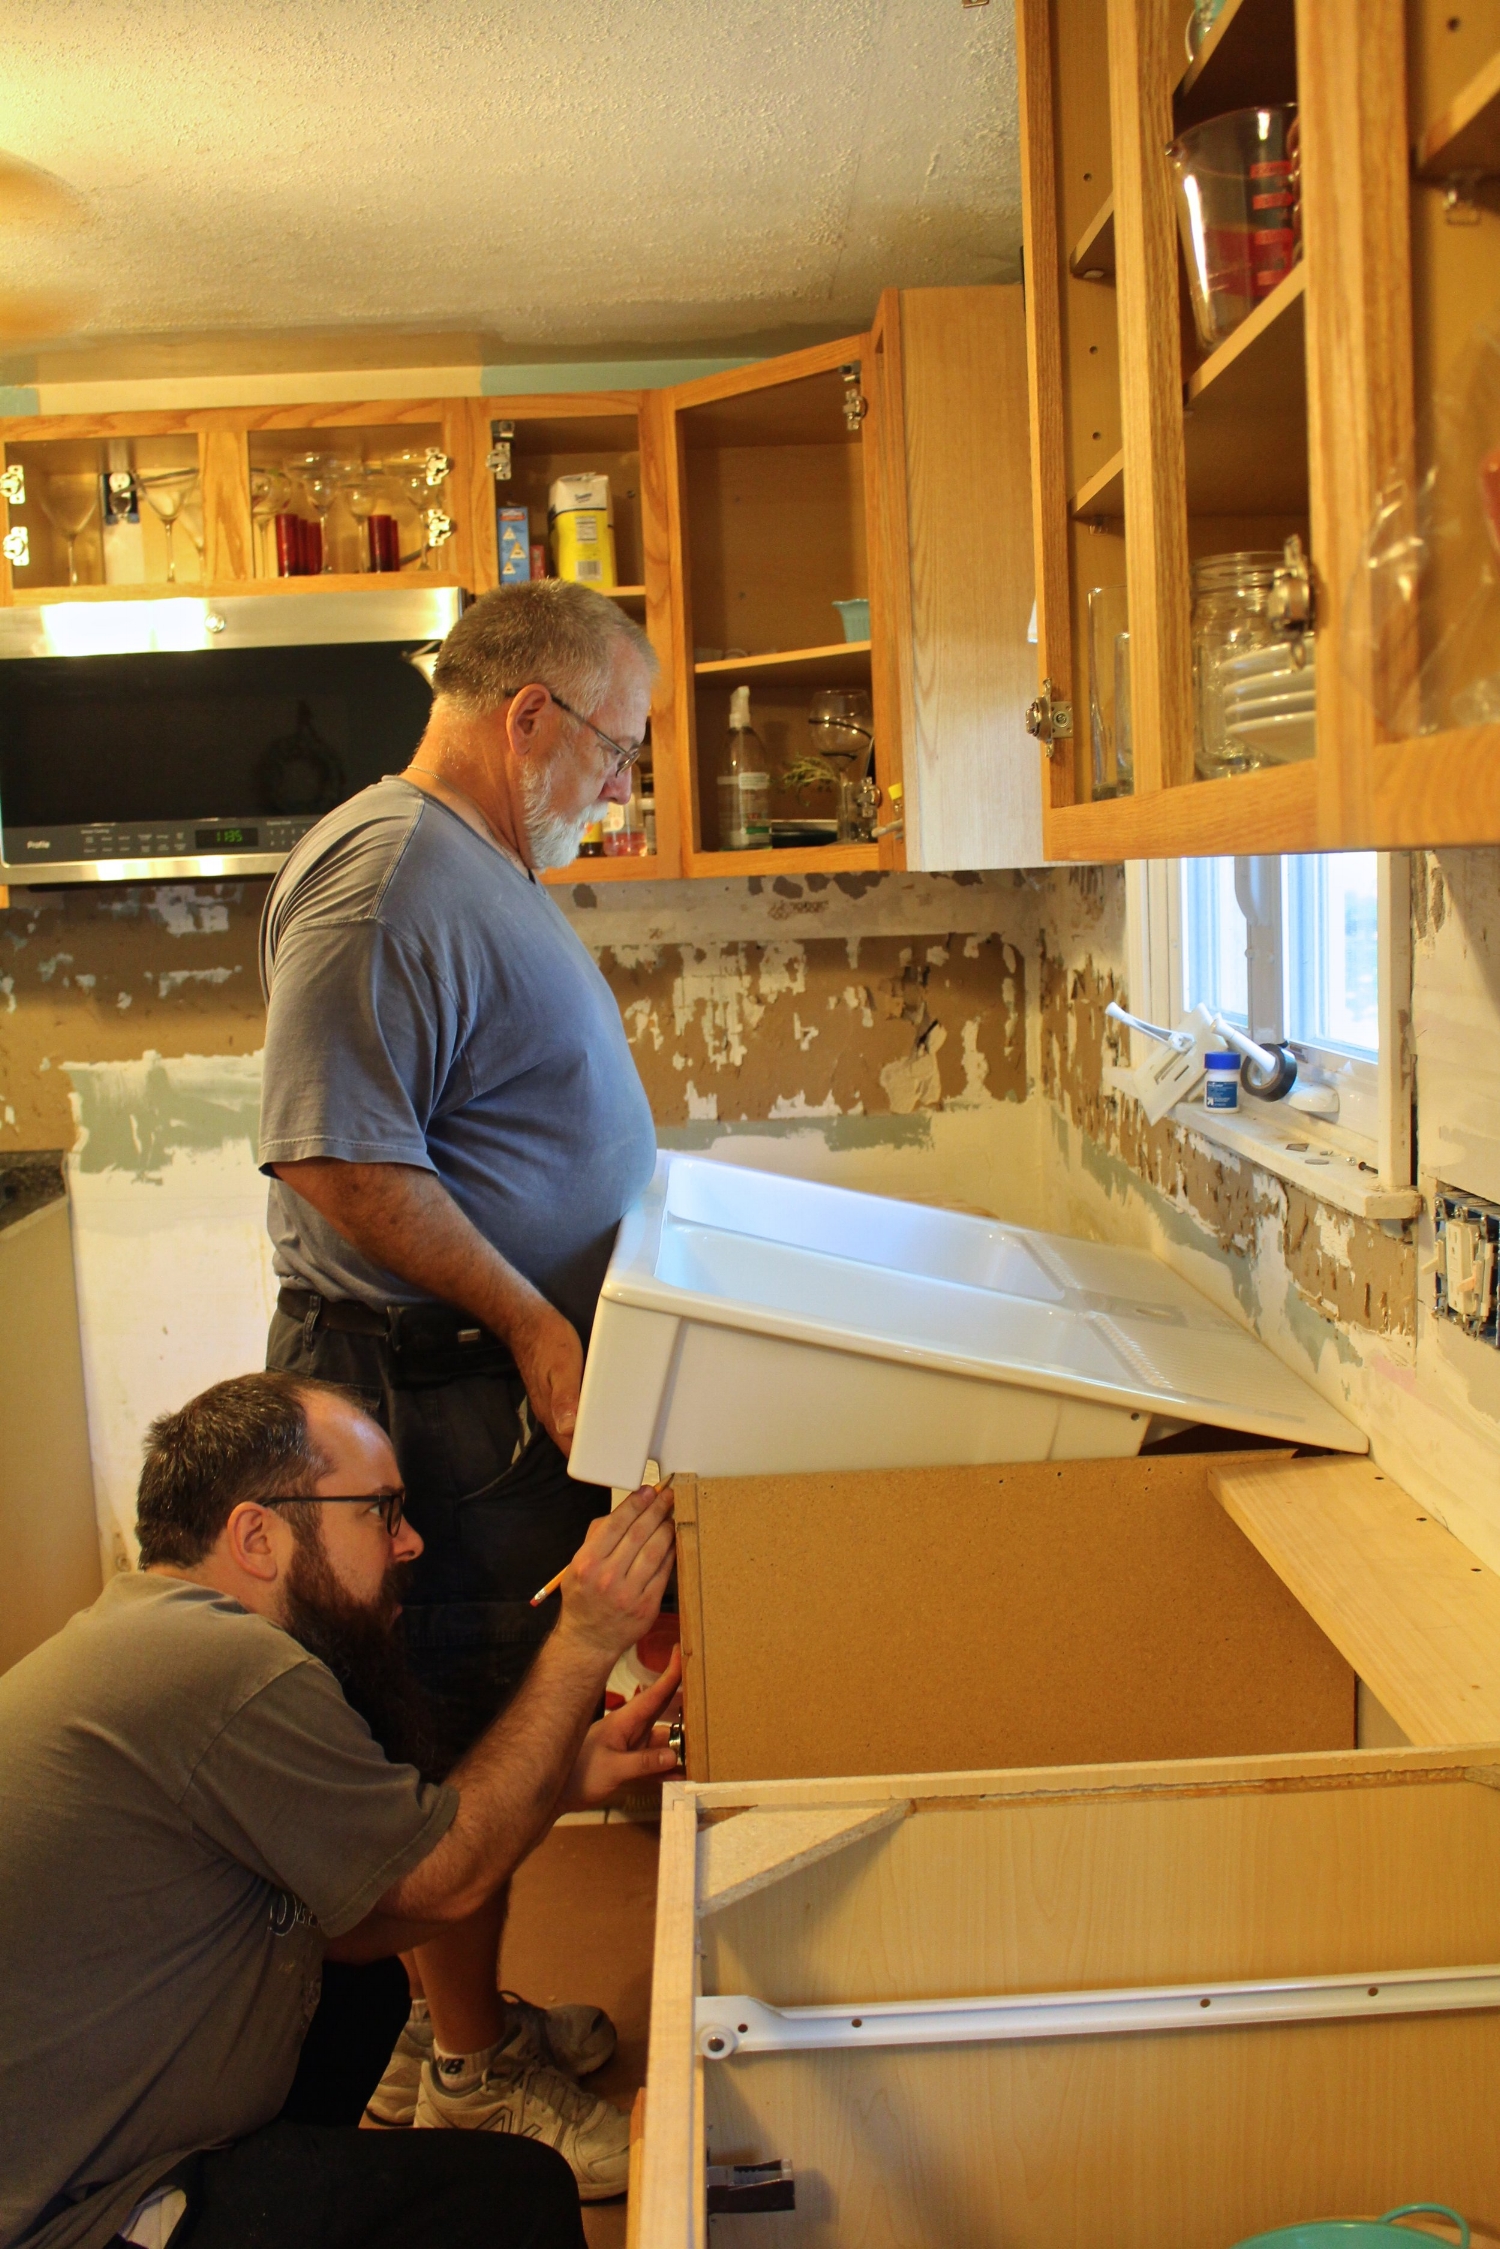
Next we dropped in the farmhouse sink to make sure it was fitting correctly. I thought retrofitting the cabinet would be difficult and intimidating but really it was easier than I anticipated.
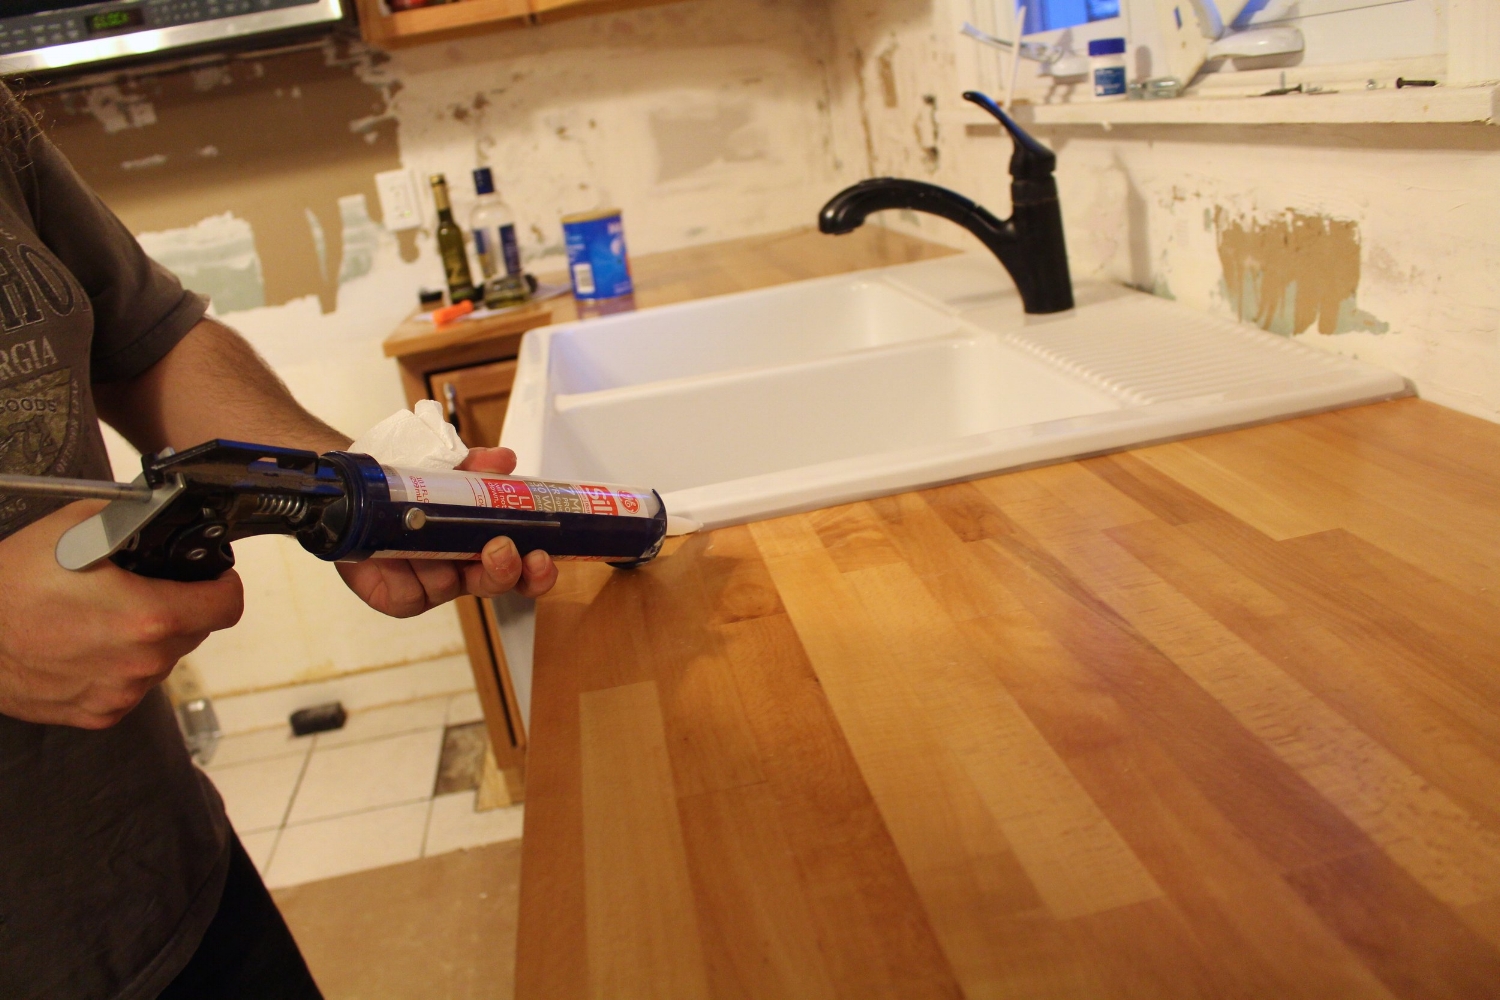
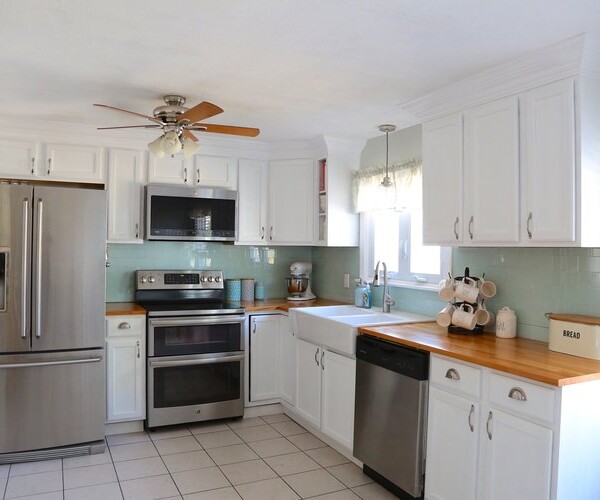
Before permanently dropping in the sink we installed the butcher block countertops (which you can read about here). Next we put the sink in. Since the sink rests on the butcher block you are going to want to seal that overlap. We did this with clear silicone. This will help keep the water out.

All that was left to do was hook up the plumbing and attach the garbage disposal again.
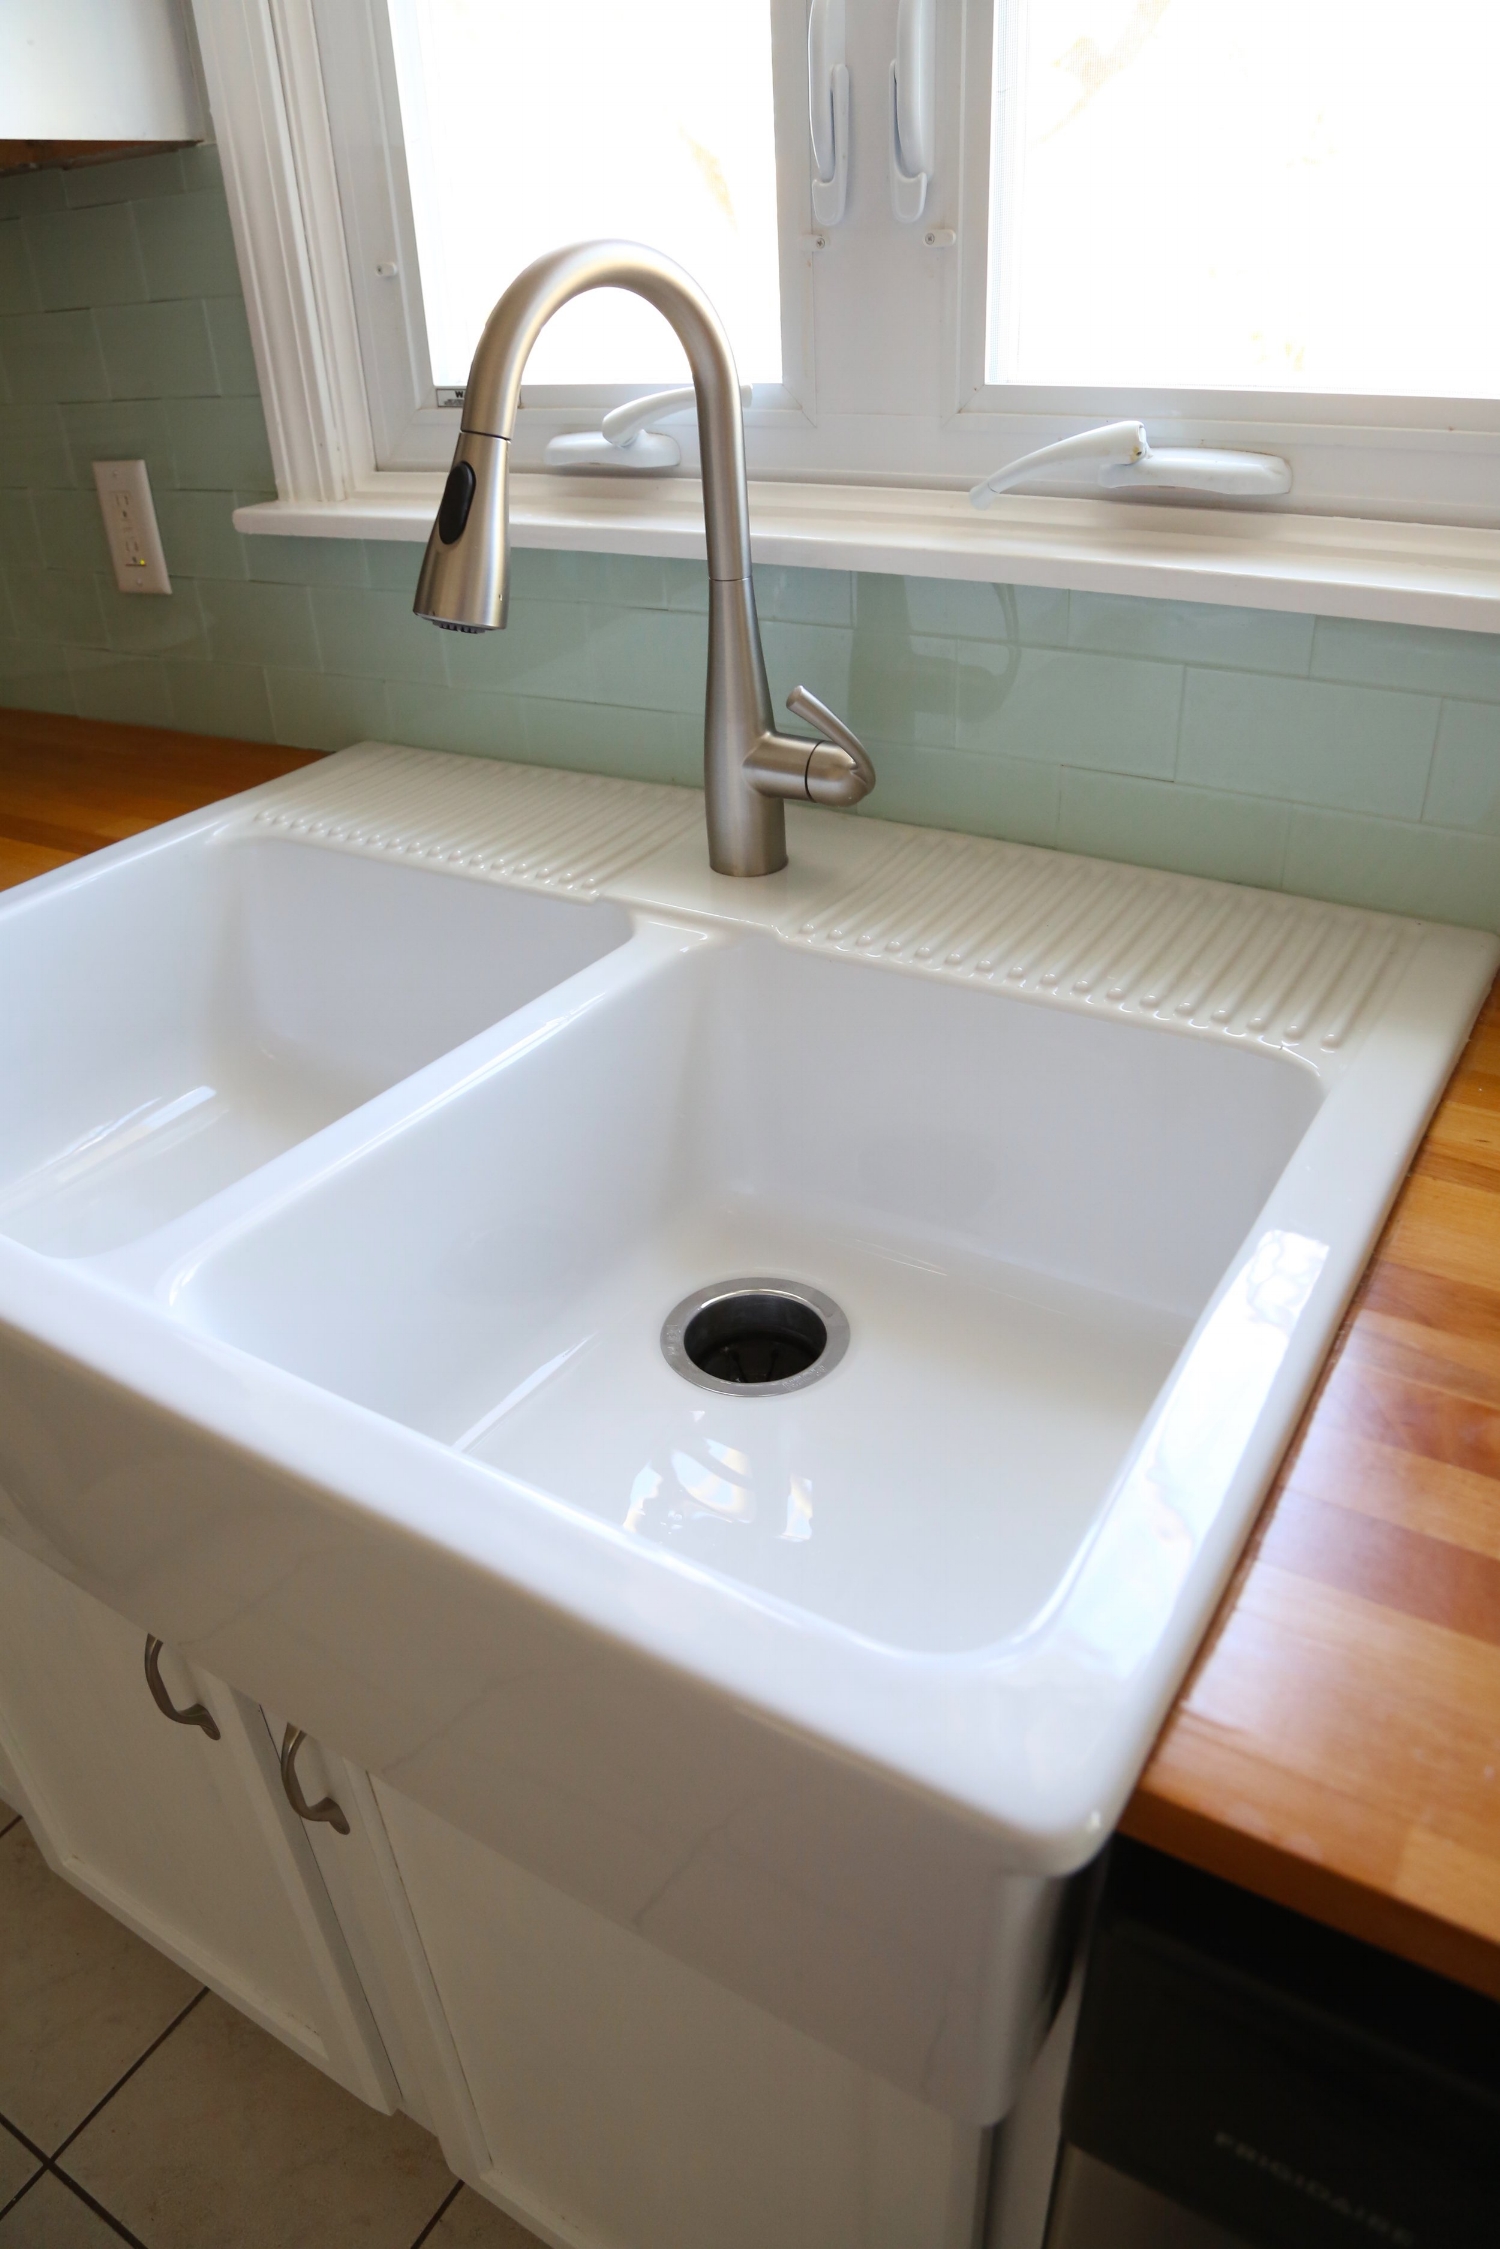
We were able to install the butcher block and the sink in one Sunday. Now painting the cabinets and adding the backsplash might have taken slightly longer 😉 Make sure you catch all the Kitchen Renovation updates here.


16 Comments