This post contains affiliate links, please read our disclosure policy.
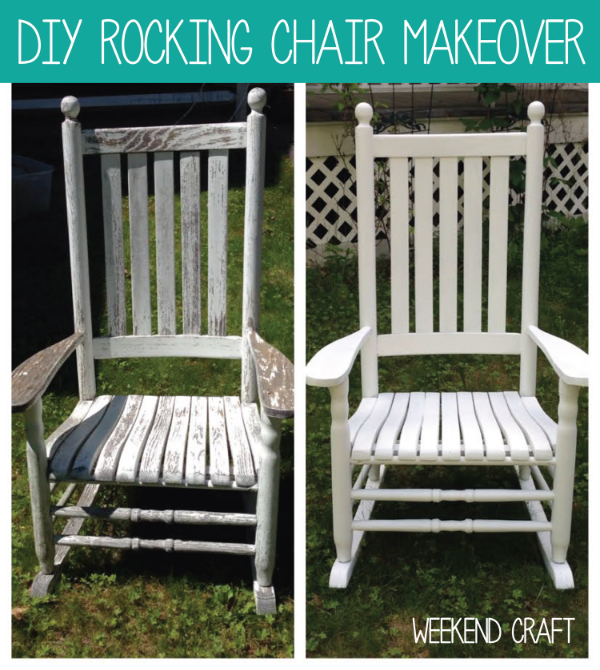
Back in June I guest blogged over at Creative Ramblings about showcasing a DIY Rocking Chair Makeover. I thought I would share the post today with you.
June is the start of birthday season in my family. My sister, myself and my sister-in-law are all a day apart 9, 11 and 13. We have gotten good at sharing cakes or even getting matching birthday gifts! Because of this we try to make are birthdays a little more special for each other.
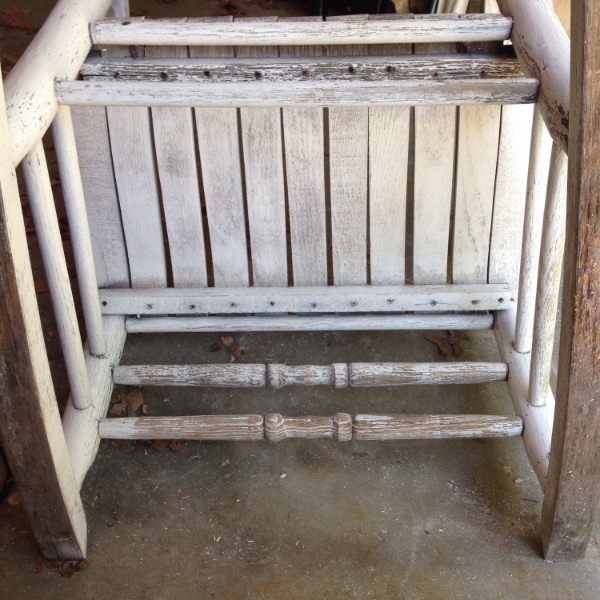
My sister recently bought a house and they are in the process of making it their own. Week after week Jenny has sent me links to rocking chairs that were just too pricey or falling apart on Craigslist. I immediately knew this would be a fun project to surprise her with. After a few weekends of yard sales and estates sales I finally found the rocker suitable for her outdoor porch.
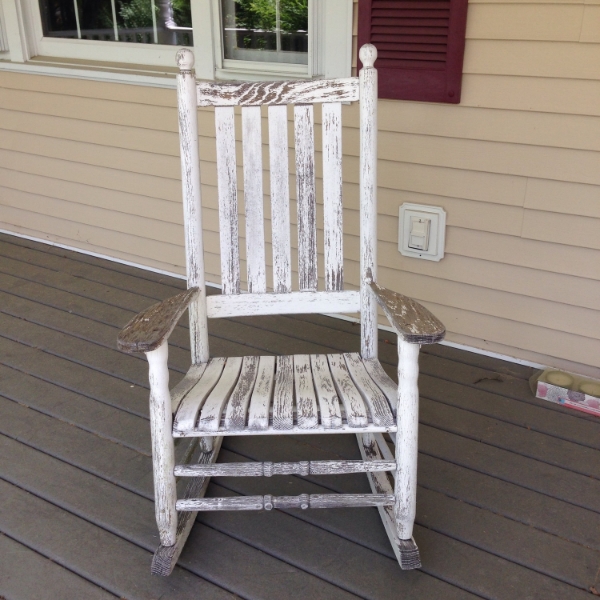
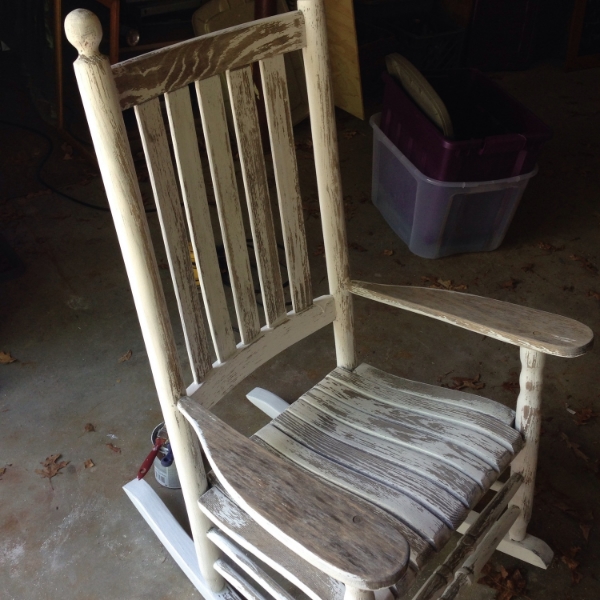
This chair although looks like she needs some love is solid wood and sturdy as can be! I bet she’s at least 60+ years old. Now if this chair was for me I would just sand it down smooth and clear coat it, leaving the shabby weathered look, but that’s not really Jenny’s style.
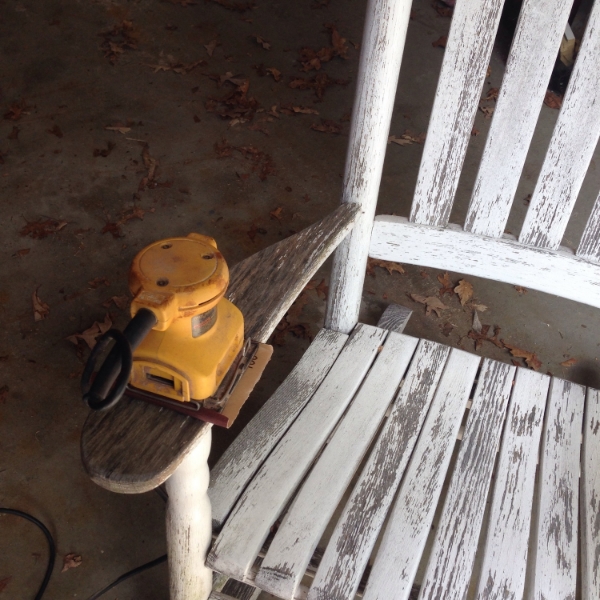
I started out by using a palm sander and 100 grit sandpaper working up to a finer grit (220). With the chair being so detailed and rounded a lot of hand sanding was necessary.
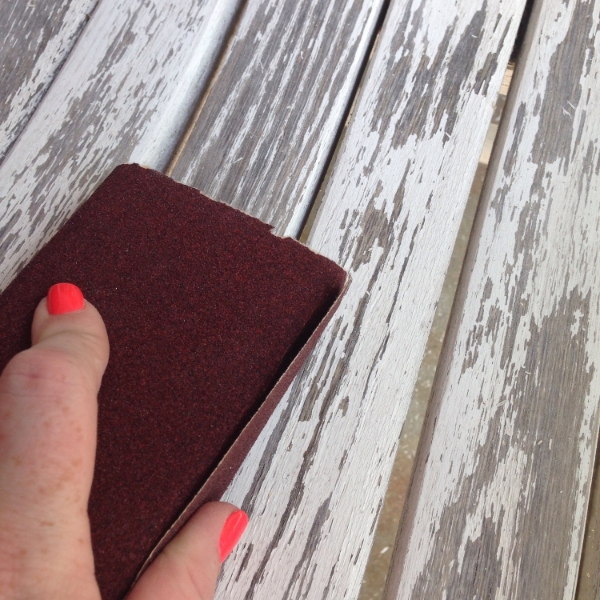
When hand sanding I like to use wrap sandpaper around a wooden block. This makes it easier to control and to keep sanding even.
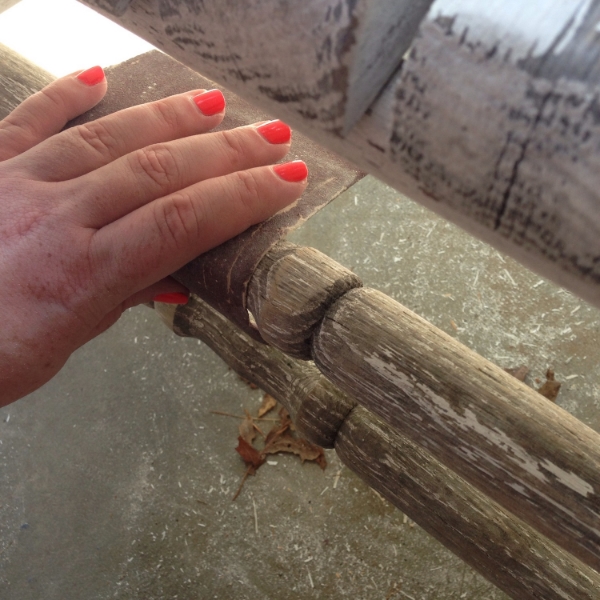
When sanding rounded edges and details use the paper as is and make sure to get into all the nooks and crannies. When sanding the chair the goal is not to sand away all of the original paint but to create a smooth and even surface to stain over.
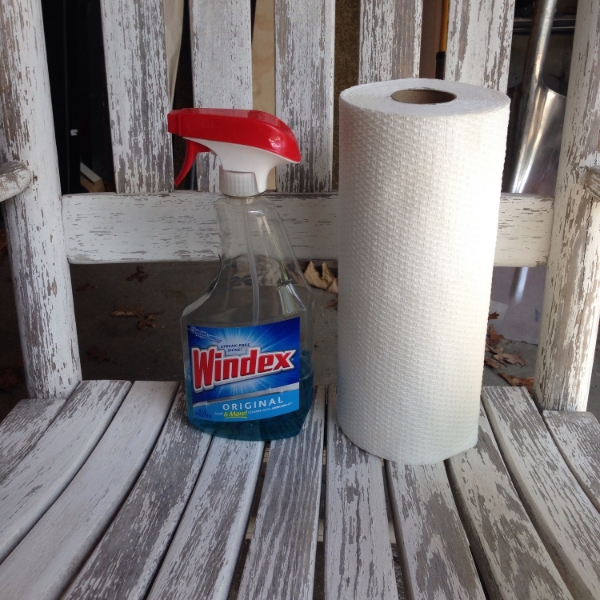
Now this is definitely my least favorite part. Before painting its important to get all of the dust that we have just created off of the chair. First I use a dry paper towel to get most of the dust off. After this initial dusting use windex to clean up the chair.
Allow the chair to fully dry before staining it.

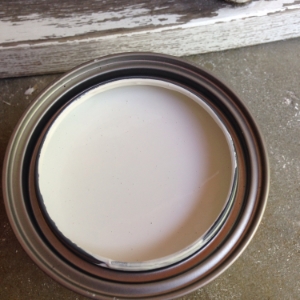
Now when I think of stain I think of the wood stain that is typically brown and I would use on something I buy from the mill store or use on my patio flooring. So I was surprised when I asked the paint guy at Lowe’s what to use on an outdoor rocking chair and he told me white stain. Regular latex paint would over time yellow and peel in the outdoor elements. Now the Olympic stain looked and brushed on just like paint.
Start with the under side of the rocking chair. I did this so I would not later have to flip the chair over when the other side had fresh paint. I did two coats of paint on the underside allowing it to completely dry before flipping it over.
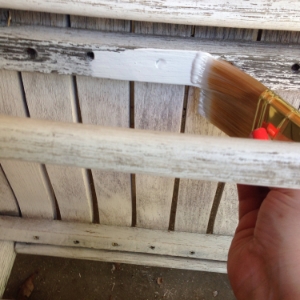

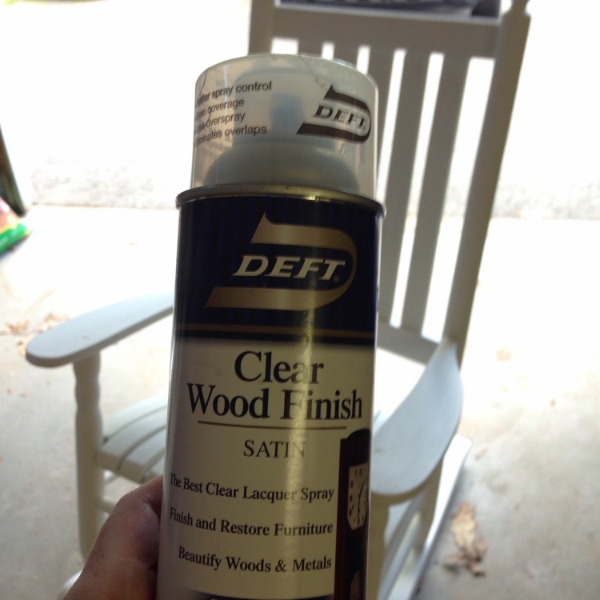
Once I finished staining the chair I let it dry for a few hours. Even though the stain also had a sealant I finished the chair off with a finishing spray. This just gives it a little more of a sheen and a finished look.
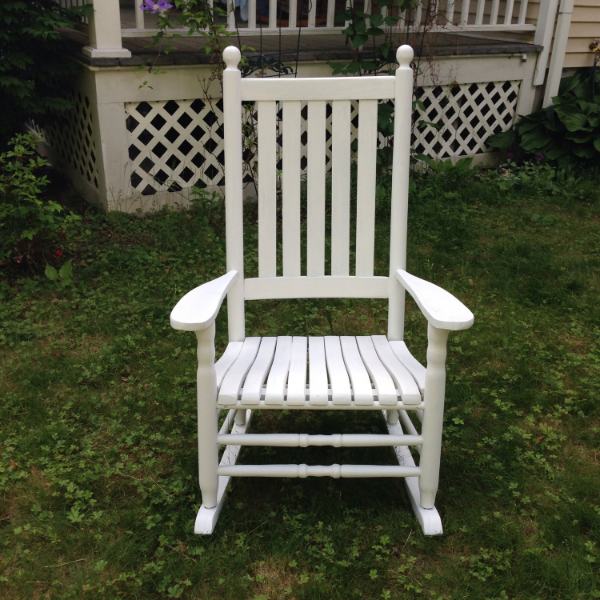
I couldn’t be happier with this weekend project! It looks brand new and it is ready to stand the test of time and also the New England elements.

Jenny absolutely loved the chair and was happily surprised! I was also told to be on the look out for a small side table for her coffee. Maybe for Christmas!


Great info on the project and I also did not know you could get white stain. I have a project and will definitely use it!
This furniture makeover is fabulous! What a great surprise for your sister!