This post contains affiliate links, please read our disclosure policy.
This is a sponsored conversation written by me on behalf of Cricut. The opinions and text are all mine.
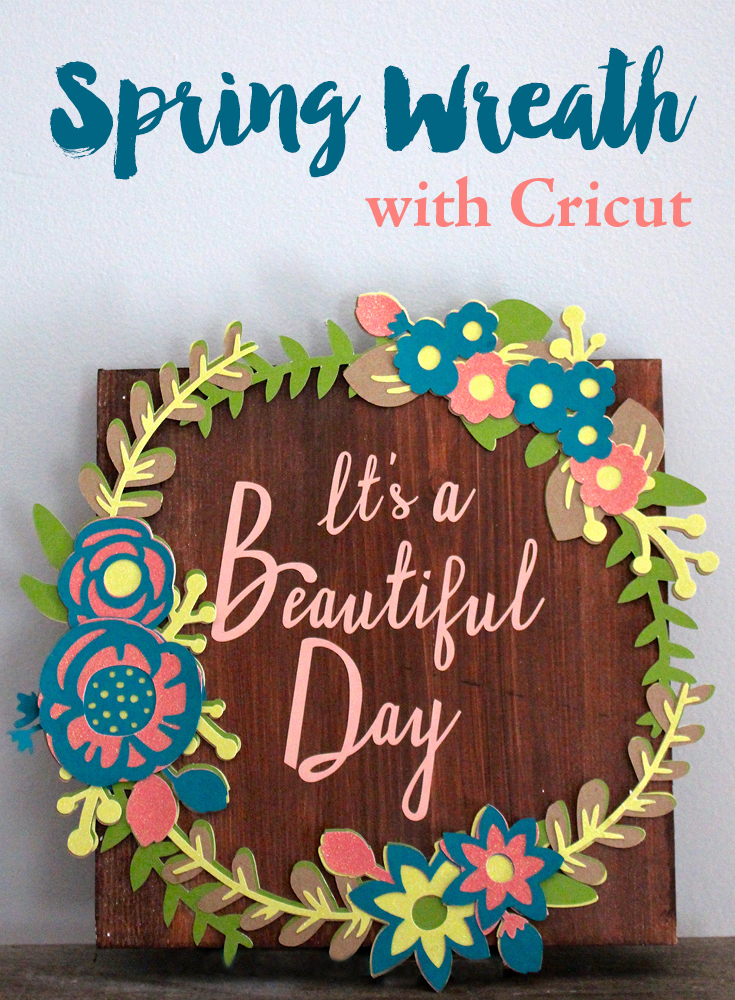
Some days you just feel like crafting and some days you just want it to feel like Spring. This is one of those days. Today I want to show you guys one of my first Cricut projects, “It’s a beautiful day” Spring wreath sign. I was stuck at home during a snow day last week dreaming of Spring weather. Well I decided to make my own beautiful day.
Now I wanted to make a project that I didnt necessarily have to design. So I went over to the Cricut Design Space and searched by the category Spring. The page was filled with flowers, Easter and this beautiful Spring paper wreath. It was the perfect snow day project. Now I just needed to make sure I had everything needed on hand.
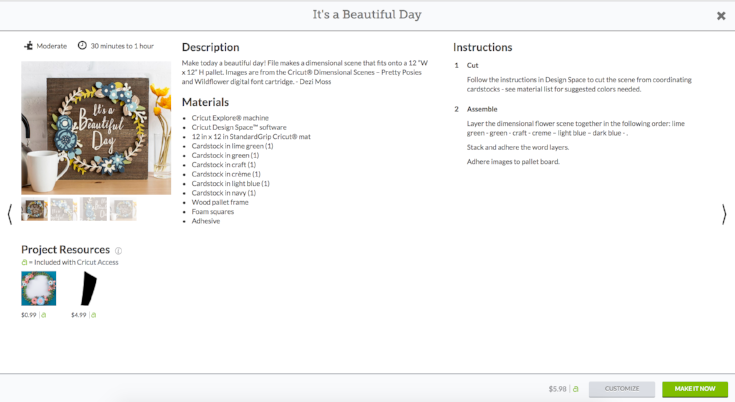
Once you find the project that you want to “make now” there is a materials list that will tell you everything you need. Now you can follow these materials to a T or get creative with what you do have or your own color scheme. Now I tend to fall in the later creating my own color scheme.
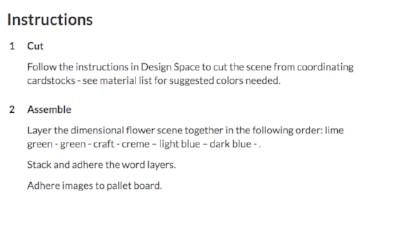
But if you do want to follow along with Cricut they make it really easy by both color coding the layers below and in the assembly instructions telling you how to layer the colors.
Above you can see the corresponding card stock colors highlighted next to the layer. Could it be any easier?
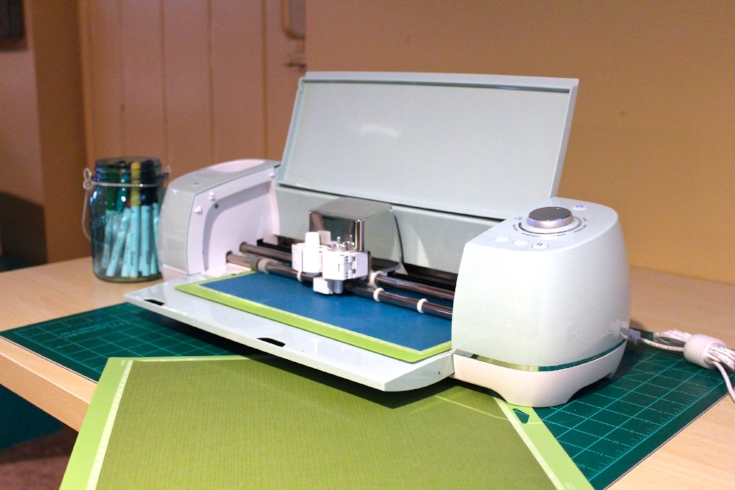
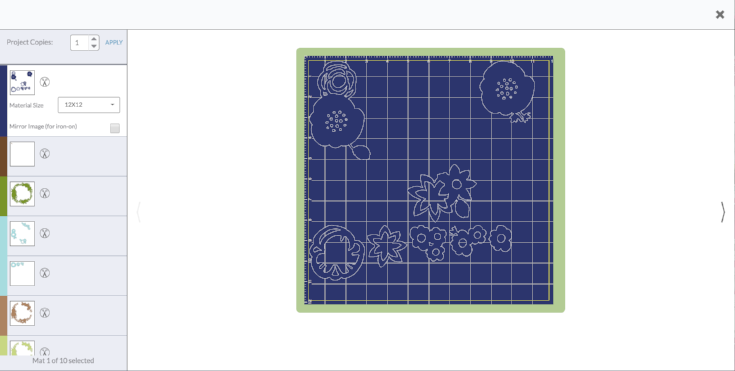
Now I love that the Cricut mats come in 2 packs. I do have to admit I think I own 6+ mats. So I prep a few mats at a time and get them ready to load into the machine. This allows time to weed between each cut with out wasting time.
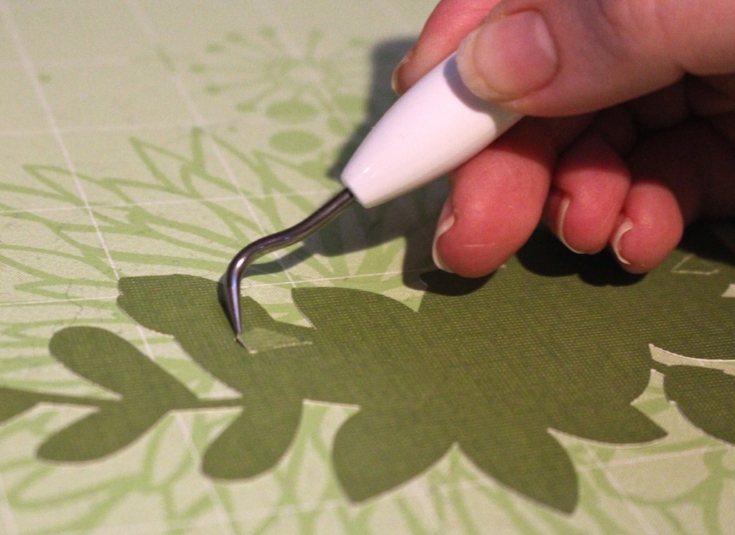
Weeding? What’s that? It’s the process of taking out the extra pieces of paper that were cut on your design, removing the negative space. You can do this with the hook tool or tweezers.
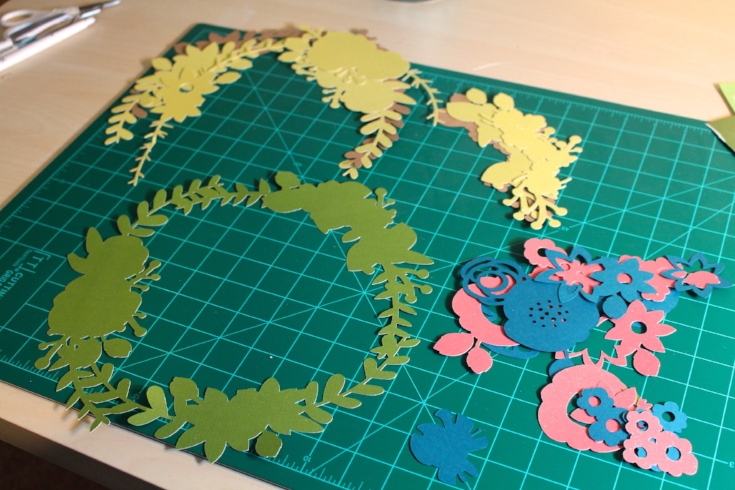
Now this is one of the more complicated designs that I have done. It was definitely like a puzzle but on a snow day I was up for the challenge.
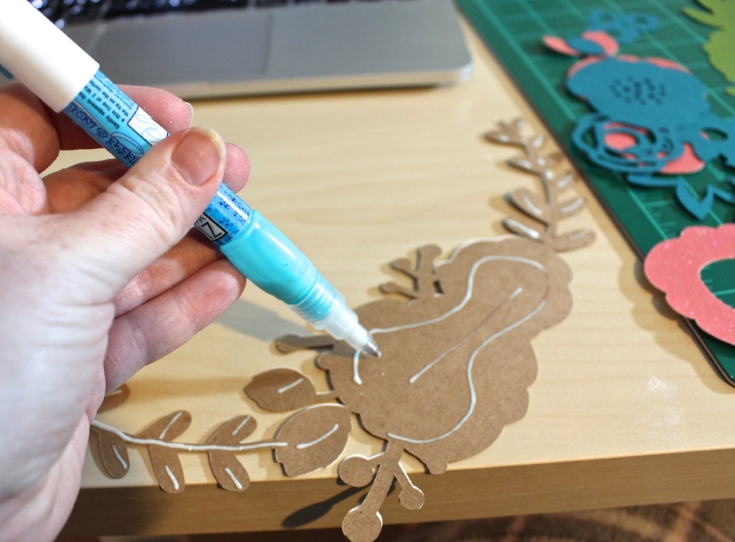
Now it’s time to assemble. You are going to want to use an adhesive. I chose to use a glue pen just because I had it on hand but an atg would also work great.
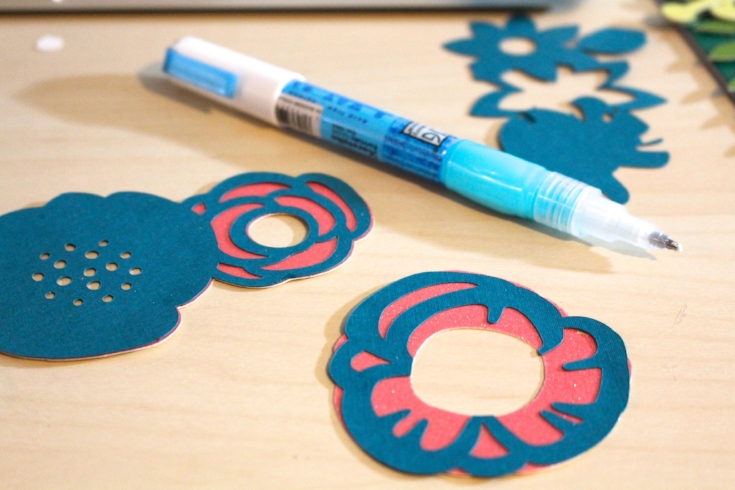
Now assembling it is truly like a puzzle but I like a challenge. I also like taking some creative liberties. I did this with color but also placement and layering of cardstock.

Once I had the wreath assembled it was time to figure out my board to place it on. I love the idea of mixing mediums. Especially wood with paper and vinyl. Now I had a piece of 10 x 10 scrap wood hanging around from another project. I stained it dark and gave it a clear coat of polycrylic. It was a perfect base for my spring wreath.

Now I veered off a bit from the directions. I am known for using vinyl on wood signs, usually creating a stencil. So I thought why not switch this up and use some vinyl instead of paper for the words. I used oracal 651 outdoor vinyl for the lettering and turned the knob on the Cricut from cardstock to viny. I then weeded out the excess vinyl.
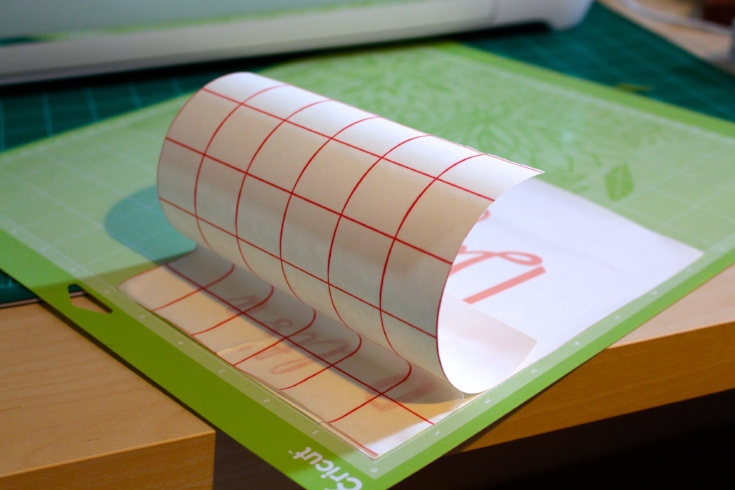
To transfer the vinyl on to the wood I used transfer paper. Now I love using transfer paper that has a grid on it. This allows for straight placement and transfer.
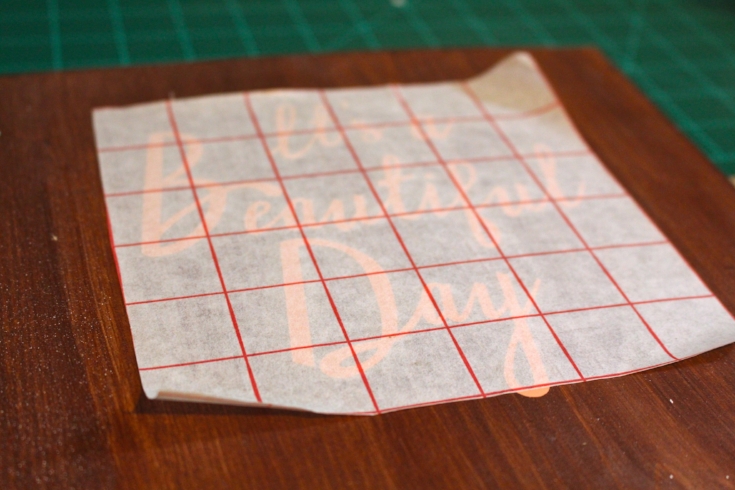
Transfer the vinyl onto the wood by using your scraper tool or a credit card. My tip for you is to pull the transfer paper back at a low angle parallel to the wood. Low and slow.
Use a dab of hot glue and place your wreath in the right position and you have a beautiful piece of Spring artwork to decorate your shelf or mantel.


2 Comments