This post contains affiliate links, please read our disclosure policy.
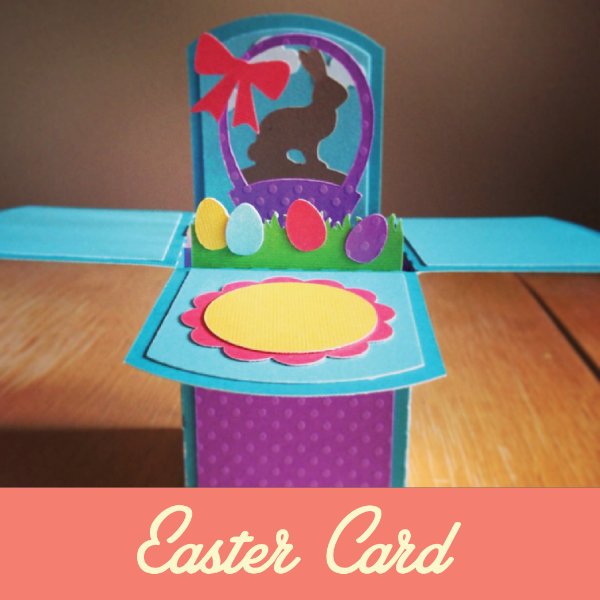
The first day of April is just around the corner. Can you believe that? Easter is less than a month away so it’s time to start cranking out cards to send to my family and friends. This year I wanted to do something a little different. I have seen on the Silhouette online store some 3D cards so I figured why not give it a try. Now I don’t have much card making skills besides the card swap I participated in last month.
I was alittle disappointed that there really were no instructions when I purchased this file (or maybe there was and I just didn’t see it?) But anyways when I purchased the file there was a link to the designer’s, Lori Whitlock’s, YouTube page with a video about how to make her 3D cards just not this one specifically. Watch the video here.
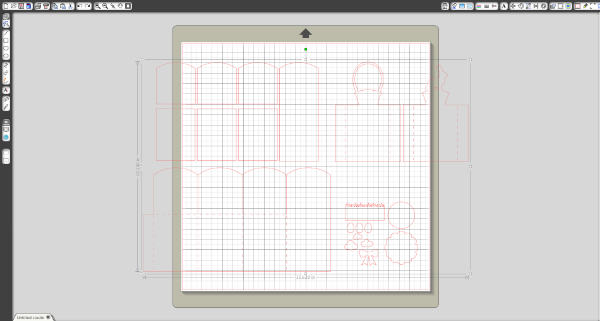
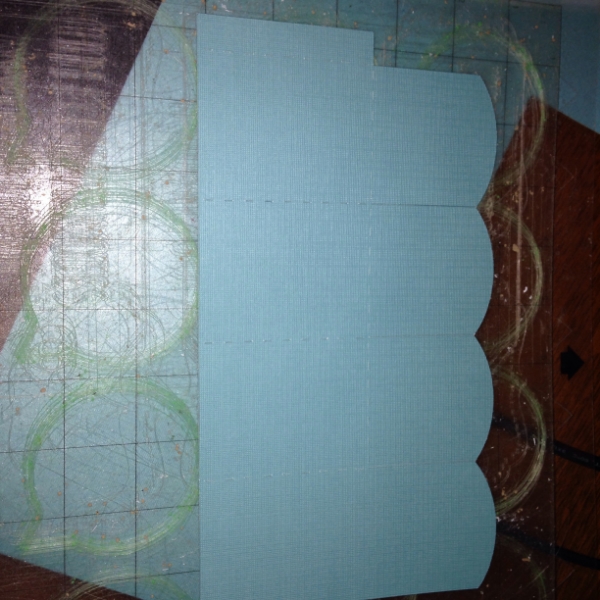
When you first load your file from the library it will look like above. All layed out on one page and grouped. Now in order to cut on multiple colored pages you must ungroup the cuts and rearrange on the mat and pasteboard(grey prepping area outside the grid above).
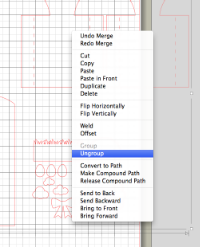
Select the cut and right click on the board, select ungroup to release the individual pieces from each other.
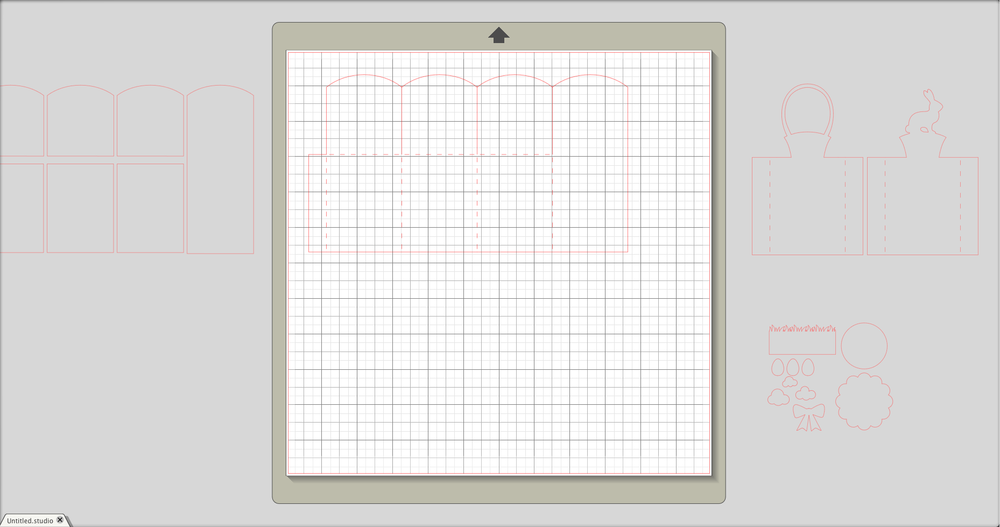
Now you can start rearranging your cuts to coordinate with the colored paper you will be using. For print setting my blade was set to a 3 the speed was 3 and the thickness was 33.
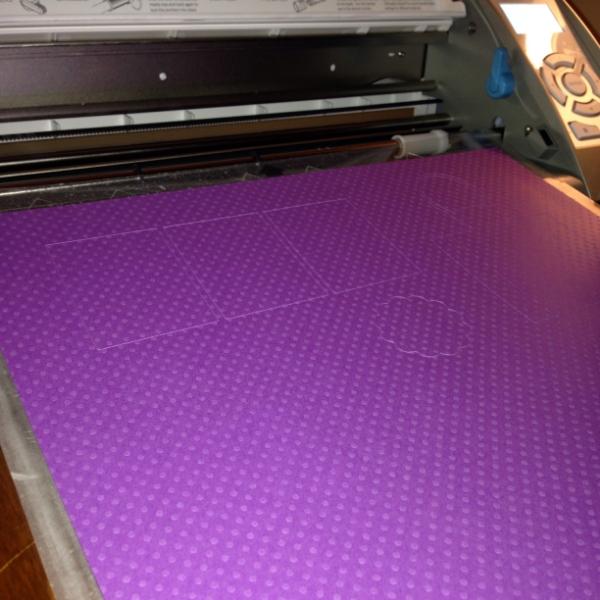

I love the purple paper that I used. The polka dots are actually raised. I didn’t know if the machine would cut through it okay but it did!
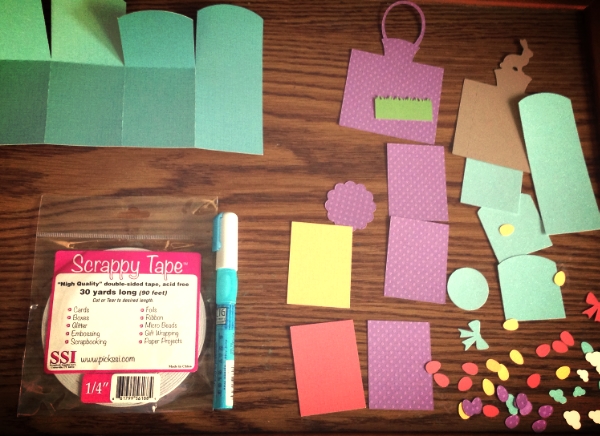
I laid out all of the materials and started to assemble. Now I wasn’t quite sure of my color choices and I knew I was going to be making multiple cards. So I actually cut out enough material for three cards so I could try out different color combinations.
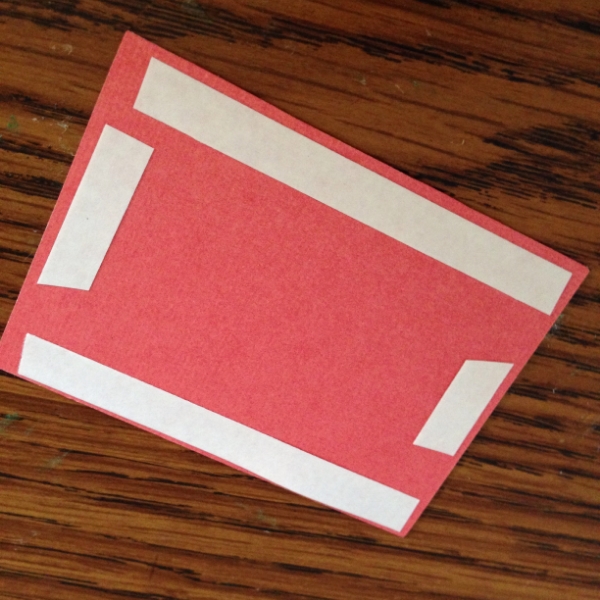
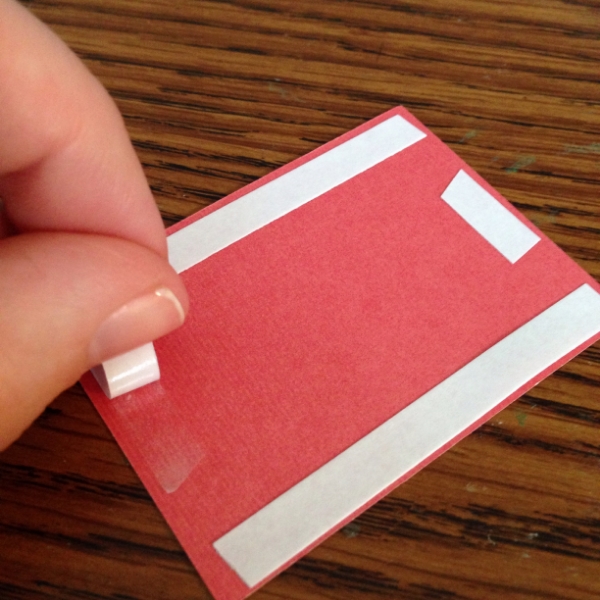
My friend Shelley over at Fabric of my life with Tori Sophia had sent me over some scrappy tape last week so I decided to give it a try. After using it once I went straight to etsy and bought three more rolls. It is a double side adhesive that holds well and is super easy to use.
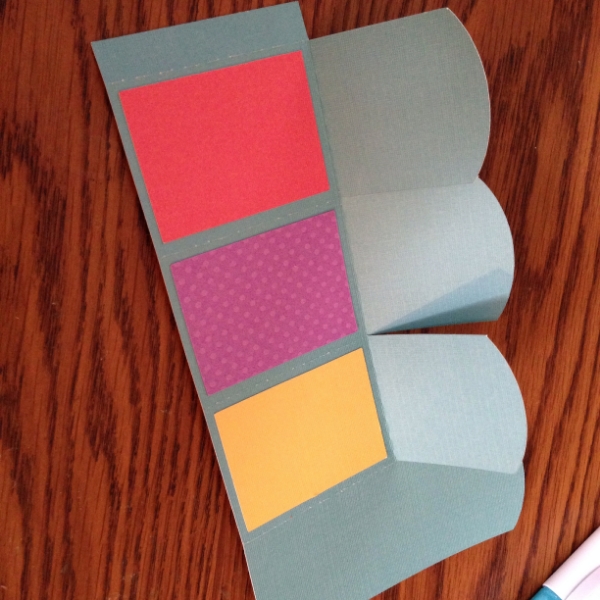
I strayed from my original plan of going almost one color on the outside to multicolor.
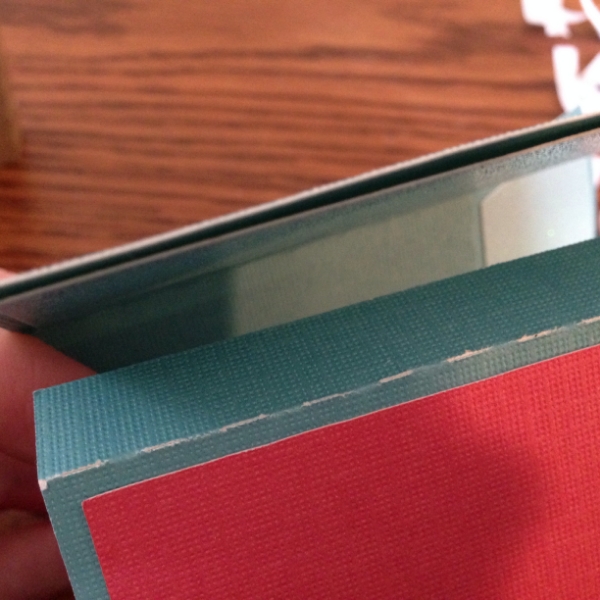
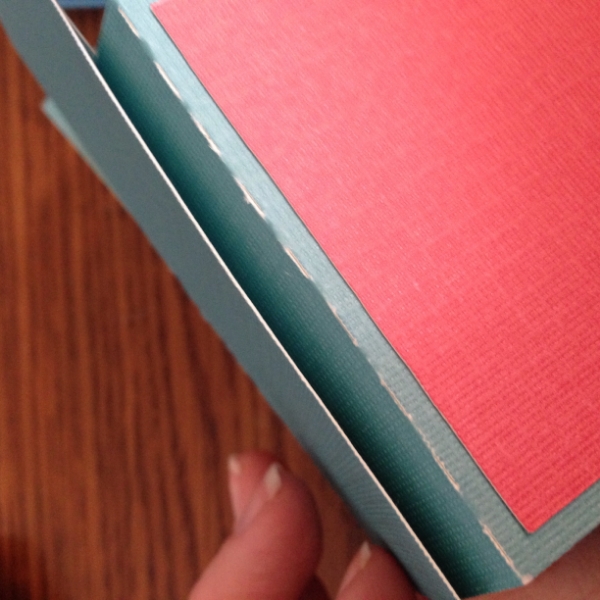
Now here is the tricky part that I learned in Lori Whilock’s video. On the back panel of the card when gluing you longest strip leave an area unglued so the tab on the side of the card can slip in. I then placed an adhesive strip on that tab to secure it to the box.
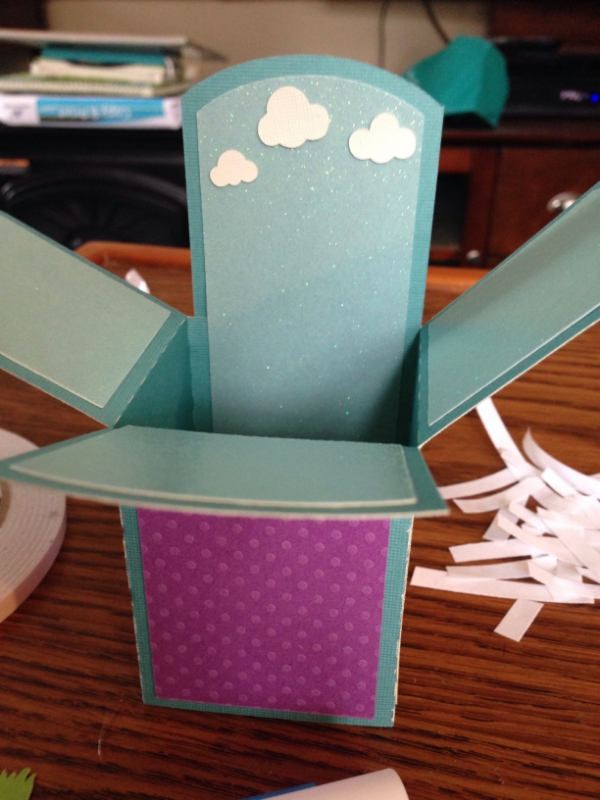
The base of the card should look like this.
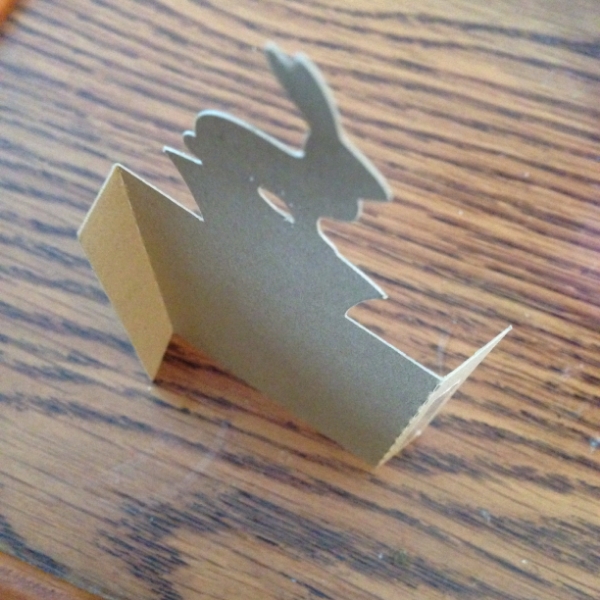
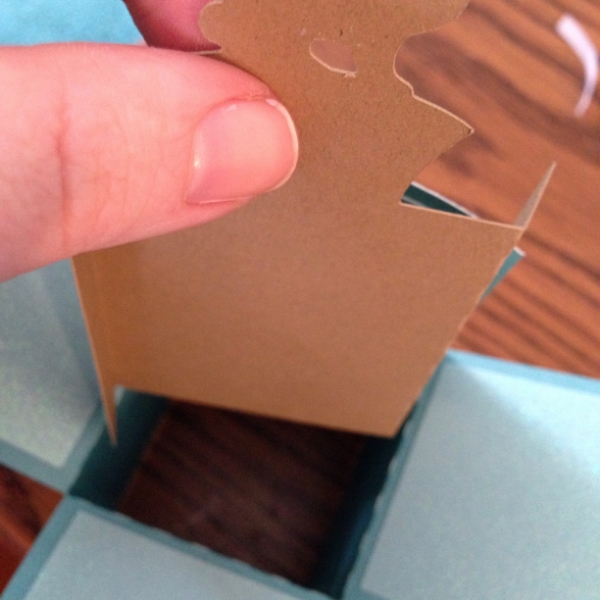
Now I had a hard time finding a paper for the bunny that I was happy with so I ended up going with recycled craft paper and I think it was a great choice. Now fold the bunny’s tabs along the perforated lines. Fold them in the opposite direction as the other. These will then be glued to adhere to the side of the box.

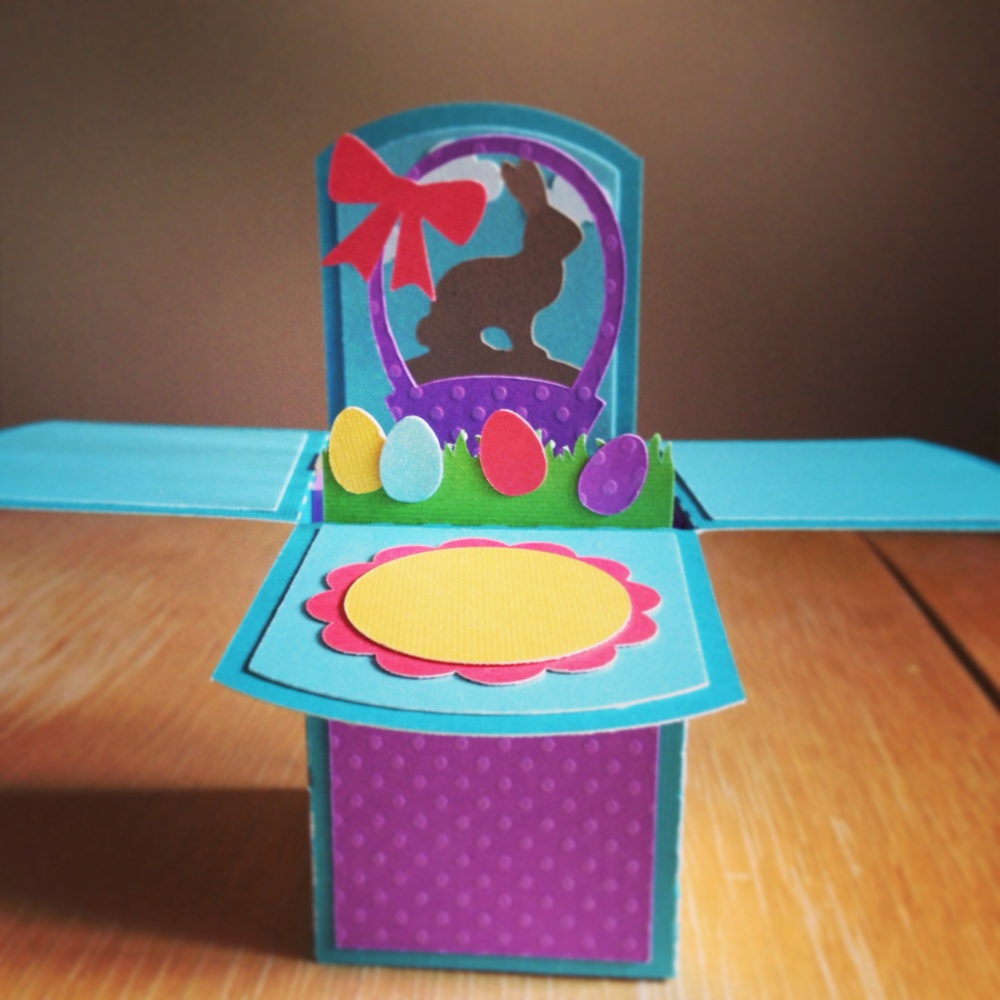
And do the same with the basket and bow. I am still absolutely in love with this textured purple paper. It gives the card great dimension.
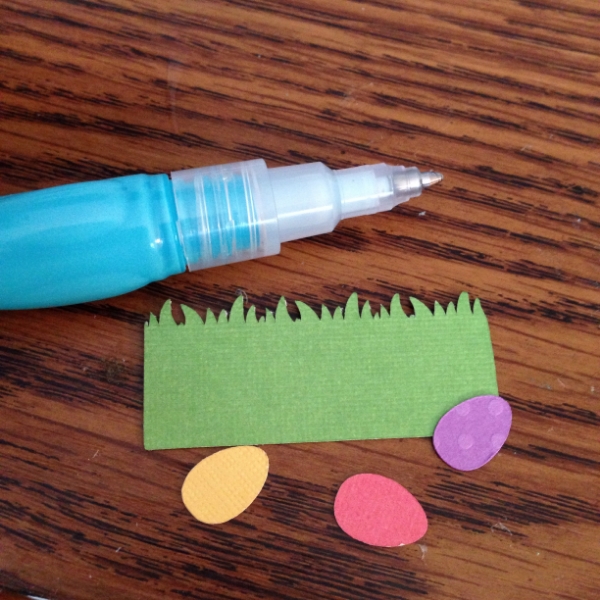
Using zig glue for smaller details I added the eggs and grass. Overall this project was a lot easier than I had anticipated it just had a lot of parts and pieces to spread out. Since the sale is still going on online I think I may fill my cart with these cards for every occasion because they are very impressive. The also fold flat to place into a card to mail.
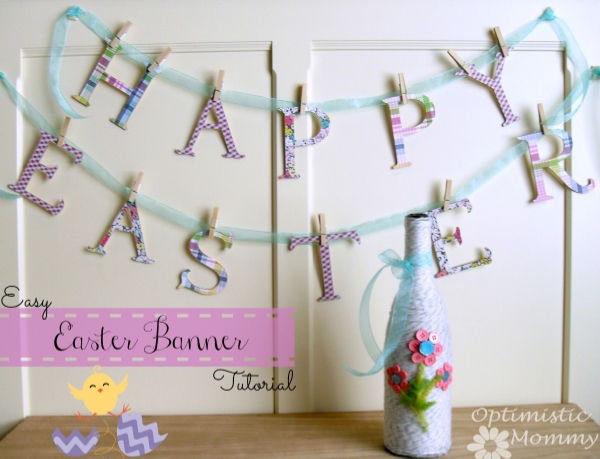
Check out some Easter finds from some of my favorite bloggers!
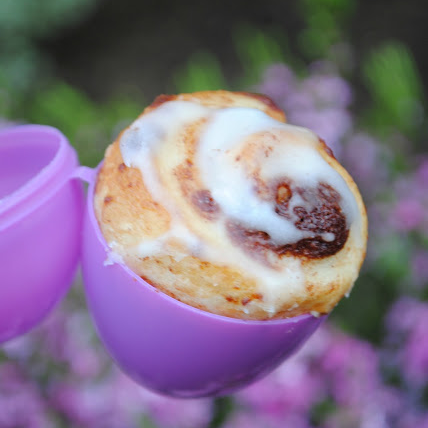
Jacolyn Murphy’s Cinnamon Rolls in Easter Eggs
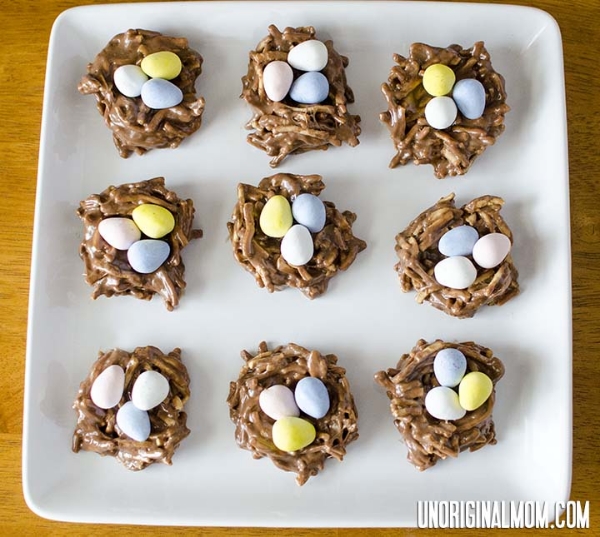
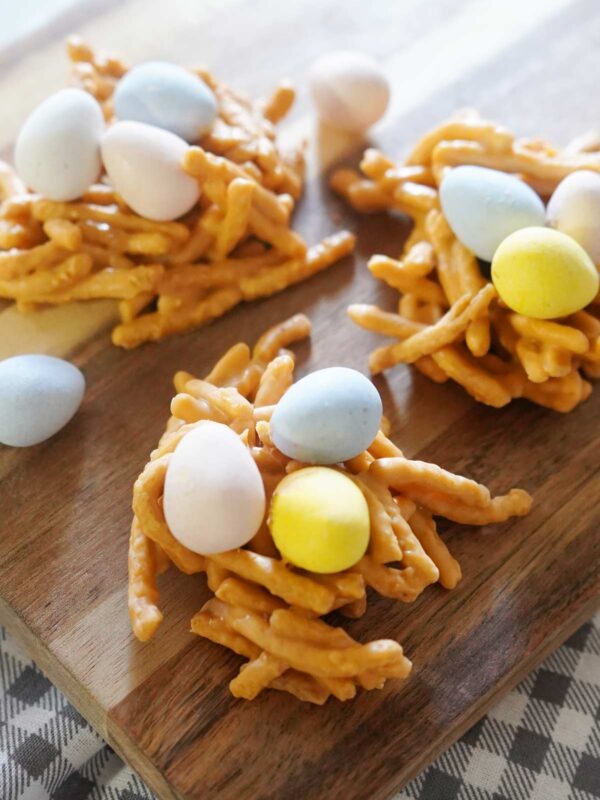
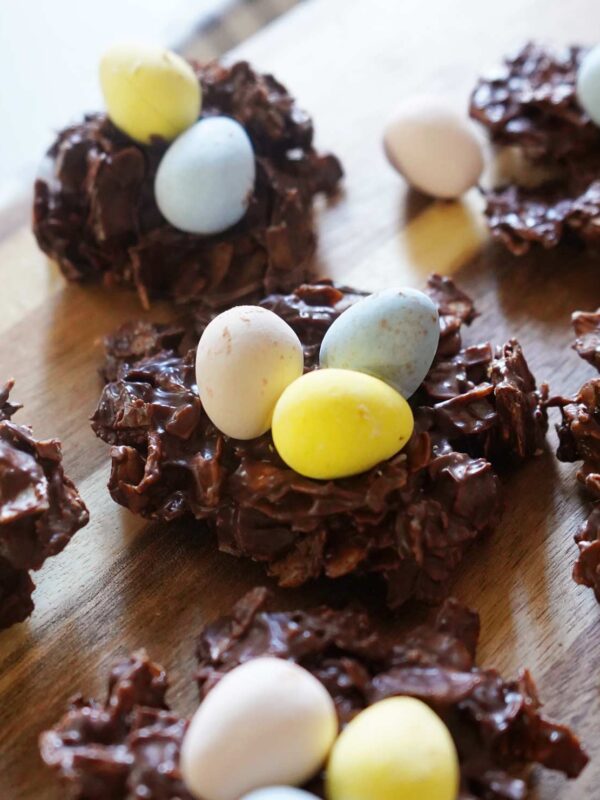
Meredith from Unoriginal Mom Peanut Butter Nests
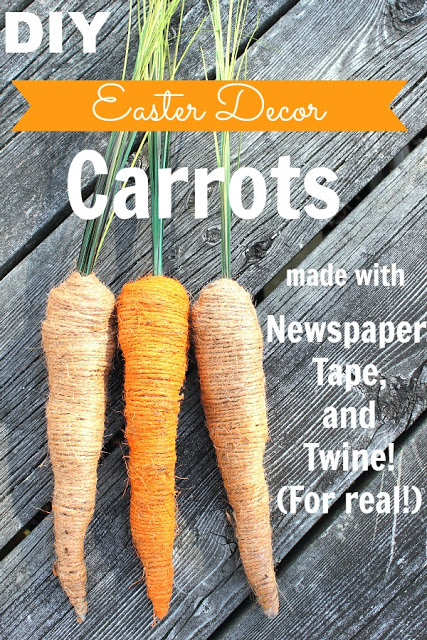
Creek Line House’s DIY Home Decor Easter Carrots
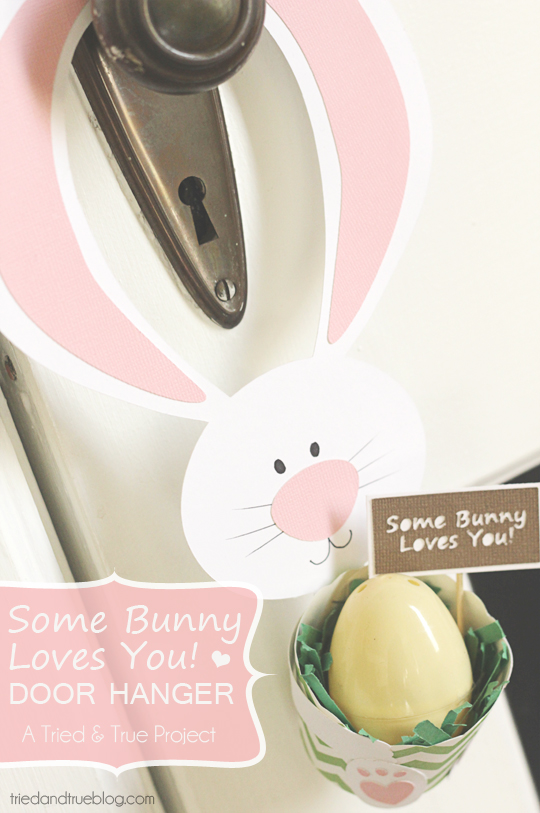
Tried and True’s Some Bunny Loves You Door Hanger

That is such an impressive card! Thanks for sharing how to assemble. I love your color and paper choices! I think I may head over to the Silhouette Store and stock up on some 3D cards, too…you’ve inspired me! 🙂 And thanks for including my peanut butter nests!
Thanks for sharing your link! The nests and chocolate spiders are my absolute favorite! Not to mention I could eat a whole bag of mini eggs in one sitting!
The 3D card was actually easier than I had expected. I definitely recommend getting some during the sale. Not to mention they look impressive.
I love the card the 3d effect is perfect. Thank you for sharing your lovely blog at the Thursday Favorite Things Blog Hop xo
Thanks Katherine! I just discovered your blog hop. Can’t wait to keep coming back every week!
This looks great Michelle! I love the papers you chose for the card.
This looks great Michelle! I love the papers you chose for the card.
Thanks Kelly! So jealous of the Pinterest Party Lauren and you went to this weekend! I still haven’t been to one!
Hi Michelle, Thanks so much for linking this up at http://www.getsilvered.com
I love this card and I love that you’ve done a tute on it too. I picked up the pattern at the recent Silhouette sale and now i know where to come when I get started for the "how to"Thanks, CheersPam
Love your Easter 3D box card, Michelle. The bright colours are just what we need for Spring! That cut file does look a little tricksy so thank you for sharing your tips on putting it together.
Very cute! Love the 3 D! Thanks for sharing with Share Your Cup.hugs,Jann
You Do Amazing Work Love The 3D Card!!
Your 3-D box card looks amazing, Michelle!! I love the look of the bright spring colours!