This post contains affiliate links, please read our disclosure policy.
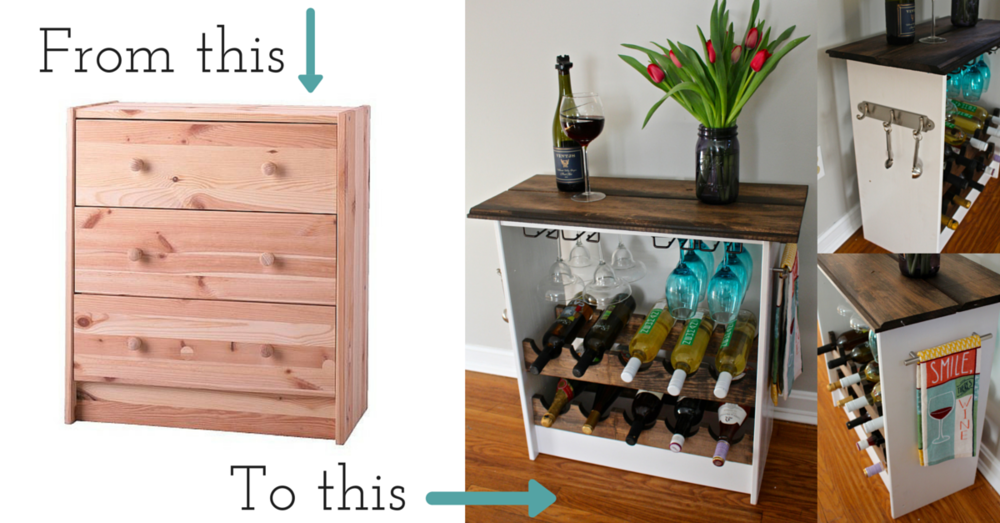
This month I am teaming up with Hickory Hardware and 8 other bloggers to transform an Ikea Rast dresser into anything we want! I have always wanted to make an Ikea Hack and here’s my chance! Now the only question is what do I make?! Wrapping my head around this wasn’t as hard as I thought it was going to be. I recently moved and have not found a place yet for my wine glasses and wine bottles. I immediately knew this is what I had to do. The next question was how?
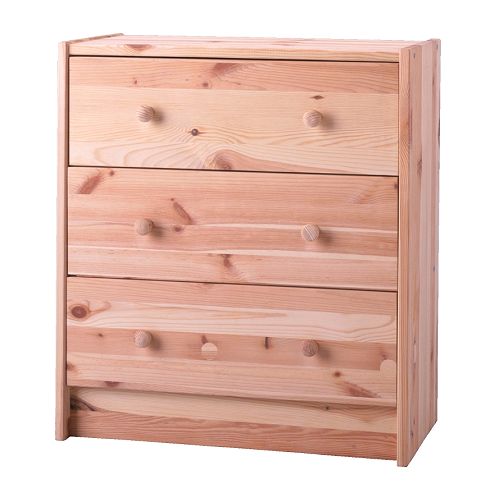 Image credit ikea
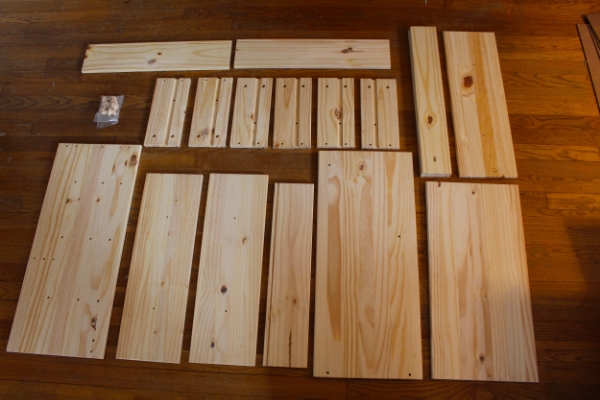
I started by laying out all the pieces and reading the directions. I wanted to understand how the piece was put together and what I should motify. I read the directions about 4 times because let’s face it all the pieces kind of looked the same. Once I fully grasped it I started to sketch out my plans.
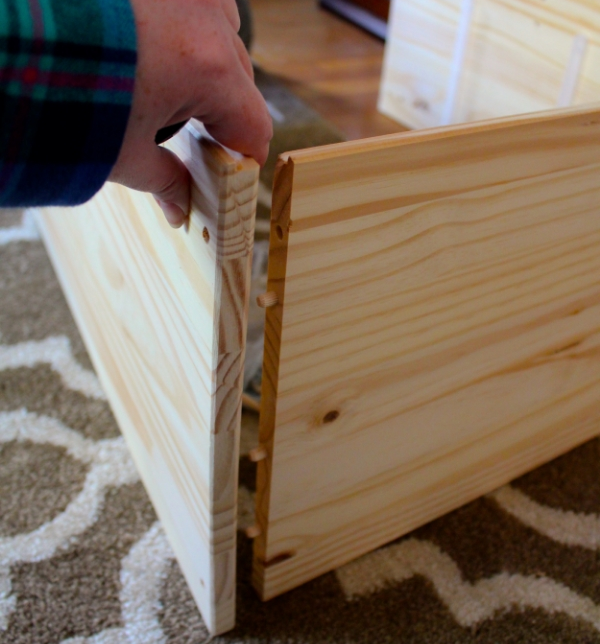
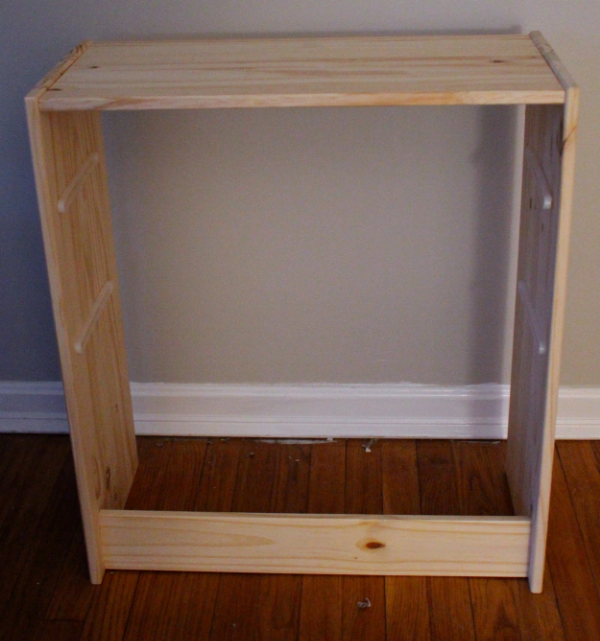
I decided to start building the outside frame of the dresser.
What you’ll need
- Ikea Rast Dresser
- Shiplap
- Stemware rack
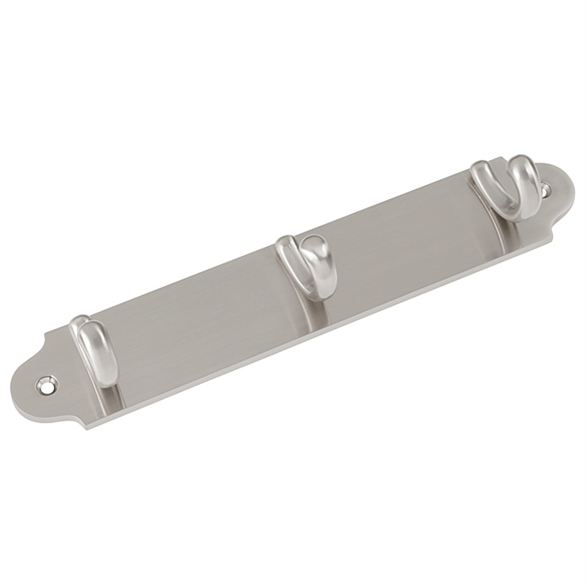
- Satin Nickel Hook Rail
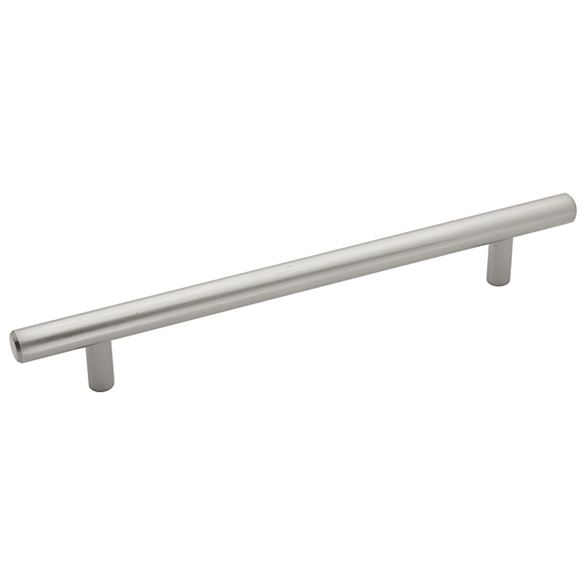
- Metropolis Satin Nickel Cabinet Pull
- 1 1x4x4
- Kreg Jig
- Woodstain
- Polycrylic
- Liquid Nail
- White Enamel Paint
- Stain blocker
- Screws
- Jigsaw
- Miter Saw
- Screwdriver
- Sand paper
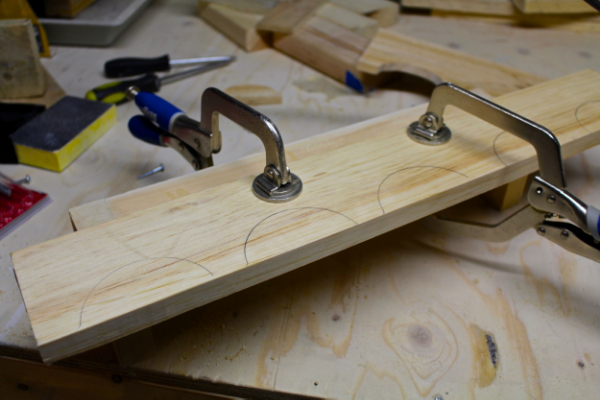
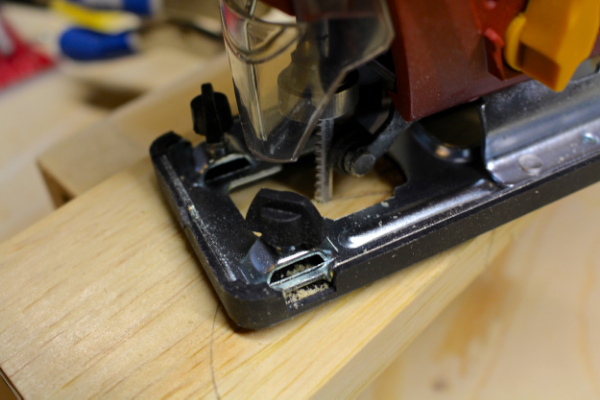
Now take your 1x4s and cut them into four ____ inch pieces. These are going to be your wine bottle holders both the front and the back pieces. Next I traced 5 half circles on each board that were slightly larger than a circumference of a wine bottle. I also did this on a few scrap pieces of wood. It had been awhile since I broke out my jigsaw so I wanted to make sure my skills were up to par. It was a good thing I practiced! So once you are done with your scraps clamp your cut 1×4 to keep it in place. Make sure it is raised so you have enough clearance underneath for your jigsaw blades. Speaking of blades I used the wood scrolling blade to make my cuts. It’s ok to go slow and take your time on the cuts you can adjust your speed on the jigsaw. I found if I went slower it was easier to stay on the lines. Also one fluid cut is smoother than meeting two cuts which means less sanding later!
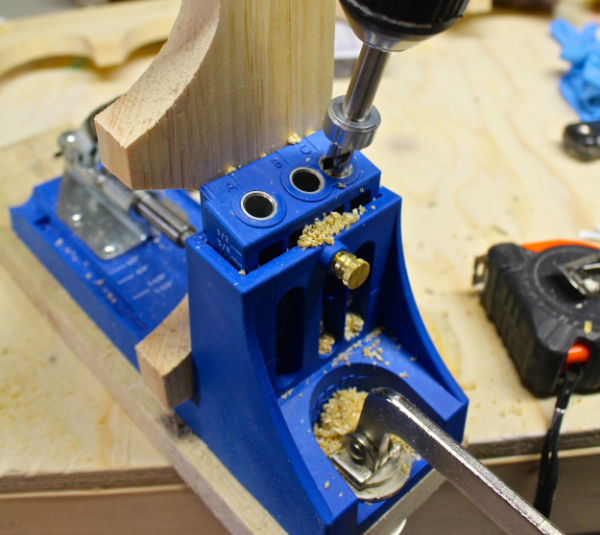
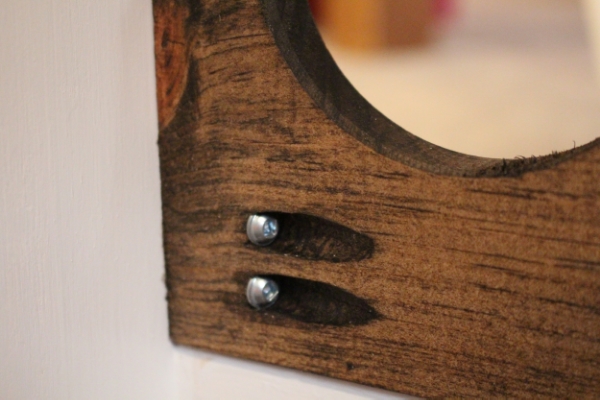
Using my Kreg Jig I added two pocket holes to each end of my bottle holders. Now what is a pocket hole you ask? It’s a hole that you pre drill at 15 degrees that allows you to join to pieces of wood together. For us this hole is going to assist us in attaching the wine holders to the ikea last dresser. I use this jig because its an easy way to be precise.
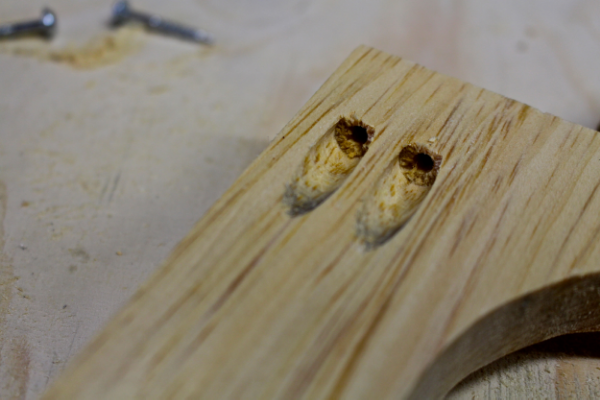
This is what your pocket hole should look like when you are done. If you are planning a few builds in your future pocket holes are going to become your best friend.
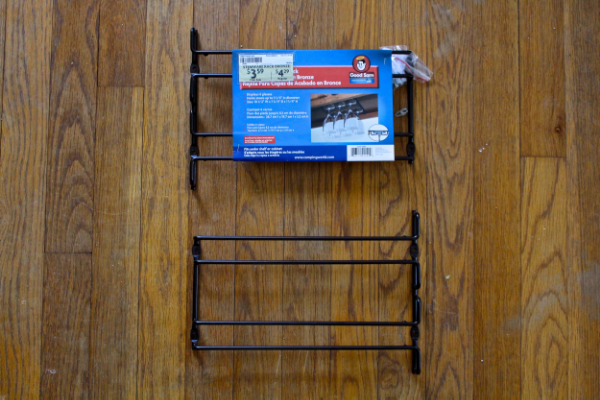
Now that we have figured out a away to store our wine bottles what about our glasses? I found these fancy racks at our local camping store but I’ve also seen them at the hardware store and Amazon.
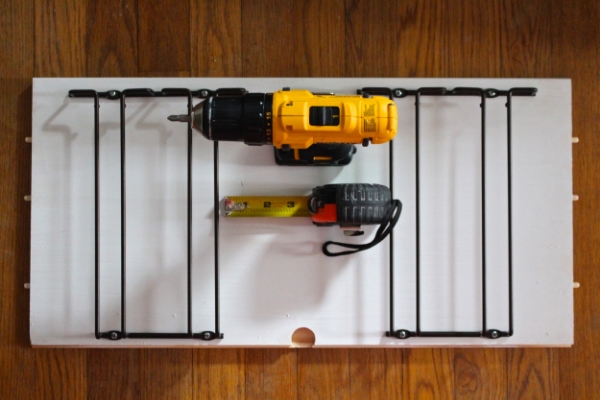
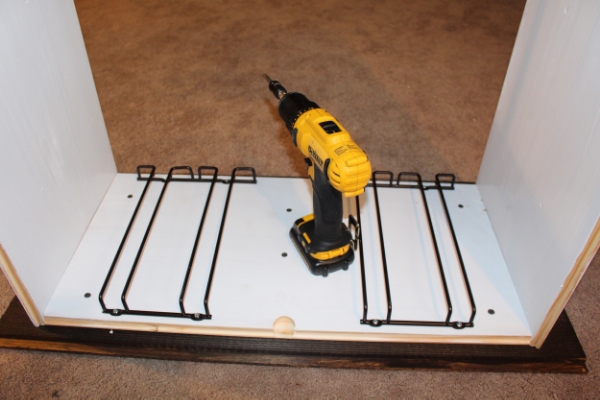
These wine racks are going to go under our top piece so instead of trying to screw them in while the dresser frame was together I took apart the frame removing the top. I also too this time to paint the frame white using a white high gloss enamel paint. Once the paint dried I measured where I wanted to place the racks. I intentionally left more room in the middle incase I needed to hang larger goblet glasses or maybe even margarita glasses. Make sure to measure your screw to make sure it won’t go completely through the top.
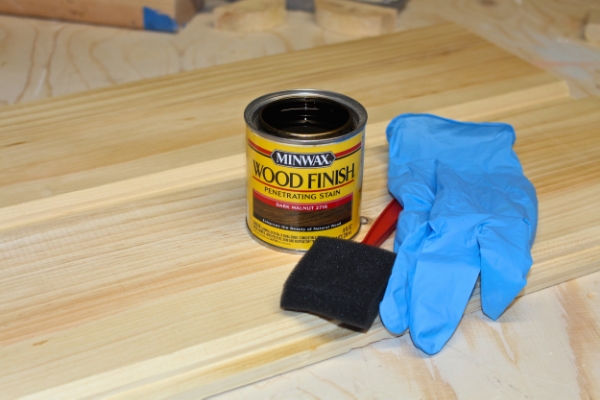
Let’s make the top to your wine rack. This piece can be optional but I really think it finishes off the wine rack nicely and creates a beautiful two tone look. Take your shiplap and using your miter saw cut it down to two 28.5 inch pieces. Sand the edges smooth and now your ready to stain. I chose the dark walnut stain from Minwax to contrast the white I was painting the edge. While you have your stain out you might as well stain your 1×4’s or your wine bottle holders. Make sure to stain both sides. Just for fun I took a hyperlapse video of myself staining the shiplap. Make sure to get the underneath where it will over hang.
[youtube https://www.youtube.com/watch?v=SQCLyQMi3hI&w=560&h=315]
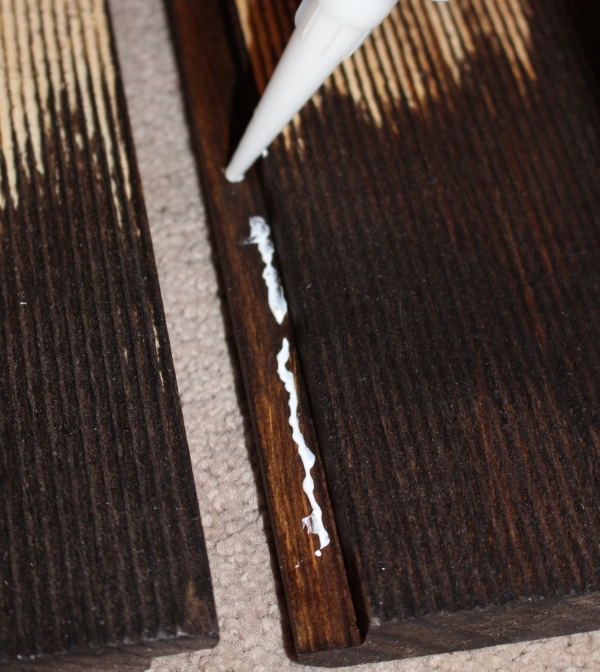
Let your stain dry overnight. Next I used liquid nails to connect the two seams or interlocking parts of the shiplap.
Once the liquid nails had dried I placed the frame into position on top of the upside down ship lap. make sure the sides are evenly spaced. I used 1 1/4 screws to screw into the shiplap triple checking to make sure it wouldn’t go completely through the top of the shiplap.
Now were ready to assemble the rest of the wine rack! We are in the home stretch. The Rast dresser also had a back cross piece that I used to mimic the front support. I used my jig to add pocket holes and I placed the back support the distance of where a wine bottle would need to rest. Using 1 1/4 screws I used my screw gun to screw the support into place.
Starting with the front wine bottle holder I lined it flush to the bottom support. Screw one screw into one side and then alternate to the opposite side. Repeat with the back wine bottle holder.
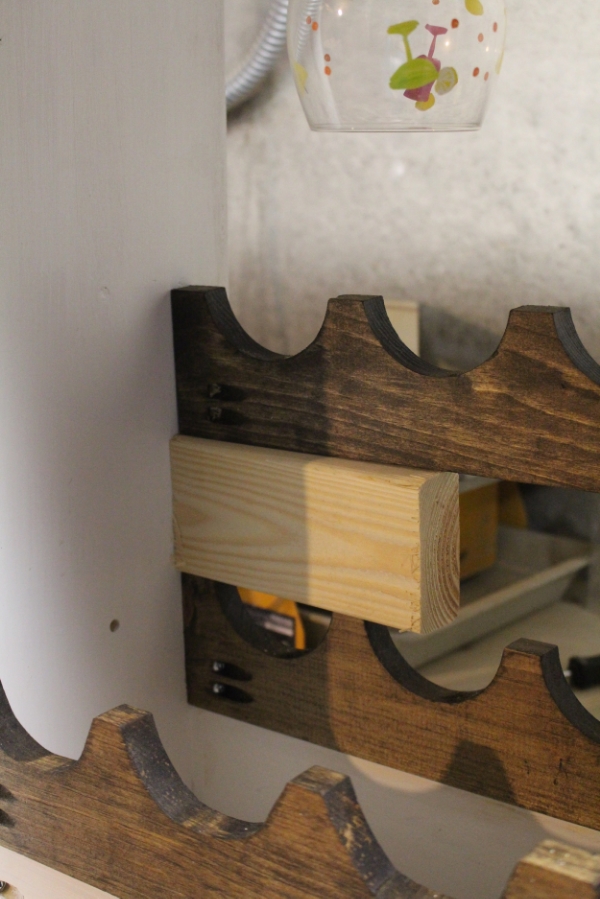
Now heres a trick for how to place the next rack. Measure what the clearance would be for a bottle of wine if it was on the bottom rack then hang a wine glass from the glass holder. No grab some scrap wood and use that to balance your second level. This is a bit of a balancing act so if theres someone around this is a good time to call for a hand. If not don’t worry just use some scrap wood to help keep it in place.
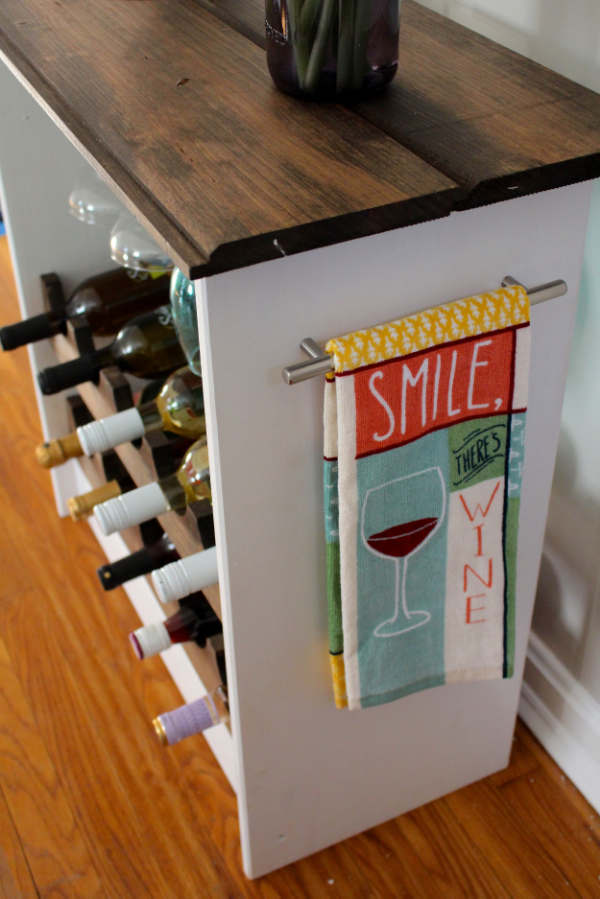
We’re almost done! Just need to add the finishing touches. I chose to add satin nickel hook rail for my wine bottle opener and measuring spoons along with a Metropolis cabinet pull which is the perfect length to hold a tea towel!
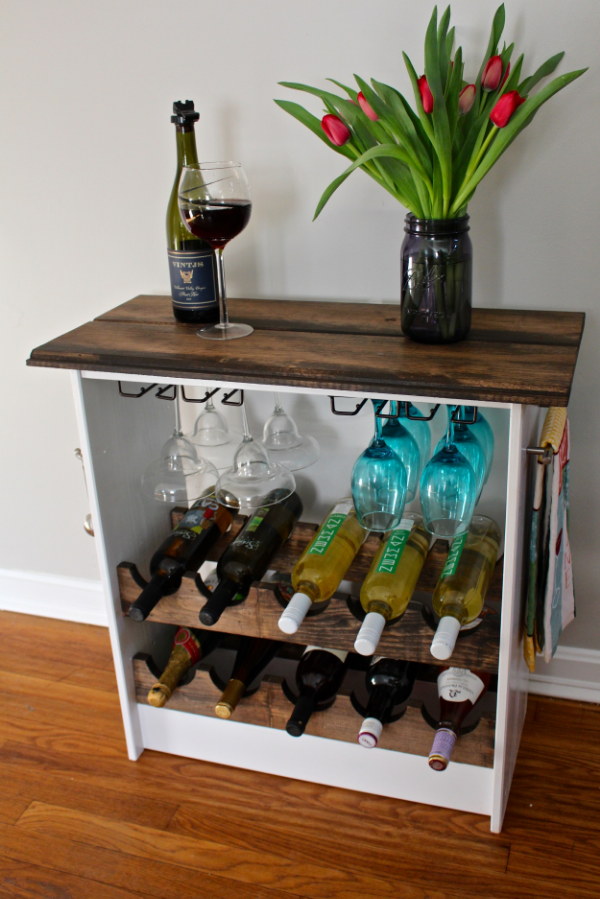
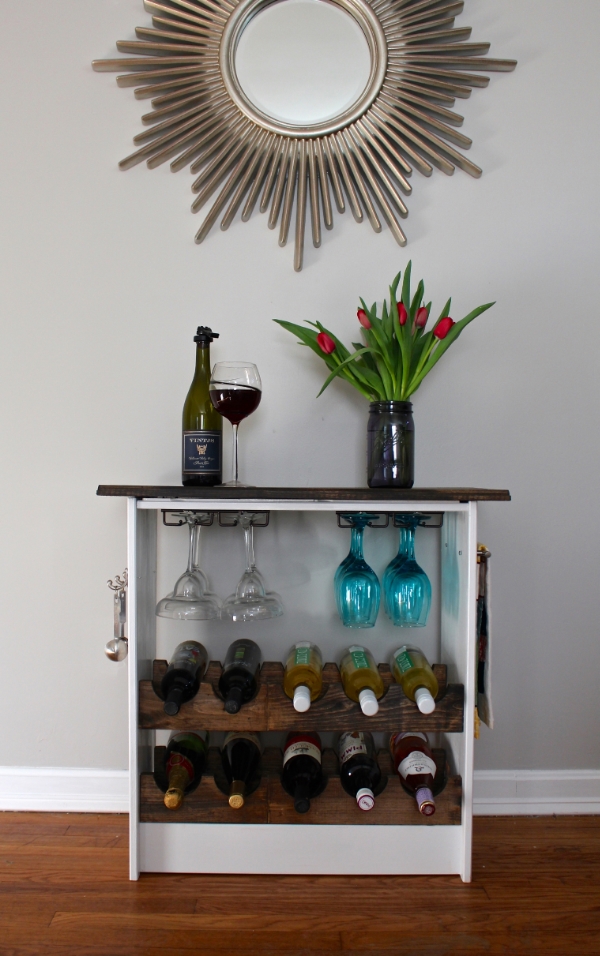
This project took me about two weekends to finish but was very therapeutic and a nice escape from moving and my renovations.. So now that its complete I’m ready to pour a glass of wine and enjoy this beauty! I just have to keep replenishing the racks!

This is a sponsored post from Hickory Hardware. I was not compensated for this post but they did provide the supplies for the challenge. All opinions and ideas are my own.


Michelle, this is incredible!!! Your finished wine rack is gorgeous!!
This is fantastic! I’m trying to turn a bookcase into a wine rack and I came looking for inspiration. I don’t have power tools (don’t have the space in my condo) so I’m still on the lookout for ones I can repurpose. Thanks for sharing!