This post contains affiliate links, please read our disclosure policy.
Recently it was my friends birthday and she loves pallet signs. So it seemed like a no brainer to make her one. She recently bought a house in the coastal beach town of Bristol, RI. Now if you live in Bristol you are proud of it especially in the summer. The town is known nationally as the oldest 4th of July celebration celebrating since 1785. The oldest continuous celebration of it’s kind.
Also it’s the second Monday of the month. You know what that means right? It’s the Silhouette Challenge! This months theme is Summer so make sure you stick around until the end for 14 Summer projects all made from a Silhouette!
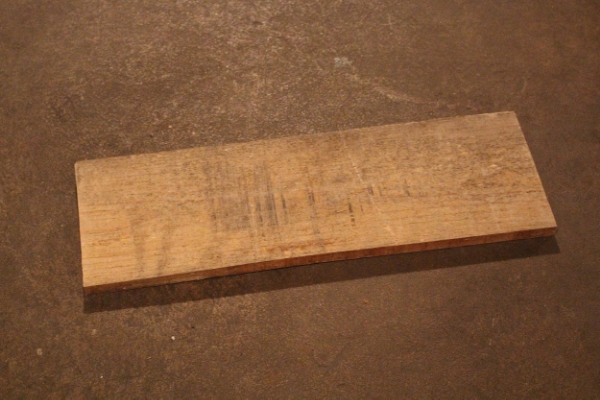
Now finding a pallet and disassembling it can seem a bit daunting but once you do it once I guarantee you will become addicted. I have about 3 pallets cut up in my basement now ready for any project. If you need pointers on how to disassemble a pallet without power tools check out this post here.
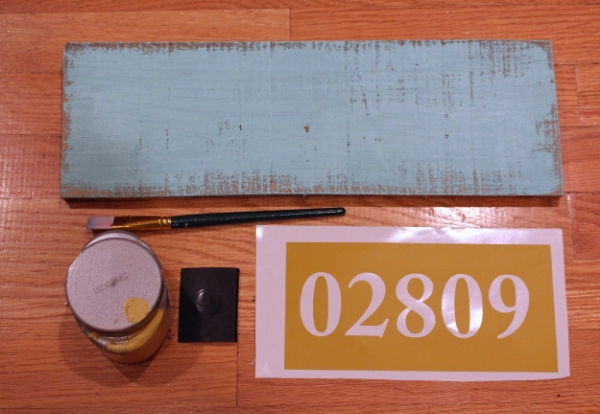
Once you have your piece from your pallet it cut it down to an appropriate size. I cut this about 14 inches.

My friend and I share a love and that is for the color teal or as she says aqua. Now I didn’t have the perfect color on hand so I mixed a few sample cans together. To paint pallet signs I usually just use a simple latex paint from Home Depot or Lowes and I buy the sample cans all the time. Often times I find them in the opps section for .50 to a 1.00. A little can gets you a long way.
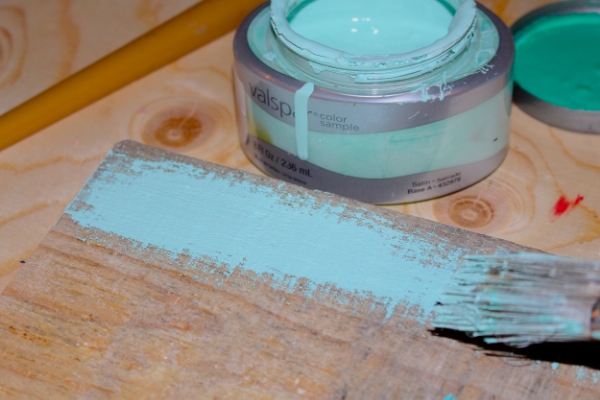
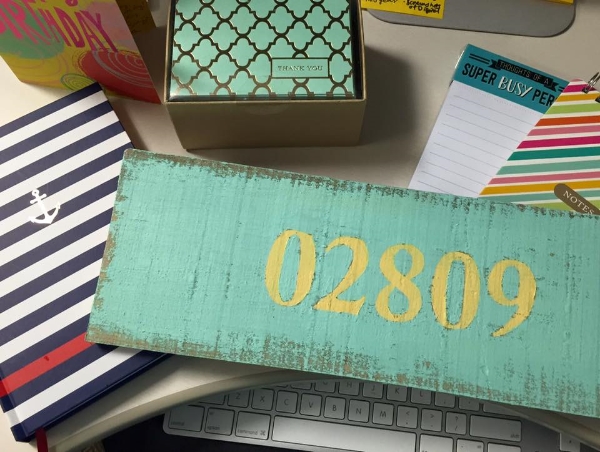
Paint your pallet board. Now I like my signs to come out a bit more rustic or shabby chic so I use a dry brush technique. Don’t saturate the brush just slightly dip the brush and start to paint. I usually keep the edges of the board more shabby or dry and the center a bit more saturated.
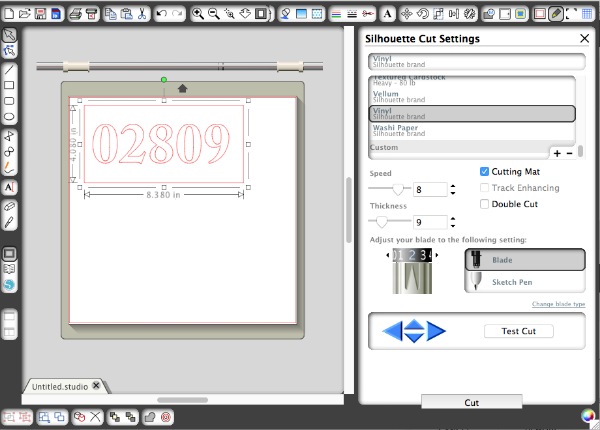
Now you don’t have to own a Silhouette for this project you can pick up stencils at your local craft store. But if you do own one simply make a vinyl stencil for your zip code. In Silhouette Studio create a text box for your zip code and adjust like character spacing. Size the lettering appropriately to the size of your board. Tip: draw a box around the lettering this is called a weeding box and it will be easier to weed the vinyl and less vinyl will be wasted. Now when you are ready to cut use your vinyl preset of Blade 2 > Speed > 8 Thickness > 9.
Now your board should dry relatively quickly unless it’s a humid day like it was here (then you stick it in front of the air conditioner to speed it up). Choose an accent color for your stencil. My friends wedding colors were aqua and yellow so I decided to stick with a color scheme I knew she loved. You will need either a scraper tool or a credit card and a smaller paint brush.
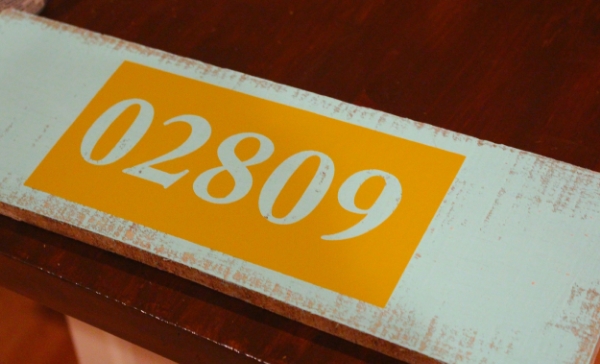
Using transfer tape (or you can place it by hand which I usually do) place the zip code in the center of the pallet. Use your scraper to press the vinyl down creating a tight seal and eliminating air bubbles.
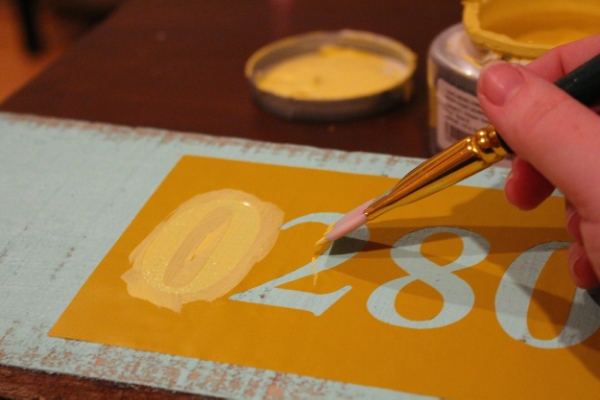
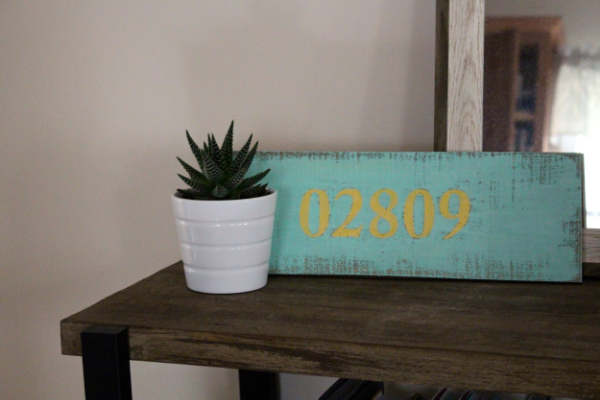
Start to paint. Make sure to not over saturate the brush you can always go back and add more paint. Pull the vinyl away when it’s still slightly wet. When the pallet is completely dry add a hanging mechanism to the back and you are either ready to gift or hang in your home.
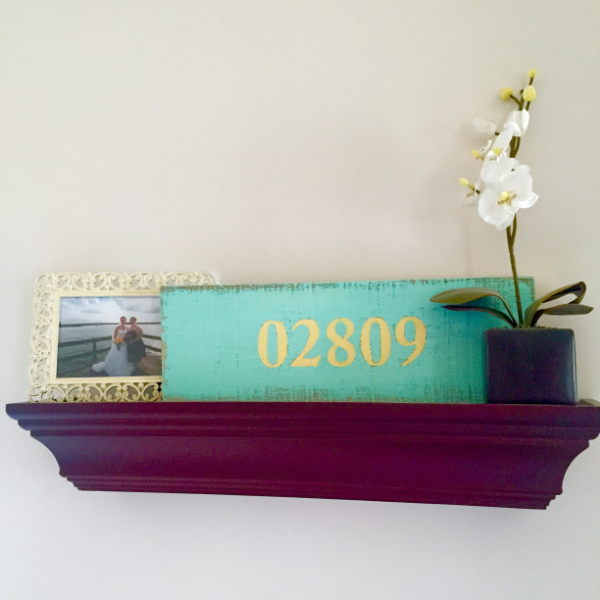
This gift was a huge hit and I have to say it looked so great on my shelf before I gave it to her I might just have to make one for myself. The question is what should my sign say or should I just choose my hometown zip code.
Want to Check Out More Silhouette Projects?
My Silhouette Challenge buddies and I are all sharing projects on our blogs today, so peruse the projects below for a wealth of Silhouette inspiration!
1. Home At Eight // 2. DIY Just Cuz {Sam} // 3. DailyDwelling // 4. Where The Smiles Have Been // 5. My Paper Craze // 6. Get Silvered // 7. DIYJustCuz {Brittany} // 8. Whatcha Workin’ On? // 9. The Stamp Doc // 10. Practically Functional // 11. Simply Kelly Designs // 12. Patina Paradise // 13. Architecture of a Mom // 14. Weekend Craft Follow Weekend Craft’s board Silhouette Challenge on Pinterest.

17 Comments