This post contains affiliate links, please read our disclosure policy.
This is a sponsored post written by me on behalf of Cricut. All opinions are 100% mine.
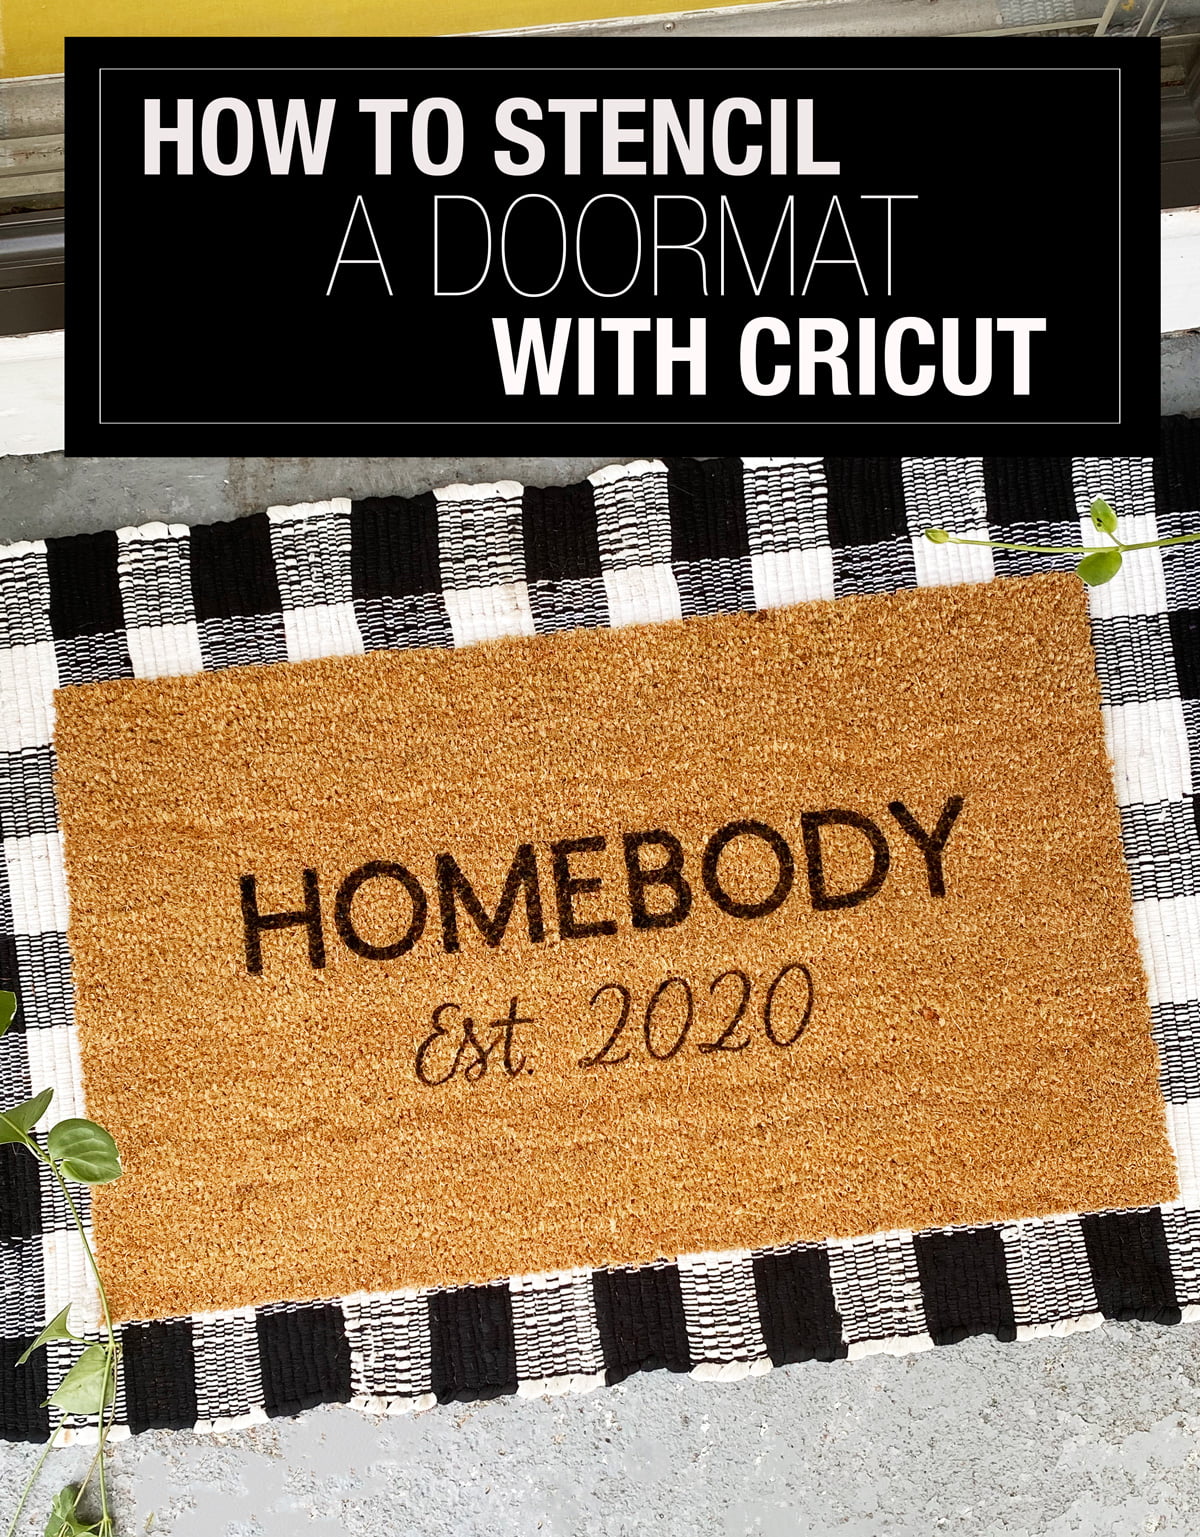
Use your Cricut to create a vinyl stencil to paint a doormat. An easy DIY Doormat tutorial to make this homebody doormat.
 Let’s face it, in 2020 we are home a lot more so might as well have some fun with it. I decided to make this DIY stenciled doormat with my Cricut this past weekend. Honestly I just wanted to give my amazon delivery driver a chuckle. I have seen so many stenciled doormats that had a couples last name and the year that they were married. I thought well I have never really been a homebody until this year. Homebody established in 2020. Today I am going to show you how to make a vinyl stencil to stencil a doormat. With vinyl stencils or lettering you can customize different projects around your house that can be unique to just you. How awesome is it when someone asks you where you bought something and you just casually say “oh I made that.”
  Thinking about getting a Cricut? I have a guide to help answer which Cricut should I buy, here. Today I am going to be using my favorite machine the Cricut Maker. Why is it my favorite Cricut?
WHAT MAKES THE MAKER DIFFERENT FROM OTHER CRICUT MACHINES?
Now I have tried a lot of the cutting machines on the market and what makes it different is its ability to cut thicker materials such as chipboard, leather, balsa wood and some fabric without backing. The extra-deep Knife Blade cuts through dense materials up to 2.4 mm (3/32″) thick. The Cricut Maker can cut out sewing pattern and comes with a larger variety of tools. Cutting over 300 hundred materials, from the most delicate paper and fabric to the tough stuff like mat board, leather, and basswood. Here are some of my favorite materials to cut.
- Cardstock
- Paper
- Vinyl
- Iron-on Vinyl
- Infusible Ink
- Chipboard
- Basswood
- Wood Venner
- Felt
- Fabric
- Leather
- Kraft Board
Value for investment
Cricut Maker’s has a ton of tools and blades making the possibilities endless with the ability cut, draw, score, deboss, engrave, and create perforations and wavy lines, all with one machine. Cricut is dedicated to expanding this suite of tools to continually add value to this machine.
Easy to use
My Cricut Maker is easy to set up which helps me get started on projects quickly. The Design Space software is available both on desktop and mobile, you can design and make from anywhere.
How to make a DIY Stenciled Doormat
Let’s get to making this fun homebody door mat. We are going to cut a stencil using vinyl on a Cricut Maker. Using a stencil brush were going to fill in our letters with outdoor acrylic paint. It’s a simple project and it comes out looking so professional that people will think that you bought it! 
Supply list
- Cricut Maker, Explore Air 2 or Cricut Joy
- Blank Doormat
- Vinyl
- 12×24 Standard Grip Mat
- Outdoor Acrylic Paint
- Stencil Brushes
- Hook Tool
- Design Space File
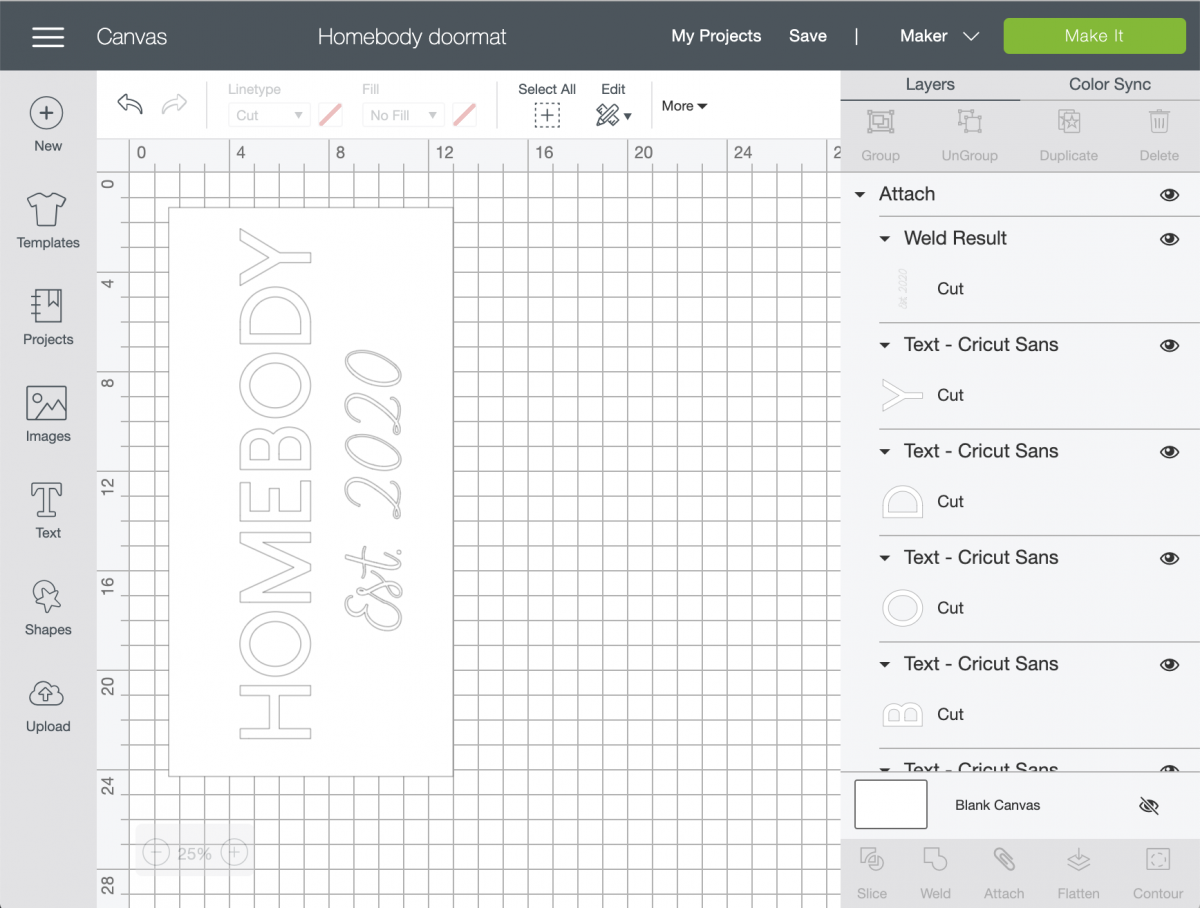
Size your stencil
First thing you are going to want to do is size your design in Design Space. Now I am using a 12×24 standard grip mat and making my design about 23.5 x 11.5. When you select make it in Design Space the software will automatically change your mat size to 12×24. Remember to select vinyl as your material and we are ready to cut. 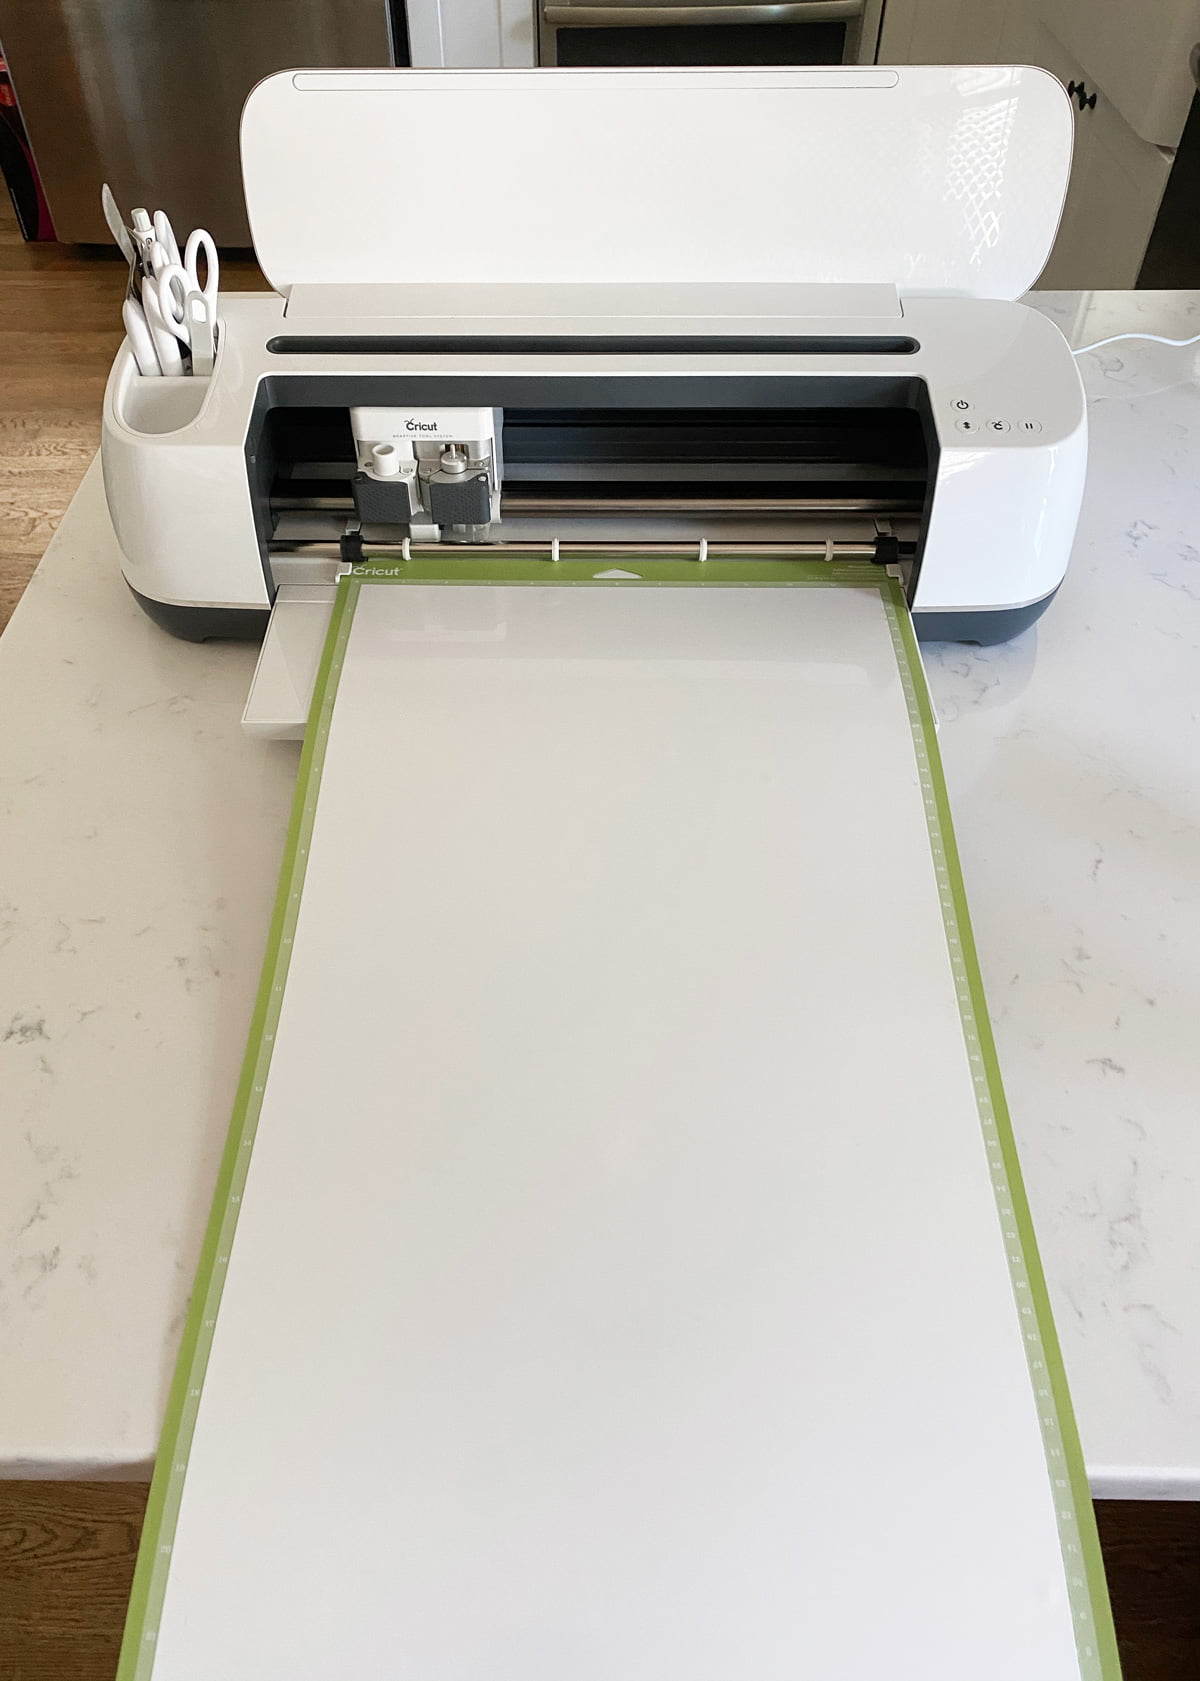
WEED THE VINYL
After you cut vinyl with your Cricut you will want to weed it. Now what is weeding? It’s removing the excess vinyl. Since we are creating a stencil we want to remove the insides of the letters. Creating an outline to paint. 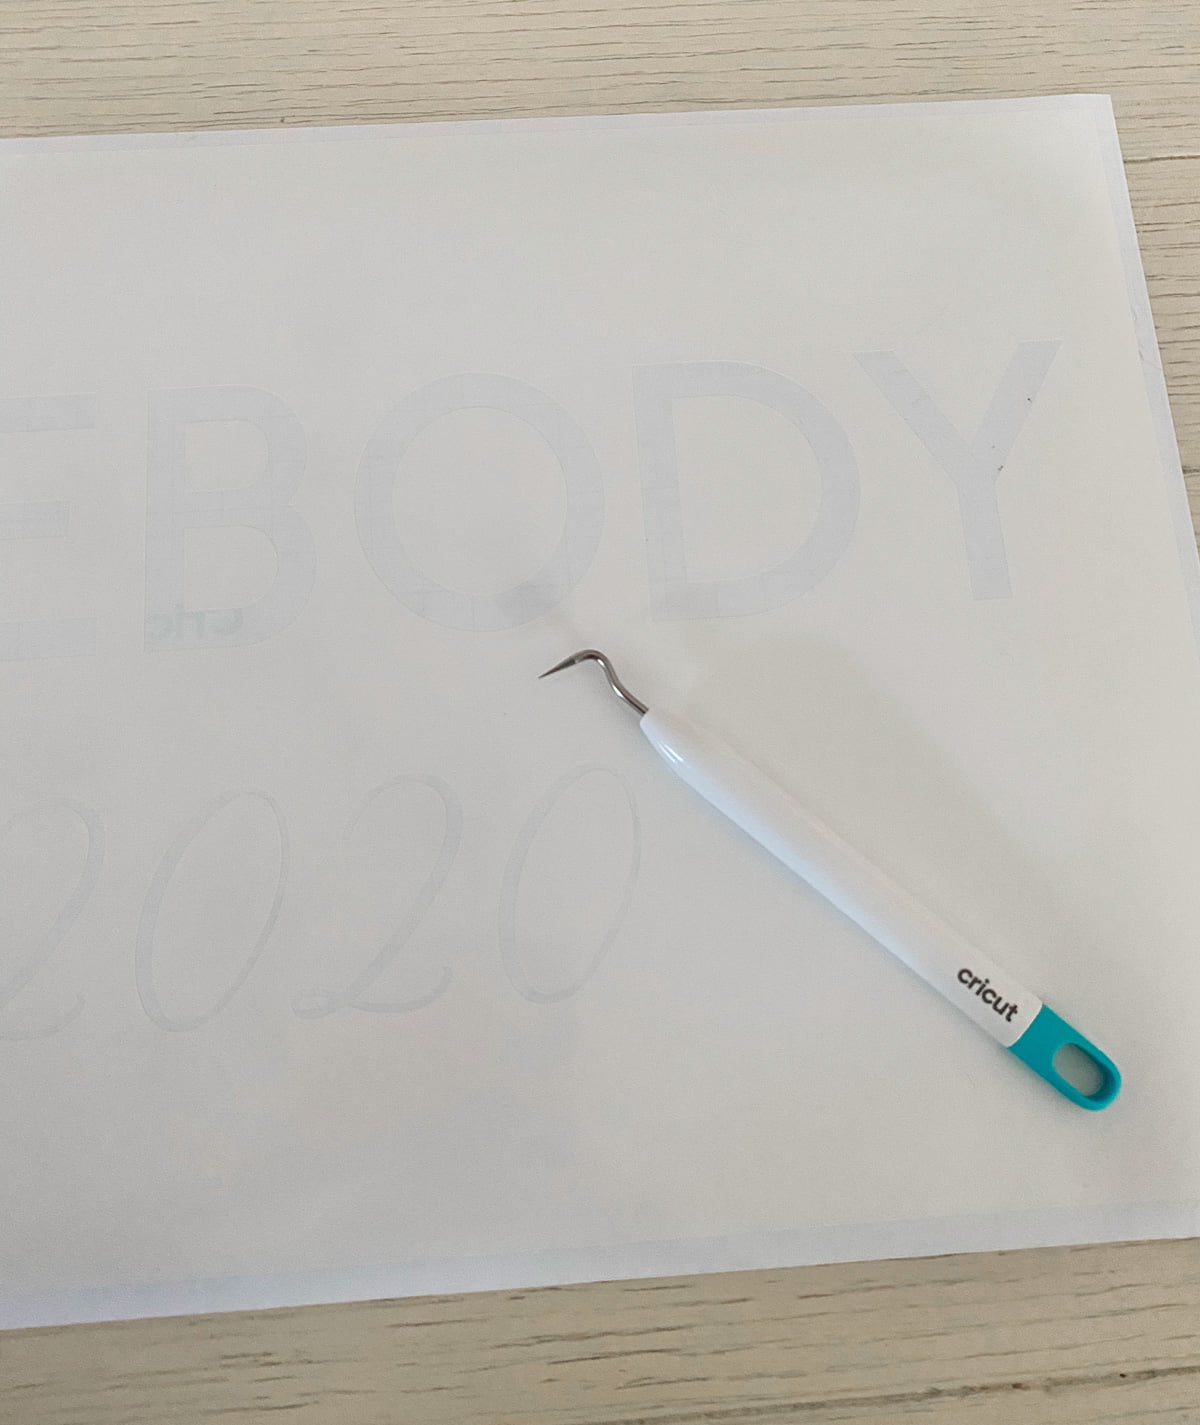
TRANSFER YOUR STENCIL
Normally to transfer vinyl to a surface you would want to use transfer tape. Because we are working with natural fiber you are going to want to place it directly on the doormat without the transfer tape. How did I do this? Get the vinyl into place measuring to make sure it is centered. Pull back about an inch of the backer paper working left to right. Pulling the paper off from behind smoothing out the vinyl as I went. Once the vinyl was on the doormat I went back and hand placed the center of letters like the O, B, D and 0’s. Take your time it might seem intimidating at first but it worked perfectly. 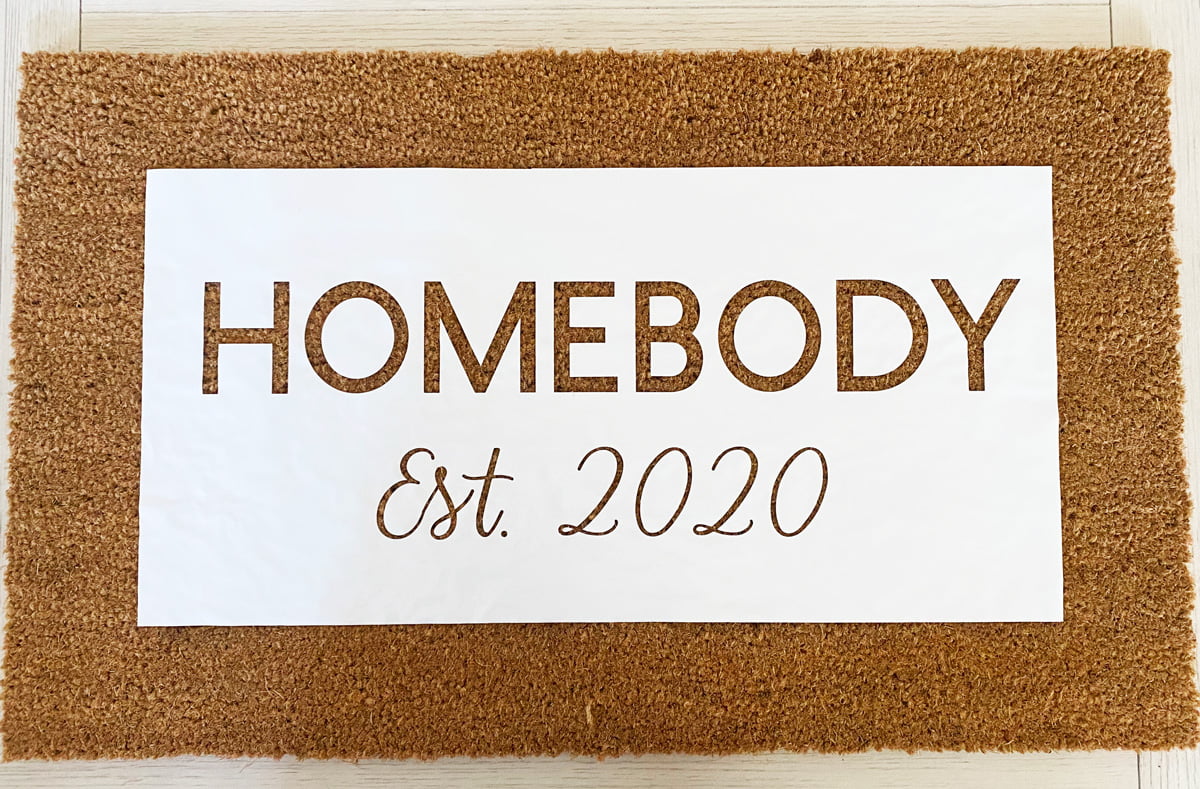
Choosing your paint
Since this doormat is going to see all types of different elements I decided to purchase and outdoor acrylic paint. Let’s hope it will fade less in the sun and rain. 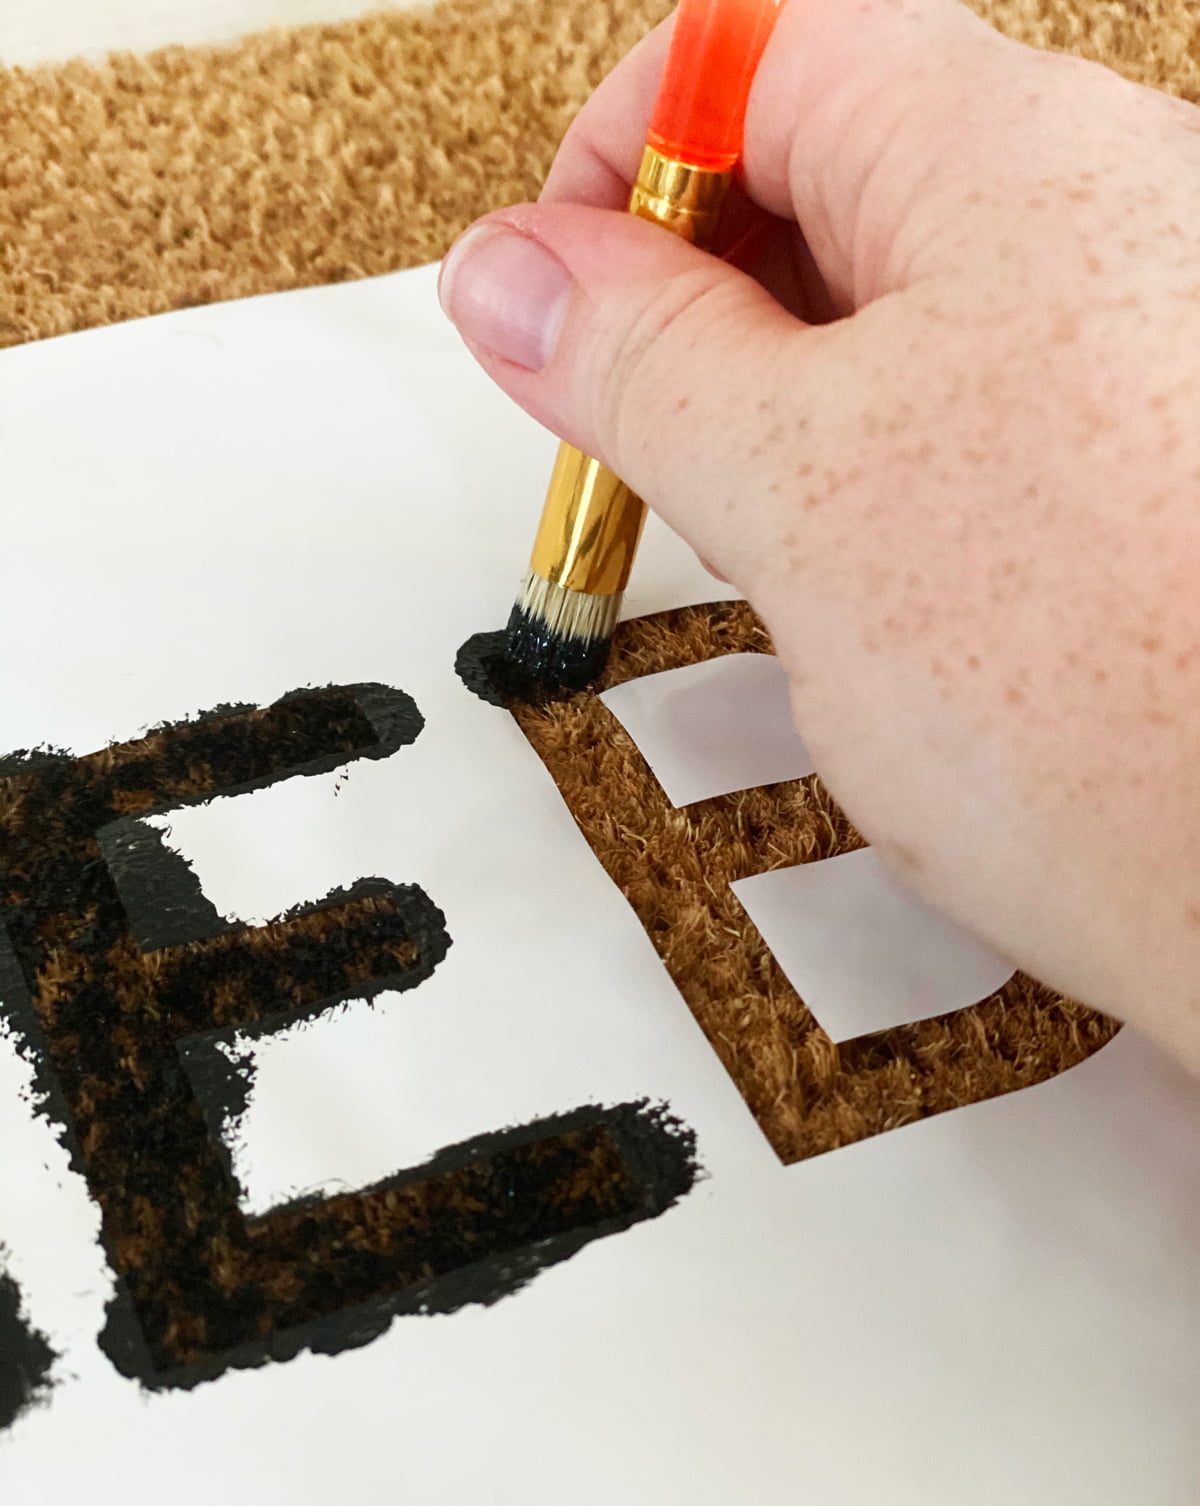
Painting your stencil
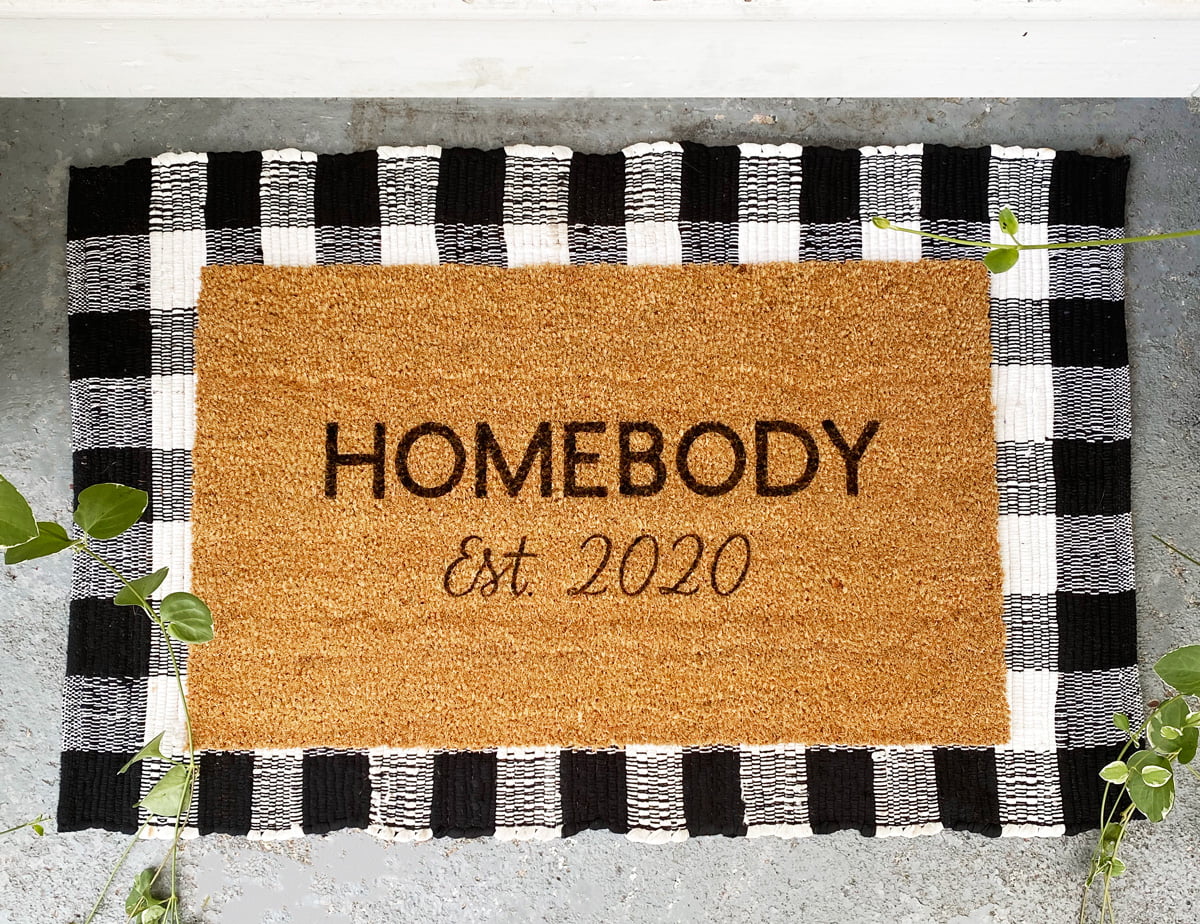
We’re using stencil brushes with a stippling technique. It’s the motion of going up and down with your brush instead of a normal painting motion. This will make it less likely that the paint will bleed. Two coats was the perfect amount of coverage. 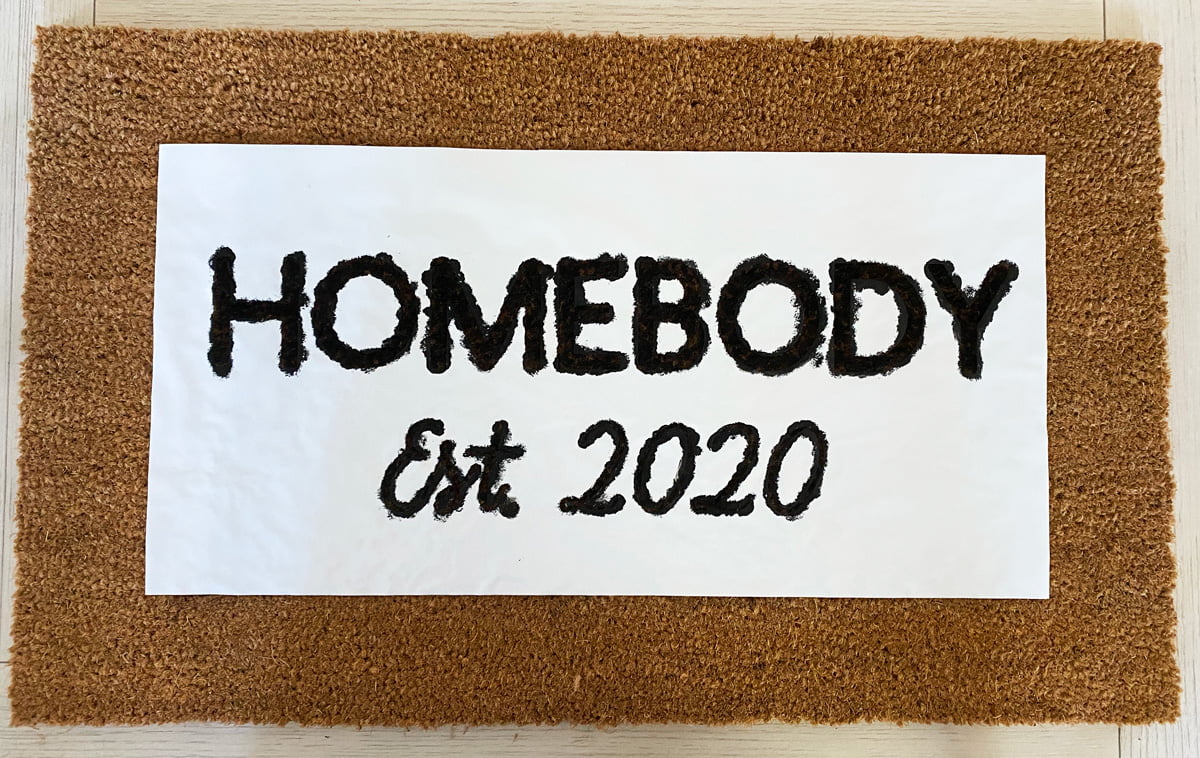 I let the paint sit for a few minutes, not drying completely, then I removed the vinyl. I was really impressed with how crisp my lines were. No paint had bled through. The stippling technique worked out perfectly.
 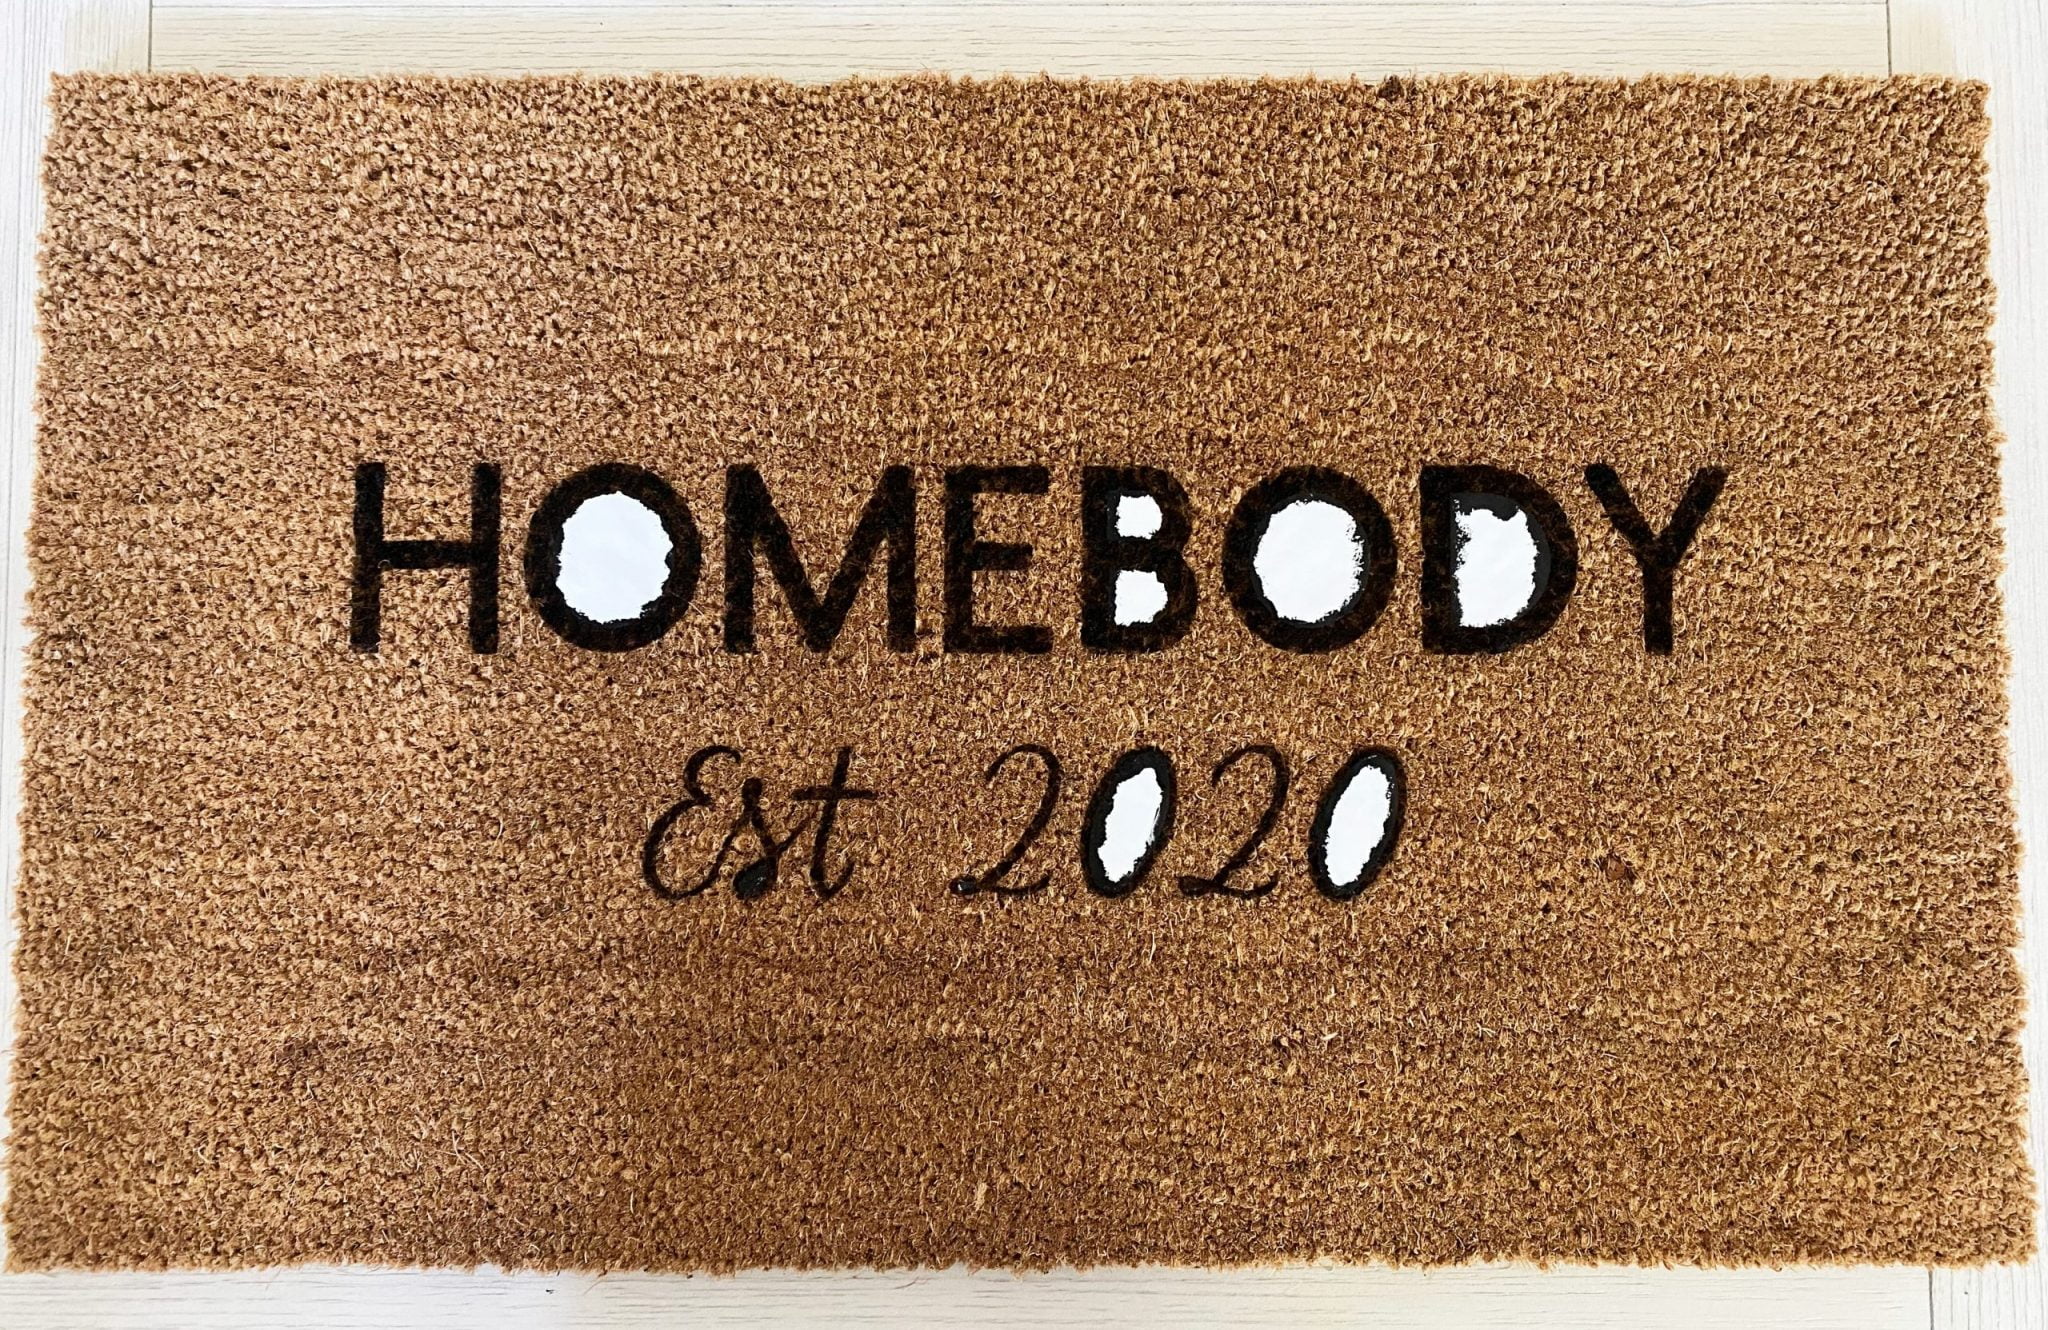 Can you believe how professional this looks? I bet the amazon delivery driver is going to think I got it off of Amazon! But all things aside staying home has been challenging but I have found solace in crafting and cooking. Luckily I am happiest when I am creating no matter where I am.
 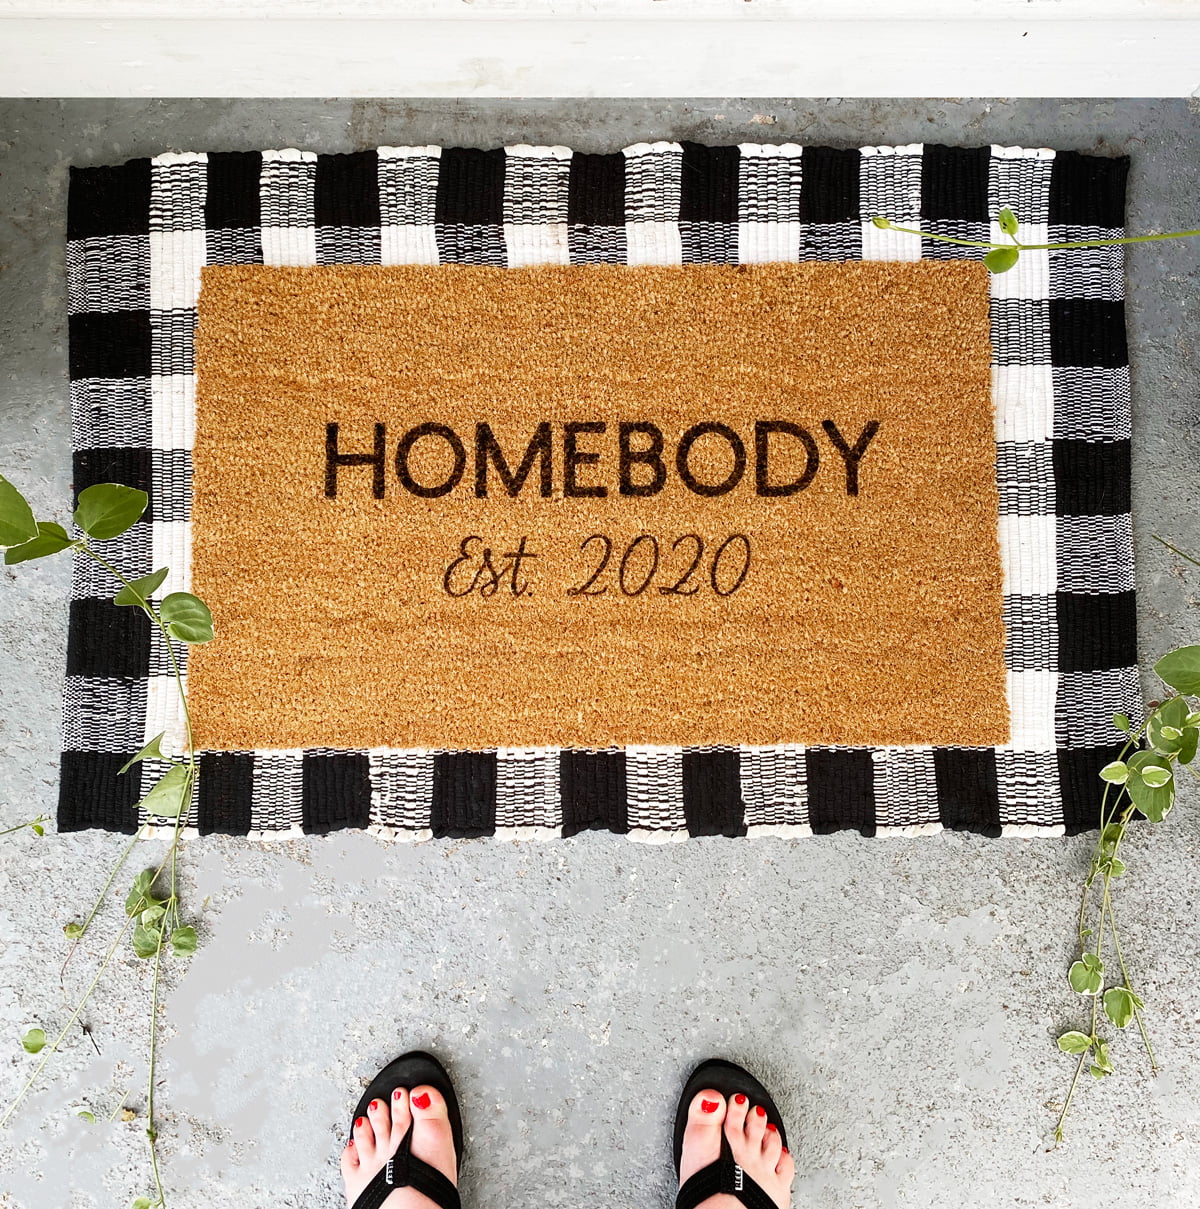 Looking for more inspiration? Check out Cricut’s blog where they add new projects every week!