This post contains affiliate links, please read our disclosure policy.
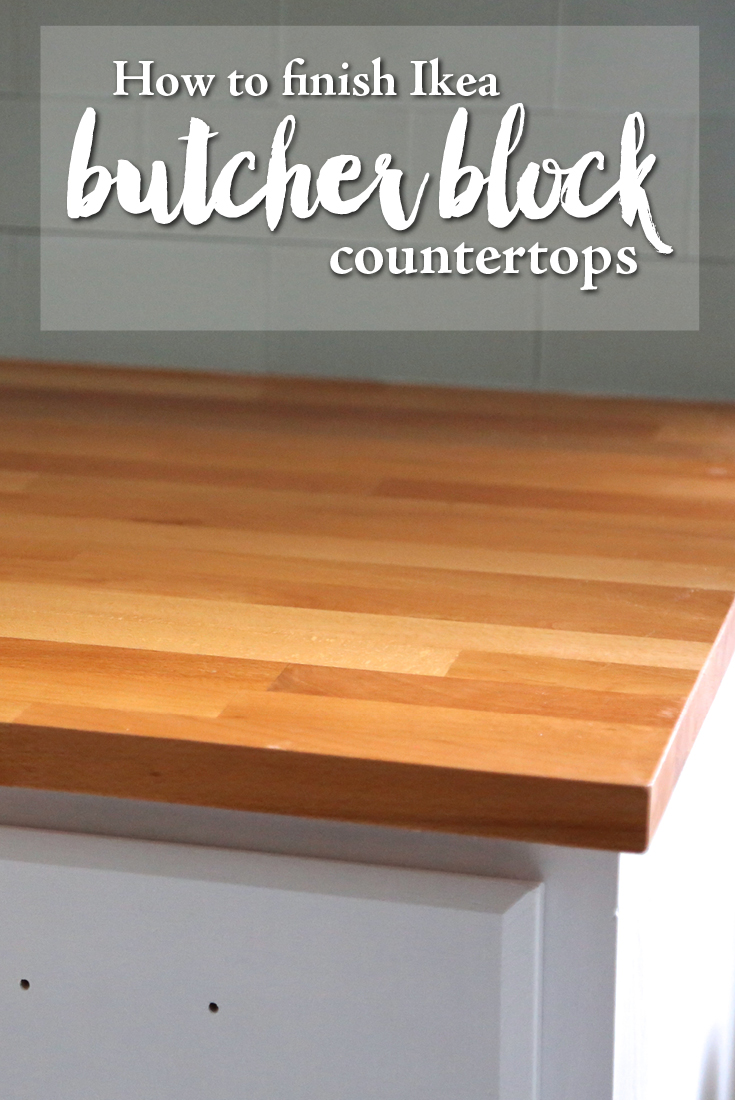
Today let’s talk how to install Ikea butcher block countertops. We are back at it here with the kitchen renovation and finally my ugly black formica countertops are sitting in a dump somewhere and no longer haunting me! So before we get started let’s make sure you read up on how I finished these countertops with spar varnish to protect it from water, warping and stains.
As you guys may remember this entire kitchen renovation started by replacing a half sized dishwasher. Which led to moving the cabinets over and being short with the existing countertop. So today is the big day it is install day! Now normally you see me installing or DIYing a lot of these projects but today is all about my brother and my dad, I was really just along to assist and learn. See my brother installed these counters a few years ago in his kitchen and really was the expert. In fact he is putting them in at my sister’s house in a couple weeks. Needless to say we really like our butcher block counters in our family.
![]()
What you’ll need
Finished Ikea Hammarp Butcher Block Counters
Frog Tape
Circular Saw
Jig Saw
Wood Clamps
2 Pieces of Wood
Tube of Clear Silicone
Kreg Pocket Hole Jig
1 1/4 Course Thread Kreg Screws
2 1/2 Blue Kote Kreg Screws
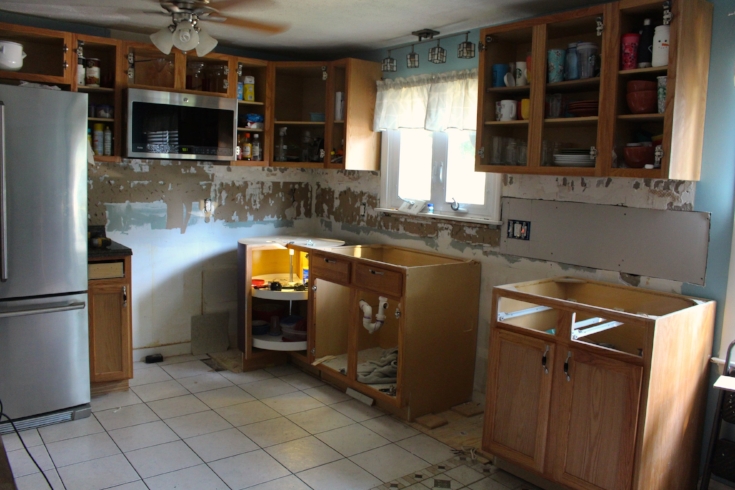
Remove the old counter tops
Before bringing in your new counters take your old counters out. Now if your counters are in good shape and you just want to update, see if you have a local Habitat for Humanity Restore in the area. You might as well donate them. Unfortunately mine were not in good enough shape there was a lot of warping and water damage.
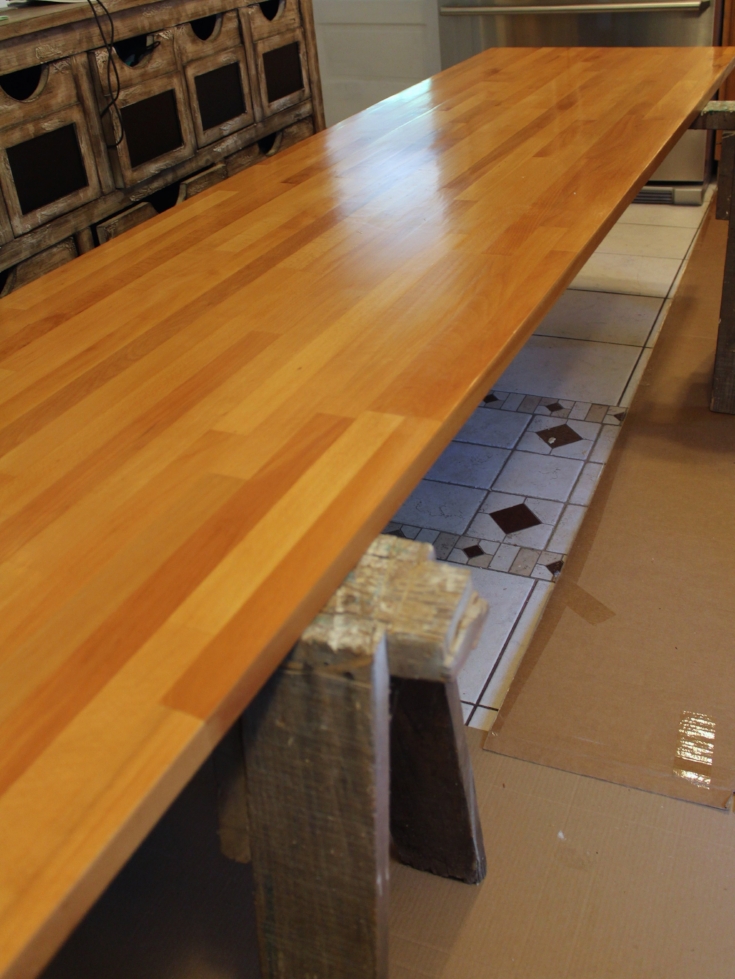
Set up a workspace.
For us working in the kitchen seemed to be the best option with weather. We brought up two saw horses from the basement and brought the first piece up. Now if you decide to do all your cuts in the kitchen have your shop vac ready.
Measuring your cuts
Now instead of just using a tape measurer we put the counters in place to mark our cuts. Now I purchased an Ikea Farmhouse Apron front sink. I actually chose this sink because it sets on top of the counters and there is no need to cut a hole for the sink. Making the DIY installation less daunting.
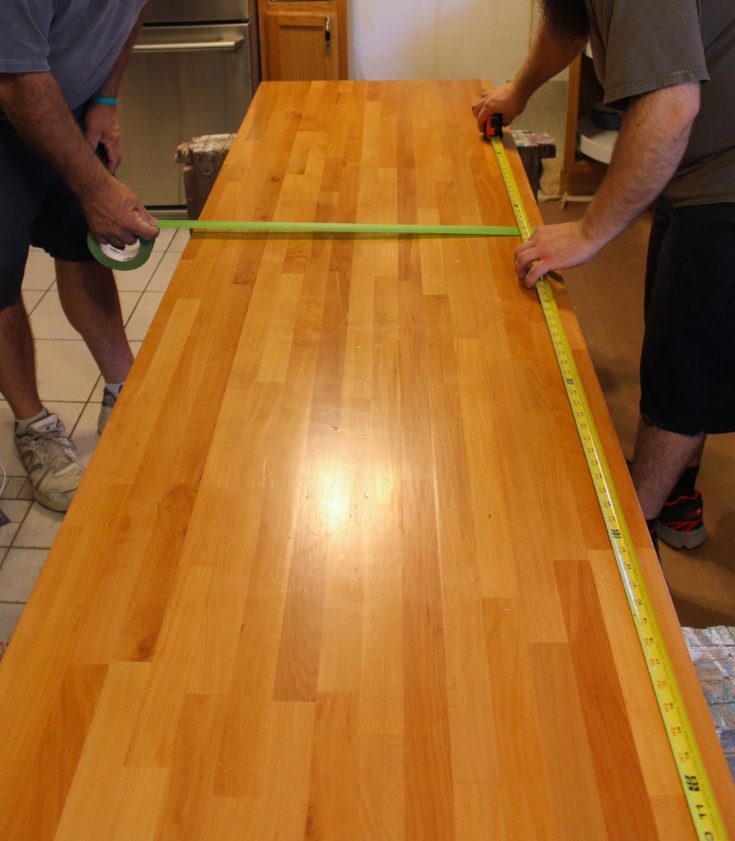
Now once we measured where on the cabinets we wanted to counter to end we set the counter tops back on the sawhorses and measured our cuts. Using frogtape mark where to cut.
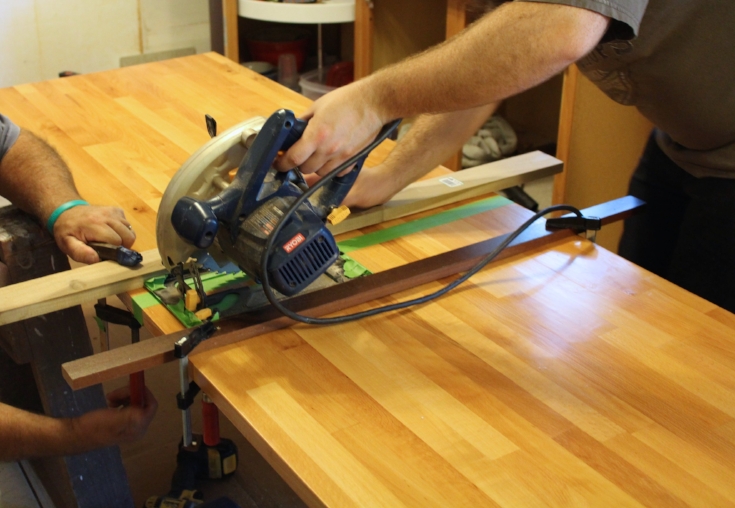
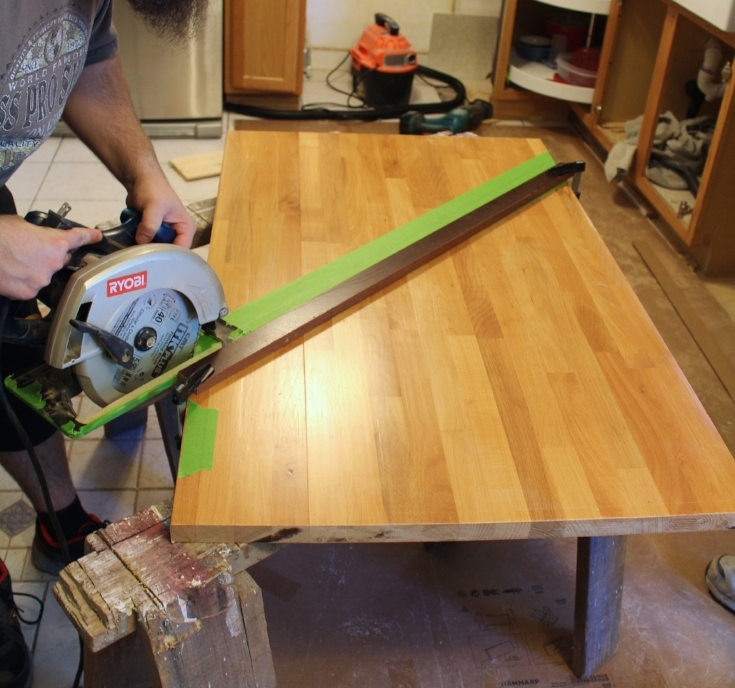
Straight Cuts
Using two spare pieces of wood and four clamps we created a straight edge for our circular saw. This will help guide the saw and keep the cut straight. There are attachments you can purchase for your saw to assist with this but this worked just as well for us.
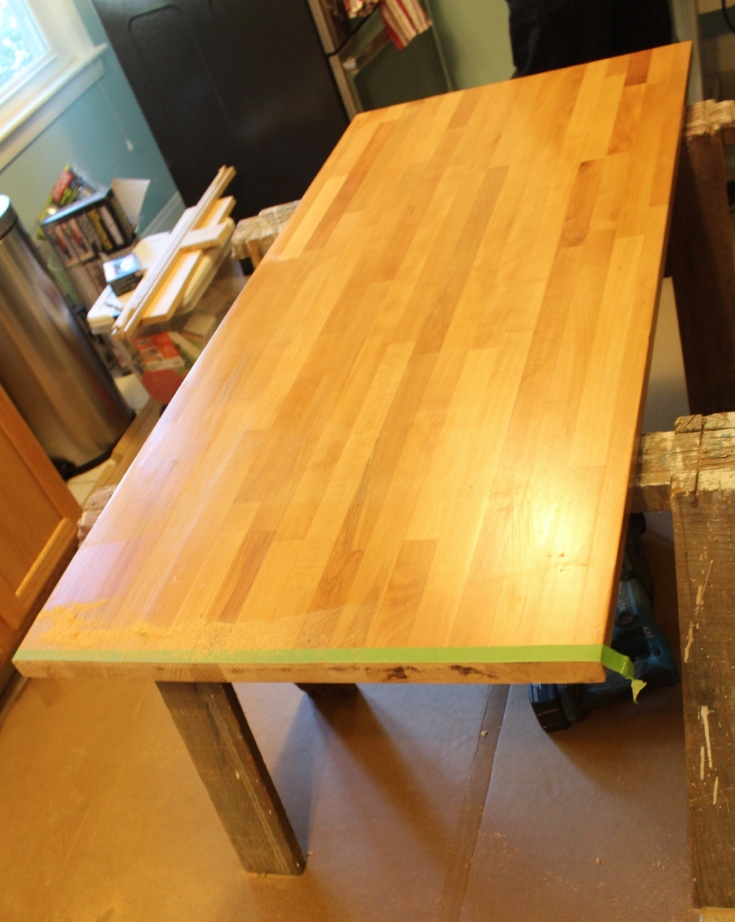
Ending up with a nice straight cut that will fit right under the sink farmhouse sink.
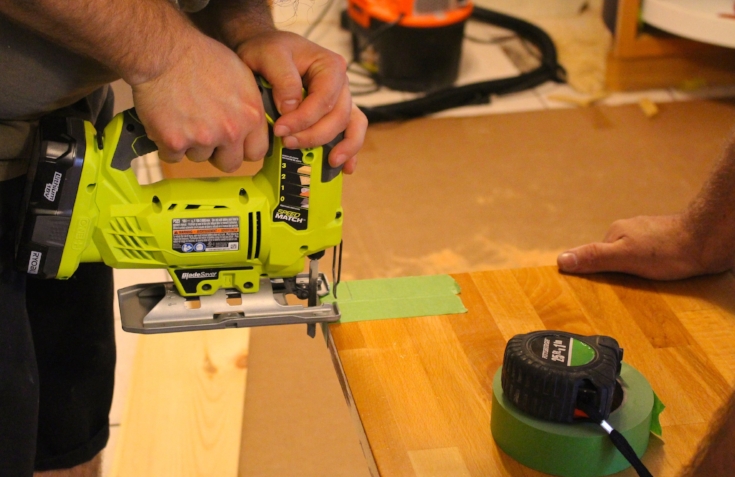
In order to fit under that sink we had to account for some cut outs. Again using frogtape we marked the indent that needed to be cut out and followed along those lines cutting with the jigsaw.

Cutting your corner piece
Here is the best tip I am going to give you. Make sure you keep the cardboard the countertops came in. They work perfectly for making a template, if you have a corner that you need to cut at a 45 degree angle.
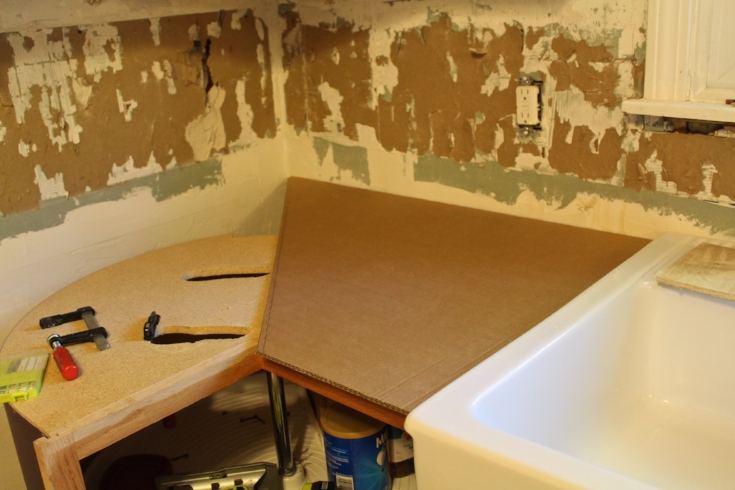
We placed the sink into position to get this measurement correctly. Using the piece of cardboard and an exacto knife.
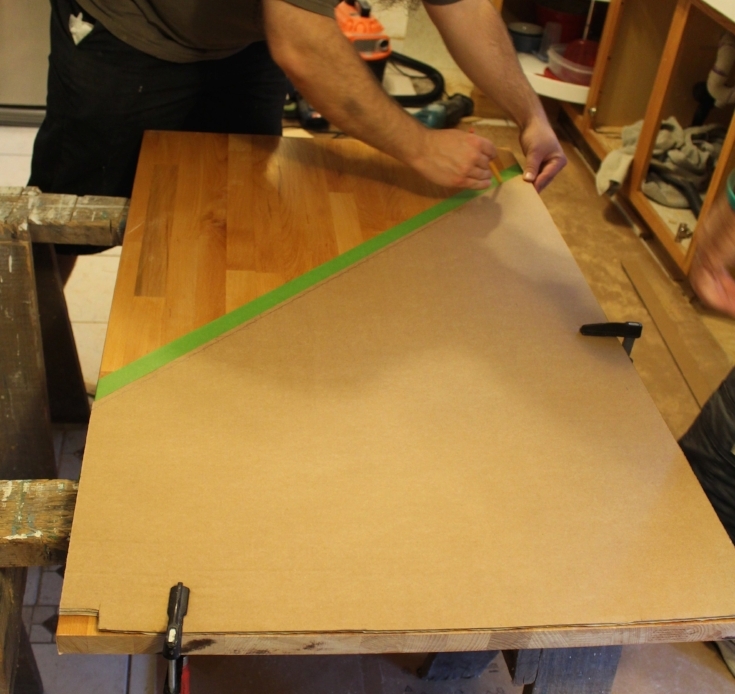
Put your frogtape down and use the cardboard to trace your angle. Once you have your angle set up a piece of wood and clamps for your straight edge.
Put the countertop in place and repeat for the remaining side of the counters.
Creating your corner piece of counter
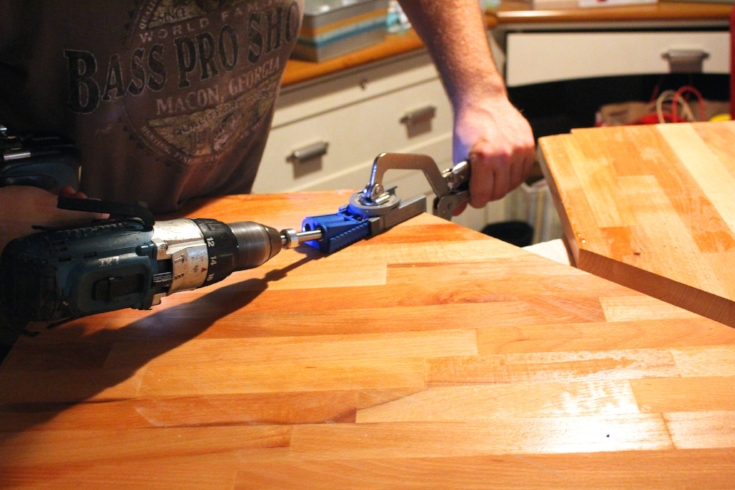
The corner is the most intimidating part of the whole installation. We decided to use a kreg jig to create pocket holes on the underside of the countertops.
Drilling two pocket holes on each side of the cut about 8-12 inches apart. Make sure to set the pocket hole drill bit for the size screw you are using.
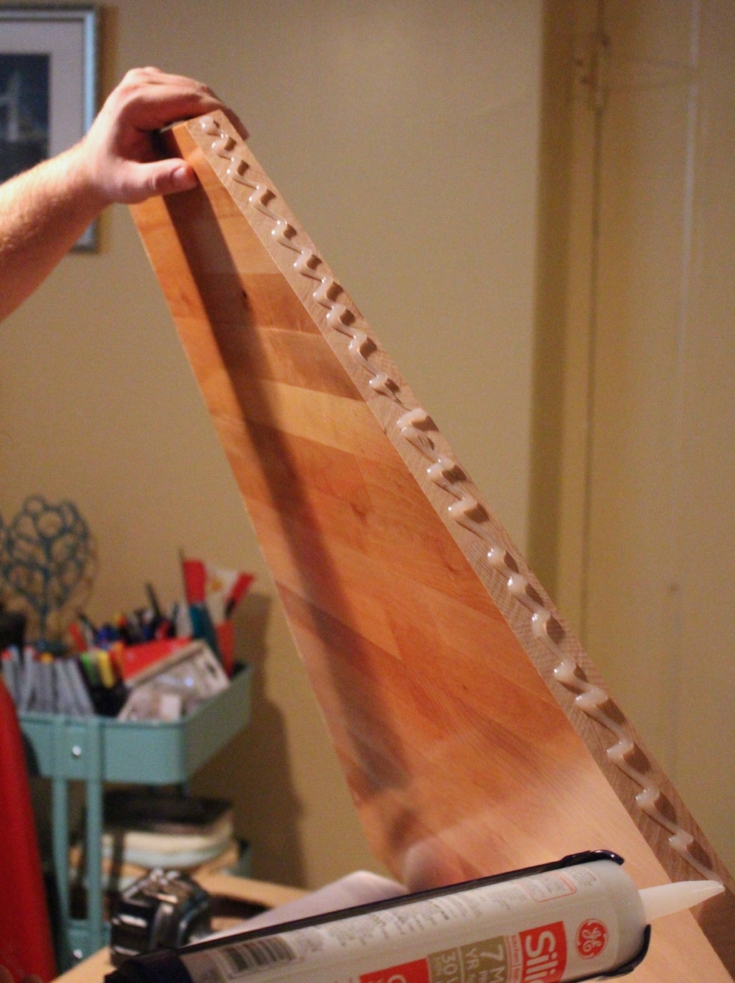
Once you have made your pocket holes run clear silicone on the inner edge of your counters. Place the two pieces together.
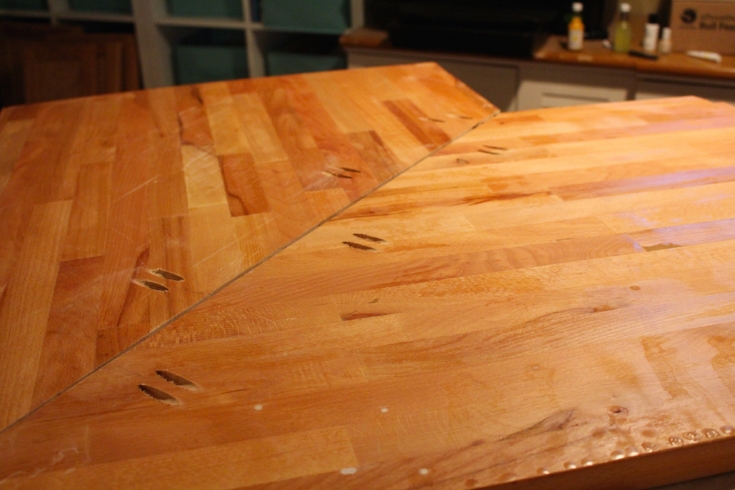
Alternating sides start to screw in your pocket holes. We used the 1 1/4 course thread kreg screws I screwed one on each of the pairs alternating sides then came back and did the second screw. Once done wipe any excess silicone on each side.
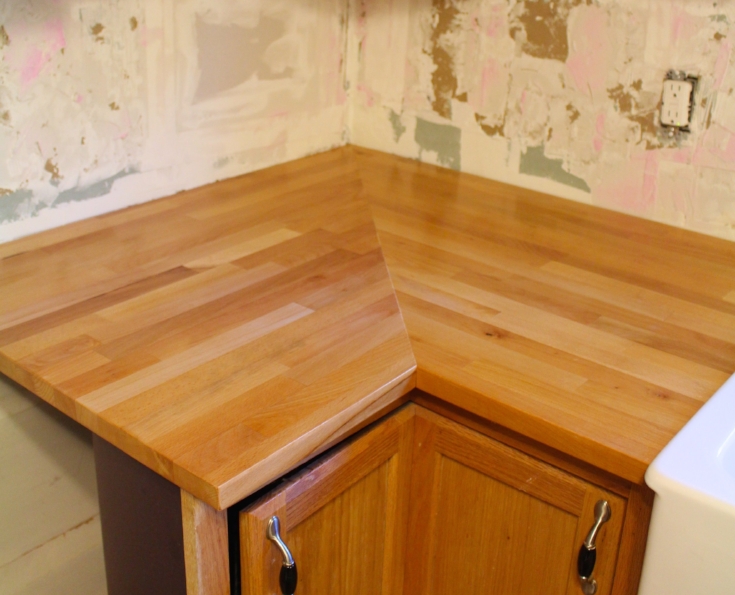
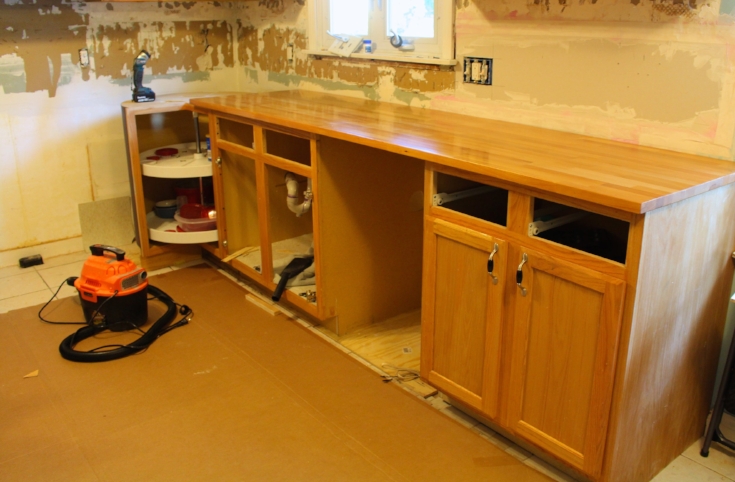
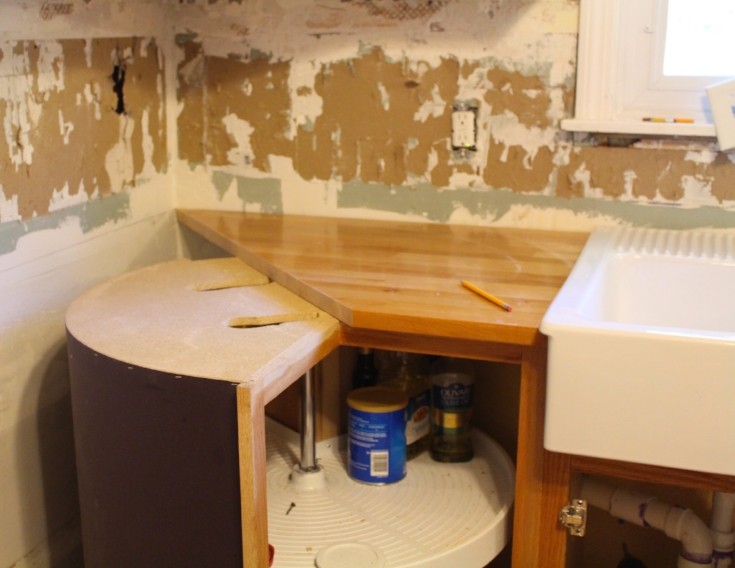
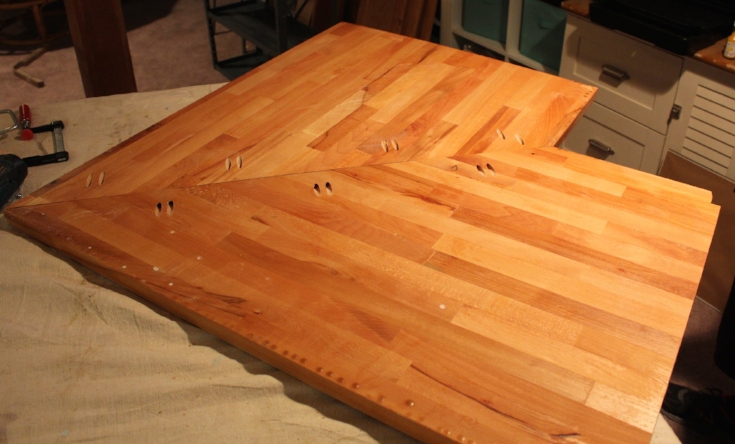
Set the corner into place.
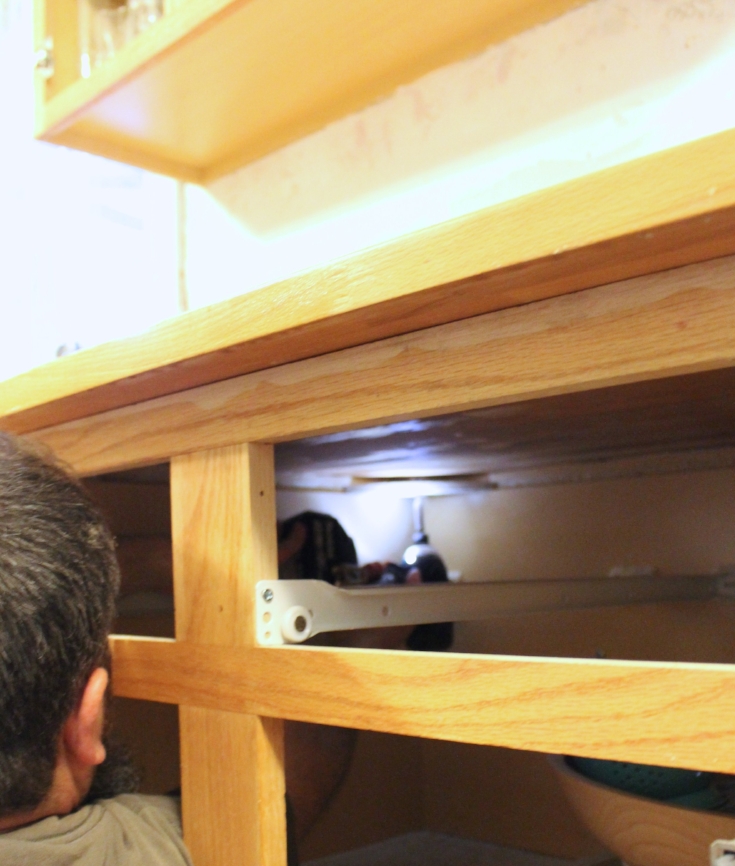
Make sure your counters are in place and then take your remaining screws and screw the counter tops in place. Before screwing these in make sure that the 2 1/2 screws will work for your project. You do not want a screw thats too long.
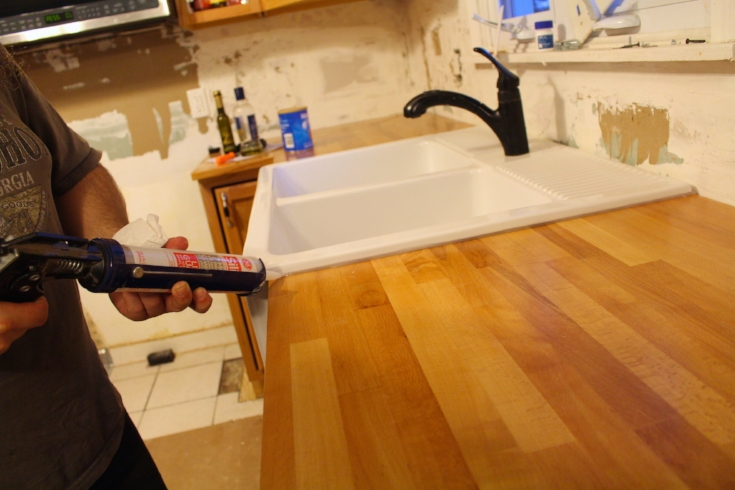
To create a waterproof seal around the sink we also used clear silicone.
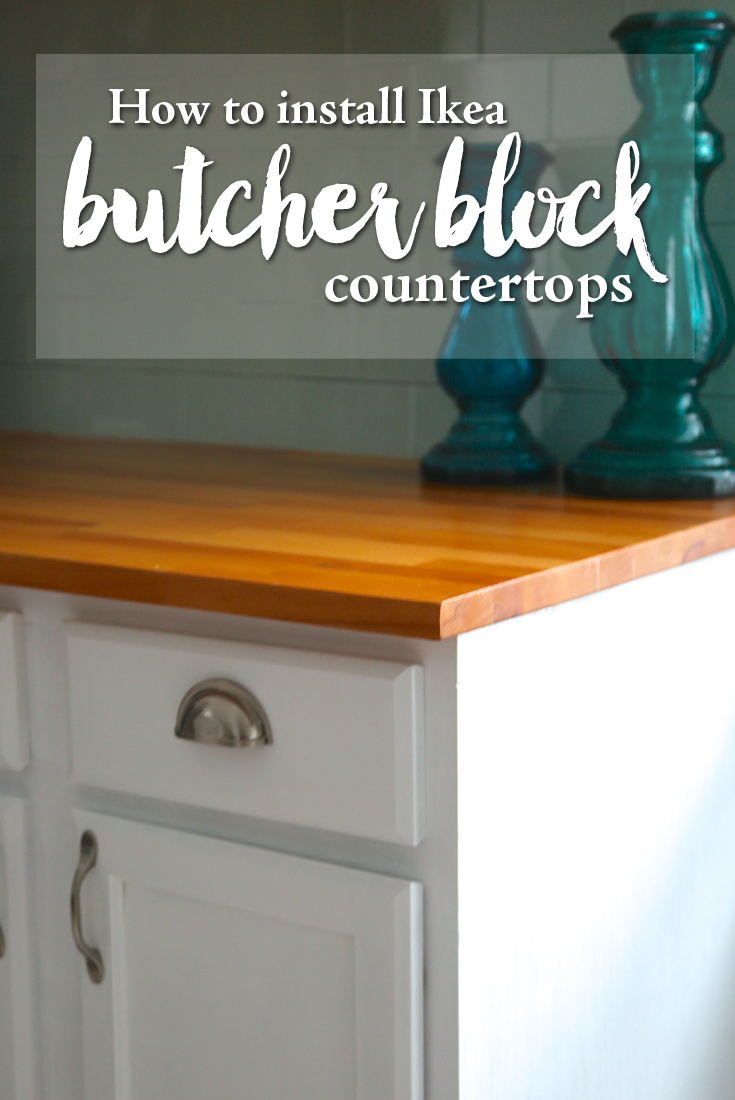
Make sure before installing your counters you take the time to properly seal and finish them. This will extend their lifetime and protect them from stains and water damage.


Your counter looks fabulous! And how lucky for you that your brother had experience with this! Pinning!
Holy Cow Michelle, those counters look fantastic! And I wish I had read this just a few days earlier, would have prevented my crooked cut fiasco that I’m dealing with now…that’s a great suggestion about the wood guides.So, have you stopped pinching yourself yet? I can imagine that you just walk in to your kitchen just to admire those lovely countertops!
Enjoy, Lynn
Your kitchen looks fantastic and you did a great job walking through exactly how to install this beautiful countertop. Thanks for all the tips.
I’ve loved the look of butcher block countertops for awhile now but have been nervous about figuring out how to install them. Thanks for sharing the tutorial for installing Ikea butcher block. I think I have a new project in my future! xoxo
Nice tips. I must bookmark it. Thanks for sharing.
Hi Michelle! I’m doing my homework and reading up on the butcher block counter thing :)! this is a great post, very helpful and seems pretty doable! Thanks for sharing!
I love this post, very informative we are going to install these for our daughter for her bday. Im gathering all the supplies. I could not find the sink I will keep looking but if you have a link that would be great!
I think Ikea now has a newer version of this sink. I believe it is called havsen.