This post contains affiliate links, please read our disclosure policy.

I have never been the best at saving. I know it’s because being a freelance designer I was always waiting to be paid by clients or the fact I was in college and then grad school. Well 2015 is the year I am changing that. I have hung up my freelance hat and taken a full time job as a designer and this is the year I vow to put a dent in my student loans and start to save to buy a house. I want to buy a house by the time I am 30 and I only have 2.5 more years to save. Now I have a budget and plans in place to accomplish those goals, you all should really check out Dave Ramsey, but in the mean time I don’t want to forget about the fun things in life. Like a vacation or saving up for a big purchase.
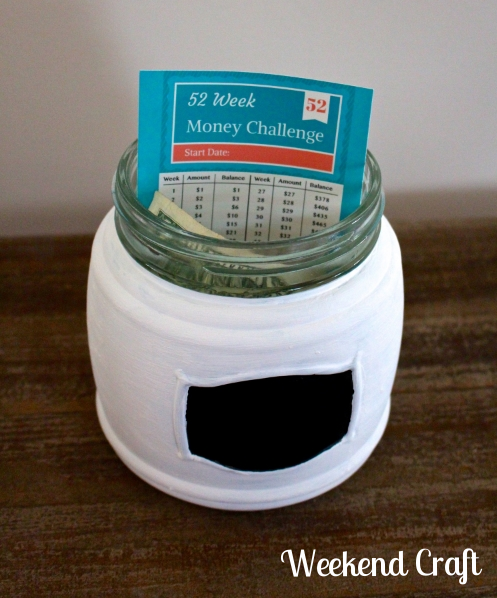
When I heard that last year my sister and her husband did the 52 week money challenge and saved almost $1400 last year by simply slipping money into a mason jar ever week I knew that I had to try it. I am little delayed from starting at the beginning of the year but who says you need to start on the first?! Not me. I am starting today!
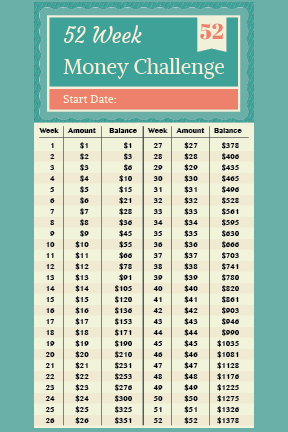
So how does the 52 Week Money Challenge work? The first week you put in $1, the second week you put in $2, the third week $3 all the way until the fifty second week you put in $52. Bringing your total to $1378 in just a year. See chart below and download it here to start your own 52 Week Money Challenge.
In no way is this an original idea from me. There are hundred if not thousands of different pins for this on pinterest. I just didn’t find a printable that I loved so I made my own for my personal savings challenge. If I am making it anyway why not share?
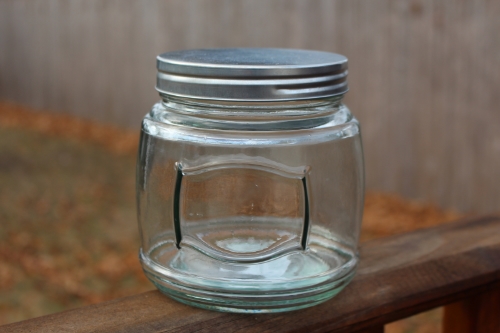
On the quest for the perfect jar I found this one while browsing the target dollar spot and it was only $3! Now I love the size and shape of the jar I just didn’t know how comfortable I was with it being see through when there will be money inside. So I decided to take it home and paint it just like I did with the mason jar vases.
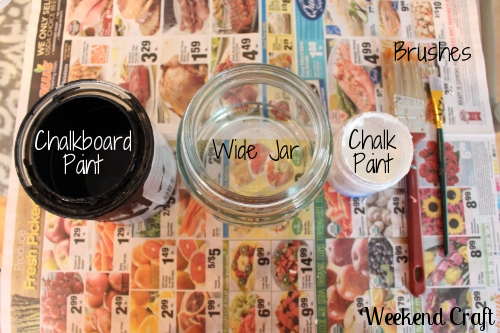
What you will need
• A wide mouthed jar
• Chalk paint
• Chalkboard paint
• Paint brushes (small and a detail brush)
• Free 52 Week Money Challenge Printable (download here)
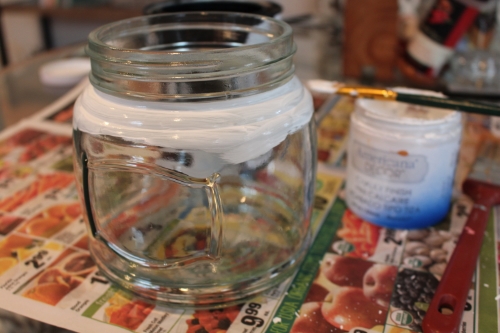
Now I chose not to paint the rim of the jar since I wanted to use the lid to the jar. My fear was screwing the lid on and off the paint would chip or peel. I took my small brush and painted right to the edge of the groove mark. I kept a straight line by using a smaller brush which allowed for more control.
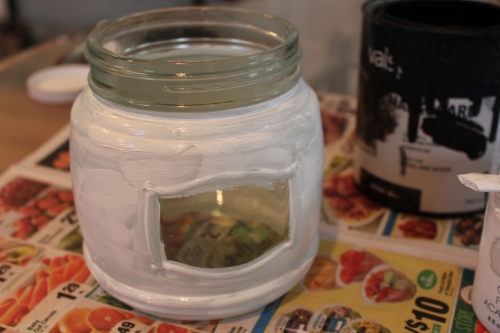
Your first coat may be a little streaky but don’t worry it’s just because you are painting glass. I painted three coats letting each coat dry in between and the last coat really light. Because I used chalk paint it dried within a few minutes.
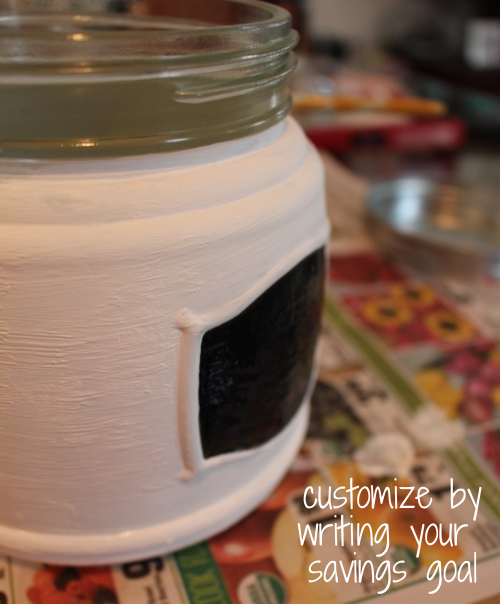
I chose to add a chalkboard paint on the raised part of the glass. This is a great way to customize your jar by writing your savings goal on the jar. You could even draw some palm trees or a cruise ship if a vacation is what you had in mind.
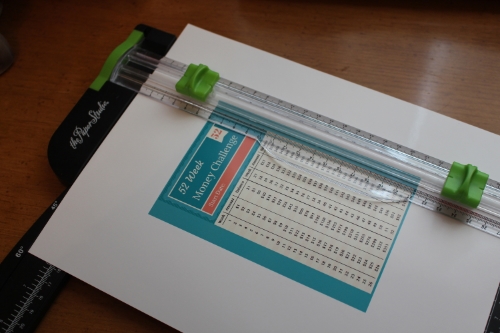
Now while your jar is drying take this opportunity to print the 52 Week Money Challenge cheat sheet.
I hope that my savings journey this year will help you on your path to savings in 2015. What are some of the things that you could use this challenge to save for?


