This post contains affiliate links, please read our disclosure policy.
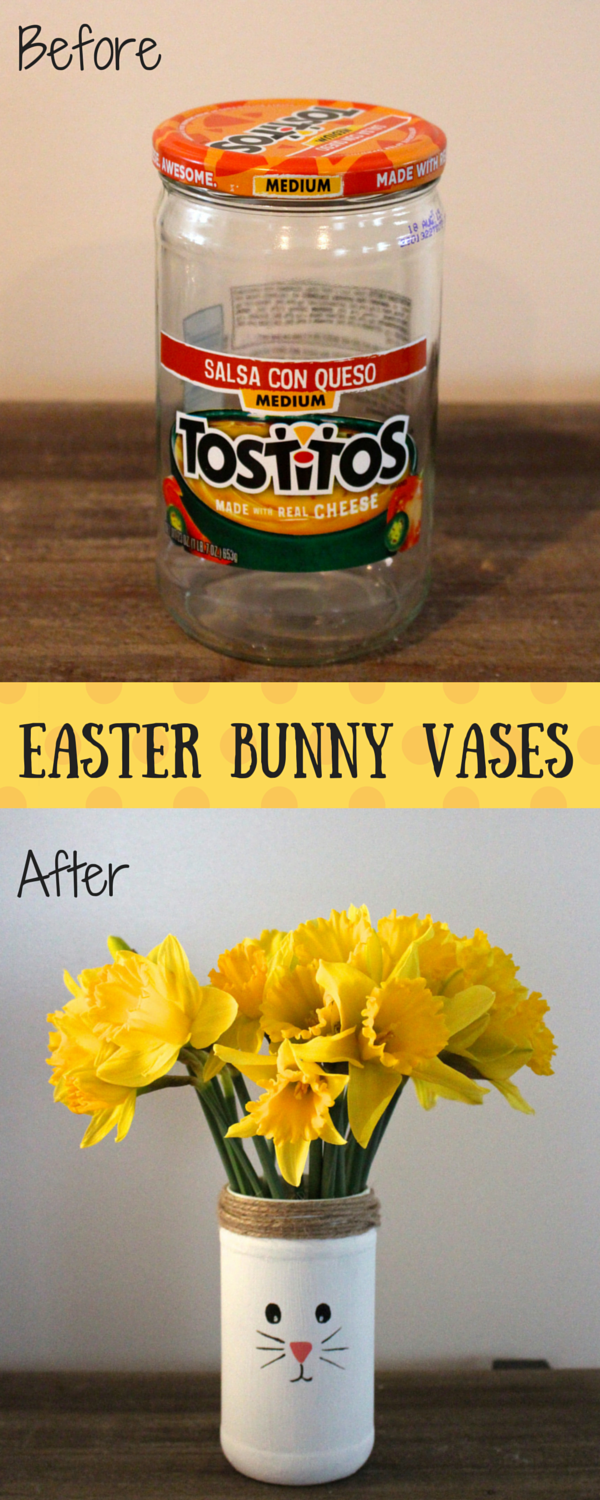
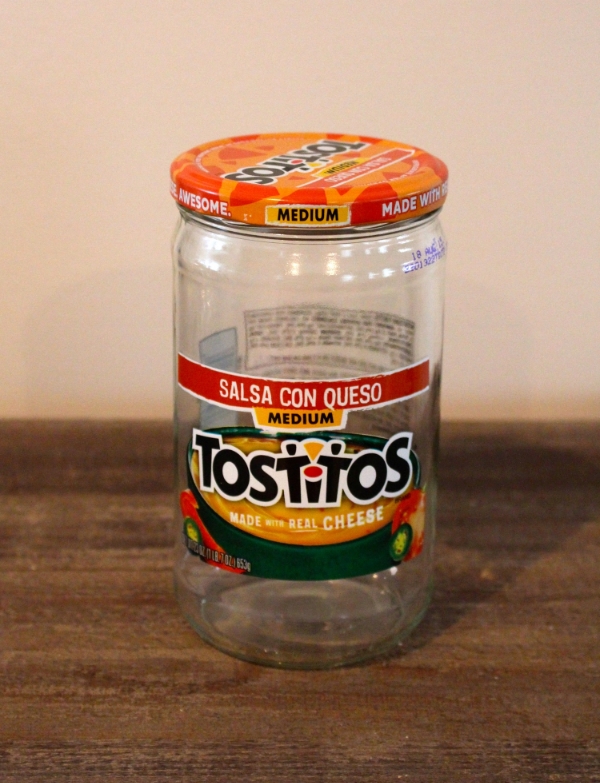
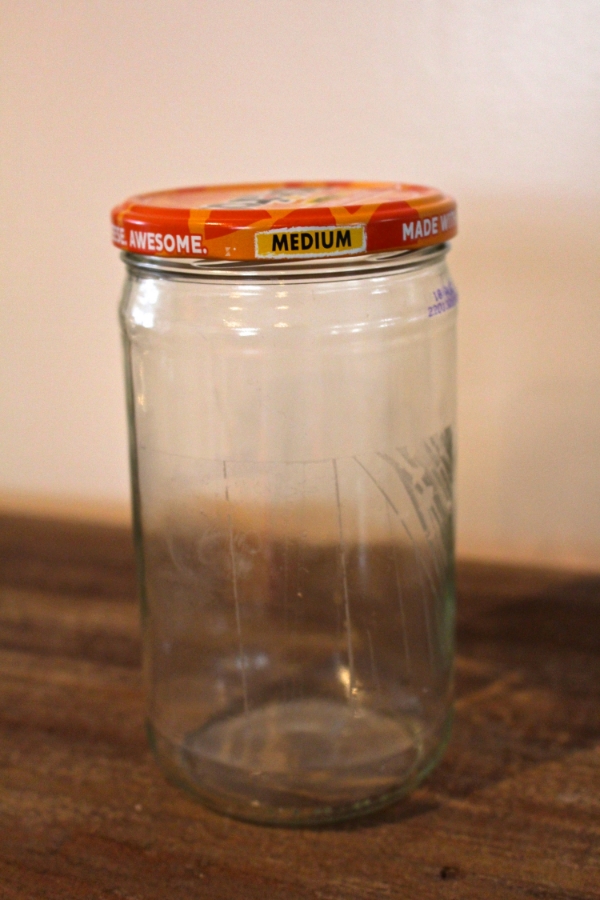
Easter is just around the corner and I can’t believe how early it is this year, April 5th. I’ve been asked to host Easter and my house is very small so the thought of it is stressing me out! So naturally what do I do? I craft…. or eat dip. So why not do both. I had a left over salsa container (coincidence?) that I thought would make a great vase for the dinner table on Easter. I ran the jar through the dishwasher.
I was surprised how easy the label peeled off. I accredit this to being more of a plastic label then the normal paper labels you find on pasta sauce.
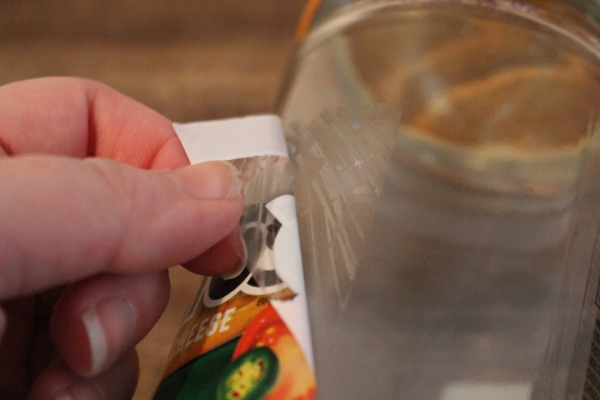
Some residue was left on the glass once the label was peeled off.
I am not going to lie it did cross my mind to just paint over the glue but in the effort of doing things right I reached for the goo be gone and it was no where to be found!

So how do you get the goo off without goo be gone. I wasn’t sure but I do use vinegar and baking soda a lot around the house instead of using harsh chemicals. So why not try it on the glass. I make a paste with the baking soda and just a splash of vinegar. Beware it will most likely foam at first.
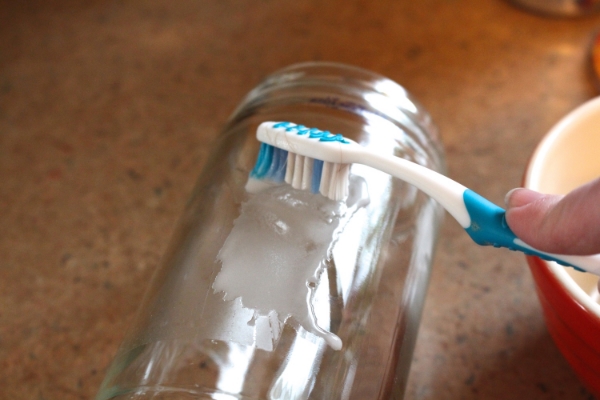
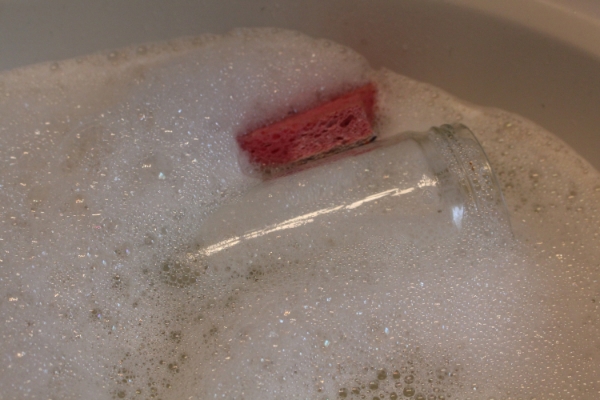
I used an old tooth brush to spread the mixture on and to scrub. Then I filled my sink with hot (really hot) soapy water and left the jar in there. Coming back a few minutes later and again putting the baking soda and vinegar directly on the jar with the toothbrush and the goo came right off.
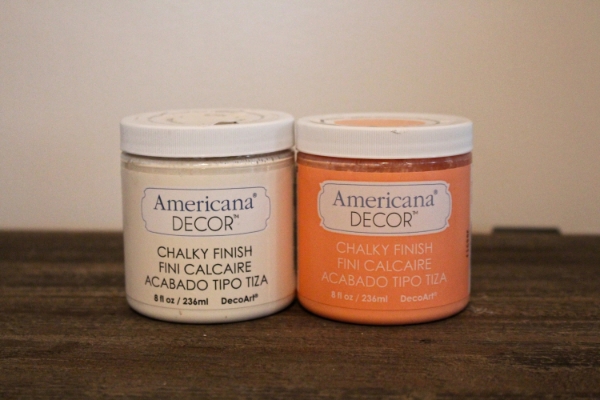
Now that we have a base to start with this project should really only take 15-20 minutes because chalk paint dries so fast. Which is one of the reasons I decided to use Americana Decor chalk paint. I have a bunch of colors around the house and you can get them at Michaels and use a coupon.
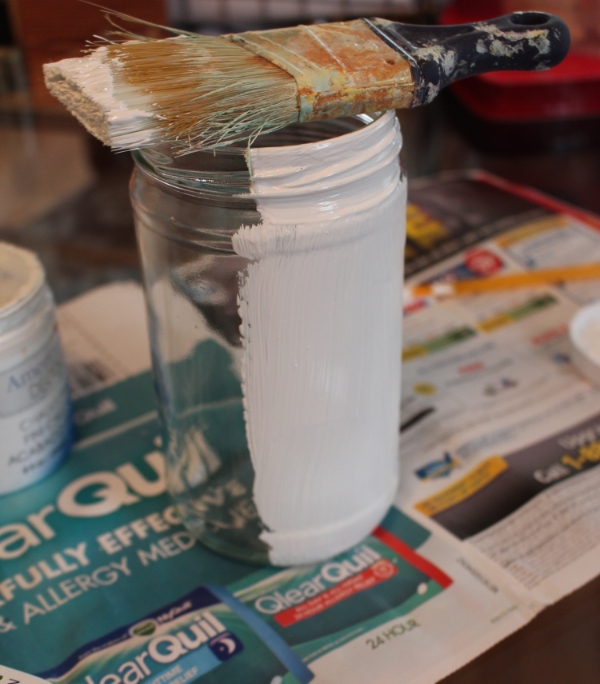
Using white paint cover your salsa jar evenly. Tip: I put my hand inside the jar and hold the jar up as I am painting. This allows 360 degree access while painting. Also just paint to the edge of the bottom. No need to paint the bottom of the jar.
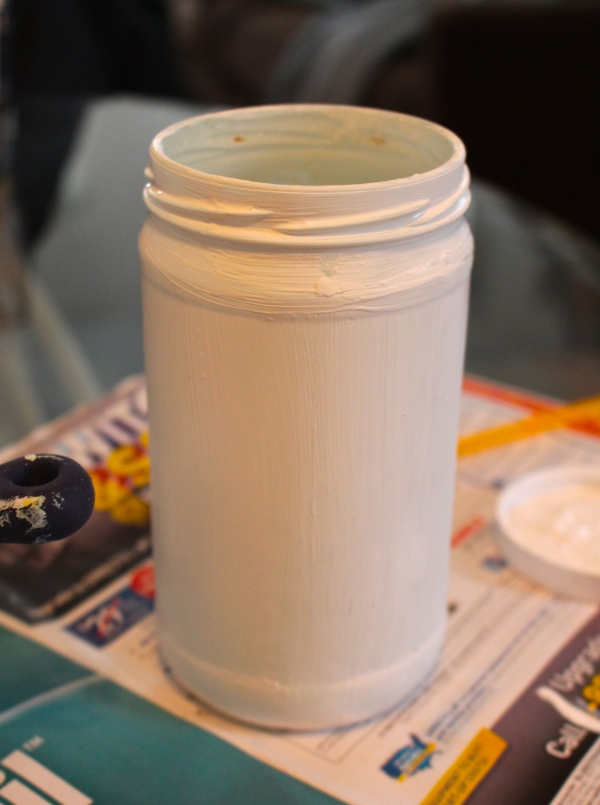
Now one coat looked fine so you could stop there but after the first coat was dry (only after a few minutes) I added a second coat.
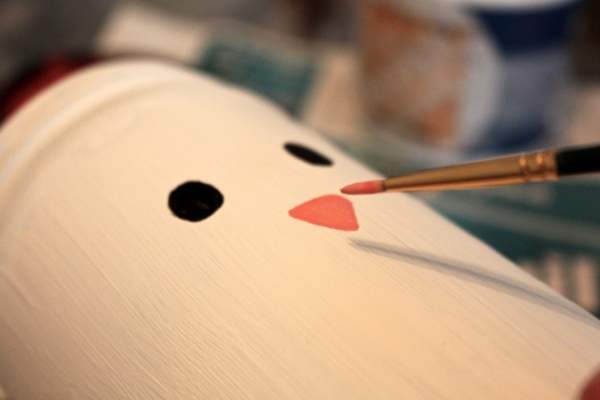
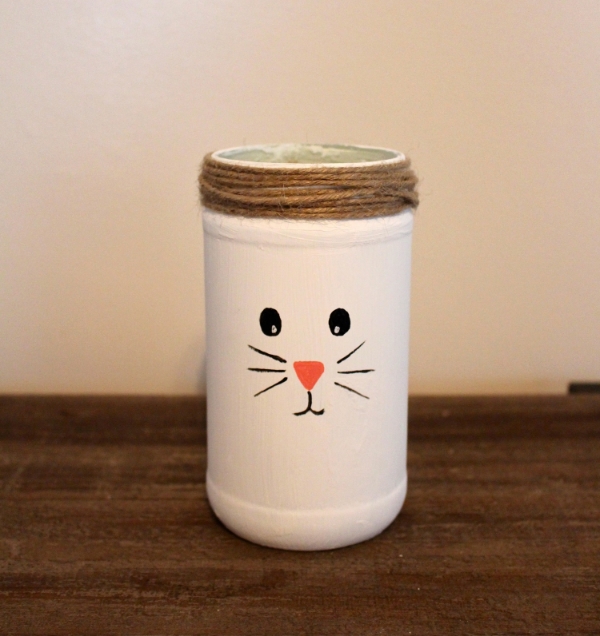
Now I am not much of a free hand painter or drawer but this was not hard at all. Using a smaller detailed brush about a quarter of the way down the jar I painted two small black dots for eyes and a small rounded triangle for a nose. Off of the nose add whiskers and a small mouth. Tip: Don’t directly touch the whiskers and mouth to the nose and you can paint them all at once.
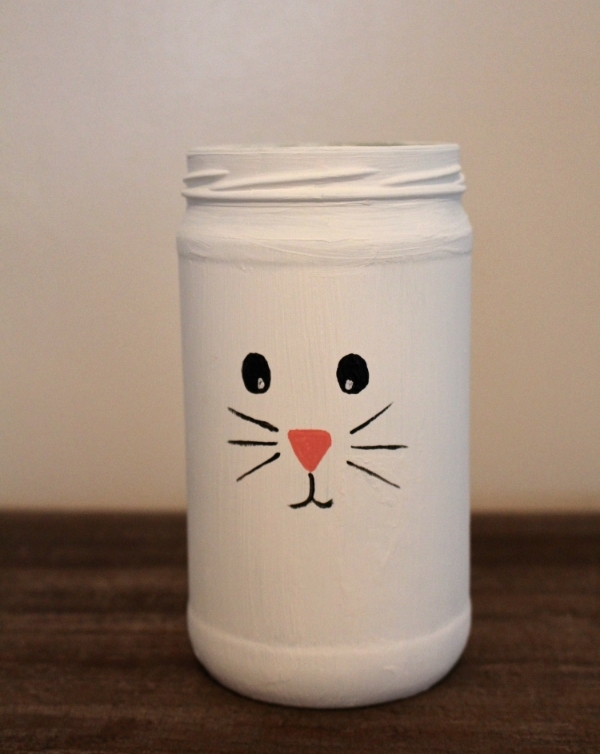
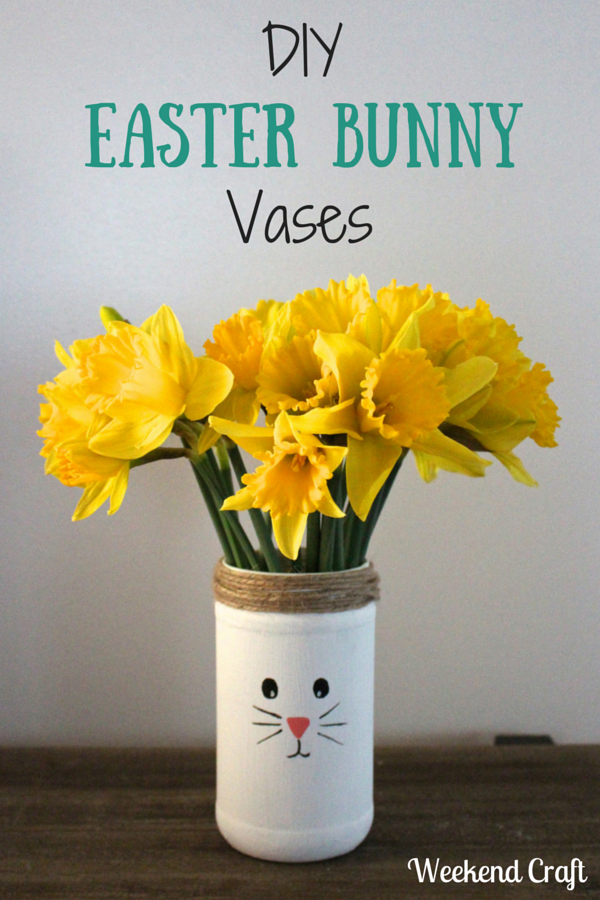
Now how cute is this bunny! I had seen one similar in Country Living but they had added some twine to the top. I think that was just what it was missing.
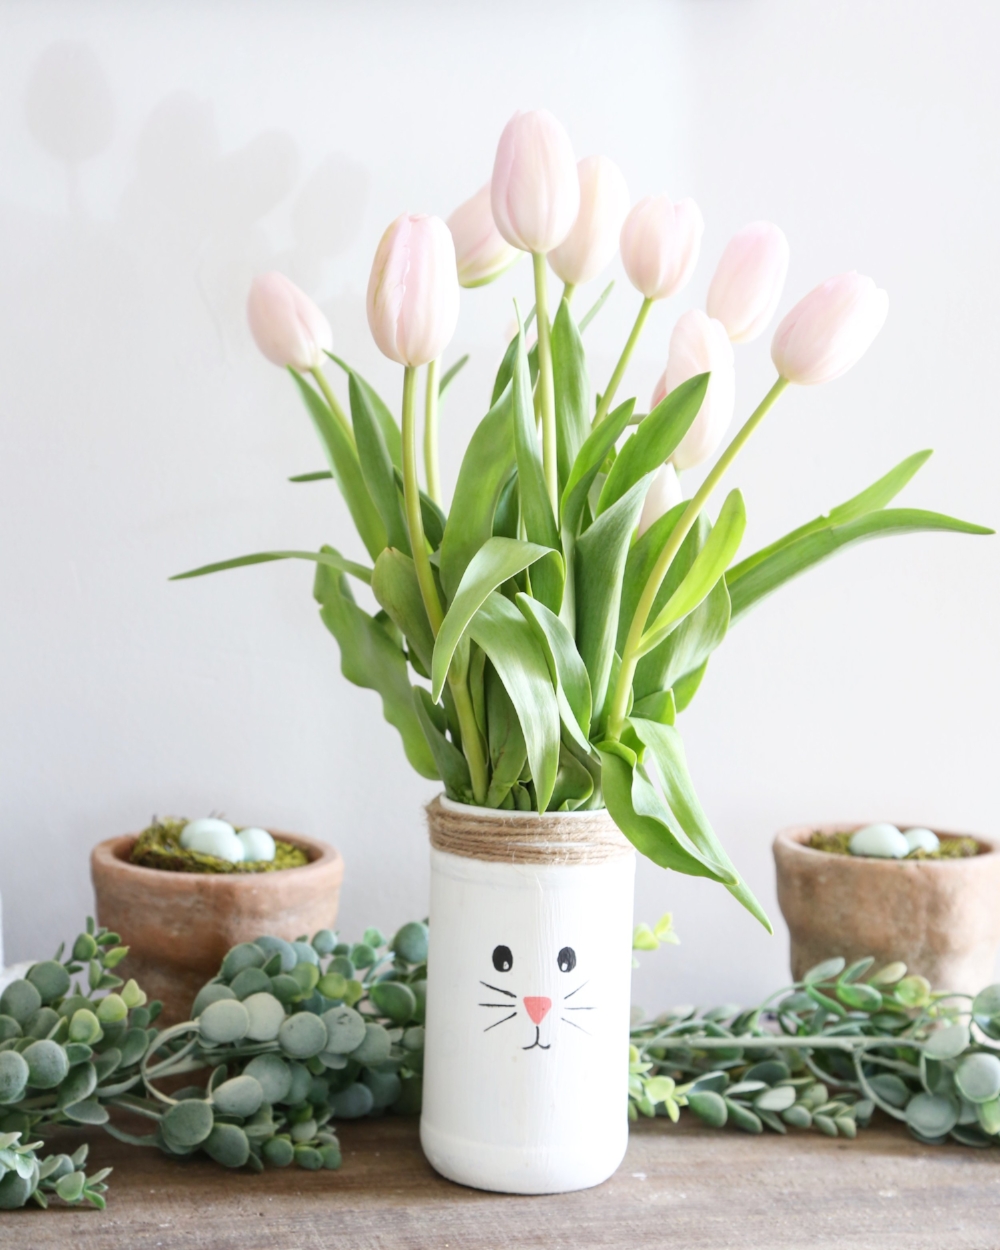
Now you could make plenty of different animals or creatures for all different holidays. Chicks, snowmen, reindeer, Santa and the list goes on. So I know that I am going to think twice now before throwing away that salsa jar or tomato sauce jar. Especially because I think this bunny needs some friends. This was such a quick, inexpensive and fun way to impress your Easter guests. Now I had all the supplies so the only cost to me was purchasing some daffodils for the vase.
Love the bunny?! Make a DIY Mason Jar Chick to go with it!