This post contains affiliate links, please read our disclosure policy.
Hi there! It’s Becky and Glenna from My Paper Craze guest posting today! We’re so excited to be here and share a super-fun project we worked on this weekend!
You know, one of my favorite mediums to play with on my Silhouette is vinyl. Every time I turn around, I’m finding something else that I can dress up with this awesome tool! Today,we offer up our project for inspiration: a Personalized Cutting Board!

This would be a such a cute Mother’s Day gift…. but I must confess I made this one for myself. I love to craft and give handmade gifts so I seldom have any time to craft things for myself!
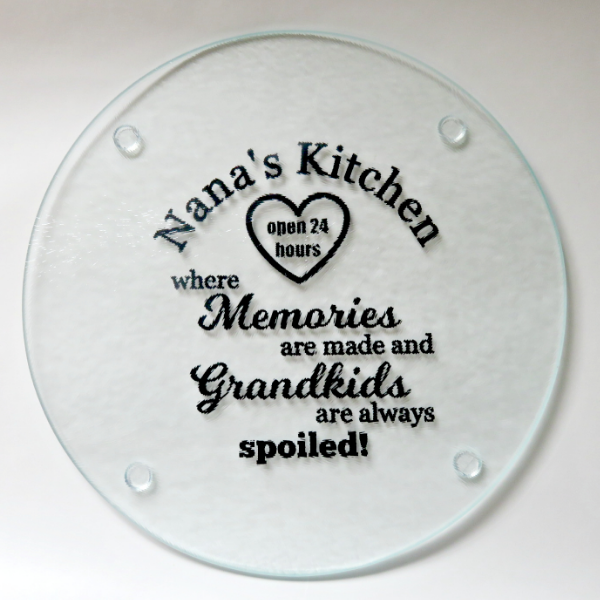
Once you decide on your design it is extremely quick and easy to put together. I started out with a clear glass cutting board from my local dollar store (yippee for dollar store finds!). You can find them in all different sizes but mine is only about 7 inches across. I had seen the quote in a Facebook group I belong to and fell in love with it immediately. I designed the look I wanted in Silhouette Studio. Because of the size of my board and the fact that the design would be rather small, I took extra care to choose fonts that wouldn’t be too thin.

The top of my cutting board is textured and the bottom is smooth. The key to cutting boards (and other food surfaces) is to place the vinyl on the opposite side (bottom) in reverse. This also means you’ll need to flip your design before you cut it. Once I was satisfied with my design I sized it to fit and flipped it.

I cut and weeded my design and applied my clear transfer tape (which is actually nothing more than clear contact paper). I then burnished it with my handy dandy Silhouette scraper tool, but you could use a gift card or credit card. I slowly peeled the design away from the vinyl backing and it was ready to apply it to the cutting board. I also love that the paper backing on the contact paper has a grid so I also use it to help line up the image so that it’s straight.

One of my favorite parts about this craft is that it cost me under $2.00 total. I’m so happy with how it turned out and it makes me smile every time I look at it on the kitchen counter. That’s a Win-Win in my book!


So cute! How did you flip the design?
What fonts did you use? I have a Cricut and have a lot of trouble cutting small fonts.
Do you seal the vinyl with anything? Can it be washed?
I would suggest only hand washing and using an outdoor vinyl.
Did you put it on the back of the cutting board or front