This post contains affiliate links, please read our disclosure policy.
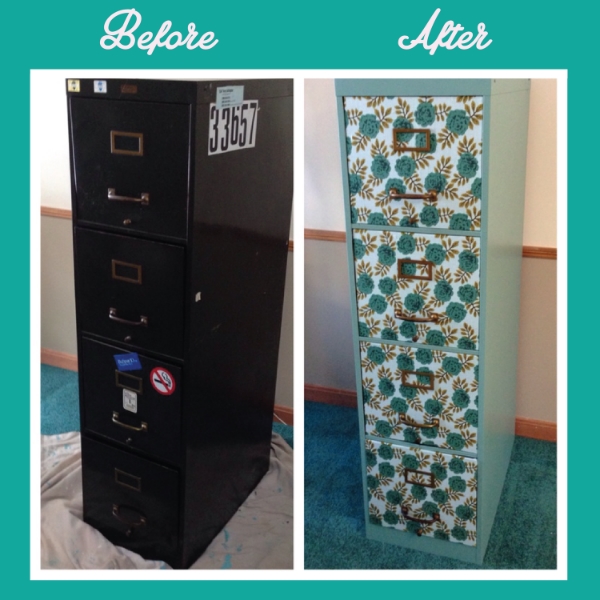
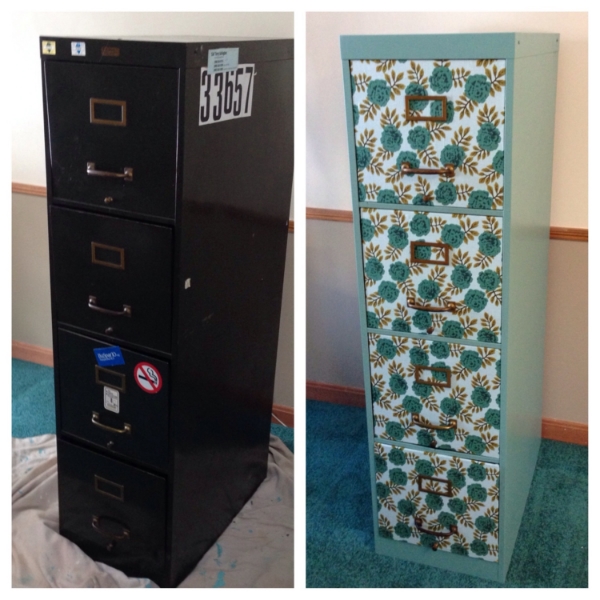
I was lucky enough to be gifted a hand-me-down filing cabinet. Recently my craft supplies have just outgrown my craft armoire. I was excited to have a new storage solution but I never imagined myself to have filing cabinet. I knew there had to be a way to spruce this up and give it new life.
With a lot of googling I managed to come across a slew of cabinets that had been painted and linen wrapped with fabric. This was exactly what I needed to do and it would actually turn into the accent color and piece I needed for my craft room I am putting together.
So lets get started. I could not wait to get the stickers off this bad larry and clean him up.

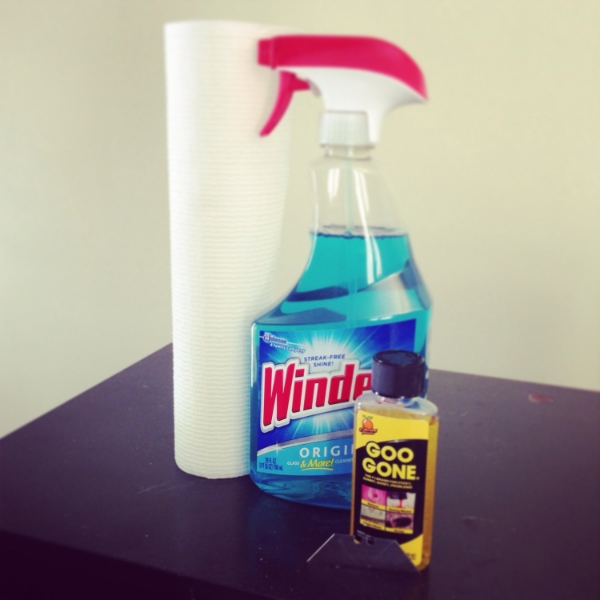
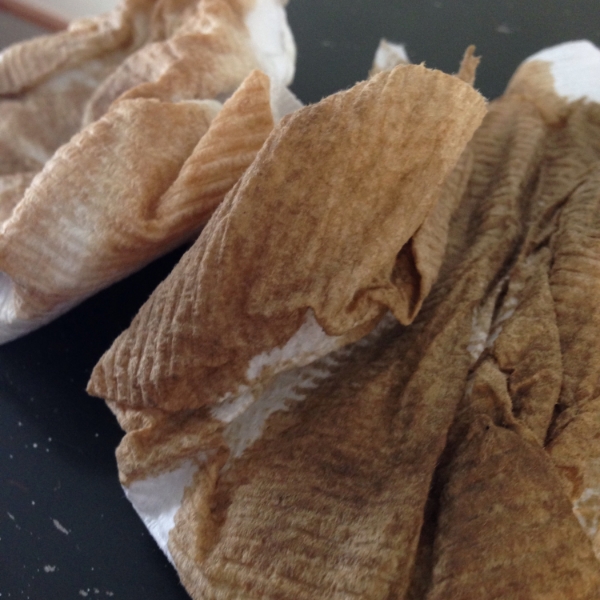
This was harder than I thought to clean up. For all of you that keep up on my posts you may have realized I am slightly obsessed with windex. After cleaning just one side I was quite disturbed when I saw what came off of this cabinet. I even consulted my brother who works in furniture restoration. He told me the cabinet was old enough to be in an office when they were allowed to smoke while working. Gross…. But it was free, in really good shape and I was obsessed with the idea of this project! Do you have any idea how expensive filing cabinets are new?! I was kinda surprised!
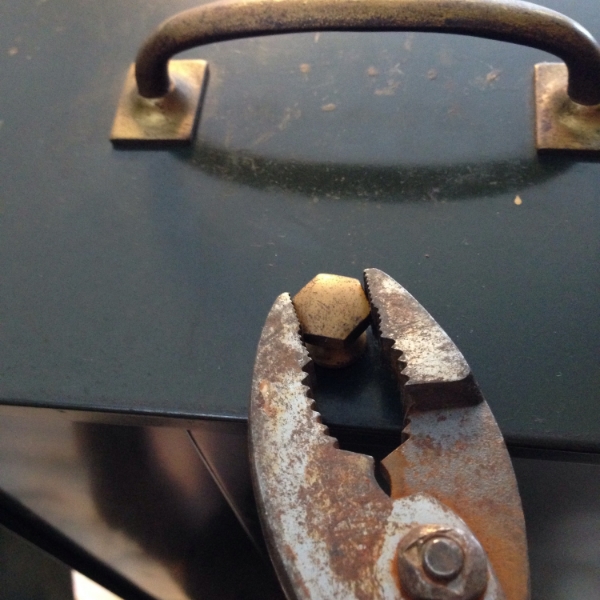
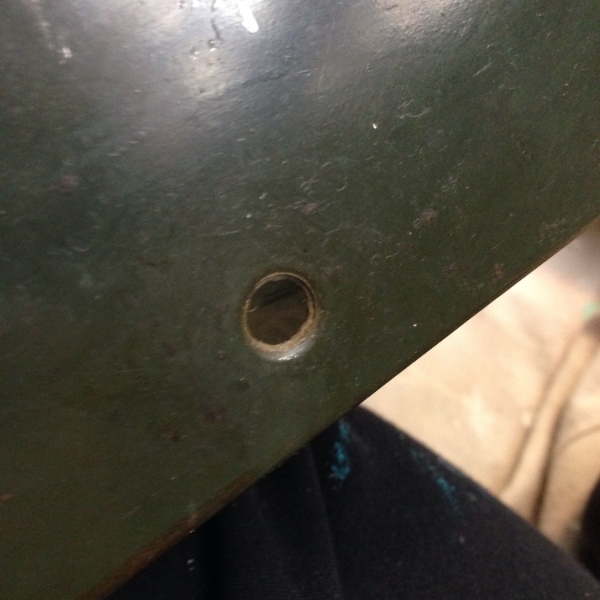
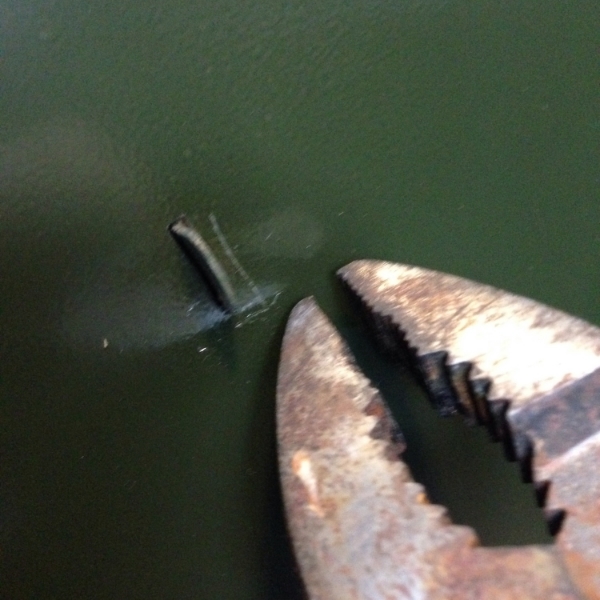
So lets remove all the hardware. With the filing cabinet being so old pliers and some superman strength were necessary.
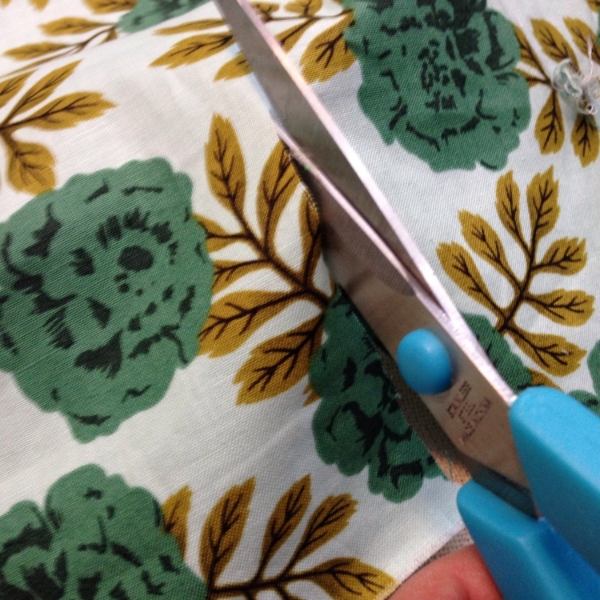
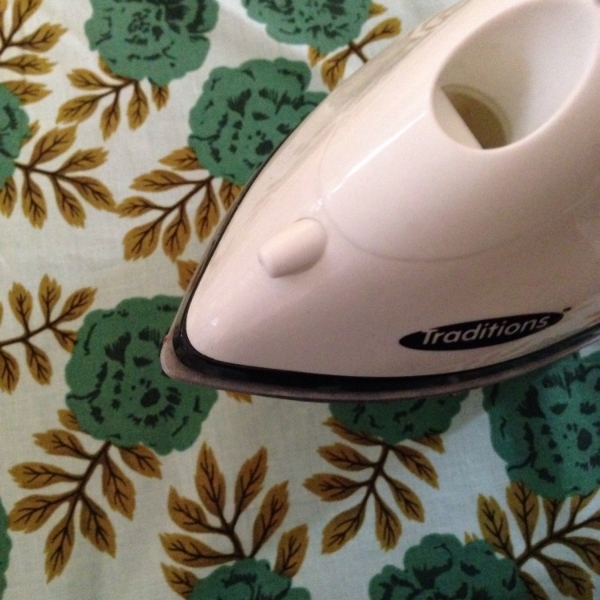
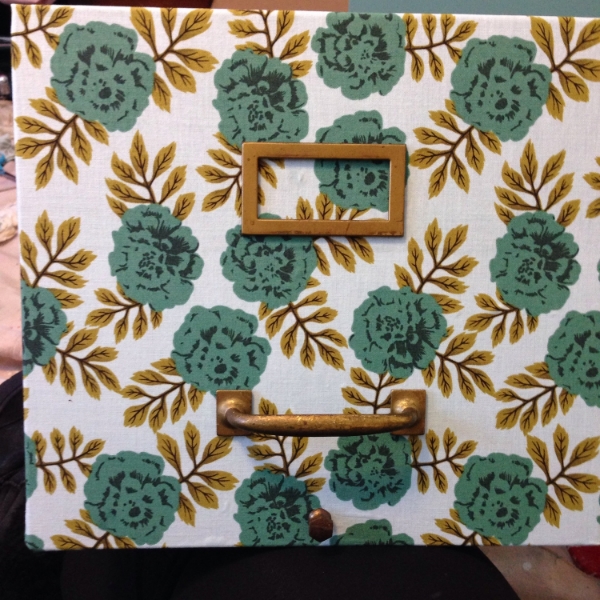
I picked up about a yard and a quarter of fabric from Joann’s for $12. Using the front of the filing cabinet I cut out an oversize piece. To make sure I did not have any permanent wrinkles iron each piece of fabric before adhering to the cabinet.
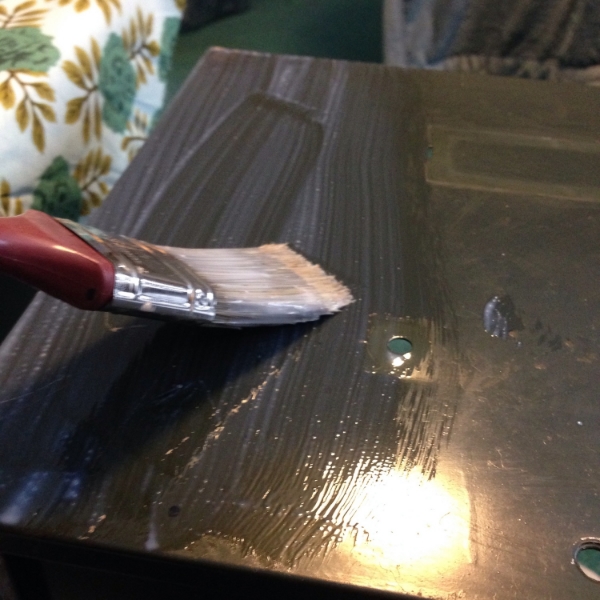
I used a polyacrylic top coat on the front of the cabinet to adhere the fabric to. I had seen Mod Podge used but for the longevity of the cabinet I decided spending slightly more on the polyacrylic would be worth it in the long run. When painting make sure to cover the whole front surface. Don’t worry about the sides or excess fabric yet.

Use your hand to smooth out any air bubbles to the edges.
Letting the top set and dry for about an hour or the time to adhere the other drawer fronts. Then paint the top inside of the cabinet and folding the fabric back to stick to the polyacrylic.
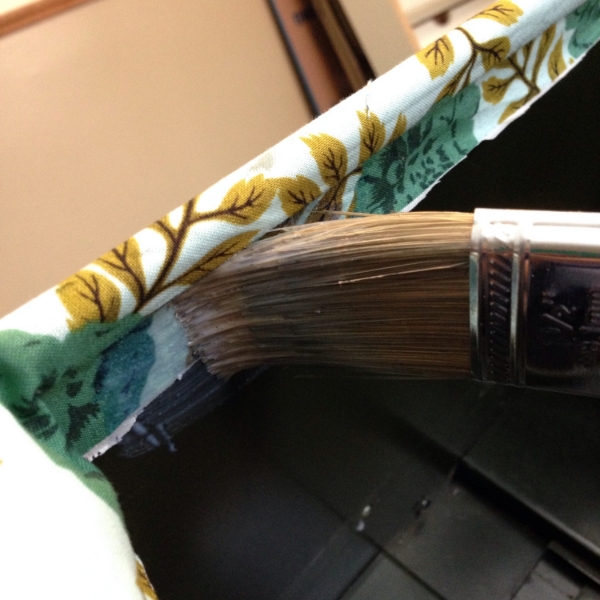
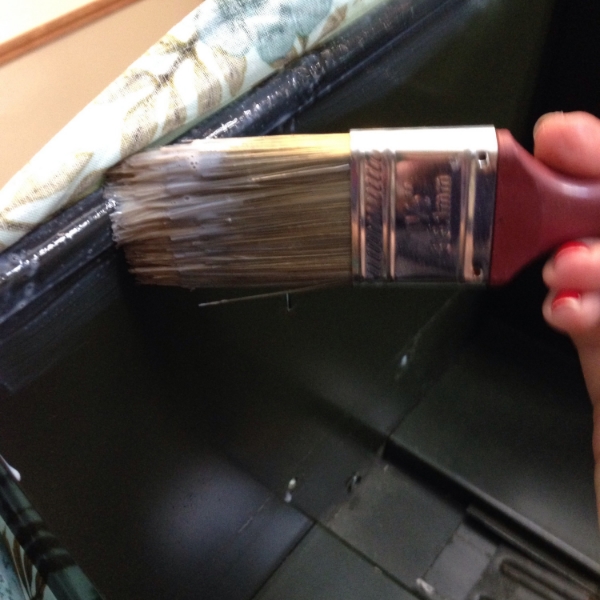
To ensure the fabric will stay in place I used the polyacrylic like Mod Podge over the fabric on the inside and outer edges.
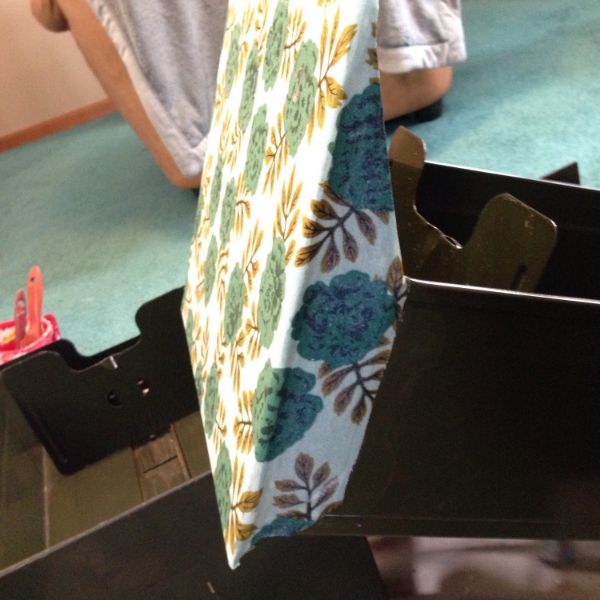
Do the same to the sides and bottom cutting clean lines. The side and top will be visible when the filing cabinet is open.
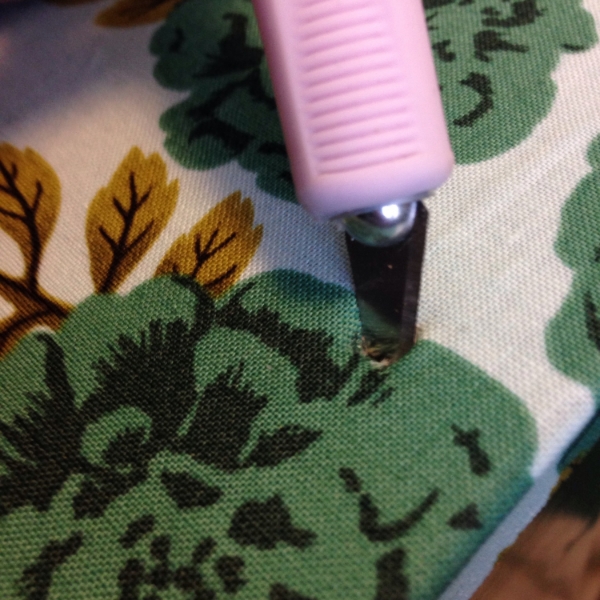
Letting the fabric dry and set than take an exacto knife and puncture holes into the fabric where the hardware needs to be placed.

Once all four drawer fronts were complete I started to paint the cabinet with a gallon of $7 oops paint that I had leftover from another project. Luckily it matches almost perfectly to the fabric that I had picked out!
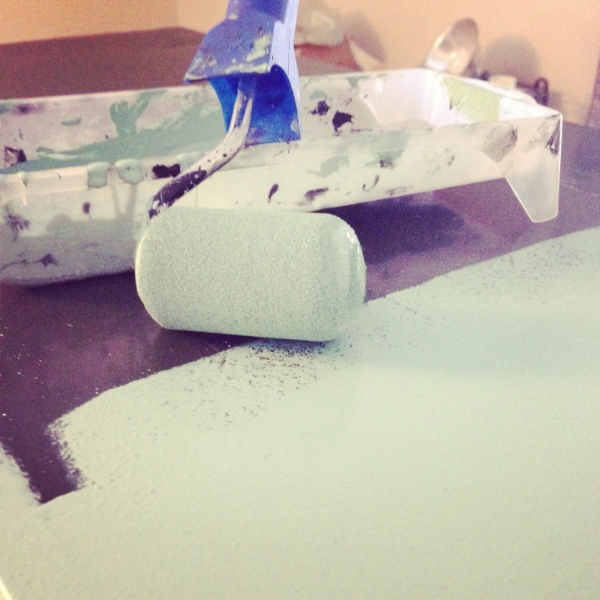
I decided to use a roller on the cabinet so less brush strokes would be visible. Since the cabinet was darker it took two coats of paint to be completely covered.
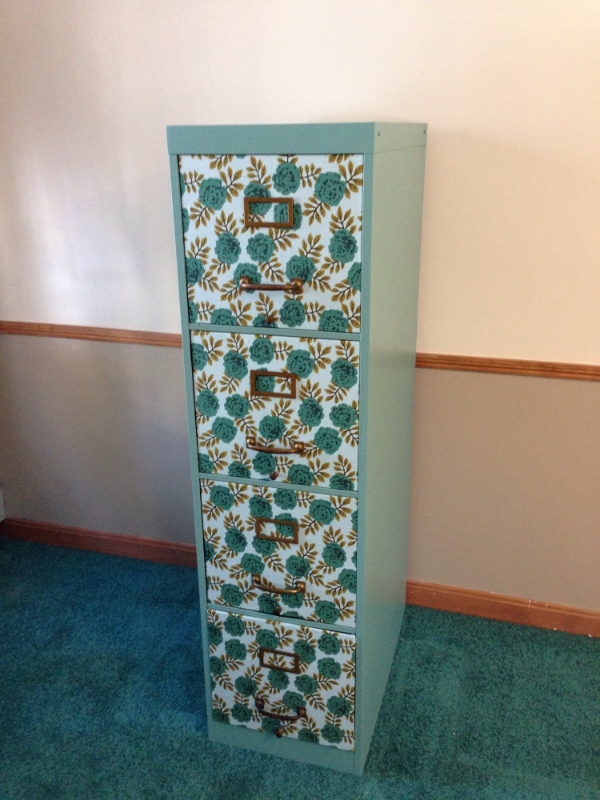
To this day I think this is one of the most beautiful and successful projects I have ever completed. I am so proud of the finished project. Now hopefully this keeps me organized or at least some of my supply overflow hidden.
Check us out on RoadKill Rescue and Inspiration DIY!
Are you following Weekend Craft on Blog Lovin?


Great job! I have painted file cabinets before but I love the fabric detail. I came over from Sweet sharing Monday.
I have a lateral file I got free! They are ridiculously expensive new, even old they can be pricey! I have some white textured wall paper I was going to use and then water down some paint and "stain" it. I have never done anything like this. What kind of paint did you use on your filing cabinet? I will have to paint parts of this one. I like yours so much I may just decide to do that!
Hi Tina! Thanks for the love. I used home interior paint from the oops section of home depot. You can put a clear top coat over it or a finishing spray. I was debating using wallpaper too I just couldn’t find one that I liked with fabric there was just so many options. Good luck send me a note if you have any questions! And share your photos when you’re done!
This is remarkable, Michelle! And what a transformation! You should feel very proud of your efforts. (I’m in love with your fabric and oops paint selections.) Now go and submit this to Roadkill Rescue!
Thanks Lauren! This is by far my favorite project to date! Can you believe I picked out the paint and fabric separately? It matched up perfectly. Just submitted it! You always have great suggestions! I ended up emailing Heather from Dollar Store Crafts from your last suggestion and I submitted some photos for her book! So exciting thank you!
This is a really cute idea. I know I’ve pinned some filing cabinet makeovers before but this so so good! I’m saying hellow from monday funday!
Hi from Monday Funday! Love that link party. Please feel free to share pics if you tackle a filing cabinet yourself!
This looks fabulous. I’ve just done my own filing cabinet makeover and it’s such a satisfying piece of furniture to make beautiful! Great job!
What an awesome project! You are right that these file cabinets are expensive and to salvage one to look like this is way beyond what I would come up with. I love your idea and am thinking of all the "stuff" I could pack away in one. *Saw you on Roadkill Rescue.
So happy you stopped by! This has to be one going down in my all time favorites! I was even surprised by the results!
Your project is beautiful. Do you mind sharing what brand of polyacrylic top coat you used? I bought a minwax fast drying polyurethane and it yellowed. It is made for wood, I used over painted wood but now I’m gun-shy when using a top coat. Every time I go to a big box store and try to get some assistance, they look at me like I’m asking for them to put on a clown suit and dance. Yours appears to have dried clear and has the results I’ve been trying to achieve.
Hi Jen! My brother works in furniture restoration so he actually gave me a Mohawk clear top coat. It comes in a quart paint can. But you want to Avoid polyurethane bases, go towards lacquers and burates, general finishes and Mohawk makes some good clear finishes. Hope that helps!
Oh my gosh! This looks fabulous! I’m pinning for sure. Thanks for sharing at Share It Sunday.
The looks are completely different between the before and after pictures……..what an improvement!!! Thank you for sharing………..It is nice to have functional……..AND pretty! 🙂 Gentle Joy
Oh my GOODNESS. What a fabulous makeover! Good for you. It looks awesome! Susan