This post contains affiliate links, please read our disclosure policy.
Cards are something that I have always tried to make. Let’s face it cards are expensive and if you aren’t sentimental the ones off the shelf usually end up in the garbage a month or two after receiving them. This is why I try to make cards. One I think they are a little more meaningful and two I like to make a card that you would want to put out on display!
This month I joined up with a group of 26 crafters and bloggers for a card swap. How it works is that I make 26 handmade cards mail them out to the organizer and two weeks later I will get back 26 unique handmade cards. How fun! Now I have been diligently working on these cards for the past couple of weeks and am finally ready to mail them out and anxiously await for the unique 26 to come back in the mail. I’ll be sure to share them in the coming weeks.
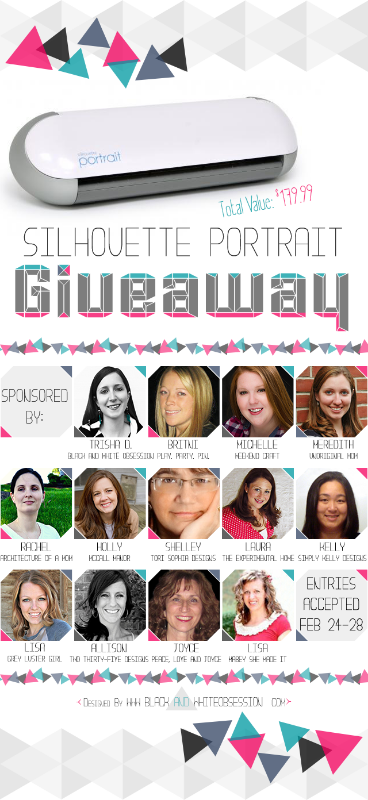
Make sure to stay until the end of this post for a chance to win a Silhouette Portrait!

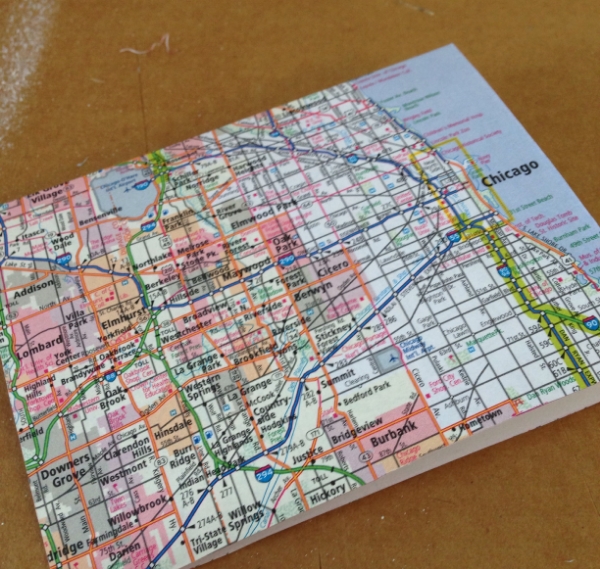
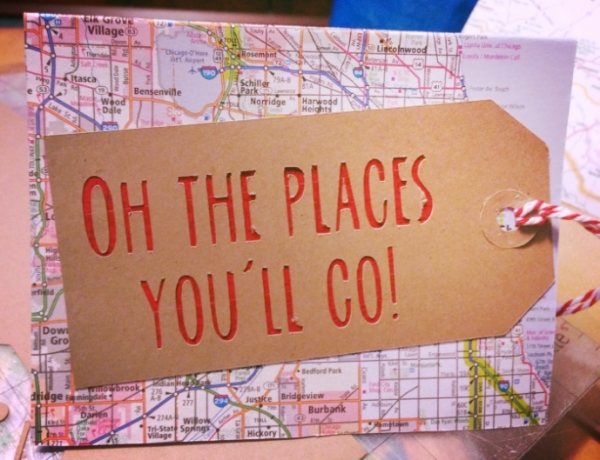
Now with every project I like to try to include an upcycled component. This time was no exception. With my Dad being a truck driver there are always “gently” used atlases at their house. I mean seriously can you imagine being a long haul driver back when we didn’t have a GPS?
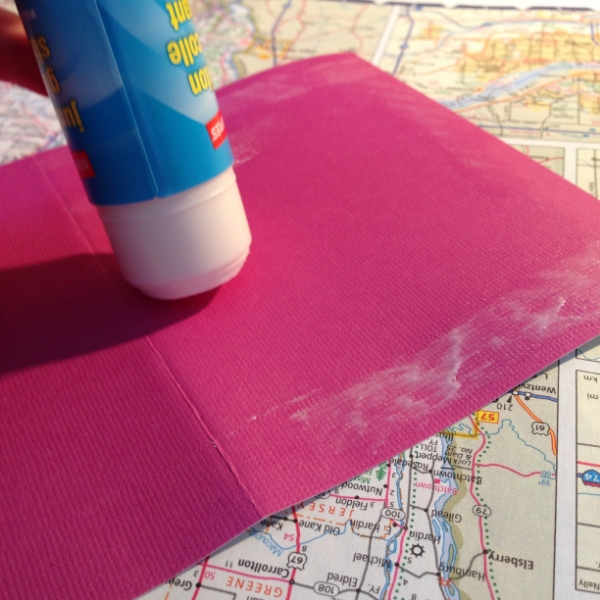
Using a glue stick and pre-made cards I cut out individual pages from the atlas. Glueing the cards to the map and letting it dry.
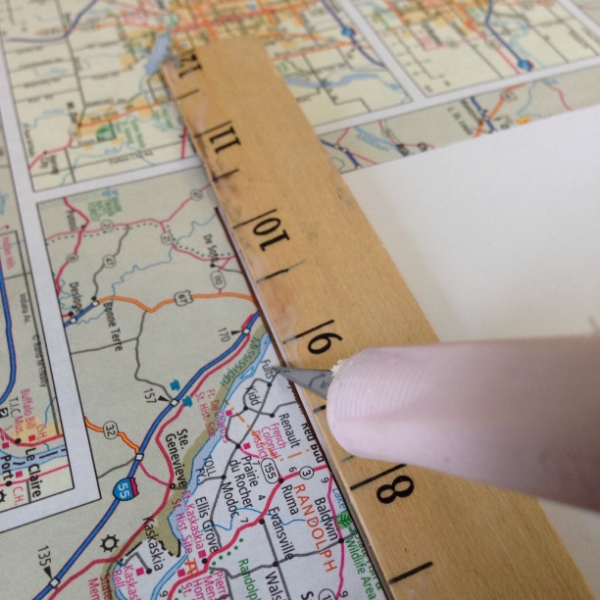
Once dry I used an exacto to cut the card and the map out.
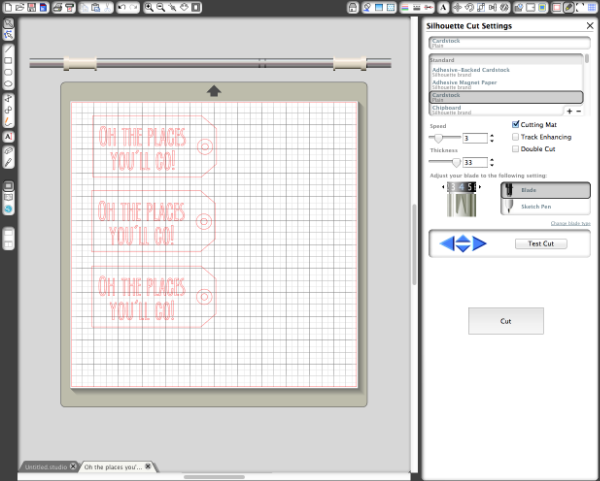
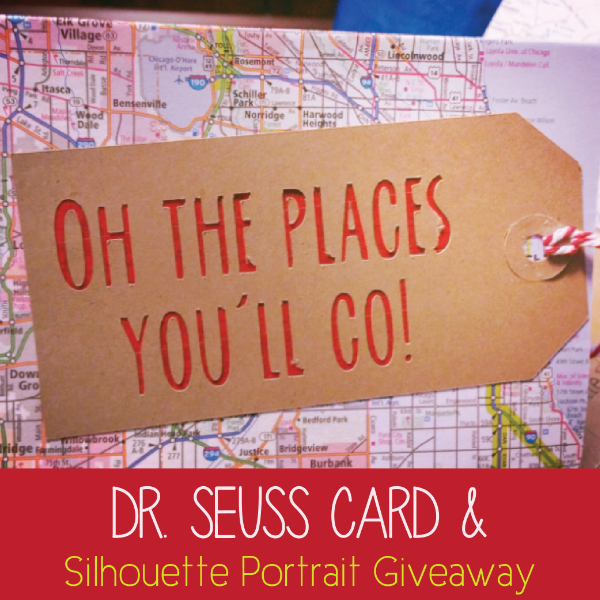
Now when you purchase your Silhouette the library comes with some preloaded shapes. I used the tag outline and a Dr. Seuss quote for my design. Very simple and easy to replicate. I also had in mind all of the graduations that will be coming up in the spring. I used the preloaded cardstock setting of speed 3 thickness 33 and blade at a 4.
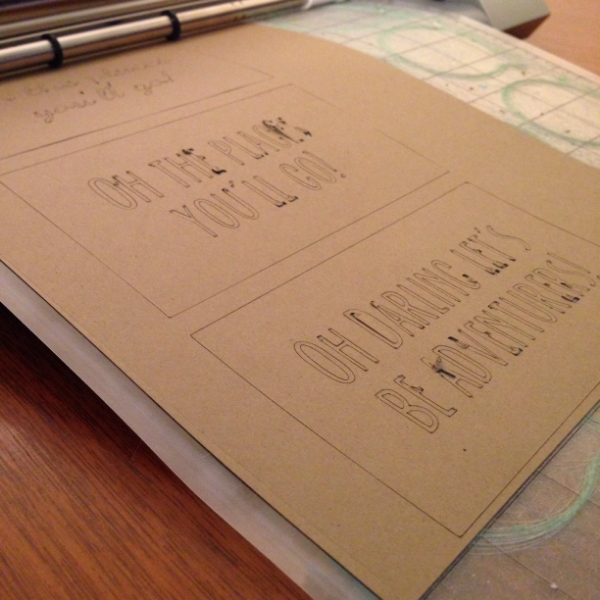

The hardest part about this project was individually having to glue the centers of the letter. That is so time consuming when you are making 26 cards at a time.
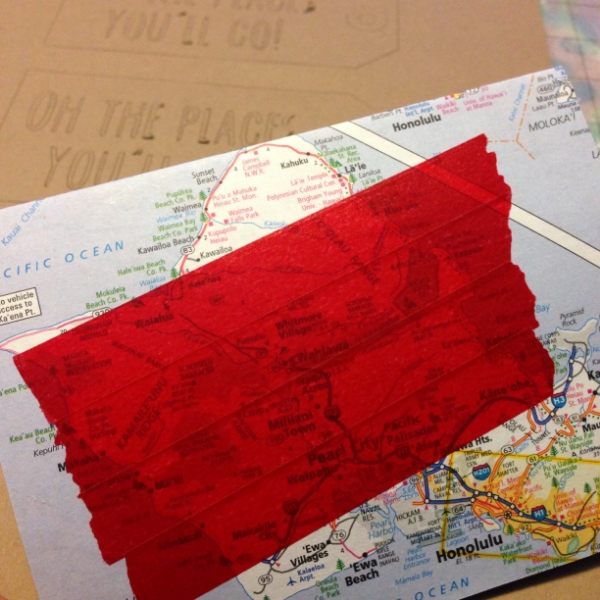
My initial idea was to let the map show through the letters but I felt it didn’t pop enough. So I used a technique that I had used for my holiday cards. Layering washi tape underneath the cut out so the color comes through.
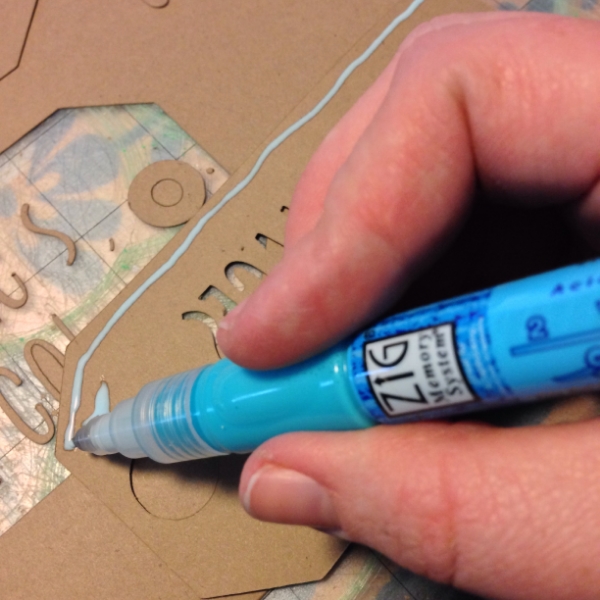
While I do love a glue stick 😉 I used a Zig pen for the tag because of the cut outs I did not want to glue to come through and I also wanted the detail of the pen on the inner parts of the letters.
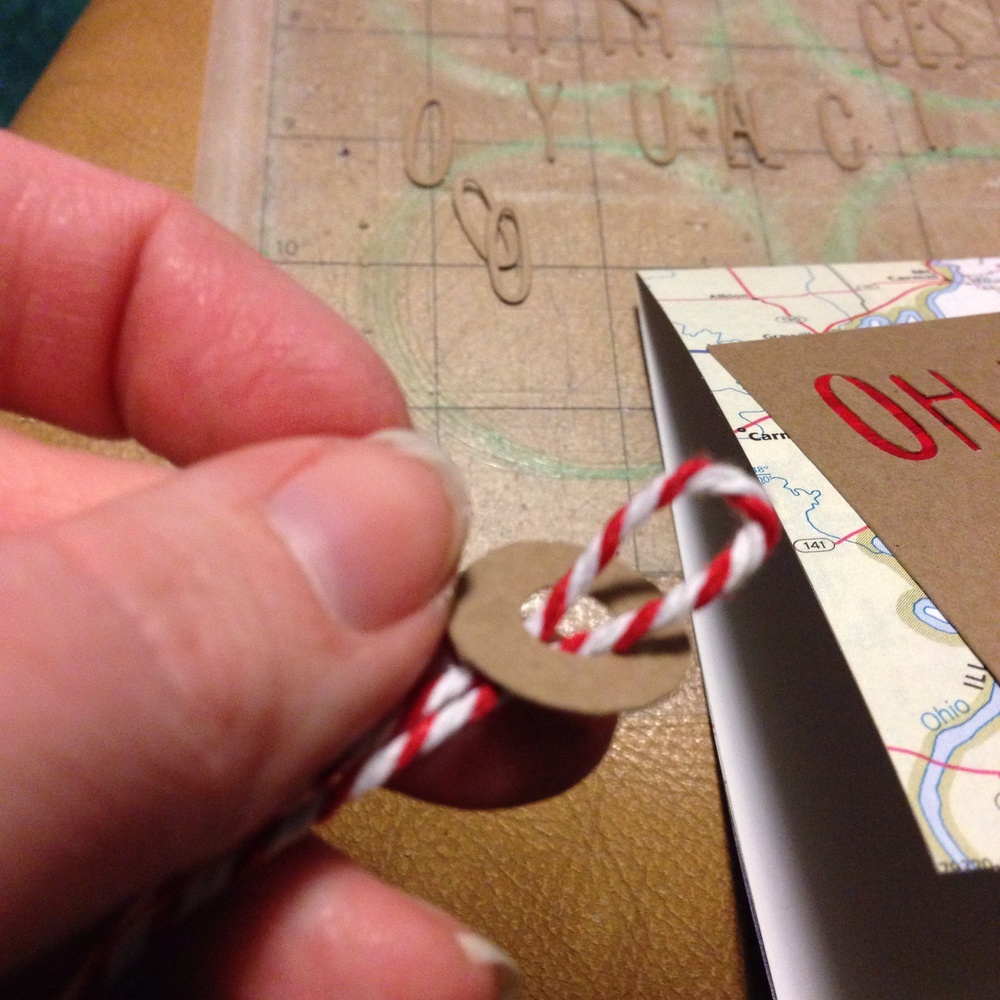
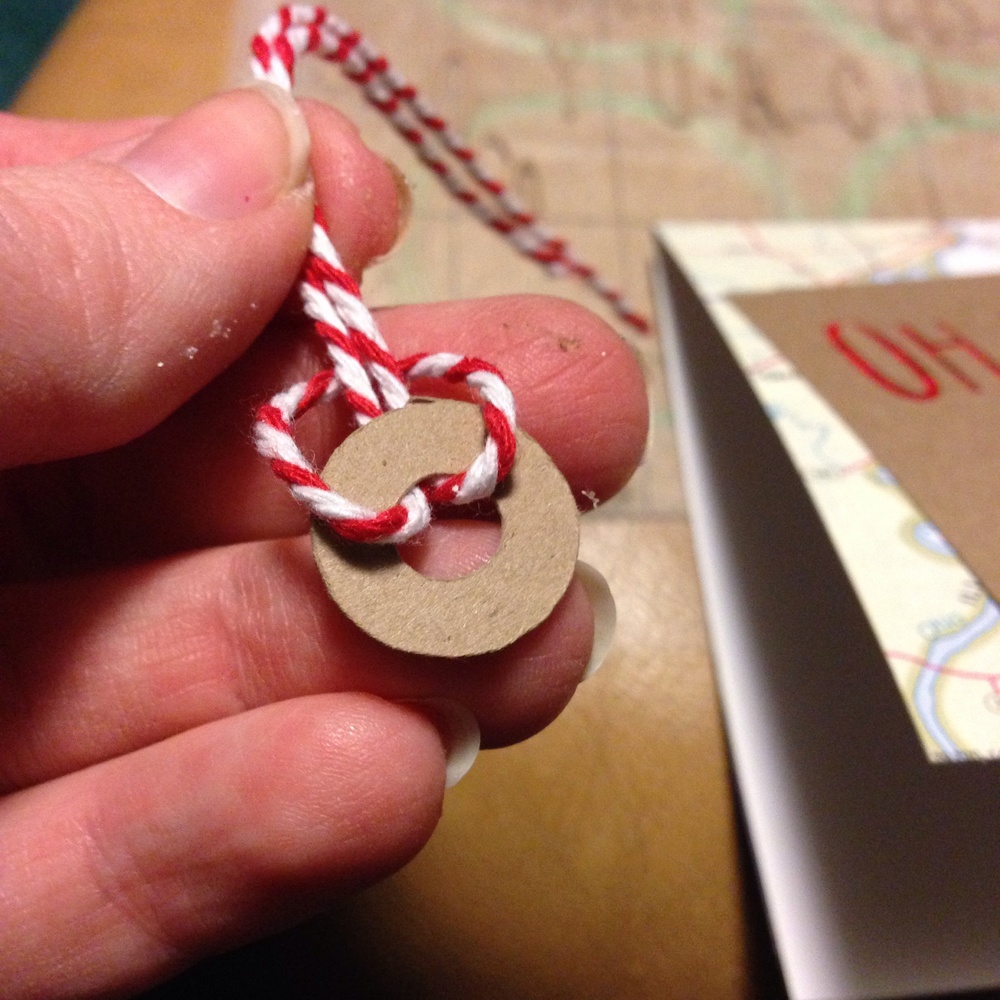
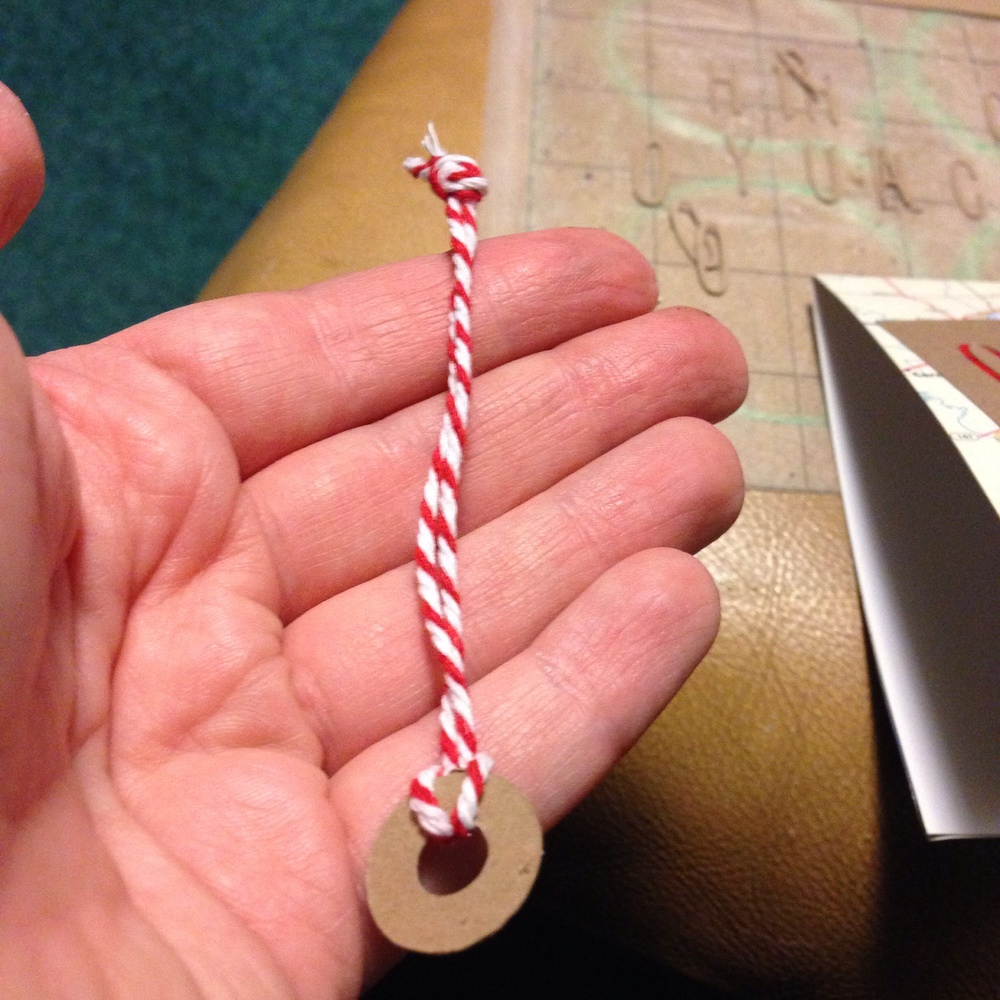
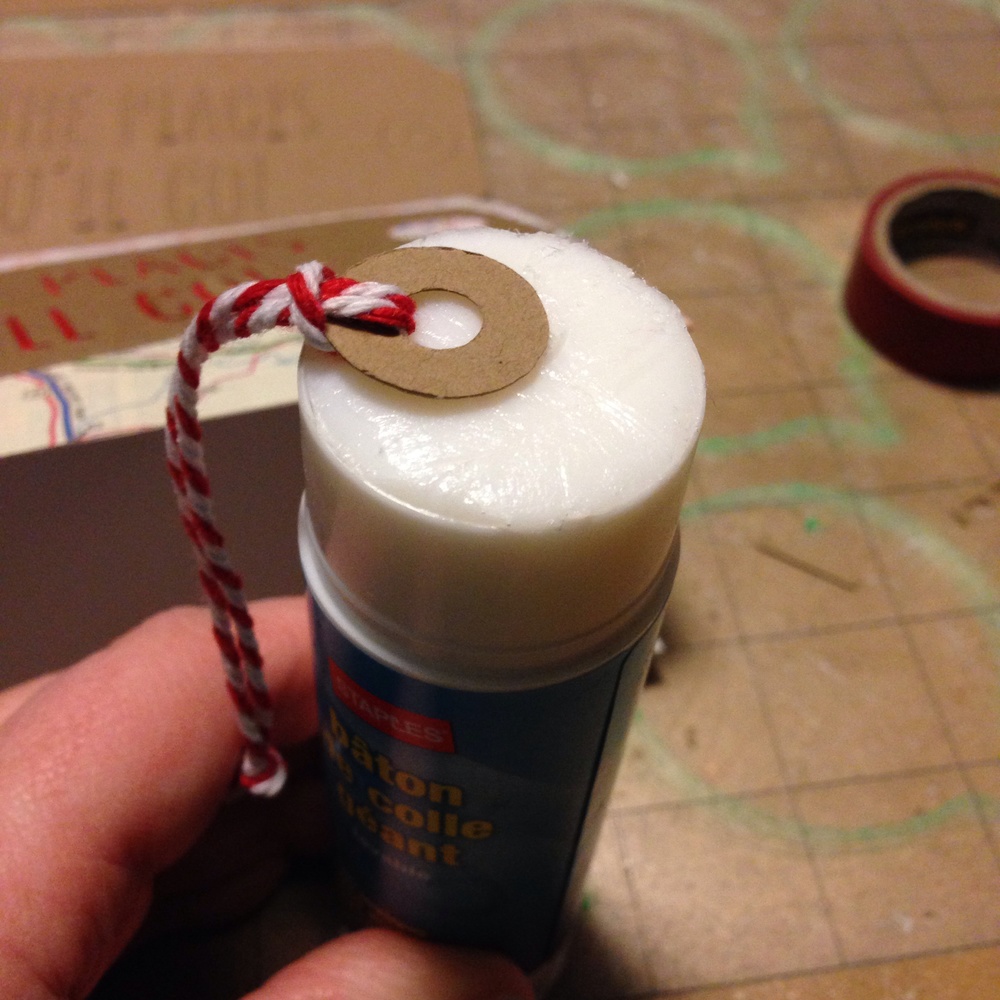
Details for me are what makes a project from good to great. Using some bakers twine I tied a knot around the circle of the tag. With the glue stick I glue it into place. Making sure to hold it for a minute so it sticks properly.
Not only am I so excited about how these came out but I cannot wait to see the cards I am going to receive!
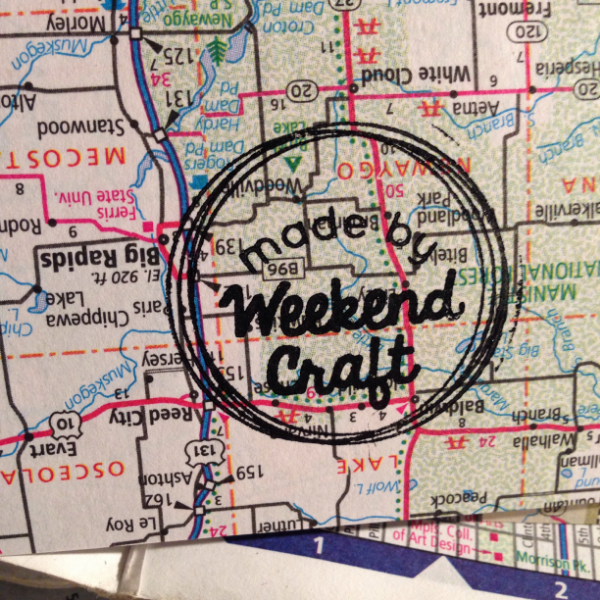
Since so many cards are going to be swapped I wanted to put my stamp on it so the recipient would know who it was from. I got this stamp a month or two ago on a Pick your Plum sale.
Card making is fun and can be an inexpensive way to give a gift or let someone know your thinking of them. You don’t have to have a silhouette to make cards but it makes it a whole lot easier. Below 13 bloggers have come together to give away a silhouette portrait! Use the rafflecopter to enter! Good luck!
Stop by the rest of our Silhouette Challenge Group sponsors for more goodies and eye candy:


Hi Michelle,
I wanted to promote all our partners in the Silhouette Giveaway on my website. Thanks for letting me feature your fabulous Dr. Seuss cards along with projects from the others today at http://www.peaceloveandjoyce.com!
Peace, Love and Joy,Joyce
I would use it to make graduation cards! My boyfriend is graduating college in a few months:)
I LOVE these! the combo of the Dr. Seuss title and the maps is perfect!!
Thanks so much Emily! I just love Dr. Seuss so much and maps.