This post contains affiliate links, please read our disclosure policy.
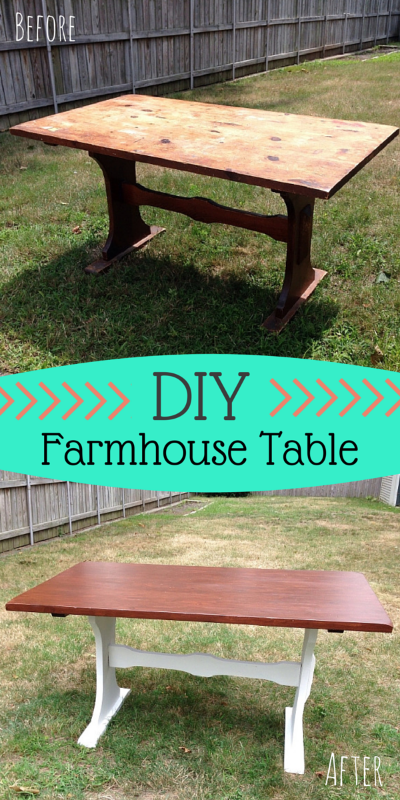
Who doesn’t dream of a farmhouse table? You can’t even open up a magazine or go into a store now without seeing them. And let’s face it just about every other DIY blogger has probably posted about one. Well let me be the next, because this was too good of a deal to pass up!
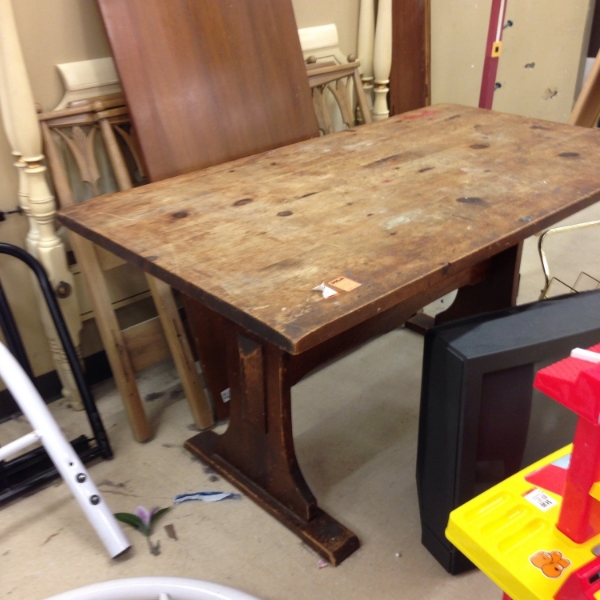
I found this soon to be beauty on my lunch break at the local Savers, which is a New England thrift store. She was tucked away in the corner and long forgotten. When I saw her I nearly squealed with excitement and walked briskly over there like someone else might scoop her out from under me (this has happened to me in the ikea as is section).
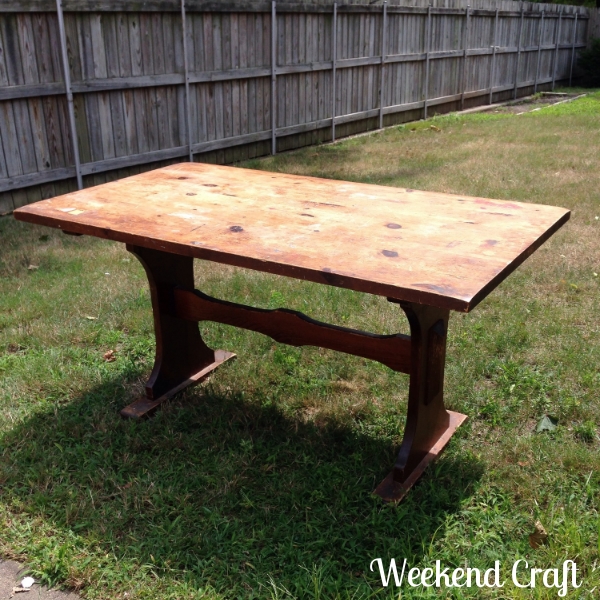
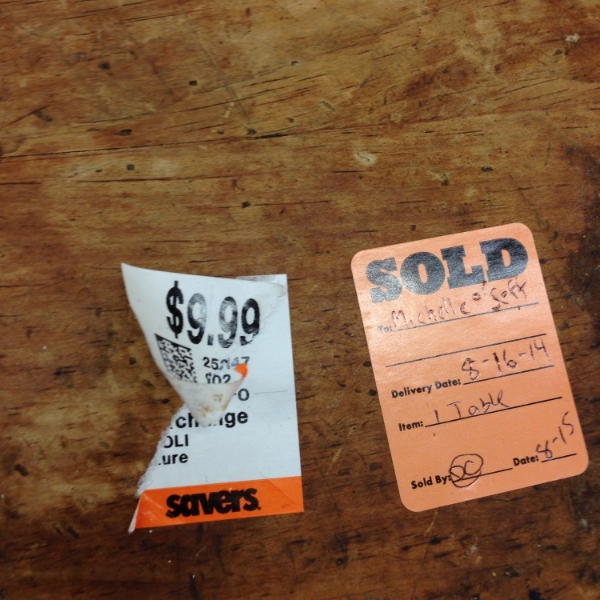
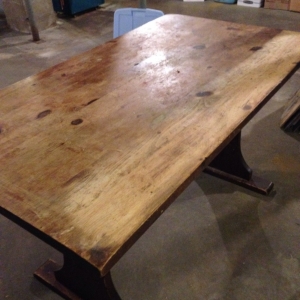
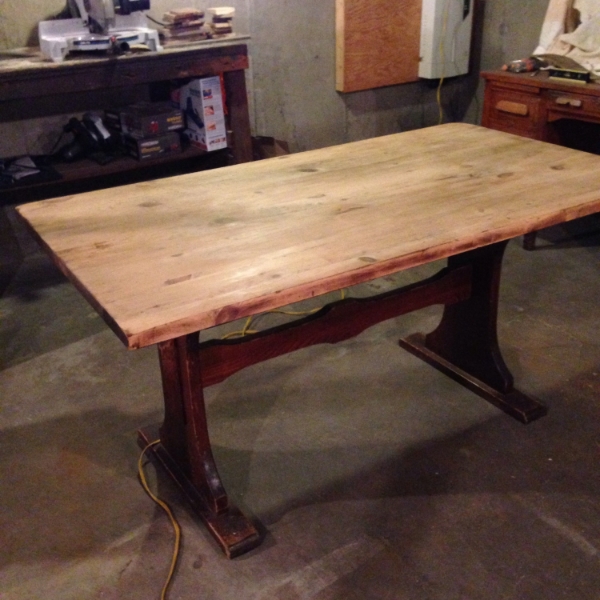
The top of this table was a over waxed and stained mess but I knew there was great bones to this table and it had amazing potential. So with the sold sticker on it (for only 9.99!!!) I was off to borrow a larger car to get her home.
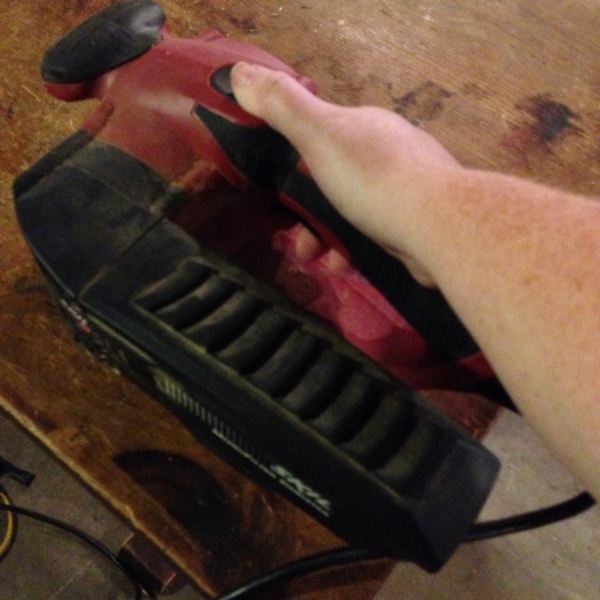
First thing I did once I got her down the basement was to break out my belt sander. You will usually see me use and orbital sander or a palm sander but for a job this big and with that amount of build up on the table the belt sander is a little more powerful and will get the job done quicker. They key to sanding this table down was to not be afraid to switch out the belt on the sander. Because of the wax on the table the belt seemed to gum up rather quickly. I think I went through about 3 or 4 belts which I never do.
They key to sanding this table down was to not be afraid to switch out the belt on the sander. Because of the wax on the table the belt seemed to gum up rather quickly. I think I went through about 3 or 4 belts which I never do.
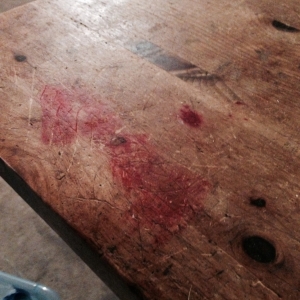
There was also a massive red stain on the table (i’m guessing red wine). I evenly sanded the whole table but applying extra pressure to this area. Its important not to sand one area more than another because you do not want uneven surfaces.
Not bad for under an hour! I even got all of the stains out. Look how beautiful that pine is. What a perfect piece to stain.
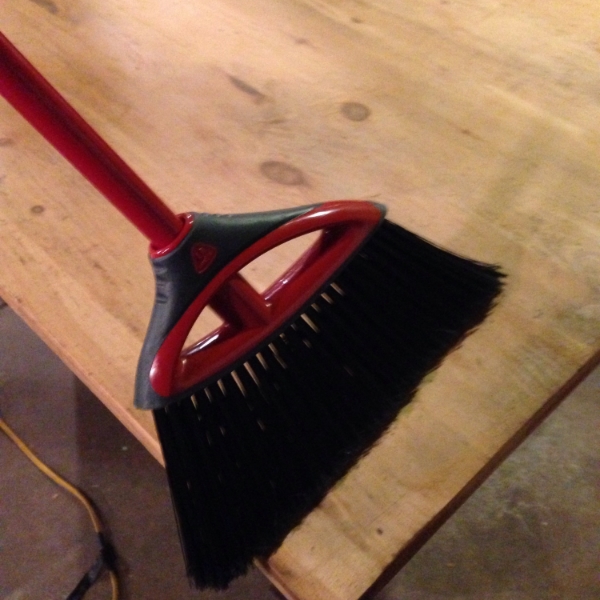
Now before staining make sure to rid the area of excess dust from sanding.
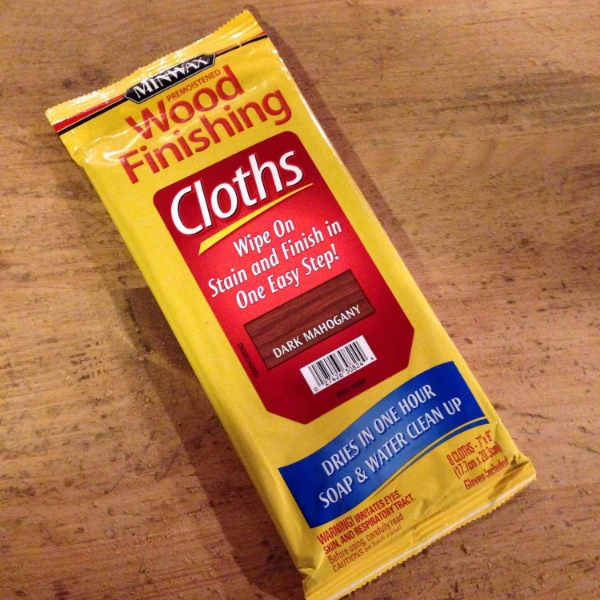
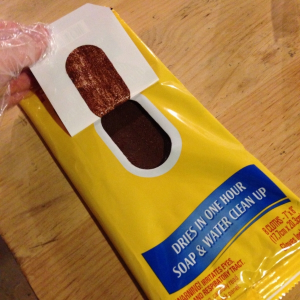
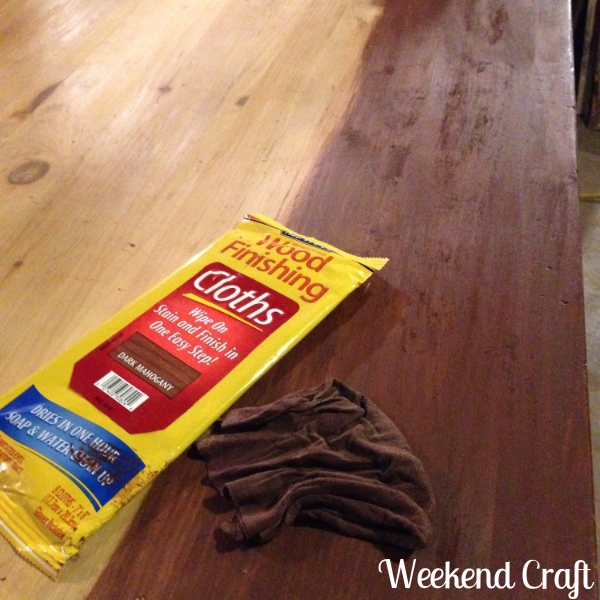
Now I am really excited to share these Minwax Stain Cloths with you. I found them in my swag bag from Haven. I was a bit skeptical but I love trying new things out so I figured why not. The packaging reminded me of windex wiped that I keep in my car.
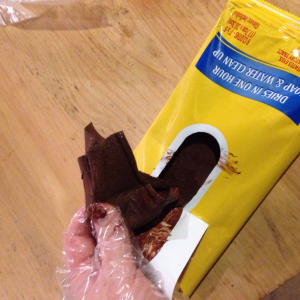
Each package contains a pair of gloves (which my nails appreciated). You just peel back the resealable bag and pull out a very saturated cloth.
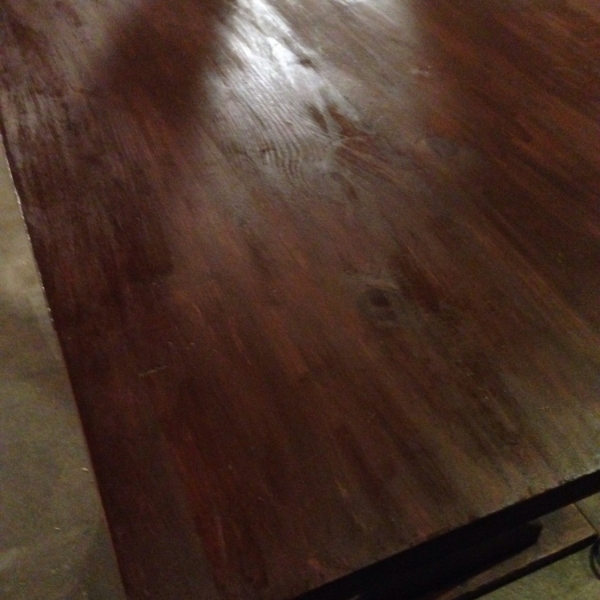
The stain went on so easy and I was very impressed how much one cloth could stain. I stained the whole table two coats and I still have three clothes left over for another project.
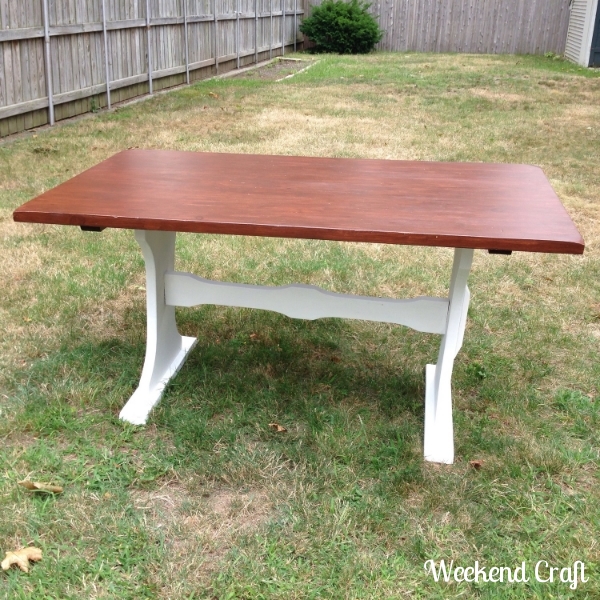
I really like the dark mahogany color. I think it will really stand out against the white base I have planned.
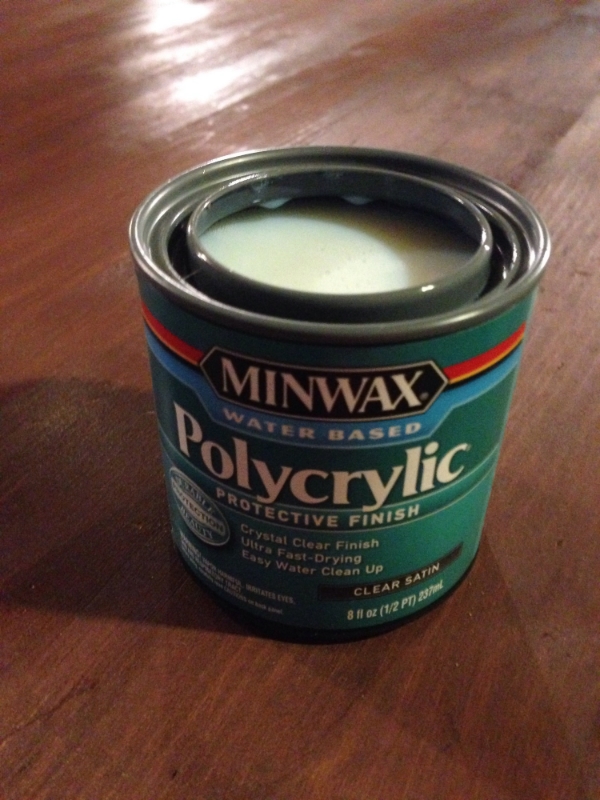
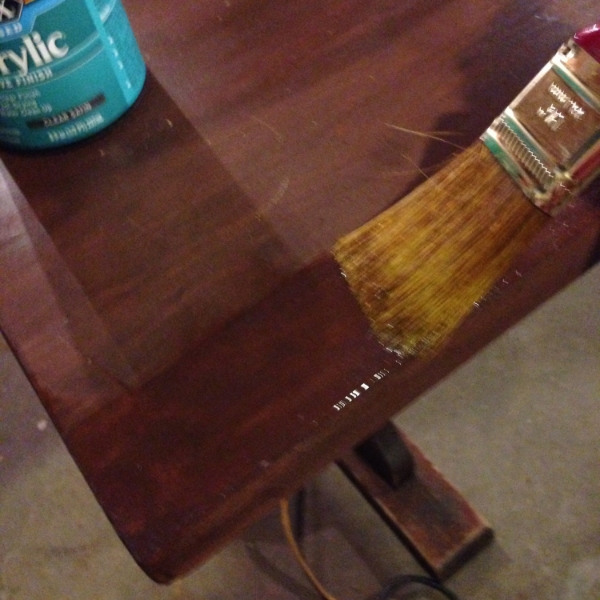
Now the cloths do say that they are a stain and a finish but since this is a table that will have the heat of food on it along with normal wear and tear I decided to use a polycrylic over the stain.
I did three coats of polycrylic over the stain just to be safe.
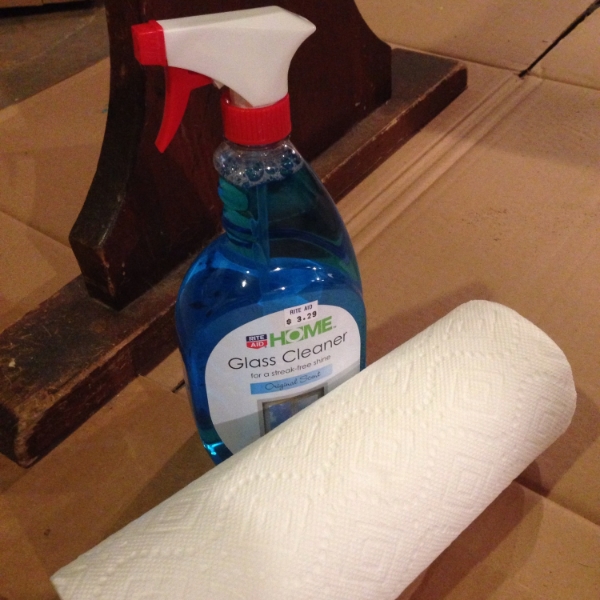
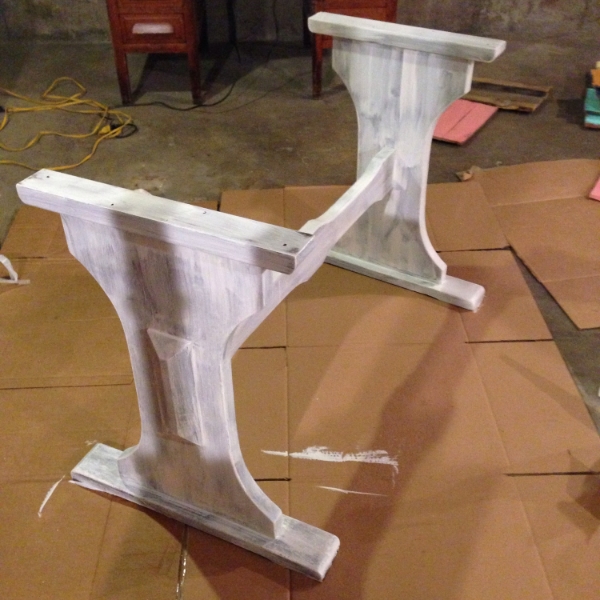
Once the table top is done and dry I moved onto the base. (The base had been holding my table as I sanded and stained the table). Now I lightly hand sanded the base then cleaned the base with windex before painting.
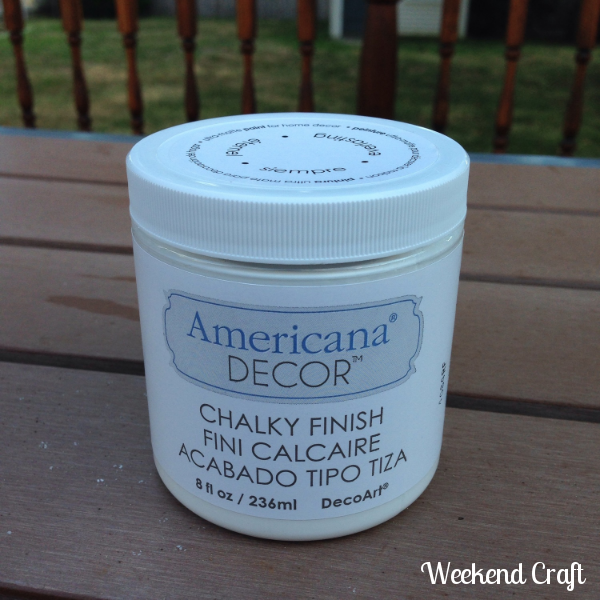
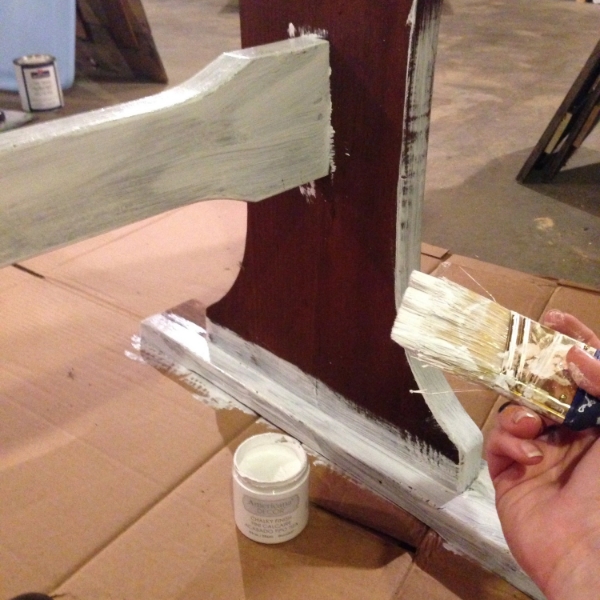
As you may know I have a slight obsession with chalk paint. Although it is hard to find certain brands in my area, I usually drive more than an hour to pick up Annie Sloane or Shabby Paints. So I was really excited to know that Michaels and Home Depot now carry a chalk paint line Americana Decor by Deco Art.
I may have gone a little crazy these are just a few of the colors I have on my shelf.
I chose a white chalk paint called Everlasting to contrast the Dark Mahogany tabletop to really make the piece stand out.
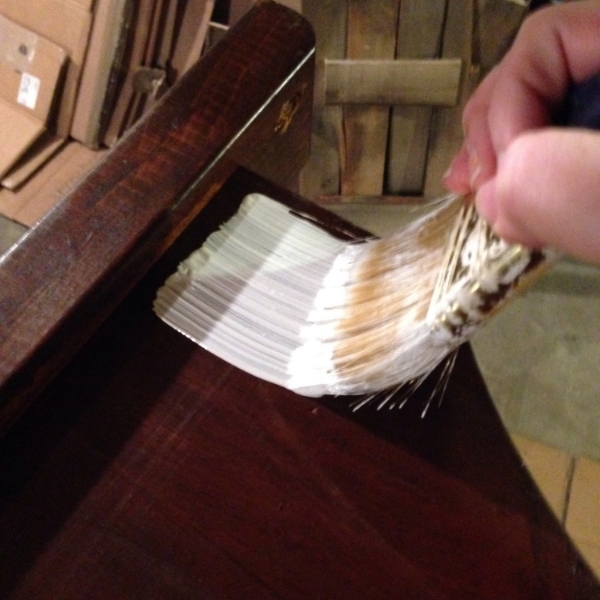
So your first coat with a lighter paint on a darker wood will always look a little messy so don’t be worried. By your second coat you will see some great progress.
Now even though this paint seems to dry fast I always give a few hours between coats. Since the wood was so dark I actually did three coats of the chalk paint and it only took less than 2 of the Americana Decor 8 oz jars.
Overall I am so happy with how this came out! I wish I could keep it but because of how my kitchen is laid out I need a round table. Hoping one will come my way in my near thrifting future!
But for now this table sits as my display table which is actually for sale at Signature Finishes in North Grafton, Ma.
Some links in this post are affiliate links. If you do purchase from these links I receive a small percentage which allows me to put it towards future projects to continue provide quality content to Weekend Craft readers.




Love the contrast of the white with the top of the table Michelle! Great job!
Thanks, Kelly!
I have a table that’s been waiting for a transformation for a year. I’m hoping to paint it withiut having to sand it down. I just need to do something to it for my dining room. This looks great and pretty simple.
Girl it’s time to get to working on that table. Especially since the weather is still nice! A lot of the chalk paints you don’t need to sand first. I usually do for the best results or if there is a wax on the table already other wise it may crackle. If you don’t sand make sure to give the table a good washing first and stain blockers are always the best way to go. Americana Decor has a good one that I have used.
Oh my goodness! What an awesome find and makeover! Too bad you can’t use it in your home, but I bet you get plenty of offers to buy it! 🙂
Thanks CD! I hope so. Maybe I can put that money towards finding a perfect round table for myself!
Wow, I wish I didn’t live in an apt so I could take on projects like this. You did an incredible job making over this table.
I feel your pain! I just moved into my new (rental) house and I knew I wanted to tackle a larger project that I didn’t have the space to tackle before. I’m just ecstatic I have a basement so this winter wont stop me when it gets here!
Wow! What a great transformation!!!
Always love seeing a good before and after! Great job on the table!
Great looking table…can’t be the price, either!
Really turned out nice! Did you use a stainblocker or conditioner on the tabletop to get such an even coverage on pine?
That is so pretty. I want to redo my oak dining table and the top does need something up and it is mice to seewhat the white chalk looks like on the base. Thanks for sharing.
This looks so amazing! Pinned. Thank you for being a part of our party. I hope to see you tonight at 7 pm. We love partying with you! https://loulougirls.blogspot.com/Happy Monday! Lou Lou Girls