This post contains affiliate links, please read our disclosure policy.
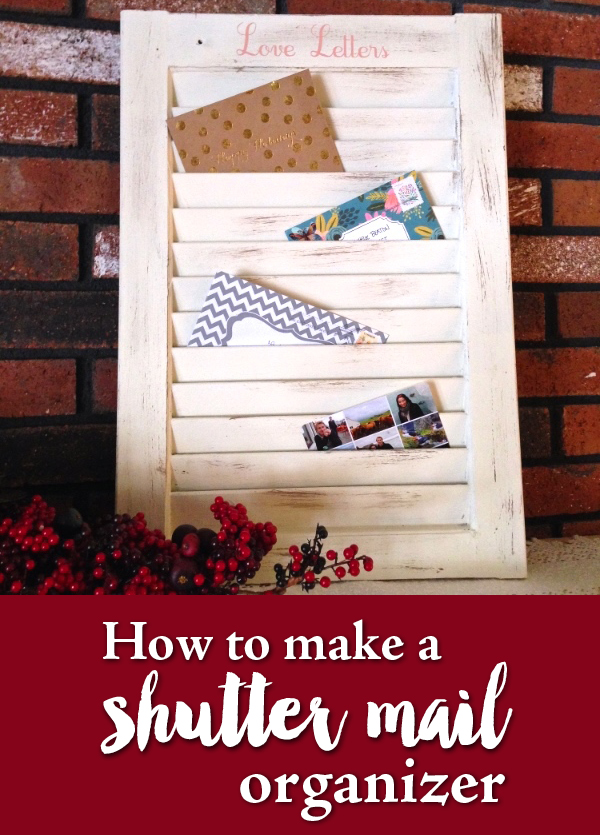
Let’s learn how to make a DIY window shutter mail organizer. I can admit I am not the most organized when it comes to my mail. I tend to let it sit in stacks on my kitchen table until I make the time to go through it. As part of my New Year’s Resolution I am trying to get organized and this is the first thing I would like to tackle.
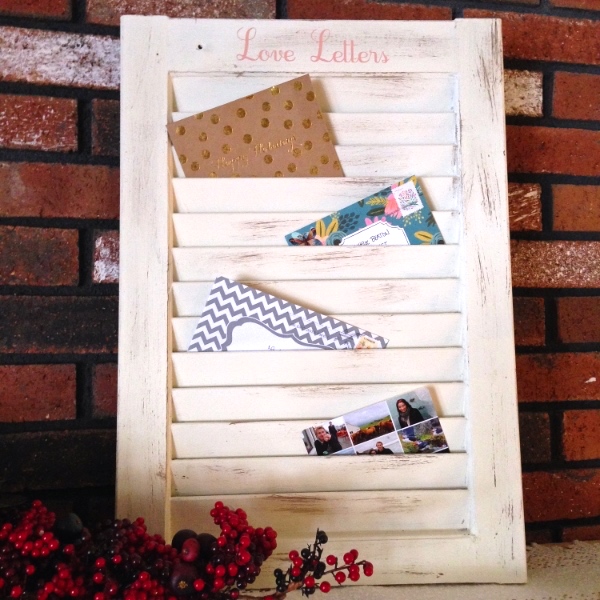
Let’s jump right in! In the age of going paperless it seems that we still get a lot of mail at our house. So how do we keep the counters clean and organize all this paper? We transformed window shutters that hang in our kitchen and organize the mail. Junk mail gets recycled and the important items get placed into the appropriate shutter. The shutter is also a great way to display mail that you are proud of i.e. save the dates (which I have already received four of for this summer already), Christmas Cards, Valentines Day cards or even just letters and postcards from loved ones. Below you will find a step by step tutorial on how to make a Window Shutter Mail Organizer. Disclaimer: You do not need to have a Silhouette for this project but using the Silhouette gives it a little something extra!
![]()
What You’ll need
- Wooden Window Shutter
- Chalk Paint
- Oracle 365 Vinyl
- Transfer paper
- Silhouette Cameo
- Scraper tool or a credit card
- Hook tool
- Plywood
- Staple gun
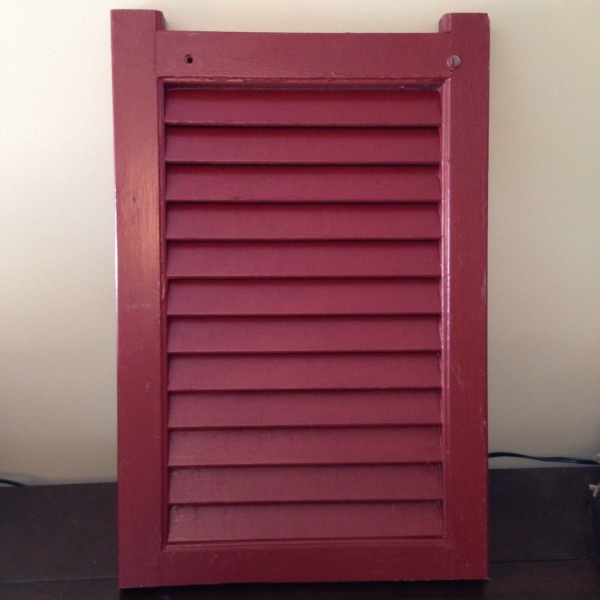
I came across a whole bunch of shutters last year when I was at Brimfield and I came home with quite a few. What’s interesting about this shutter in particular is that they were on a barn that got destroyed when the tornado had passed through the town. Now I am a sucker for a story so you can imagine I came home with a car full of these. Not to worry I did barter them down in price.
These mail organizers were actually a huge hit in summer craft shows. I started by cutting all the shutters in half because they were fairly tall. Then make sure to clean up the shutters by hand sanding and using windex to remove the leftover outdoor elements that may still be living on the shutter.
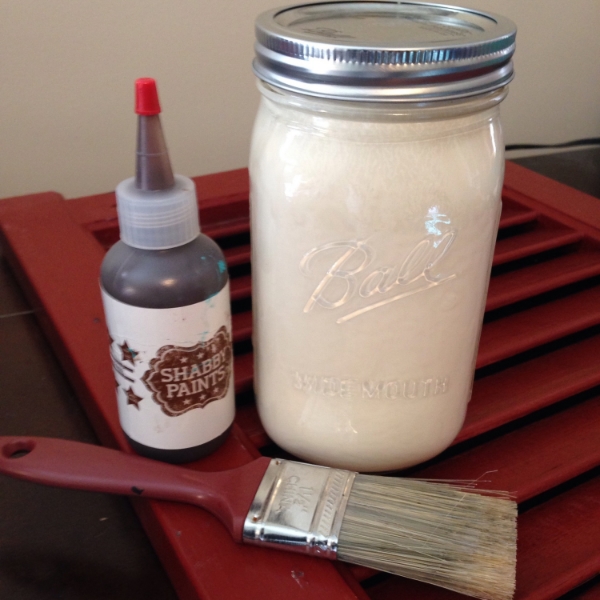
I used two coats of chalk paint (in the mason jar) and Vax from Shabby paints to give a distressed shabby chic look to the project. Make sure to get in between each shutter panel and watch for paint drips on the back side of the shutter.
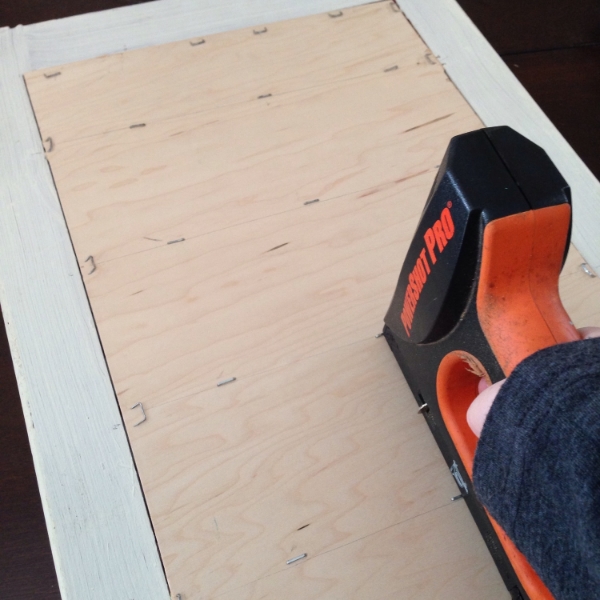
I went to Lowe’s and got a piece of plywood out of the previously cut section of wood for free! The wood was still at least 4 ft by 6 ft piece of ply did I mention it was free?! I measured the inside edge of the shutter and cut the wood down to size. Draw a line on the back of the wood marking every 3rd shutter. Not only stapling the plywood into place but also stapling along the line for every 3rd shutter. This will create a stop for the mail so it does not slip fully into the organizer and become trapped in between the shutter and the wood.
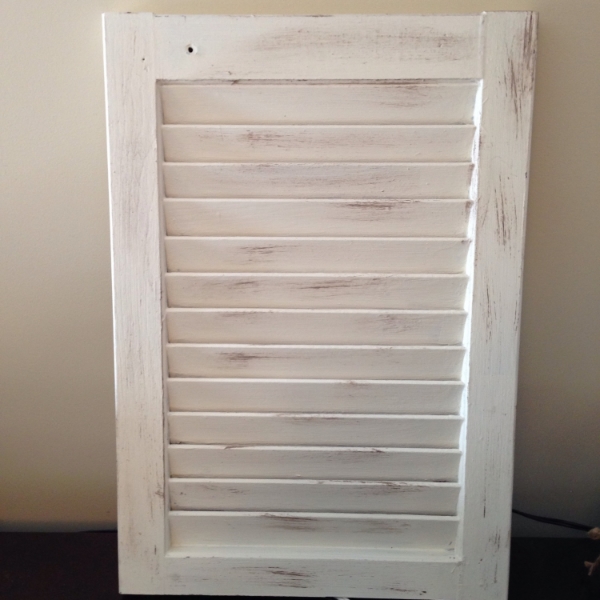
If you don’t have a Silhouette you can stop here. This is a beauty just as she is! Add some hanging hardware and you are good to go! But having a Silhouette and Valentine’s Day fastly approaching I thought I would add some vinyl to create not only a mail organizer but a way to show letters from loved ones including save the dates and Valentines.
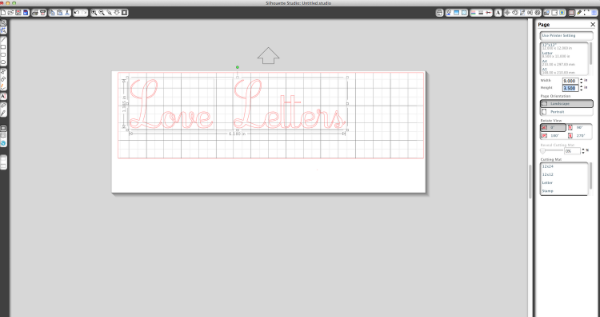
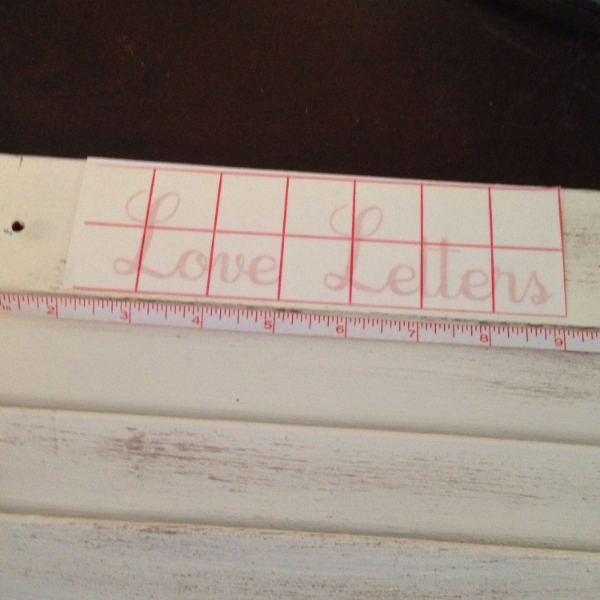
Opening Silhouette Studio I chose to write “Love Letters” in the free font Cursif. Make sure to use the welding tool to assure that each letter is not individually cut. Instead it will weld the selected shapes into one shape. You will find this tool on the bottom left, it looks like a rectangle and a circle combined.

Since I was using a small amount of vinyl, less than 2 inches tall, I used my cutting mat to place the vinyl on. I actually got this vinyl for a great price on Pick Your Plum. I am way too addicted to that website.
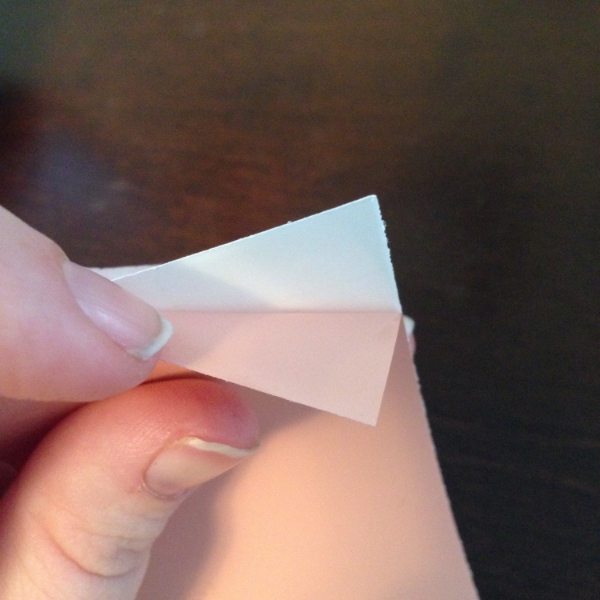
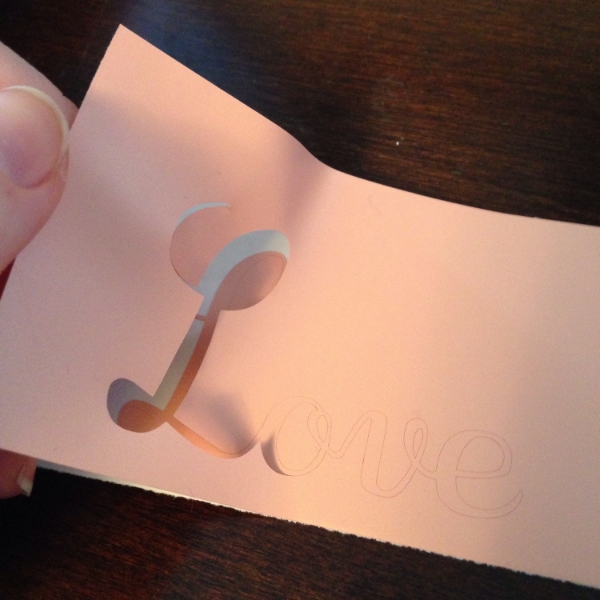

Once the Silhouette is done cutting carefully peel back the corner of the vinyl and lift off leaving behind your lettering. Be careful to not let the excess vinyl touch. Using your hook tool weed out the excess vinyl that was left behind inside your lettering.
![]()
![]()
Cut transfer tape to size. I like using transfer tape with a grid. The grid makes it easier to cut straight and place on the project straight.
![]()
Peel the backing off the transfer tape using the sticky grid side place it onto your vinyl.
![]()
Make sure to use the scraper tool or a credit card to rub over the vinyl and transfer tape. This will help the vinyl adhere to the transfer tape.
Measure the shutter to find the middle. Also mark the middle of the “sticker”. This will help ensure the lettering will be on center and hopefully straight.

Peel back the white backing and place on the shutter. Using a scraper or a credit card rub over the vinyl. This will aid in transferring the vinyl from the tape to the wood.
![]()
Carefully peel back. I suggest pulling back low and tight. If lettering is still sticking to the transfer tape go over that area again with the scraper tool.
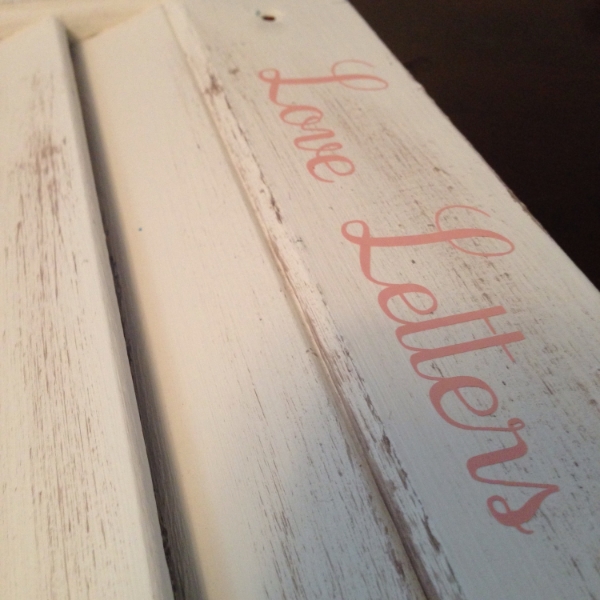
I absolutely love how this project came out and it will definitely have a home in my new craft studio once it is complete!
Want to check out more Silhouette projects? My Silhouette Challenge buddies and I are all sharing projects related to this theme of ORGANIZATION on our blogs today, so peruse the projects below for a wealth of inspiration!
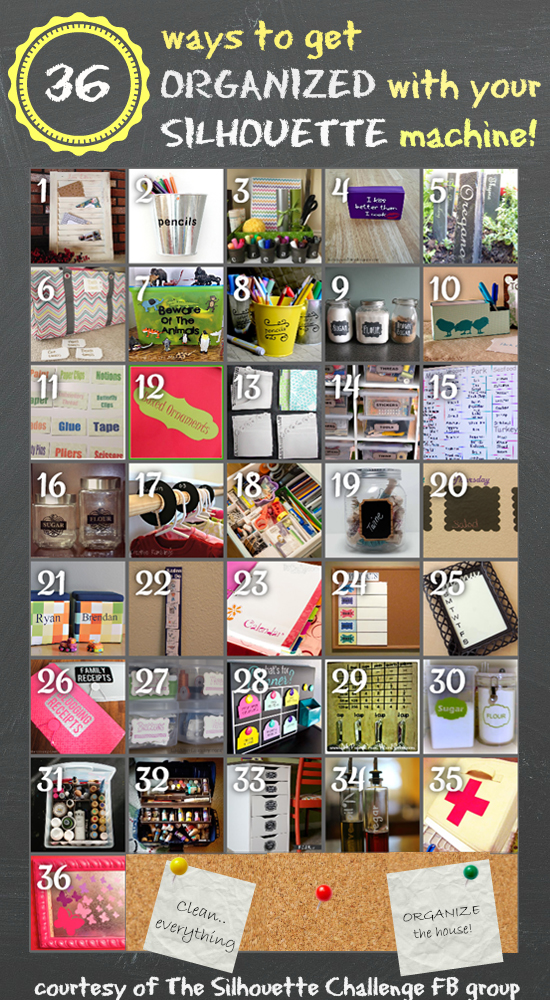
Want to Check Out More Silhouette Projects?
My Silhouette Challenge buddies and I are all sharing projects on our blogs today, so peruse the projects below for a wealth of Silhouette inspiration!
{Insert Photo Collage here.}
- DIY Window Shutter Mail Organizer by Weekend Craft
- Kids’ Art Wall by Tried & True
- Organizing Silhouette and Craft Supplies by The Happier Homemaker
- Simple Recipe Organization by It’s Always Craft Time
- Put a Label on it! Herb Names for Plant Stakes by Get Silvered
- Super Simple Linen Closet Labels by Two Purple Couches
- Beware of the Animals Vinyl Toy Box by A Tossed Salad Life
- Child desk accessories by Architecture of a Mom
- Organizing & the Important of Labels by The Turquoise Home
- Index Card Organizer for Easier Meal Planning by Chicken Scratch NY
- Create Craft Room Labels by Dragonfly & Lilypads
- Simple Storage Solution for your Christmas Ornaments by Vintage News Junkie
- Organize this: DIY Planner Covers, Tags & Dividers (made with Cereal Boxes) by Black and White Obsession
- How to Make a Cut File into a Print & Cut by Create & Babble
- Simple Chest Freezer Organizational Board by Nearly Handmade
- Vinyl Your Kitchen Canisters! by From Wine to Whine
- Nursery Closet Dividers & Silhouette Cut File by Creative Ramblings
- Make Custom Box Templates with a Silhouette for Drawer Organization by One Dog Woof
- Organizing the Craft Room by What’s Next Ma
- Vinyl Wall Calendar by Crafts Cakes and Cats
- Personalized Toy Storage Bins by Lil’ Mrs. Tori
- Personalized Routine Chart by Work in Progress
- Blog Planner Sheet Dividers + Free Cut Files by TitiCrafty by Camila
- Simple Project Calendar by Little Blue’s Room
- Dry Erase Photo Frame Menu Board + Free Cut File by Essentially Eclectic
- Receipt Organization with Free Cut File by The Thinking Closet
- Cute and Easy Labels by Life After Laundry
- “What’s For Dinner?” Menu Planning Board by unOriginal Mom
- Mixing Organization and Function: An Easy Conversion Chart by My Paper Craze
- Why do my cookies taste so bad? A lesson in baking. by The Life and Times of a TAP
- Custom Drawer Dividers by Please Excuse My Craftermath…
- The evolution of my labeling system by feto soap
- Ikea Drawer labels by McCall Manor
- Glass Etched Vinegar & Oil bottles by Terri Johnson Creates
- Organize It: Bathroom Closet by The House on Hillbrook
- Ombre Butterfly Magnet Board by Sowdering About


I loved the idea and the white patina is very nice in this work!