This post contains affiliate links, please read our disclosure policy.
A few weeks ago I was a substitute teacher over on the Silhouette School. I shared how a create an easy split letter monogram. It was received so well that I wanted to share this trick with you guys. Also when you are done reading don’t forget to stop by the Silhouette School. Melissa has the most Silhouette tutorials that I have ever seem she is a great reference.
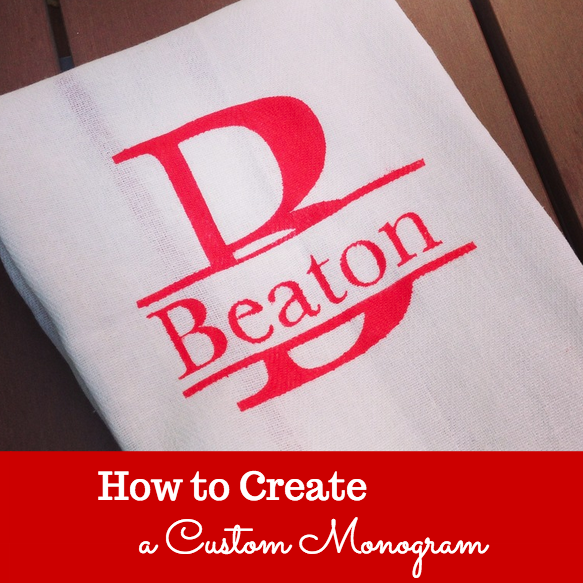
I have attended five wedding showers this summer and my go to gift has been a set of monogrammed tea towels and a glass etched monogrammed pie plate. I thought this would be a great opportunity to share with you how I make the Monograms in Silhouette Studio.
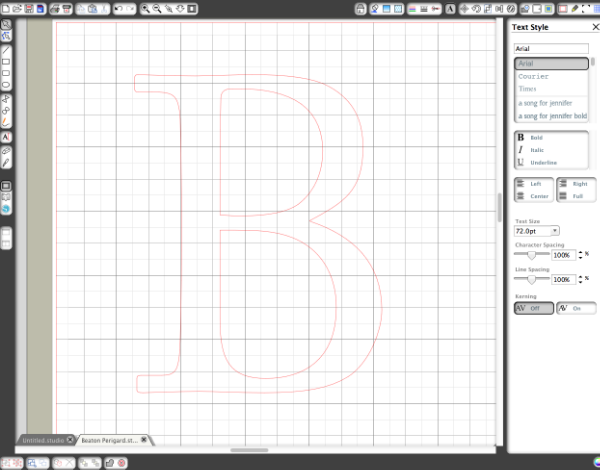
Step One: Start off in Studio with the first letter of the last name in the font of your choosing.
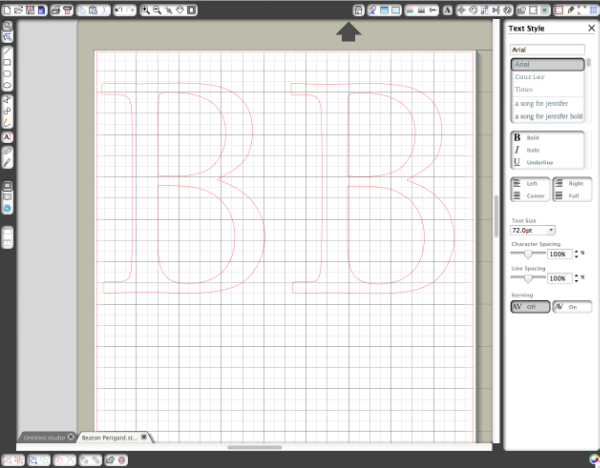
Step Two: Duplicate the letter immediately to the right of the original letter. Make sure it’s lined up. Tip: If you hold down the option button on your keyboard and click and drag your object it will create a copy.
Step Three: Draw a rectangular box around both the bottom of the left letter and the top of the right letter. On the letter on the right make sure to extend the box lower than the height of the right box. This allows extra room to add your last name later. Selecting the box and the letter click the subtract tool (circled in red below).
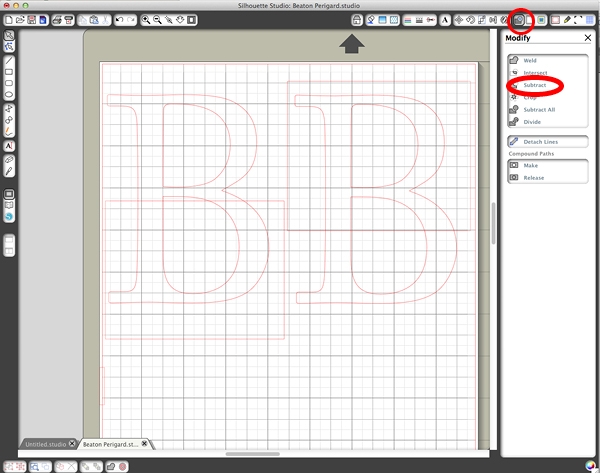
Step Four: Erase the rectangles then alight the top and bottom of the letter.
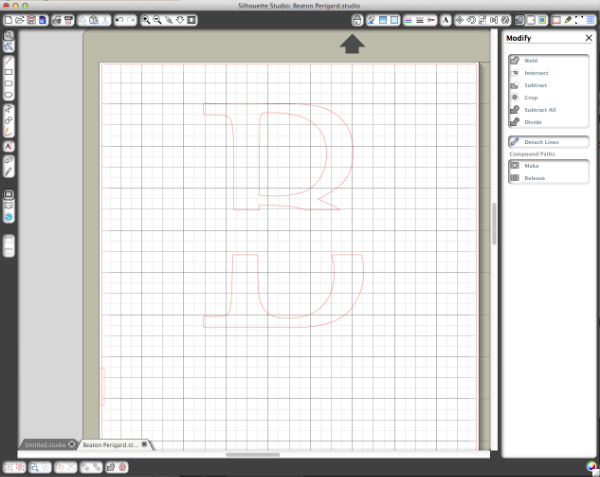
Step Five: Now you’re ready to finish it up! Type your last name in a font of your choosing and for definition add two thin rectangles above the last name and below.
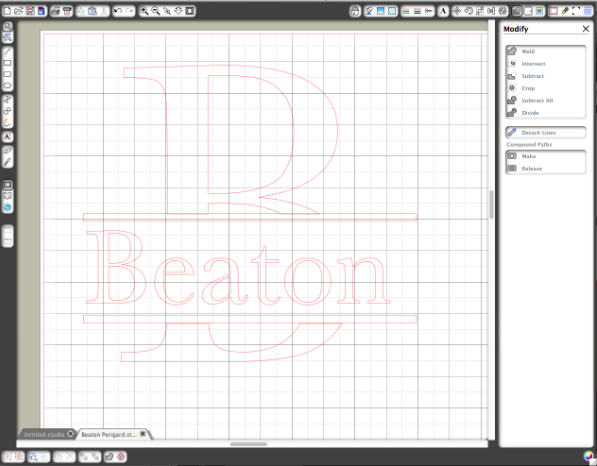
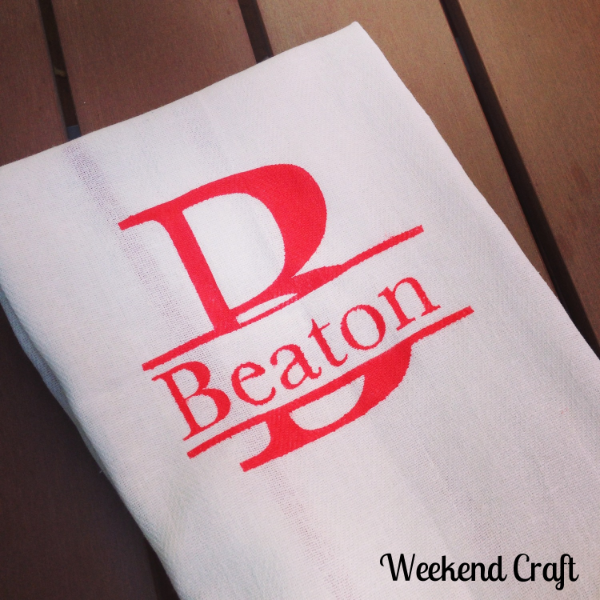
To finish this off I used freezer paper to create a stencil to iron on to the tea towel. To learn more about freezer paper stencils check out Weekend Craft’s stenciled tote bag tutorial and tea towel tutorial. It was great substituting and I hope to see you over at Weekend Craft!


Love this project. Makes me want to make some of my own.
Oh I love this! Great tutorial!
Love this tutorial!!! Thanks!
This looks so good! You did a amazing job. Pinned. We had so much fun partying with you at our last party. We hope to see you tonight’s party at 7 pm. We love to see what you have been working on! https://loulougirls.blogspot.com/Happy Monday! Lou Lou Girls