This post contains affiliate links, please read our disclosure policy.
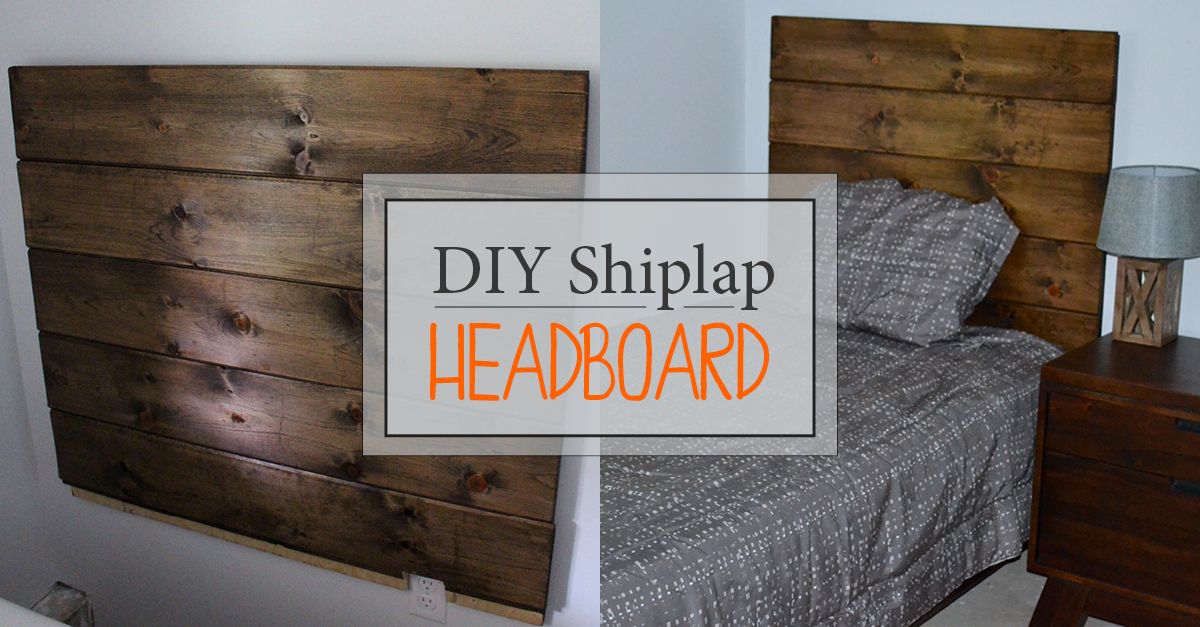
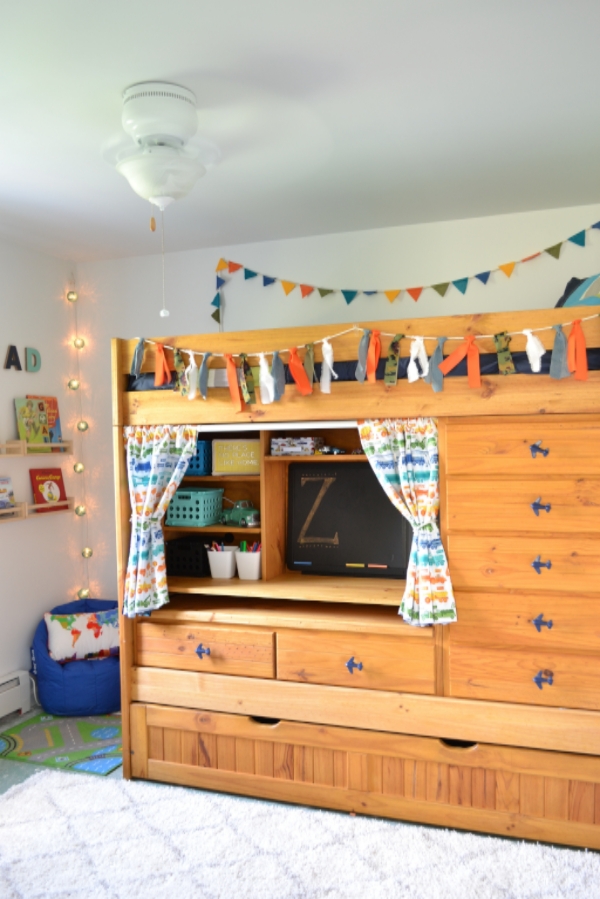
Today I am sharing how to make a DIY shiplap headboard. Last week I had the pleasure of partnering up with Habitat for Humanity and 13 other bloggers to help style a Habitat House in Portland Connecticut. Each blogger paired up with another blogger and was assigned a room. I was lucky enough to style the teenage boys room with Stephanie from Sandpaper and Glue. So where did we start? Where we all start of course, Pinterest. The teenager created a Pinterest board that reflected his style. He liked a mix of clean lines, wood, industrial and technology.
Now we had a budget that was all based on donations from Hometalk, Wayfair, Connecticut Lighting Centers and Tuft and Needle. Stephanie and I used our budget wisely putting aside money for the larger items such as the double dresser and nightstand and thing we couldn’t make such as the comforter set, pillow and sheets.
I set out to make a headboard. Knowing I could bring in the clean lines with a dark stain to really capture what that teen had wanted. I have worked with shiplap in the past (Ikea hack wine rack) and liked how easily the pieces fit together.

What you’ll need
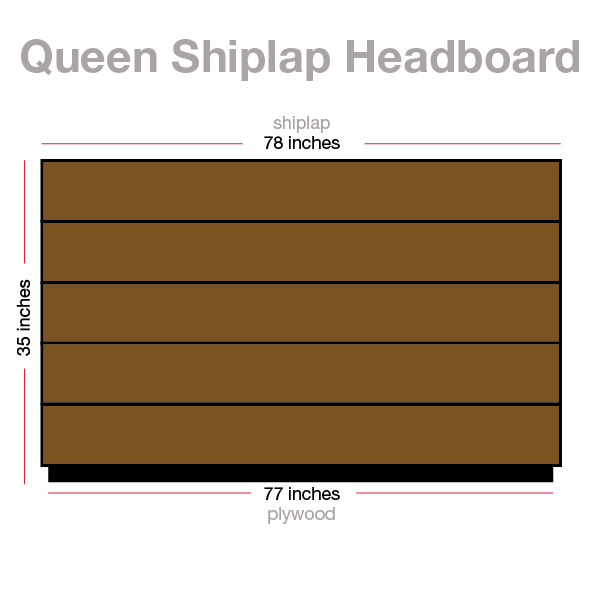
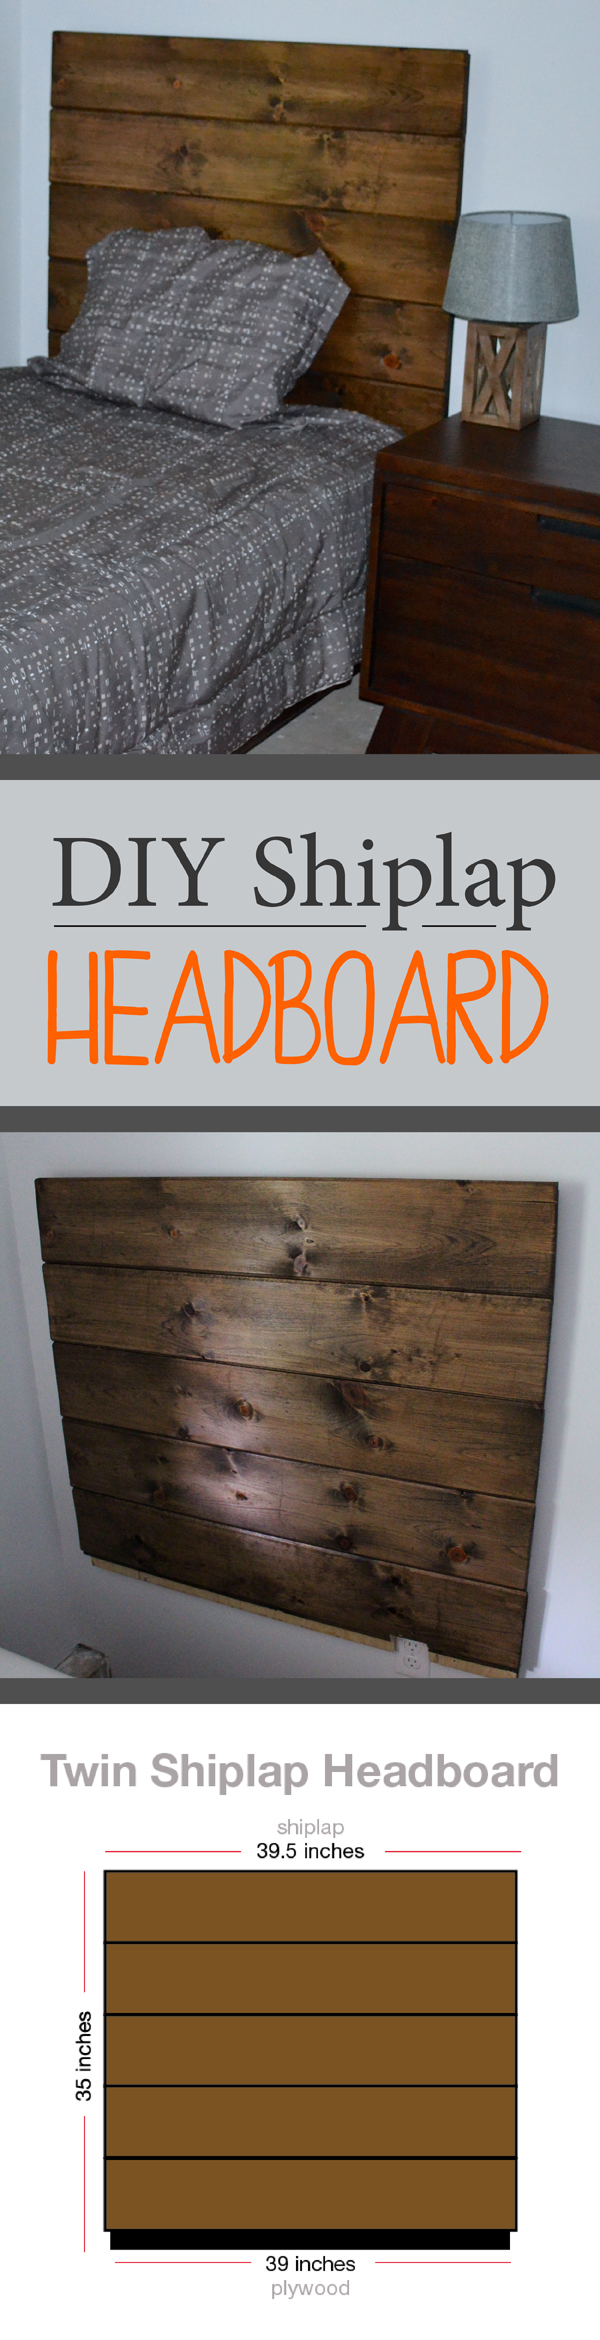
- 2 x 12′ ft pieces of shiplap
- 39″ x 35″ cut 3/4 inch plywood
- Wood stain
- Polycrlic
- Liquid nails
- Foam Brush
- Rags
- Hangman picture hanging system (200lb)
- Screws
(This post contains affiliate links)
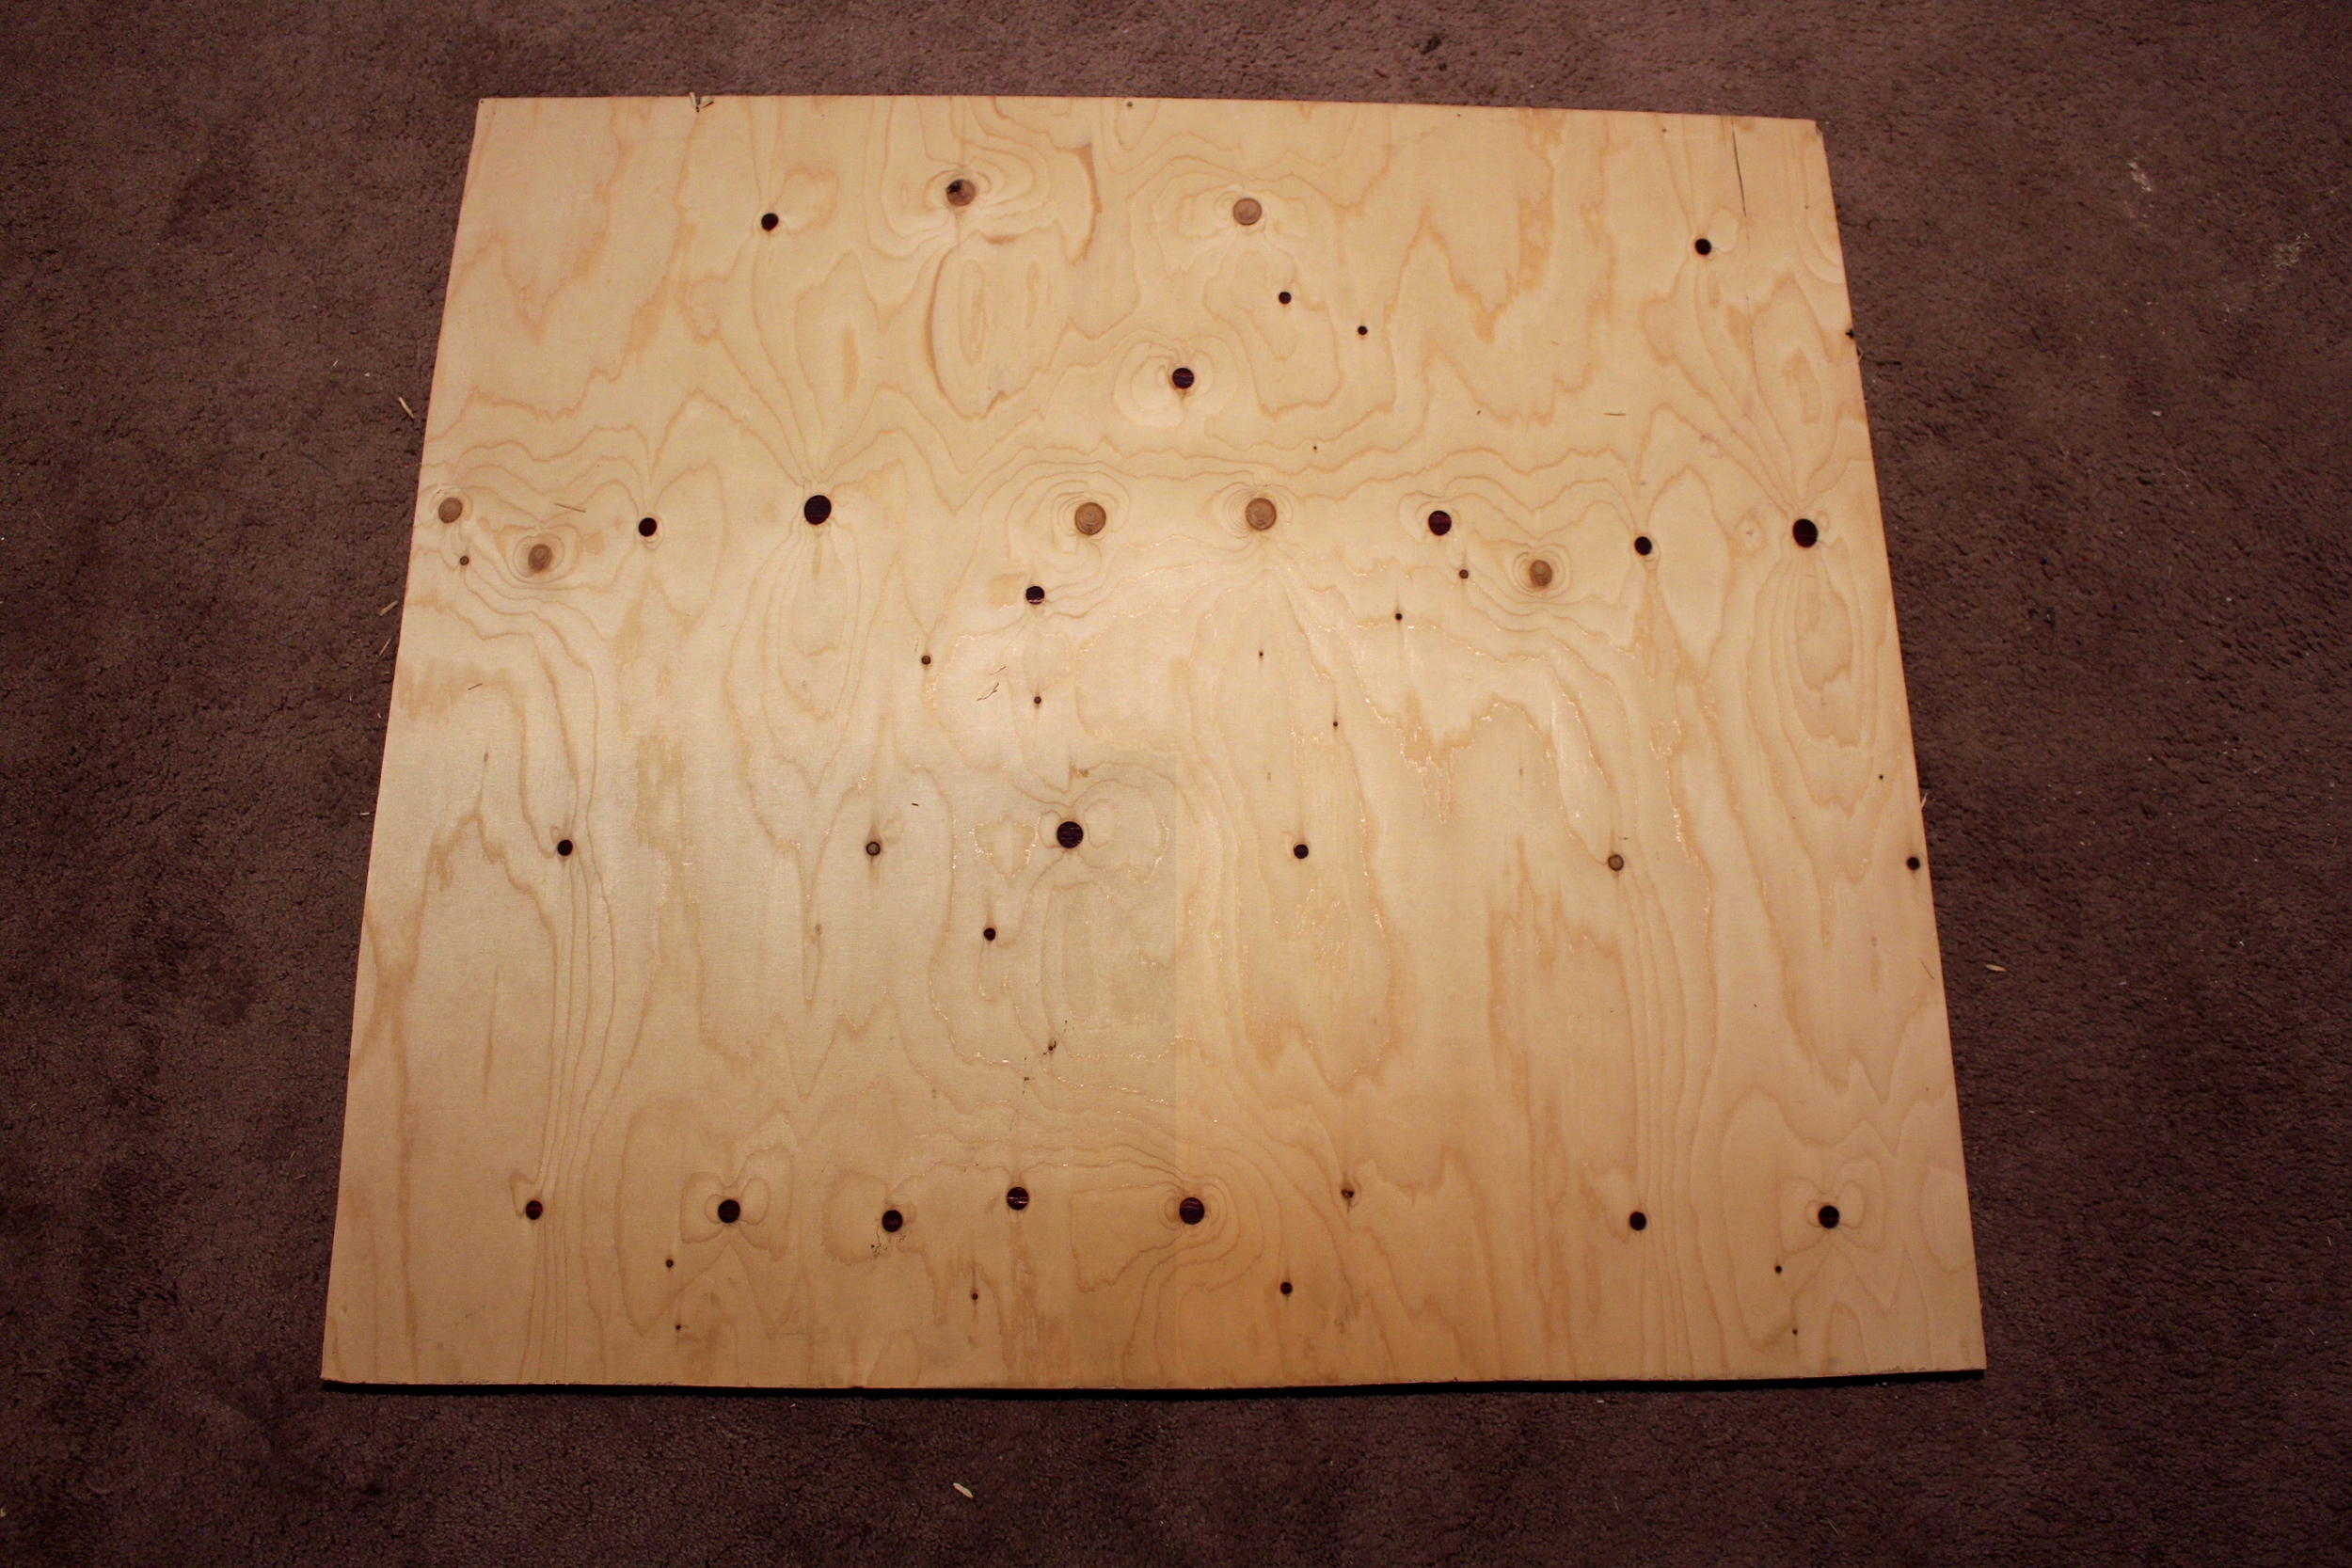
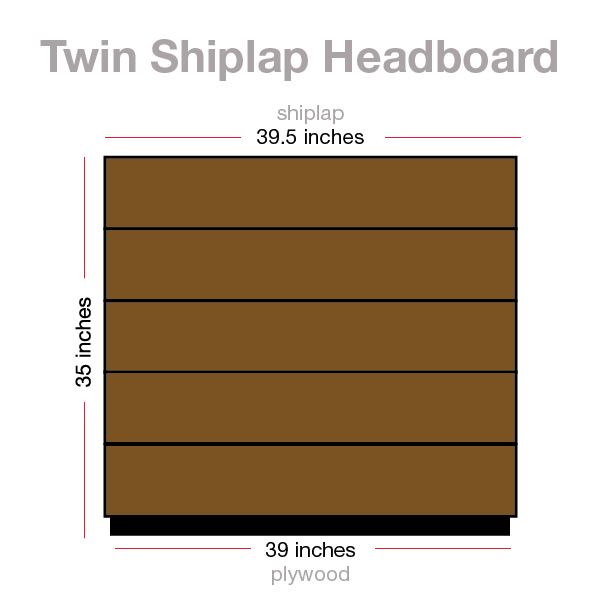
To start I figured out the width of a twin mattress is 38 inches. I cut a piece of plywood which I used as the base or the backing of the shiplap to 39 inches wide by 35 inch tall. You are going to want to use either a table saw or a circular saw to cut through the plywood.
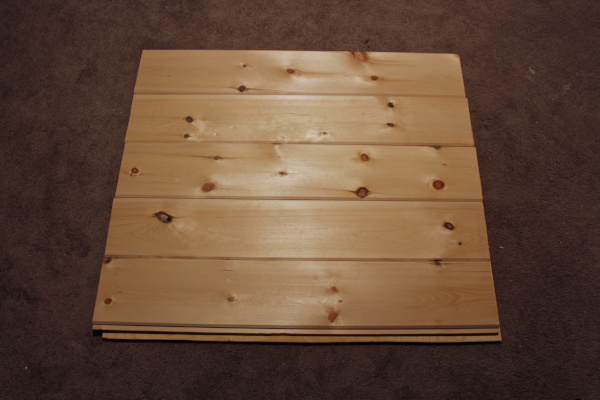
Next step was to go to Home Depot and purchase 2 x 12 ft pieces of shiplap. Now here is a trick know your size and ask the associate at HD to cut it for you. That way it fits in the car no problem and it’s 5 less cuts you have to make. I did have the shiplap cut to 39.5 inches giving myself .25 inches on either side as overlay. Before staining the shiplap I layed them out on the plywood to make sure my measurements were correct. I did have a little overhang on the bottom but not to worry since it will be hidden by the bed frame.
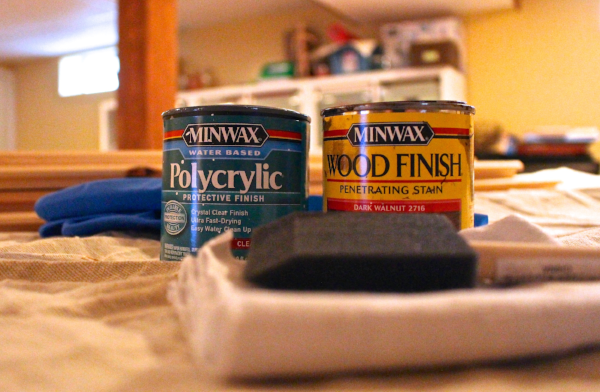
I decided to stain the wood before constructing the headboard. This allows you to get into all the corners and grooves easier.
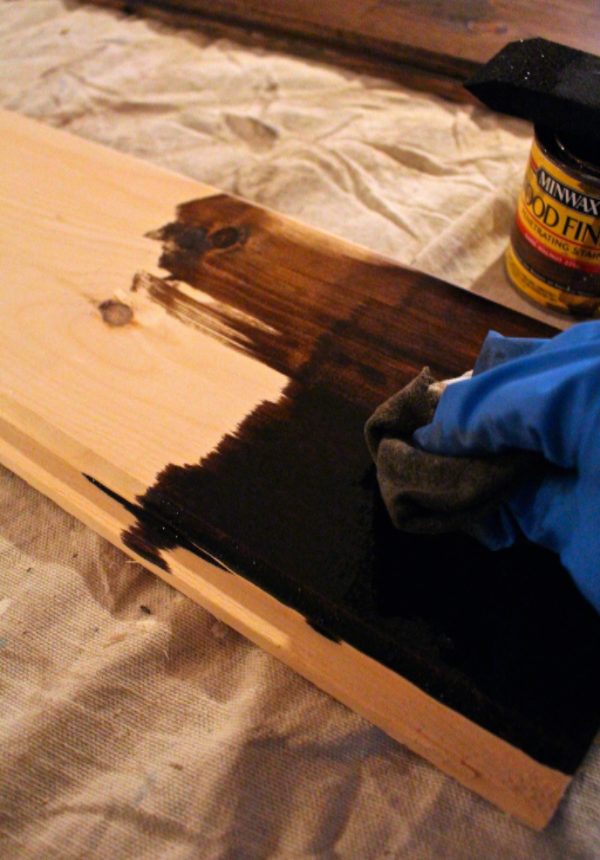
I always apply stain with a foam brush and use a rag to wipe the stain into the wood. Always moving the rag in the direction of the wood stain. once the stain is dry, I like to leave it overnight. Apply a coat of the polycrylic to seal the stain lightly sand after the first coat and apply a second coat.
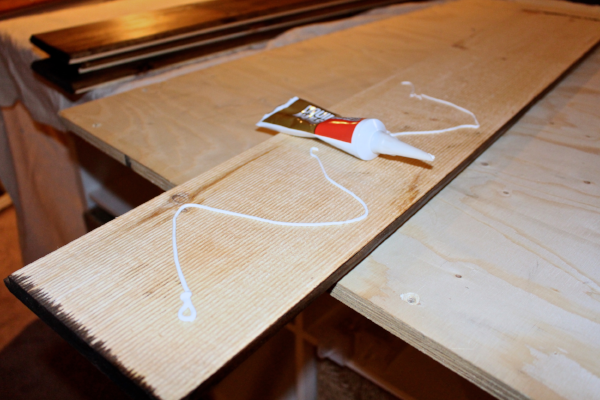
Once the stain and clearcoat are dry use liquid nail on the back of each piece and and lay it down in the desired spot on the plywood base. Continue this until all pieces of shiplap are in place.
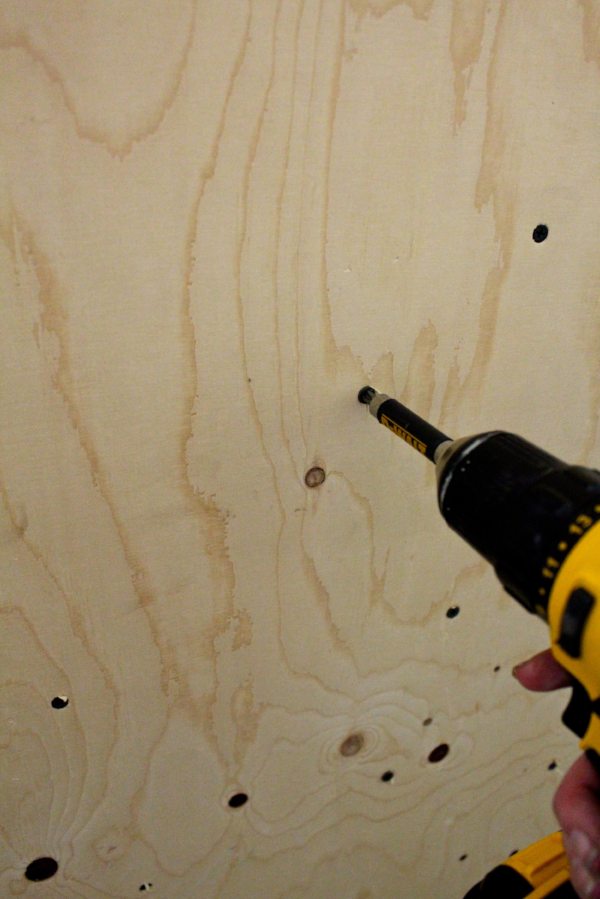
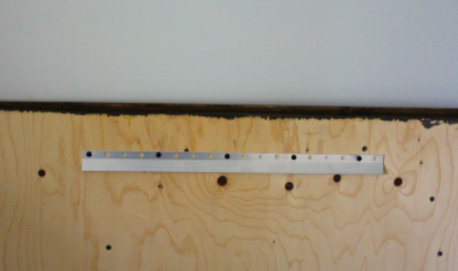
Flip the plywood over (so the shiplap is face down) and use your screws to secure each plank to plywood. Be careful to not get too close to the edge of each piece. I used about 6-8 screws per board.
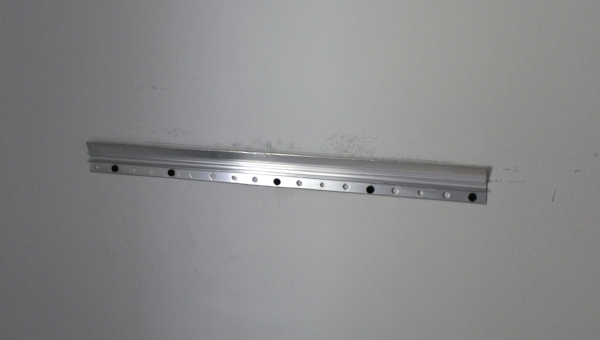
Now building the actual headboard was the easy part. What I was really stuck on was how to install the headboard to the wall. I wanted to make it removable in case they wanted to rearrange the room. I actually found a piece of hardware that was meant to hold a picture frame up to 200lbs that would work perfectly for the bed (you can find it here ).
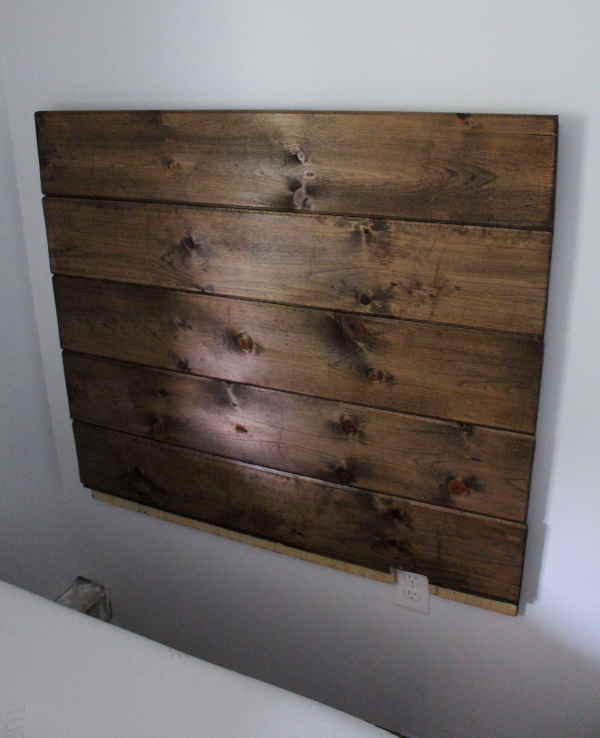
Now we did have to make one adjustment. Using a jig saw we modified the bottom of the headboard so the electrical socket could still be used. But Viola we are done! That wasn’t so hard now was it? I have included measurements below because this could easily be modified for a Queen size bed. This is definitely a weekend project because I definitely completed it in one weekend.
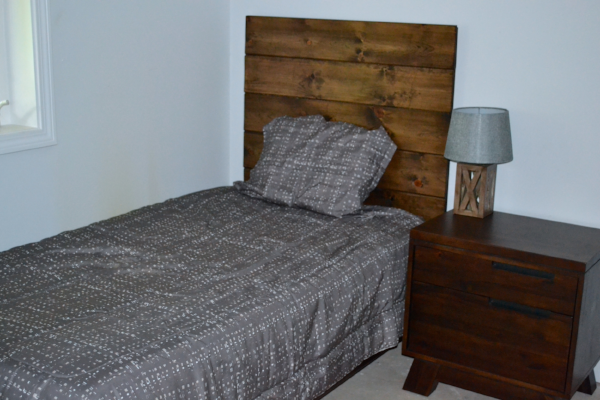
I am extremely proud of how this headboard came out and I think our teen liked it too!
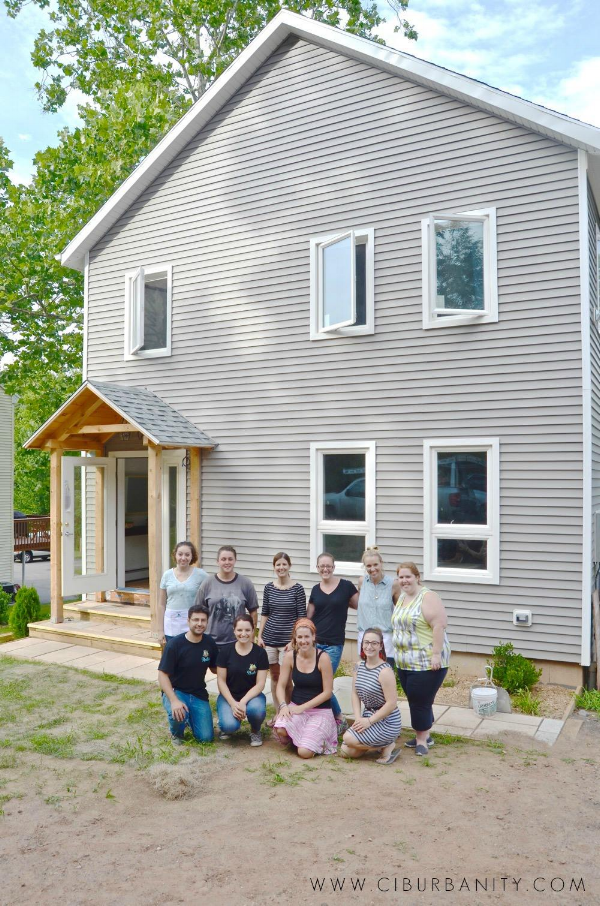
It was such an amazing couple of months working besides these bloggers to really customize and personalize this house for such a deserving family. Make sure to check out the full house reveal below.
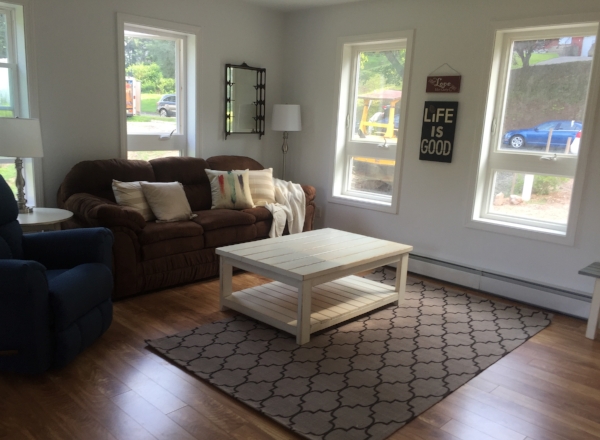
LIVING ROOM:
Jaime from That’s My Letter
Laura from Finding Home Farms
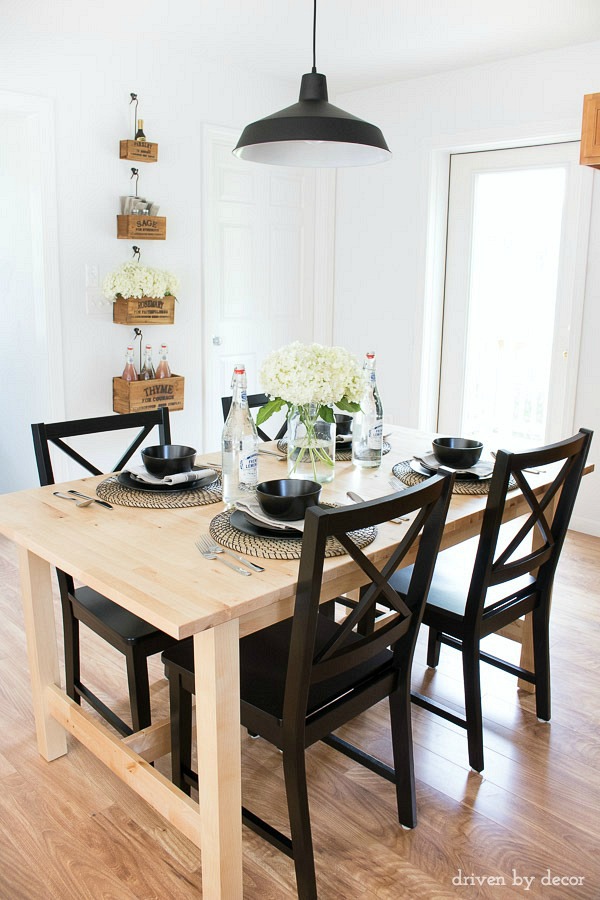
DINING ROOM/ DECK:
Kris from Driven By Decor
Annie from Most Lovely Things
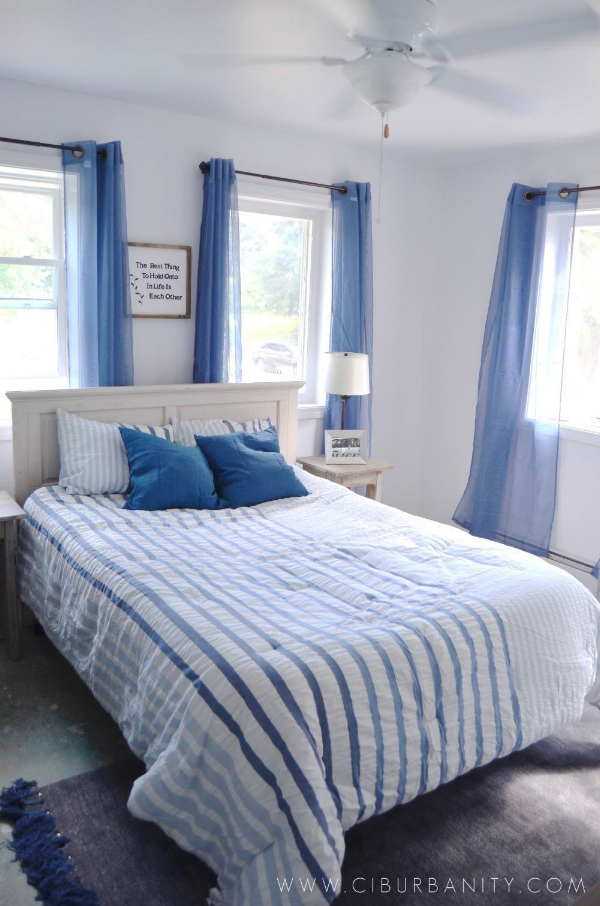
MASTER BEDROOM:
Jillian from I Am a Homemaker
Charlotte from Ciburbanity
Bee from Windgate Lane
KIDS ROOM:
Kristin from A Thrifter in Disguise
GUEST ROOM:
Evey from Evey’s Creations
Lynn from On Fern Avenue
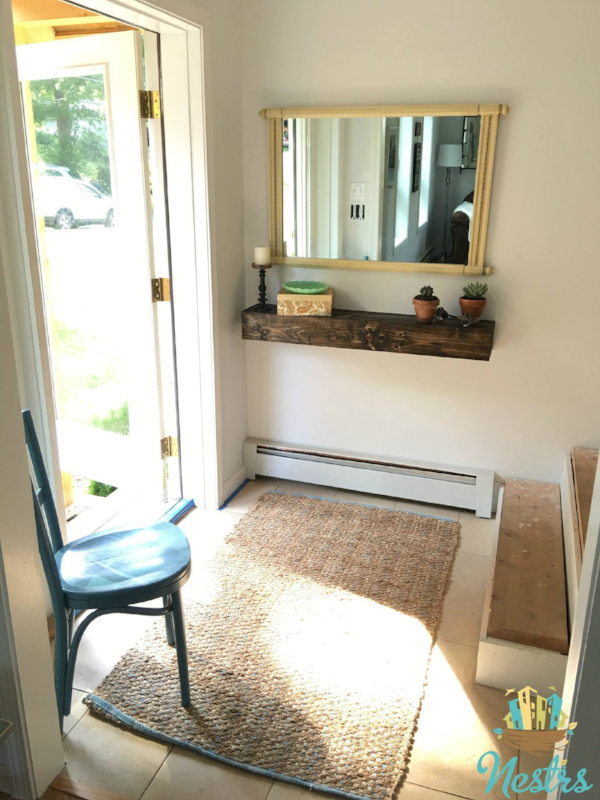
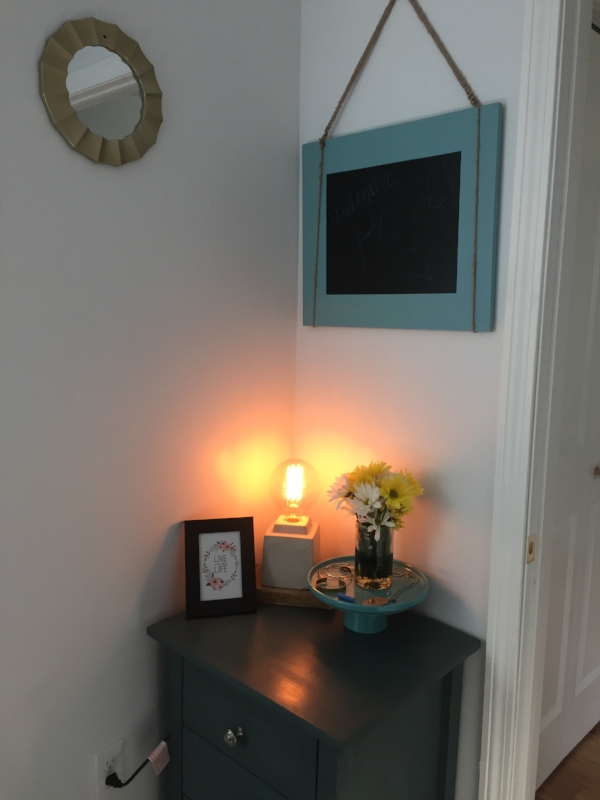
FOYER/ MUDROOM/ BATHROOMS:
Sarah and Nick from Nestrs
TEEN ROOM:
Michelle from Weekend Craft
Stephanie from Sandpaper and Glue


I have to admit that I have yet to get on the shiplap train, but I LOVE how it worked as a headboard! This space is such a chic cool boys’ room! Thanks for driving the distance and being a part of this whole project! xx
I love the shiplap headboard…it looks perfect for this room!
I loved the shiplap headboard! And how fun are the lights under the bed? It reminded me of the cars owned by just about everyone in my city growing up 🙂 So nice to work with you on this project!