This post contains affiliate links, please read our disclosure policy.
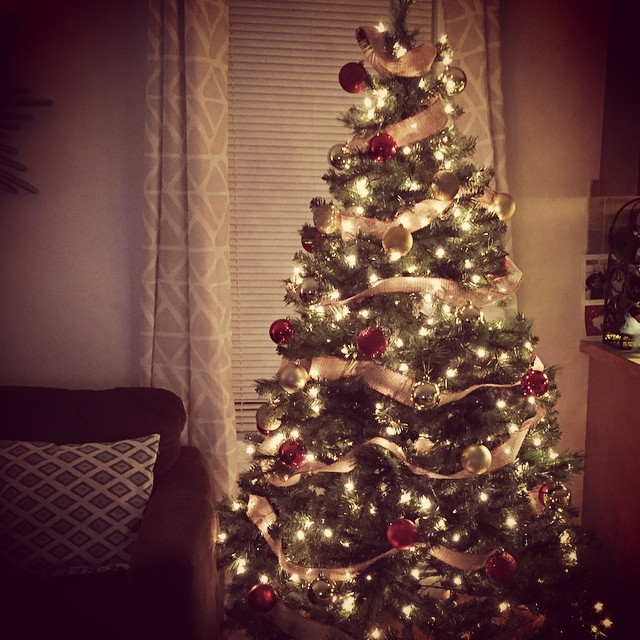 My Christmas tree. I just need a toppers and some DIY Ornaments.
“It’s beginning to look a lot like Christmas!” Or atleast “we’re beginning to think a lot about Christmas!” Well in my house not only am I thinking about Christmas but it is starting to look a lot like Christmas too. I went out this past weekend and bought my first Christmas tree (artificial) and immediately got home and set it up and decorated it! I just couldn’t wait and besides Thanksgiving is late this year so that means the tree has to go up earlier right?
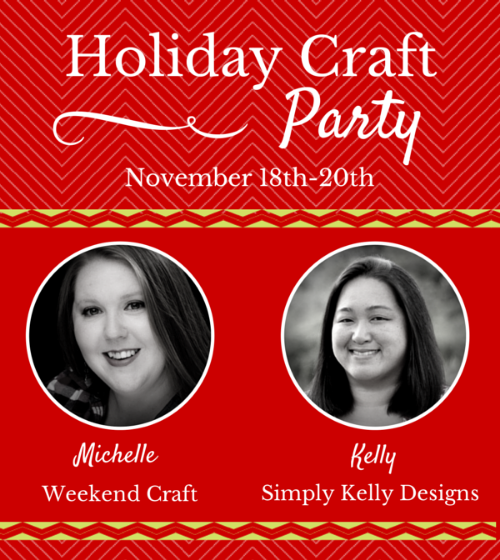
Well I am not the only one! Kelly from Simply Kelly Designs Christmas tree went up this weekend also!
Kelly and I have been wanting to come together creatively and do something on our blogs for awhile now. With Christmas around the corner we thought how fun would it be to throw a 3 day Holiday Craft Party. I am sure you are all starting to gather ideas for Christmas and your just waiting for after Thanksgiving to start them. How do we know this? Because pinterest is aglow with Christmas crafting.
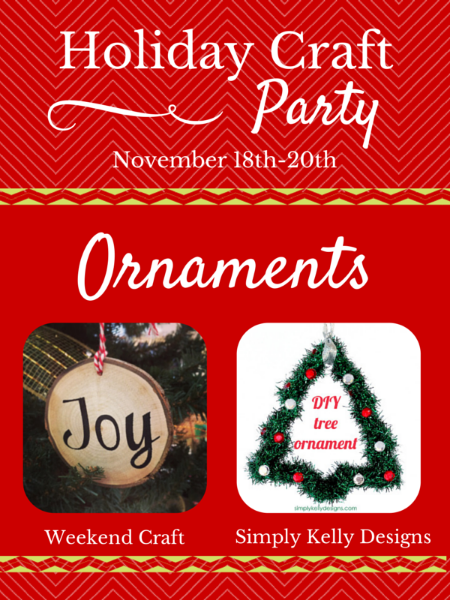
Welcome to Day One of #HolidayCraftParty!
Kelly and I will both be sharing handmade ornaments on our blogs today as well as giving away a $25 Michaels gift card!
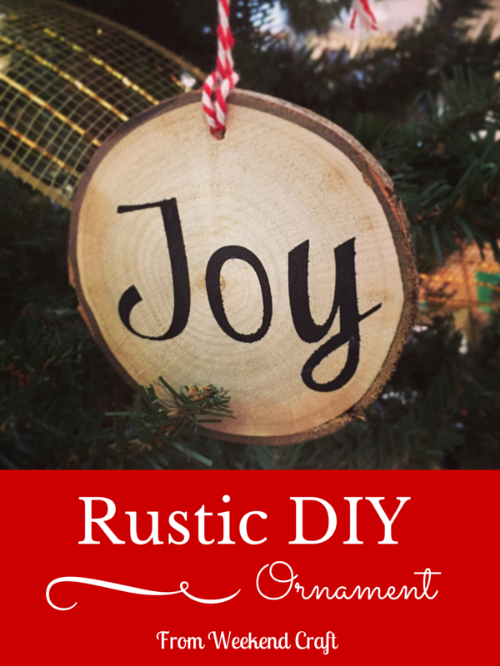
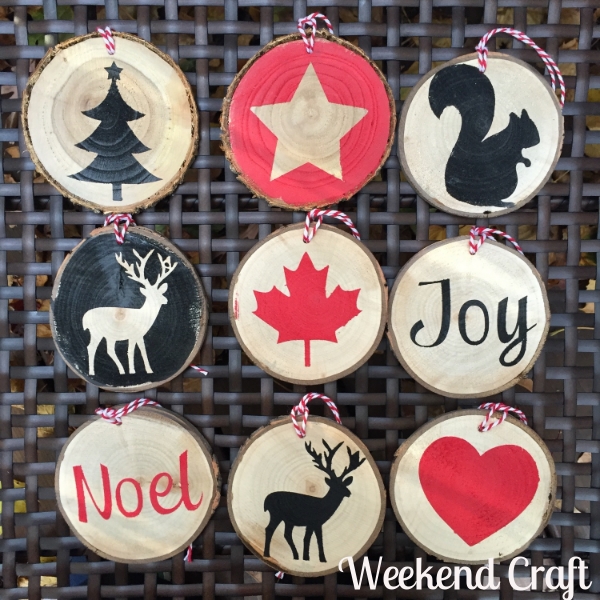
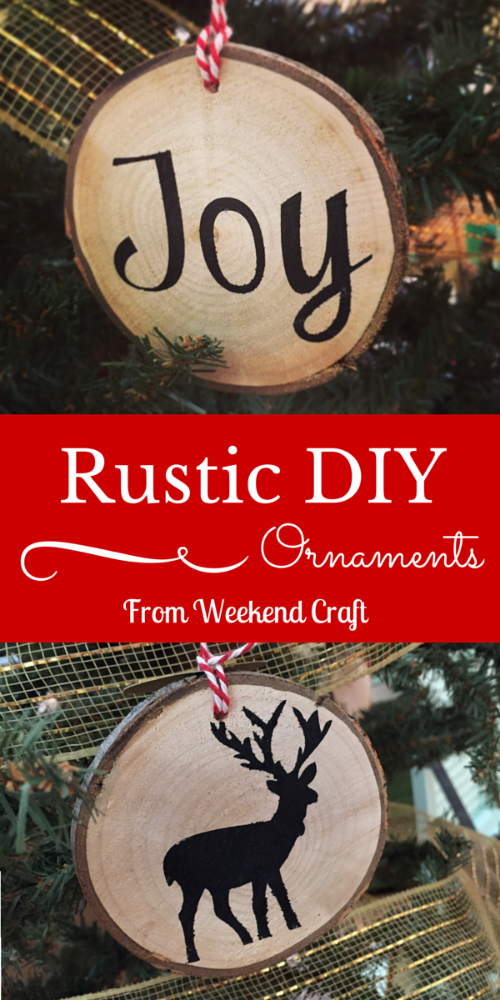
I am still in love with the idea of wood slice ornaments. You may remember I made them last year for my family as gift tags. Well I ordered 60 wood slices this year! Yes 60… I might have a slight obsession.
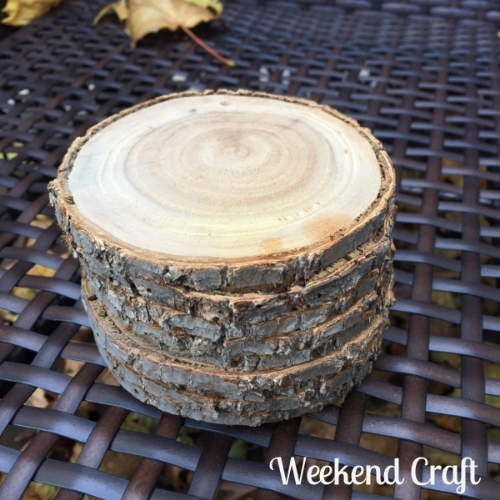
What you’ll need
- Wooden Discs (I got mine from Prairie Spirits on etsy).
- Silhouette (optional)
- Stencil Vinyl
- Paint
- Paint Brush
- Bakers Twine
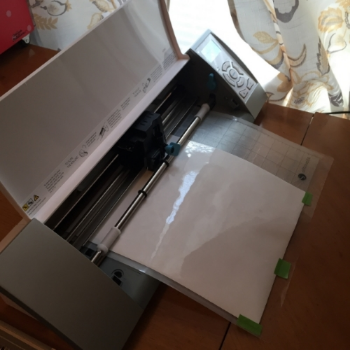
Now this project can be hand painted as well as stenciled. I chose to use my silhouette to create stencils. To do this I designed some seasonal words and went into my library to find some woodland creatures that I had purchased previously. Using the preset vinyl setting I cut the stencil vinyl. Now if you don’t have stencil vinyl you can use regular vinyl instead. I do prefer stencil vinyl because about 99% of the time you will get a crisp paint edge.
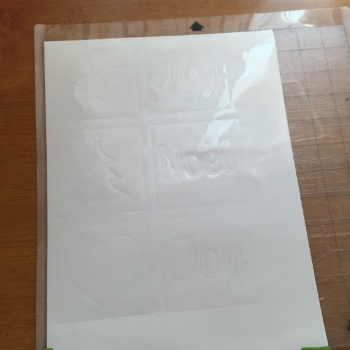
Weeding out (removing) the negative space of the stencil. Then transfer the stencil on to the wooden discs. Because these stencils were quite small and manageable I transferred them by hand instead of using transfer paper.
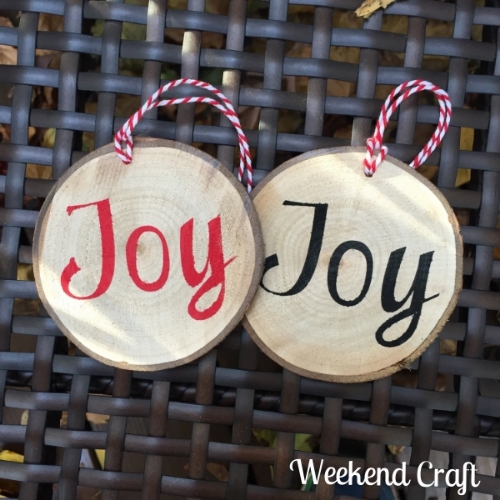
Another trick I used with the shapes and animals were to weed out the animal and place it on to the wooden disc and then also use the outline on the stencil vinyl. This way from one stencil you get 2 ornaments.
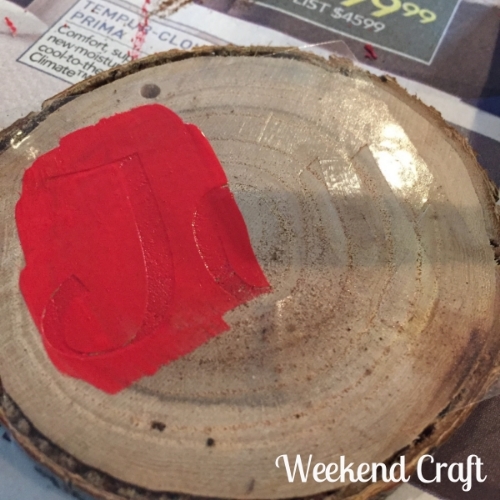
Once the stencil is on the disc and secured with the scraper tool start painting. As we know I am infamous for not paying full price for paint. So the day I was making these I stopped by the oops section at Home Depot and they had sample cans of red and black for only .50 each! How perfect was that.
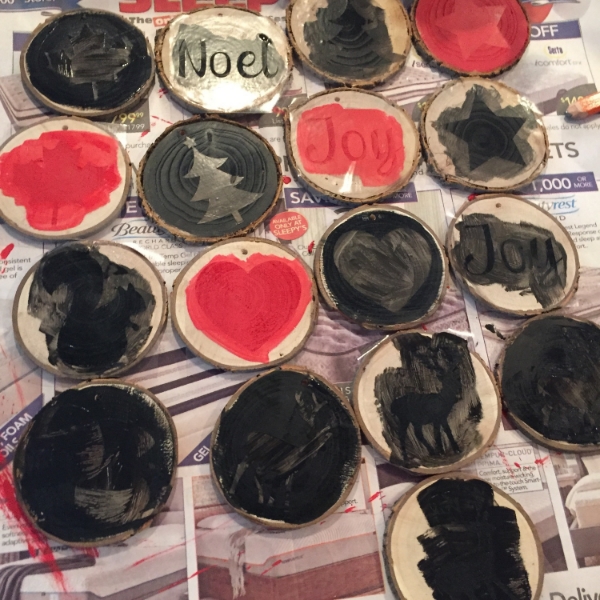
From start to finish this project took me less than an hour and I made about 25 ornaments. Once all the stencils are in place its almost like creating an assembly line to paint. Since the would is a porous surface the paint drys relatively quickly.
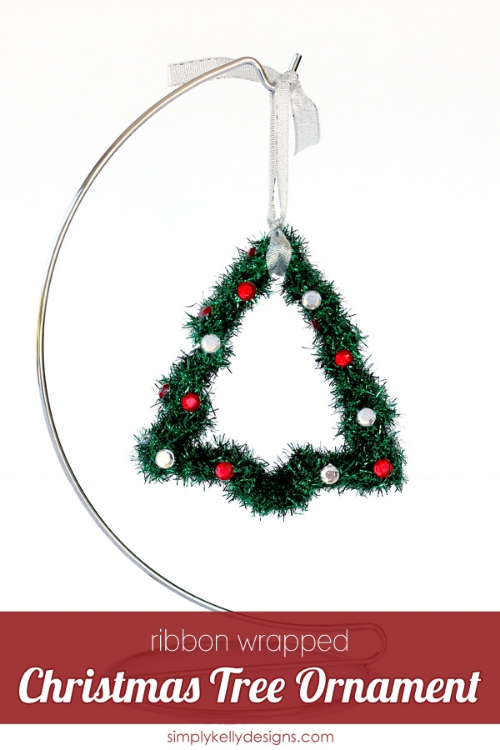
Make sure to hop on over to Simply Kelly Designs to check out her Ribbon Wrapped Christmas Tree Ornament.
Since we are in the Holiday Craft Party mood why not giveaway a Michael’s giftcard to help you jumpstart your holiday crafting. Enter below to win and don’t forget to stop by tomorrow for Day 2 of #HolidayCraftParty.
Enter by filling out the Rafflecopter below through Monday, November 24, 2014 at 11:59 pm EST. Open to U.S. residents only. Good luck!
a Rafflecopter giveaway
//widget.rafflecopter.com/load.js

I would buy holiday crafts for the kids.
Oh my! I never know what I will end up buying when I walk into Michaels! haha Prob a bunch of stocking stuffers for me. 🙂
Theres no problem with buying stocking stuffers for yourself!
I would have a hay day buying more craft supplies
Great ornaments! This wood ornament becoming a big trend this Christmas. Thanks for the tutorial using Silhouette and stencil :)I’d love to buy our Advent craft supplies with the gift card.
Thanks Helen! They are big this year. I want to try to cut some myself just found a few big branches to use wish me luck!
Craft supplies 🙂
Scrapbboking supplies
Really adorable rustic wood ornaments and give away. I love these wooden disks. These are cut so much round and so neatly. Plus the paint stuff on it and the names and symbols you have made on the are all so perfect.