This post contains affiliate links, please read our disclosure policy.
I usually make Christmas cards every year but this year I have just been so busy. I thought about not sending any out but I everyday when I went to the mailbox I just kept getting more and more. Suddenly not sending any out did not seem like an option. Have I mentioned I have a guilt complex?
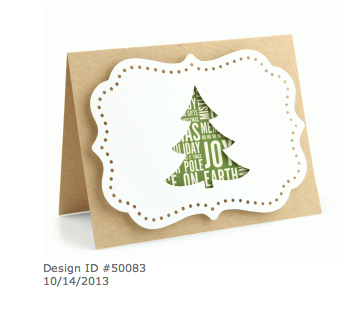
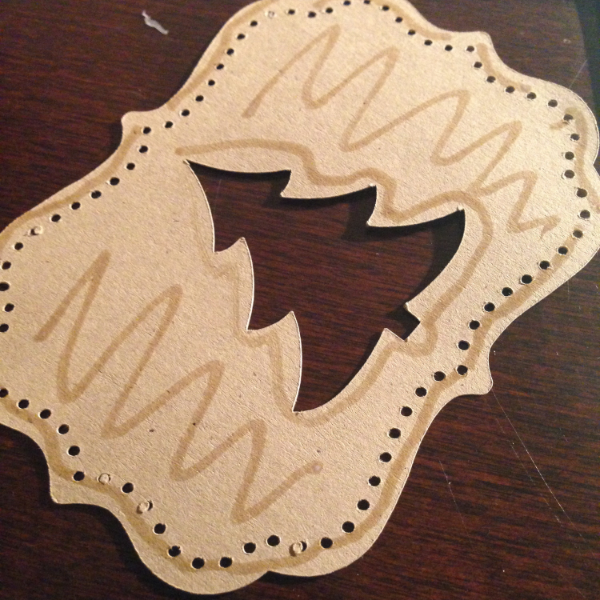
During the Silhouette Holiday Sale I bought a card file that had been sitting in my library waiting for next year. This was the file I bought. I thought about how to turn these around quickly instead of cutting the cards I had a box of a2 blank cards that my sister had bought me two Christmases ago.
I did not have any holiday scrapbooking paper to put behind the tree but I had recently seen a fun project posted by The Thinking Closet that used Washi Tape to make Christmas Tags (still on my list of projects to do before Christmas).
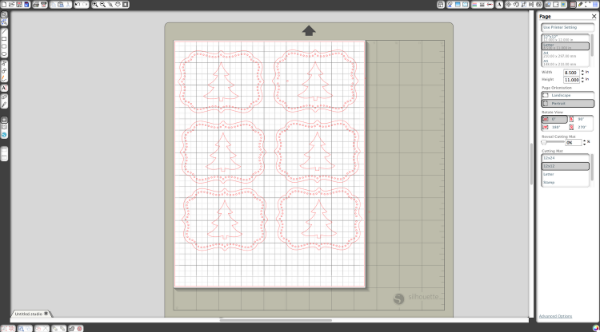
I modified the cut file by ungrouping the cuts and deleting the A2 card since I already had cards to place the tree cut out on. To get the most out of a page I multied up the cuts fitting six on a page. I did scale down the tree cut out a bit to fit them all on one piece of letter size craft paper.
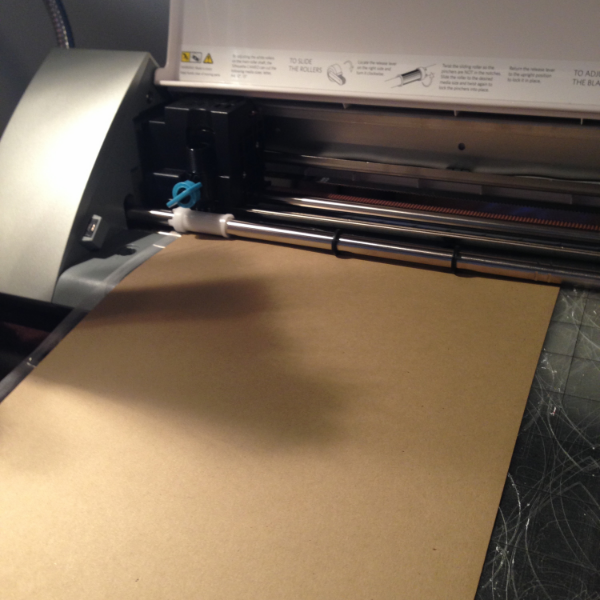
Make sure to change your settings to card stock and when loading the mat to chose the option to load cutting mat and not load media.
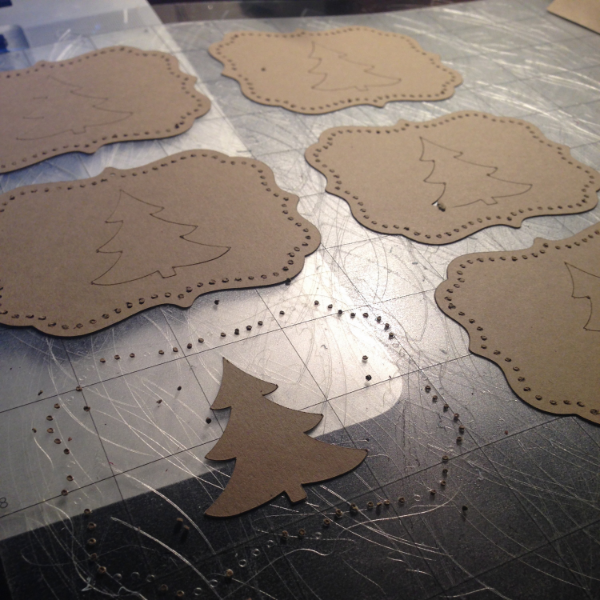

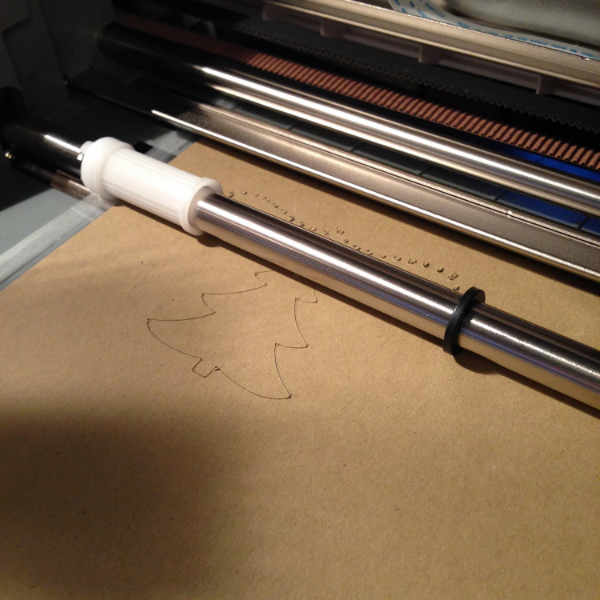
The only downside to this cut file was all the pesky little circles it left behind on my mat. What a mess. I used the scraper tool to scrape them all off the mat it seemed to work fairly well.
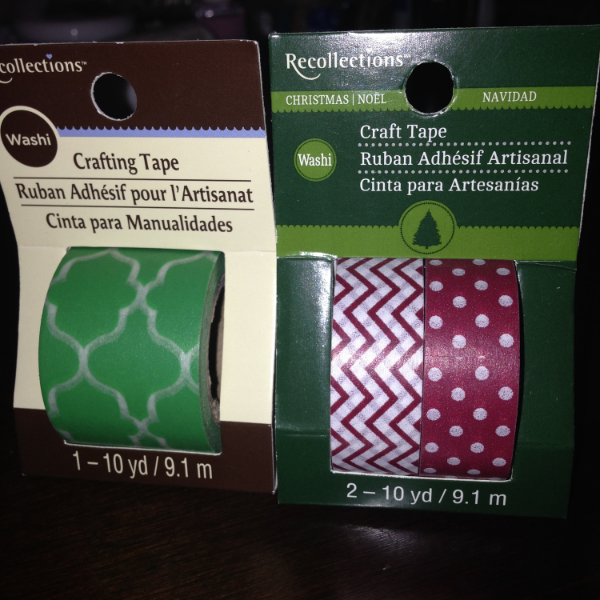
A few weeks ago Michaels was having a sale on holiday washi tape. I picked these up for christmas tags (that I have not yet started).
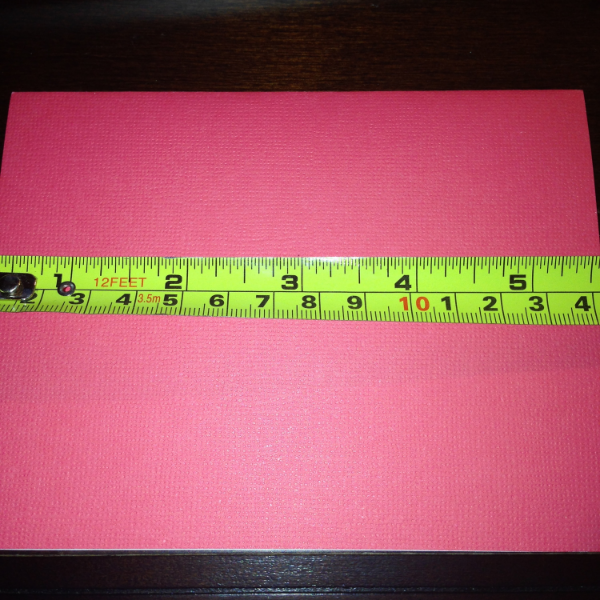
I used measuring tape to find the center of each card. Marking the spot lightly with a pencil.
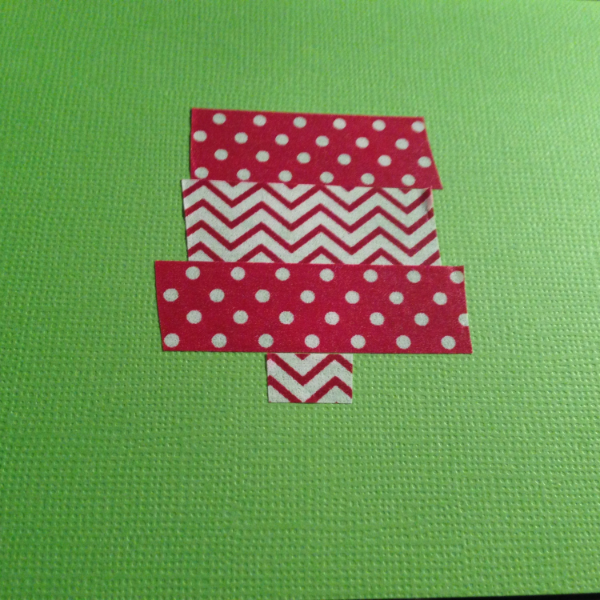
Using washi tape I started to make the negative space of a tree. You can check your sizing by periodically placing the tree cut out over the tape. Once you do about five you will get the hang of it.
Using my 2 way glue pen I generously applied glue to the back of the cut out.
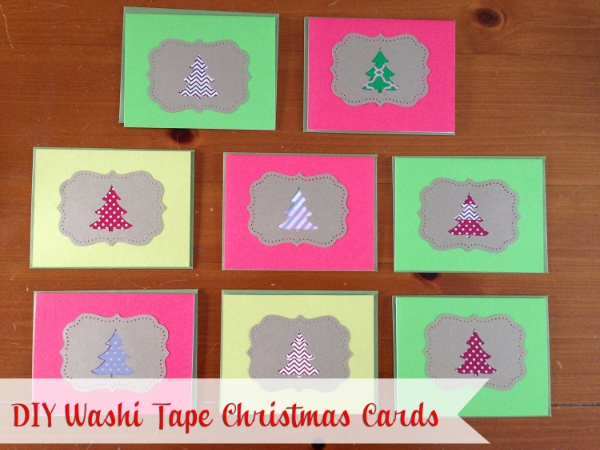
I am so pleased with how these came out. and they are all pretty unique. I found when I was writing them out I was trying to chose which tape best described the person I was sending them too.
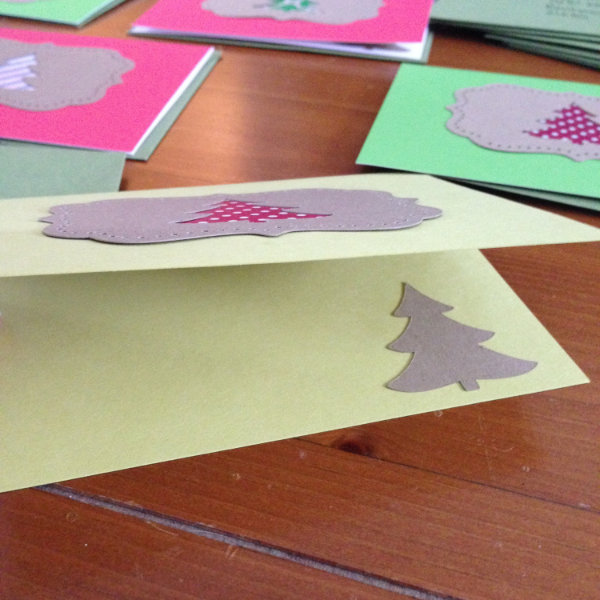
I added one last detail by taking the tree that we had cut out and glueing it to the inside of the card. Not bad for an afternoon right?
(function(i,s,o,g,r,a,m){i[‘GoogleAnalyticsObject’]=r;i[r]=i[r]||function(){
(i[r].q=i[r].q||[]).push(arguments)},i[r].l=1*new Date();a=s.createElement(o),
m=s.getElementsByTagName(o)[0];a.async=1;a.src=g;m.parentNode.insertBefore(a,m)
})(window,document,’script’,’//www.google-analytics.com/analytics.js’,’ga’);
ga(‘create’, ‘UA-46439362-1’, ‘weekendcraft.com’);
ga(‘send’, ‘pageview’);


So cute! And it totally doesn’t look last minute! Very crafty….
These are adorable, Michelle! And I’m honored that my gift tags sparked the inspiration for these…though you have clearly taken the idea and run with it in a whole new fabulous direction. I’m sure the recipients of these gift tags will treasure them as gifts in and of themselves. Thanks for sharing! (And for the shout out.) -Lauren
Awww, these are adorable and a great use for washi tape! Thanks for sharing.
This idea is absolutely better to consider. I really love this it and I’m planning to try this one this christmas for my <a href="https://messages.365greetings.com/christmas/christmas-cards.html">christmas card</a> design :)Thanks for sharing 🙂
Very interesting!!Terrific idea and its all turned out lovely!! Better to try that one!Thank you for the inspiration 🙂
This is on my list for cards next year! Love it. And for all those little dots you said was left over, I will be keeping those to add to other projects I have in mind or add to my confetti mix.