This post contains affiliate links, please read our disclosure policy.
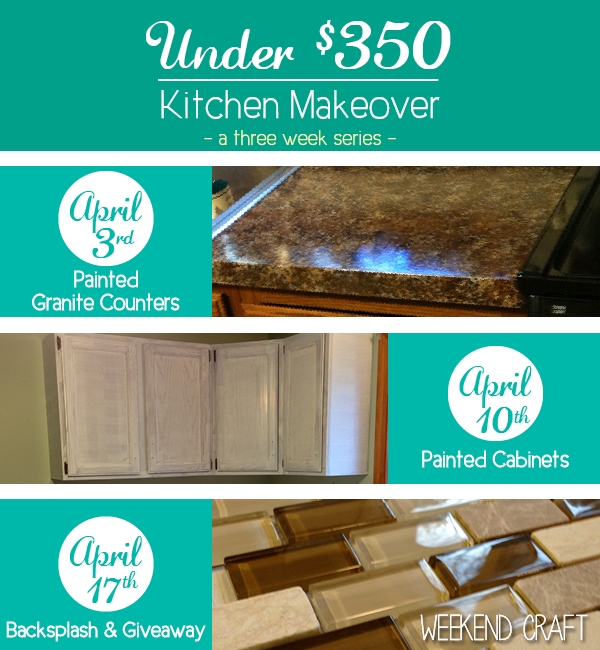
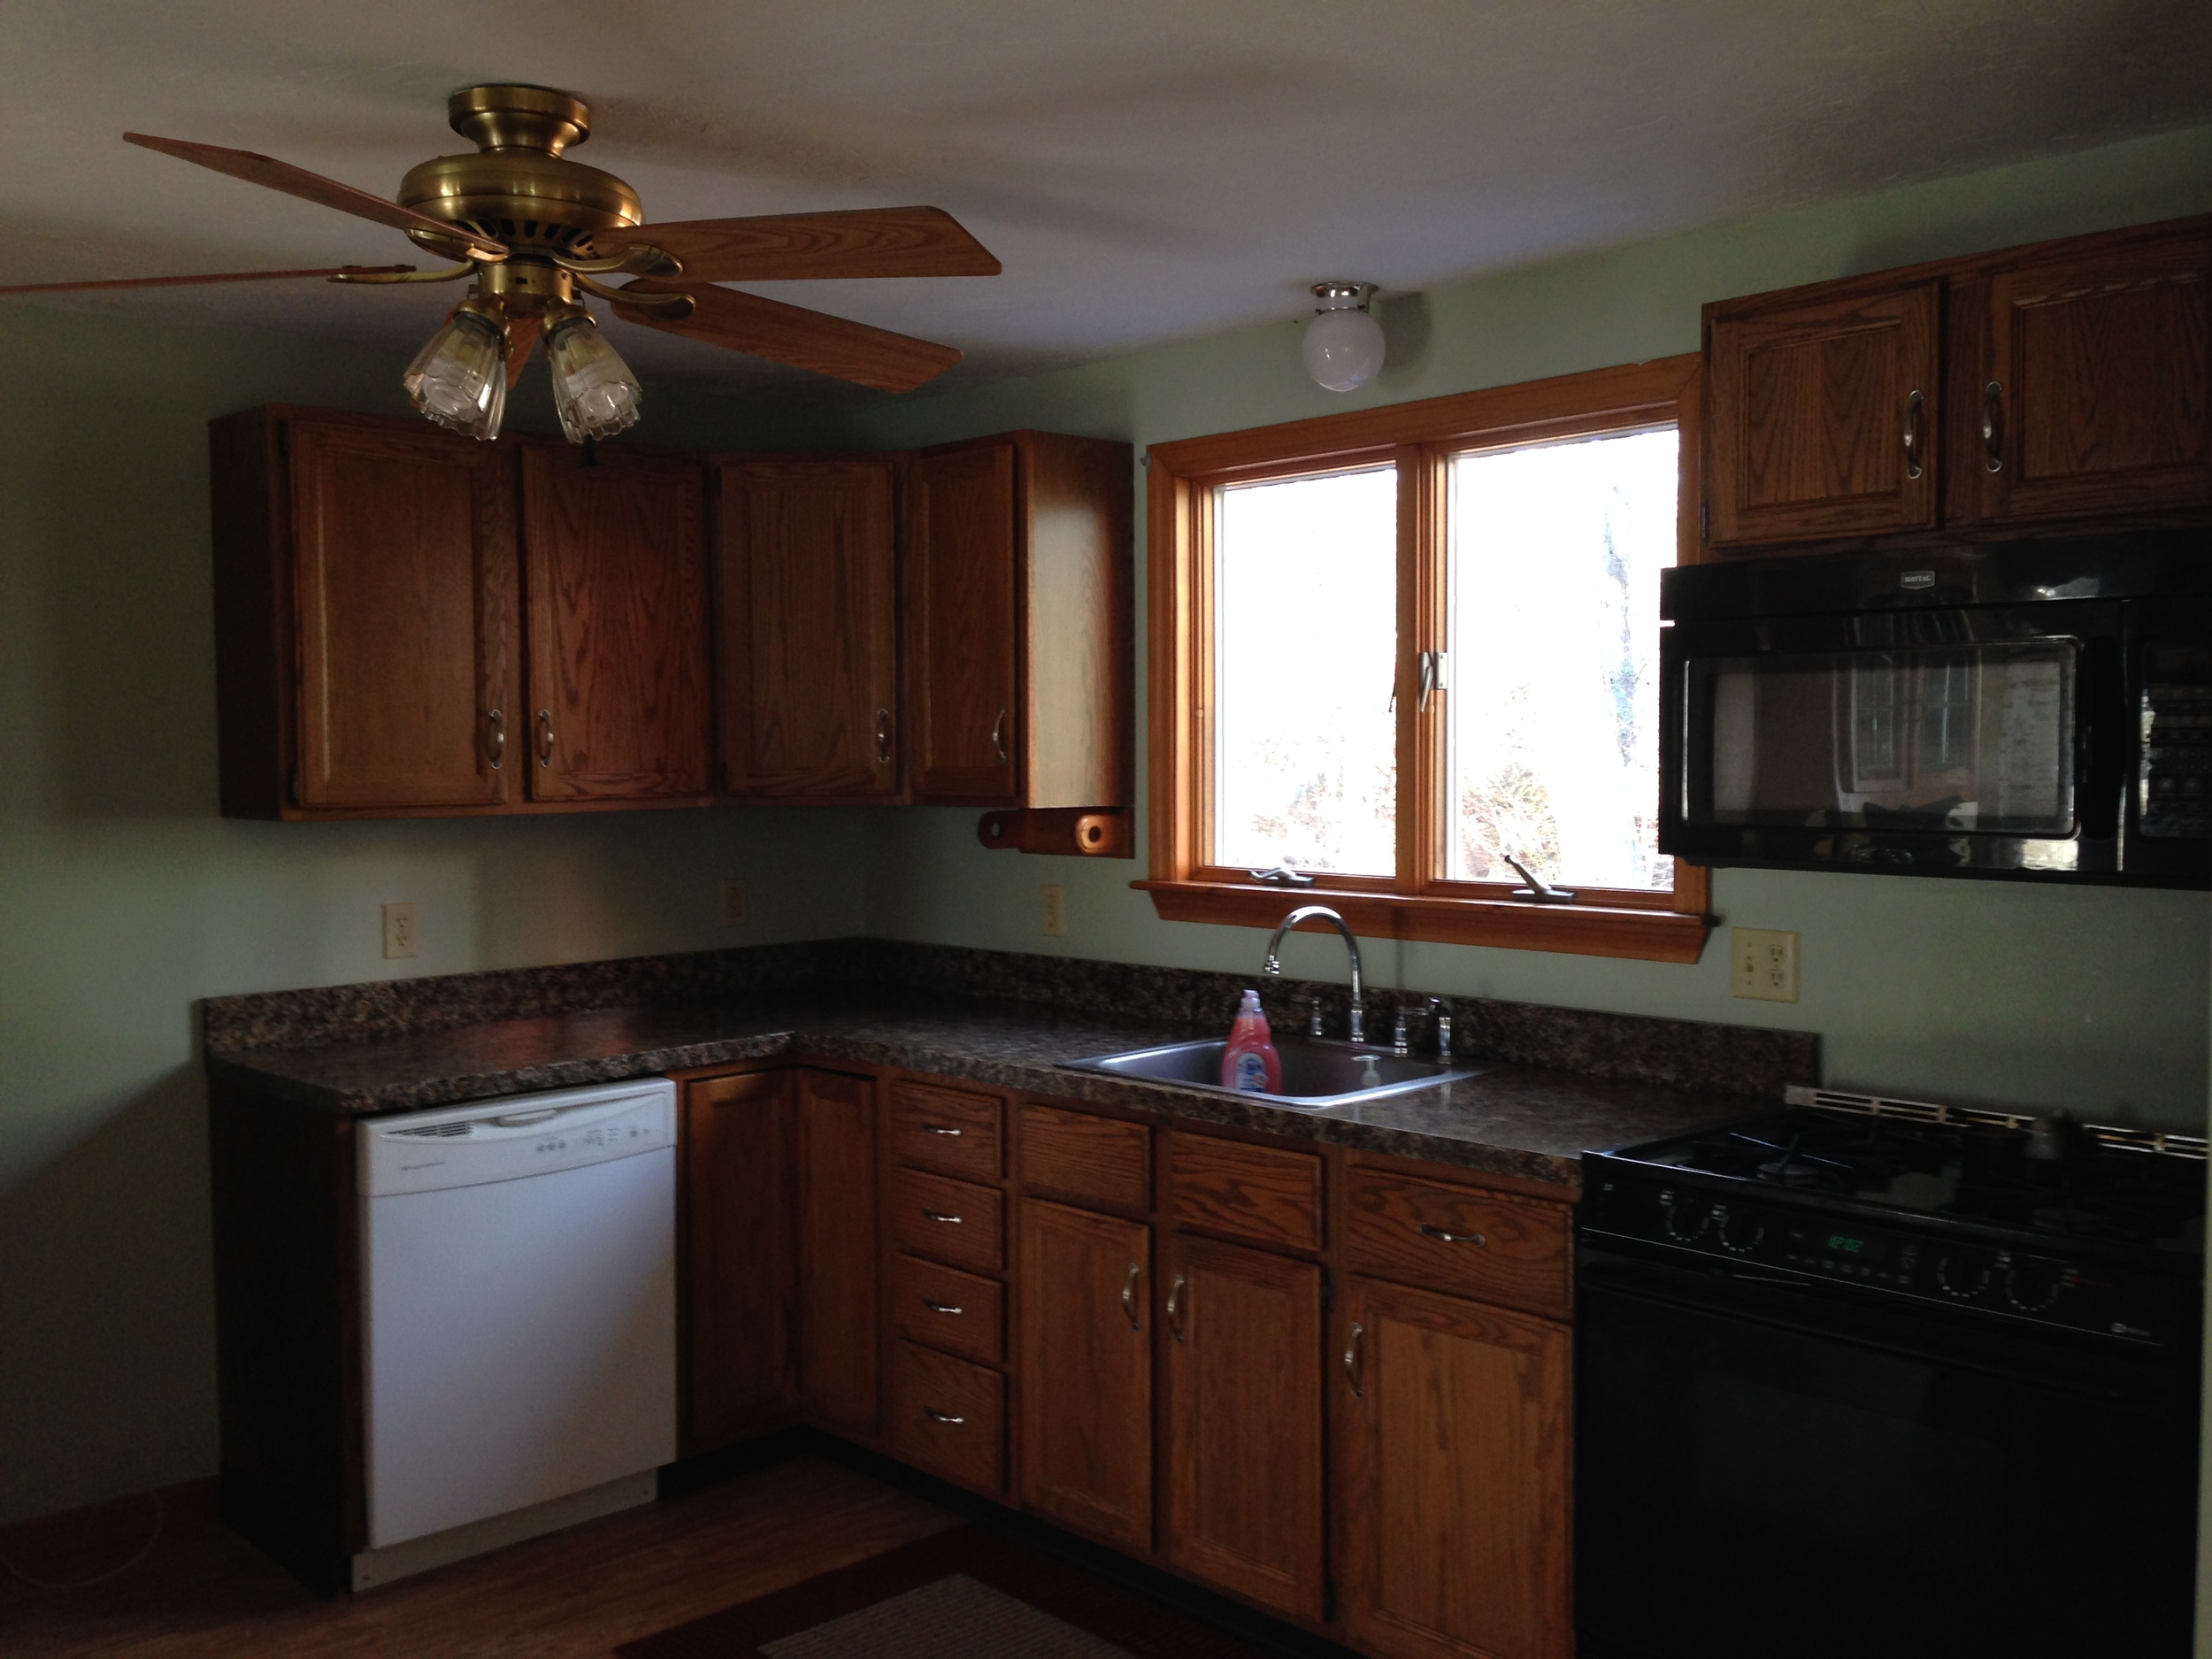
Last week’s kitchen post was such a success I was so happy to come back Part 2. If you missed last week’s post it was about how to paint your countertops to look like granite. Now with an updated counter the cabinets started to look a little worn and dated. Before even tackling the counters Jenny and Michael tried to update their kitchen simply by changing out their hardware but that was just the launching point for the whole project.
Since the counter paint had worked so well they decided to look into the Giani’s Nuvo Cabinet paint. ![]()
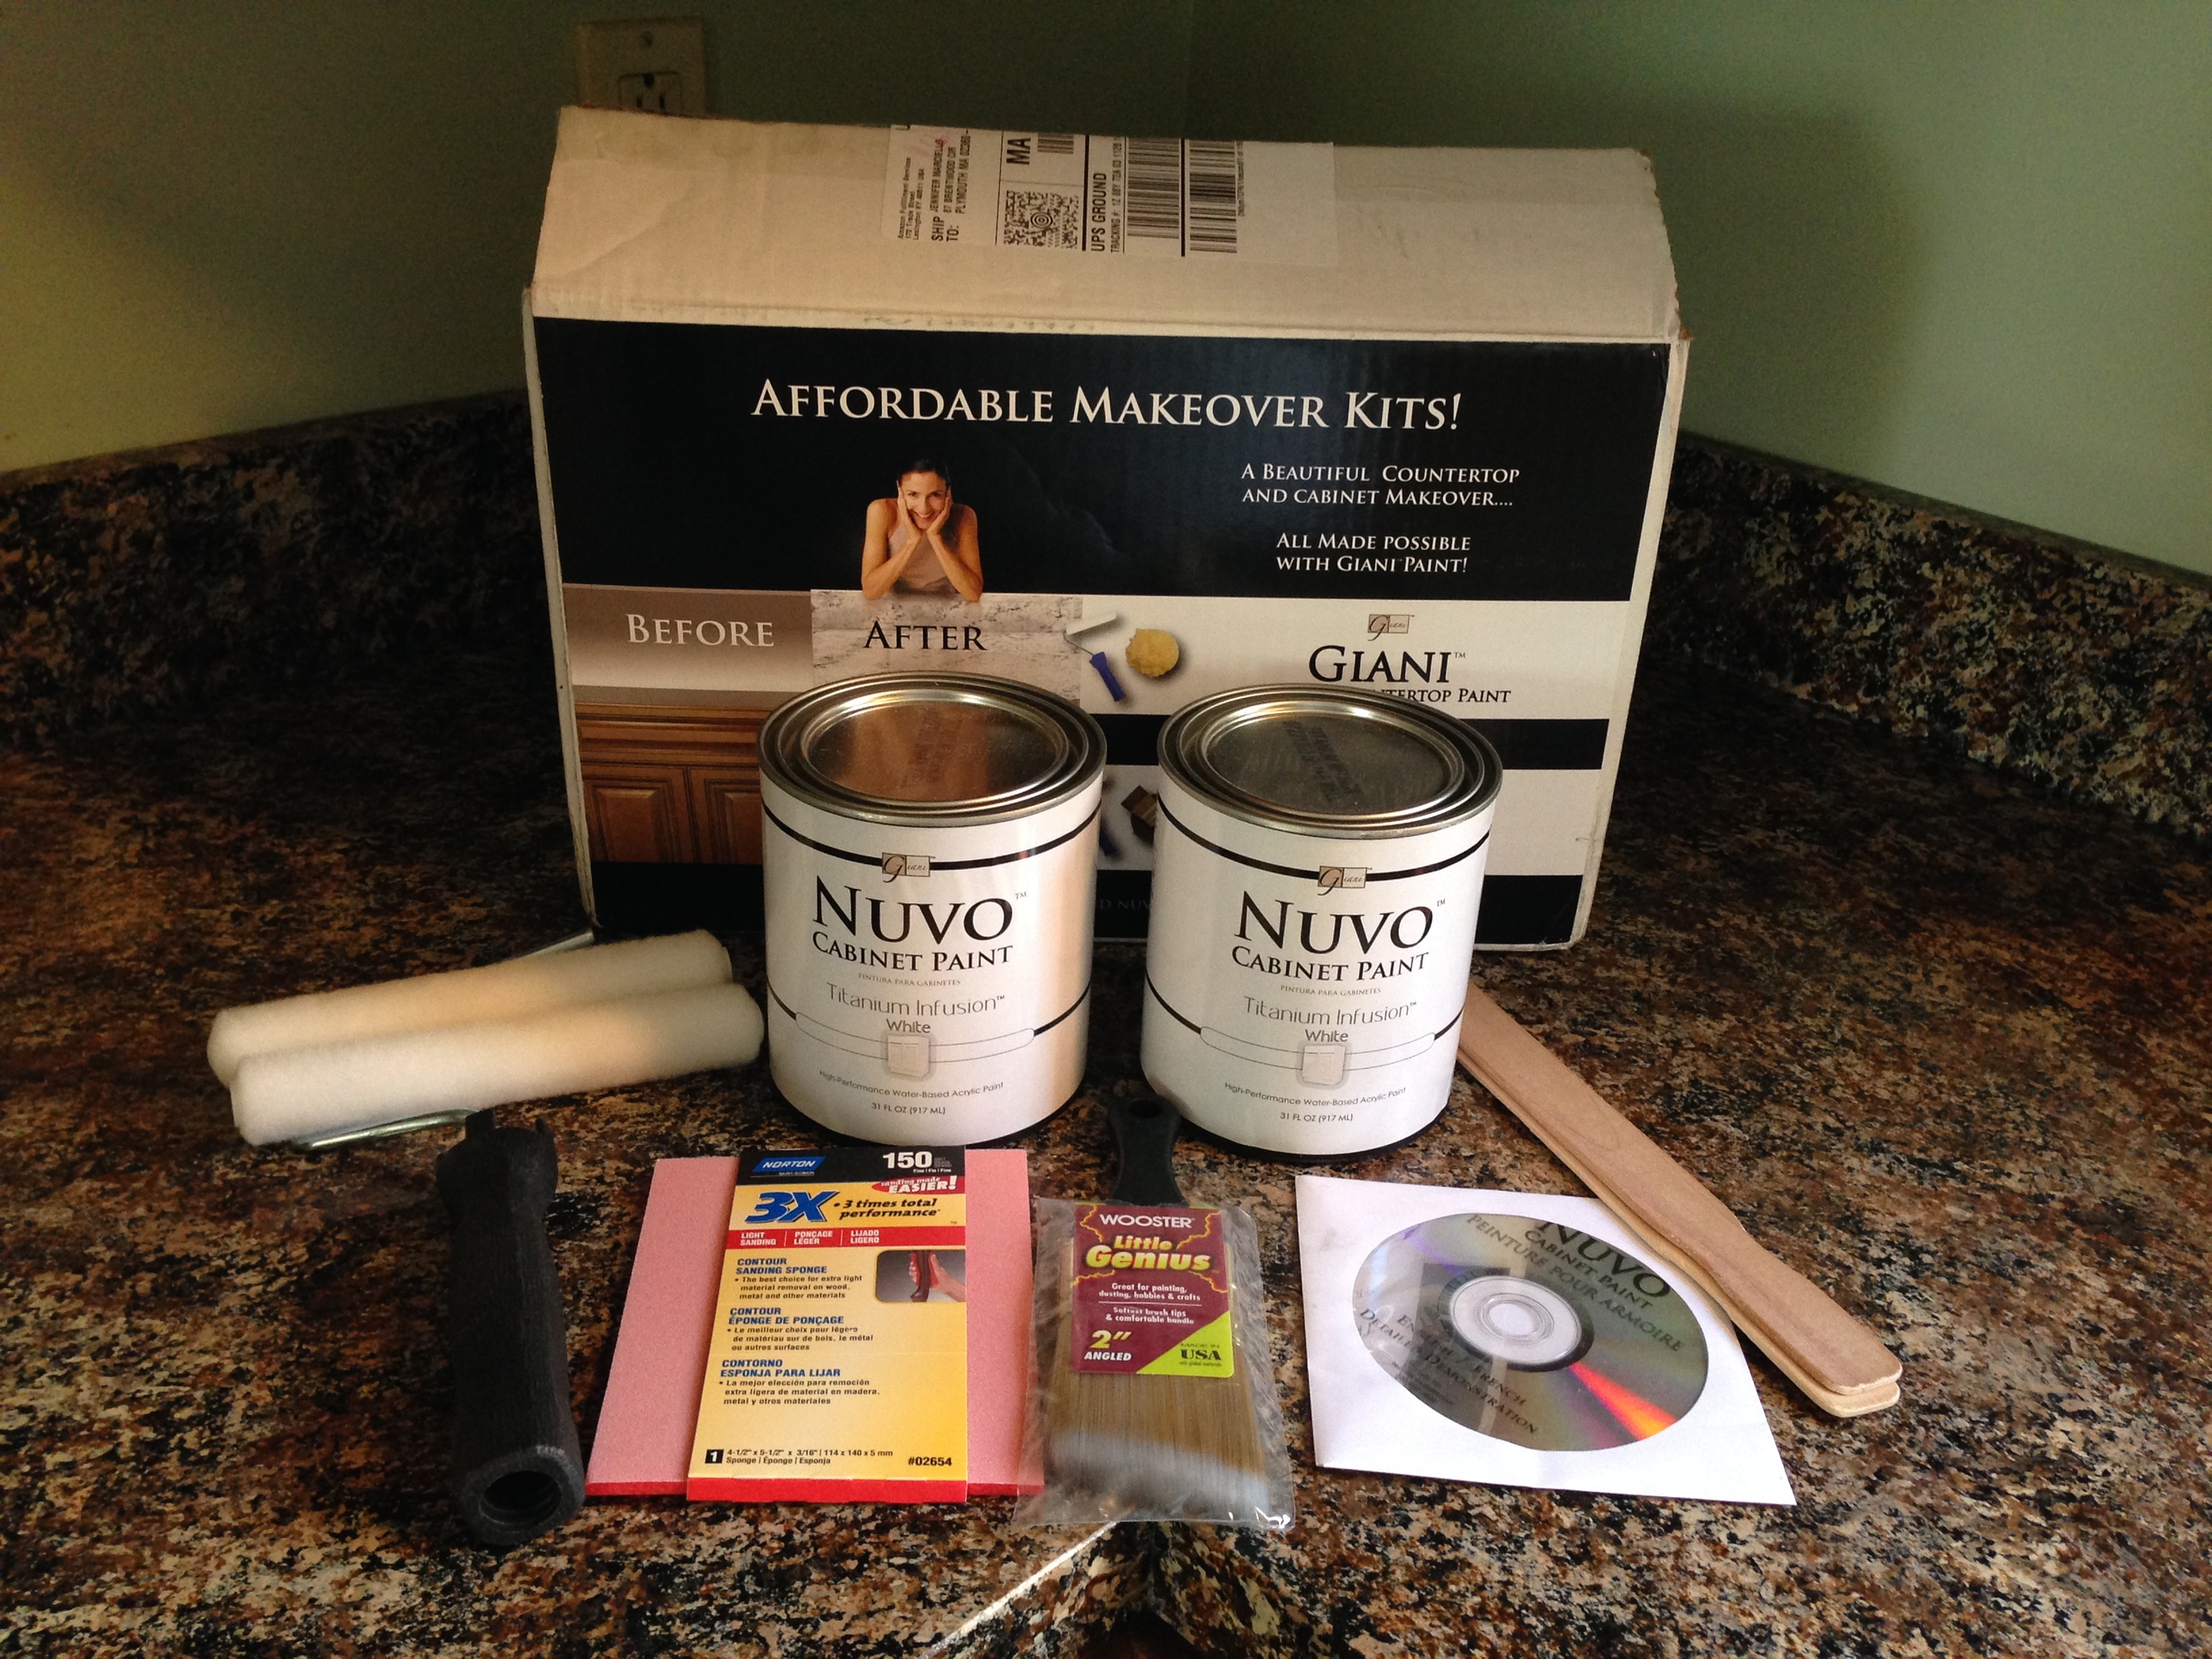
The kit was great and came with everything above including an instructional dvd. The only thing I would say is that the kit says this can all be done in one day but it took us a few days. The reason we chose to purchase the Giani Nuvo Cabinet Paint was because we were intimidated by having to sand kitchen doors down and this was really a no sanding kit (besides slightly hand sanding the sides of the cabinets).
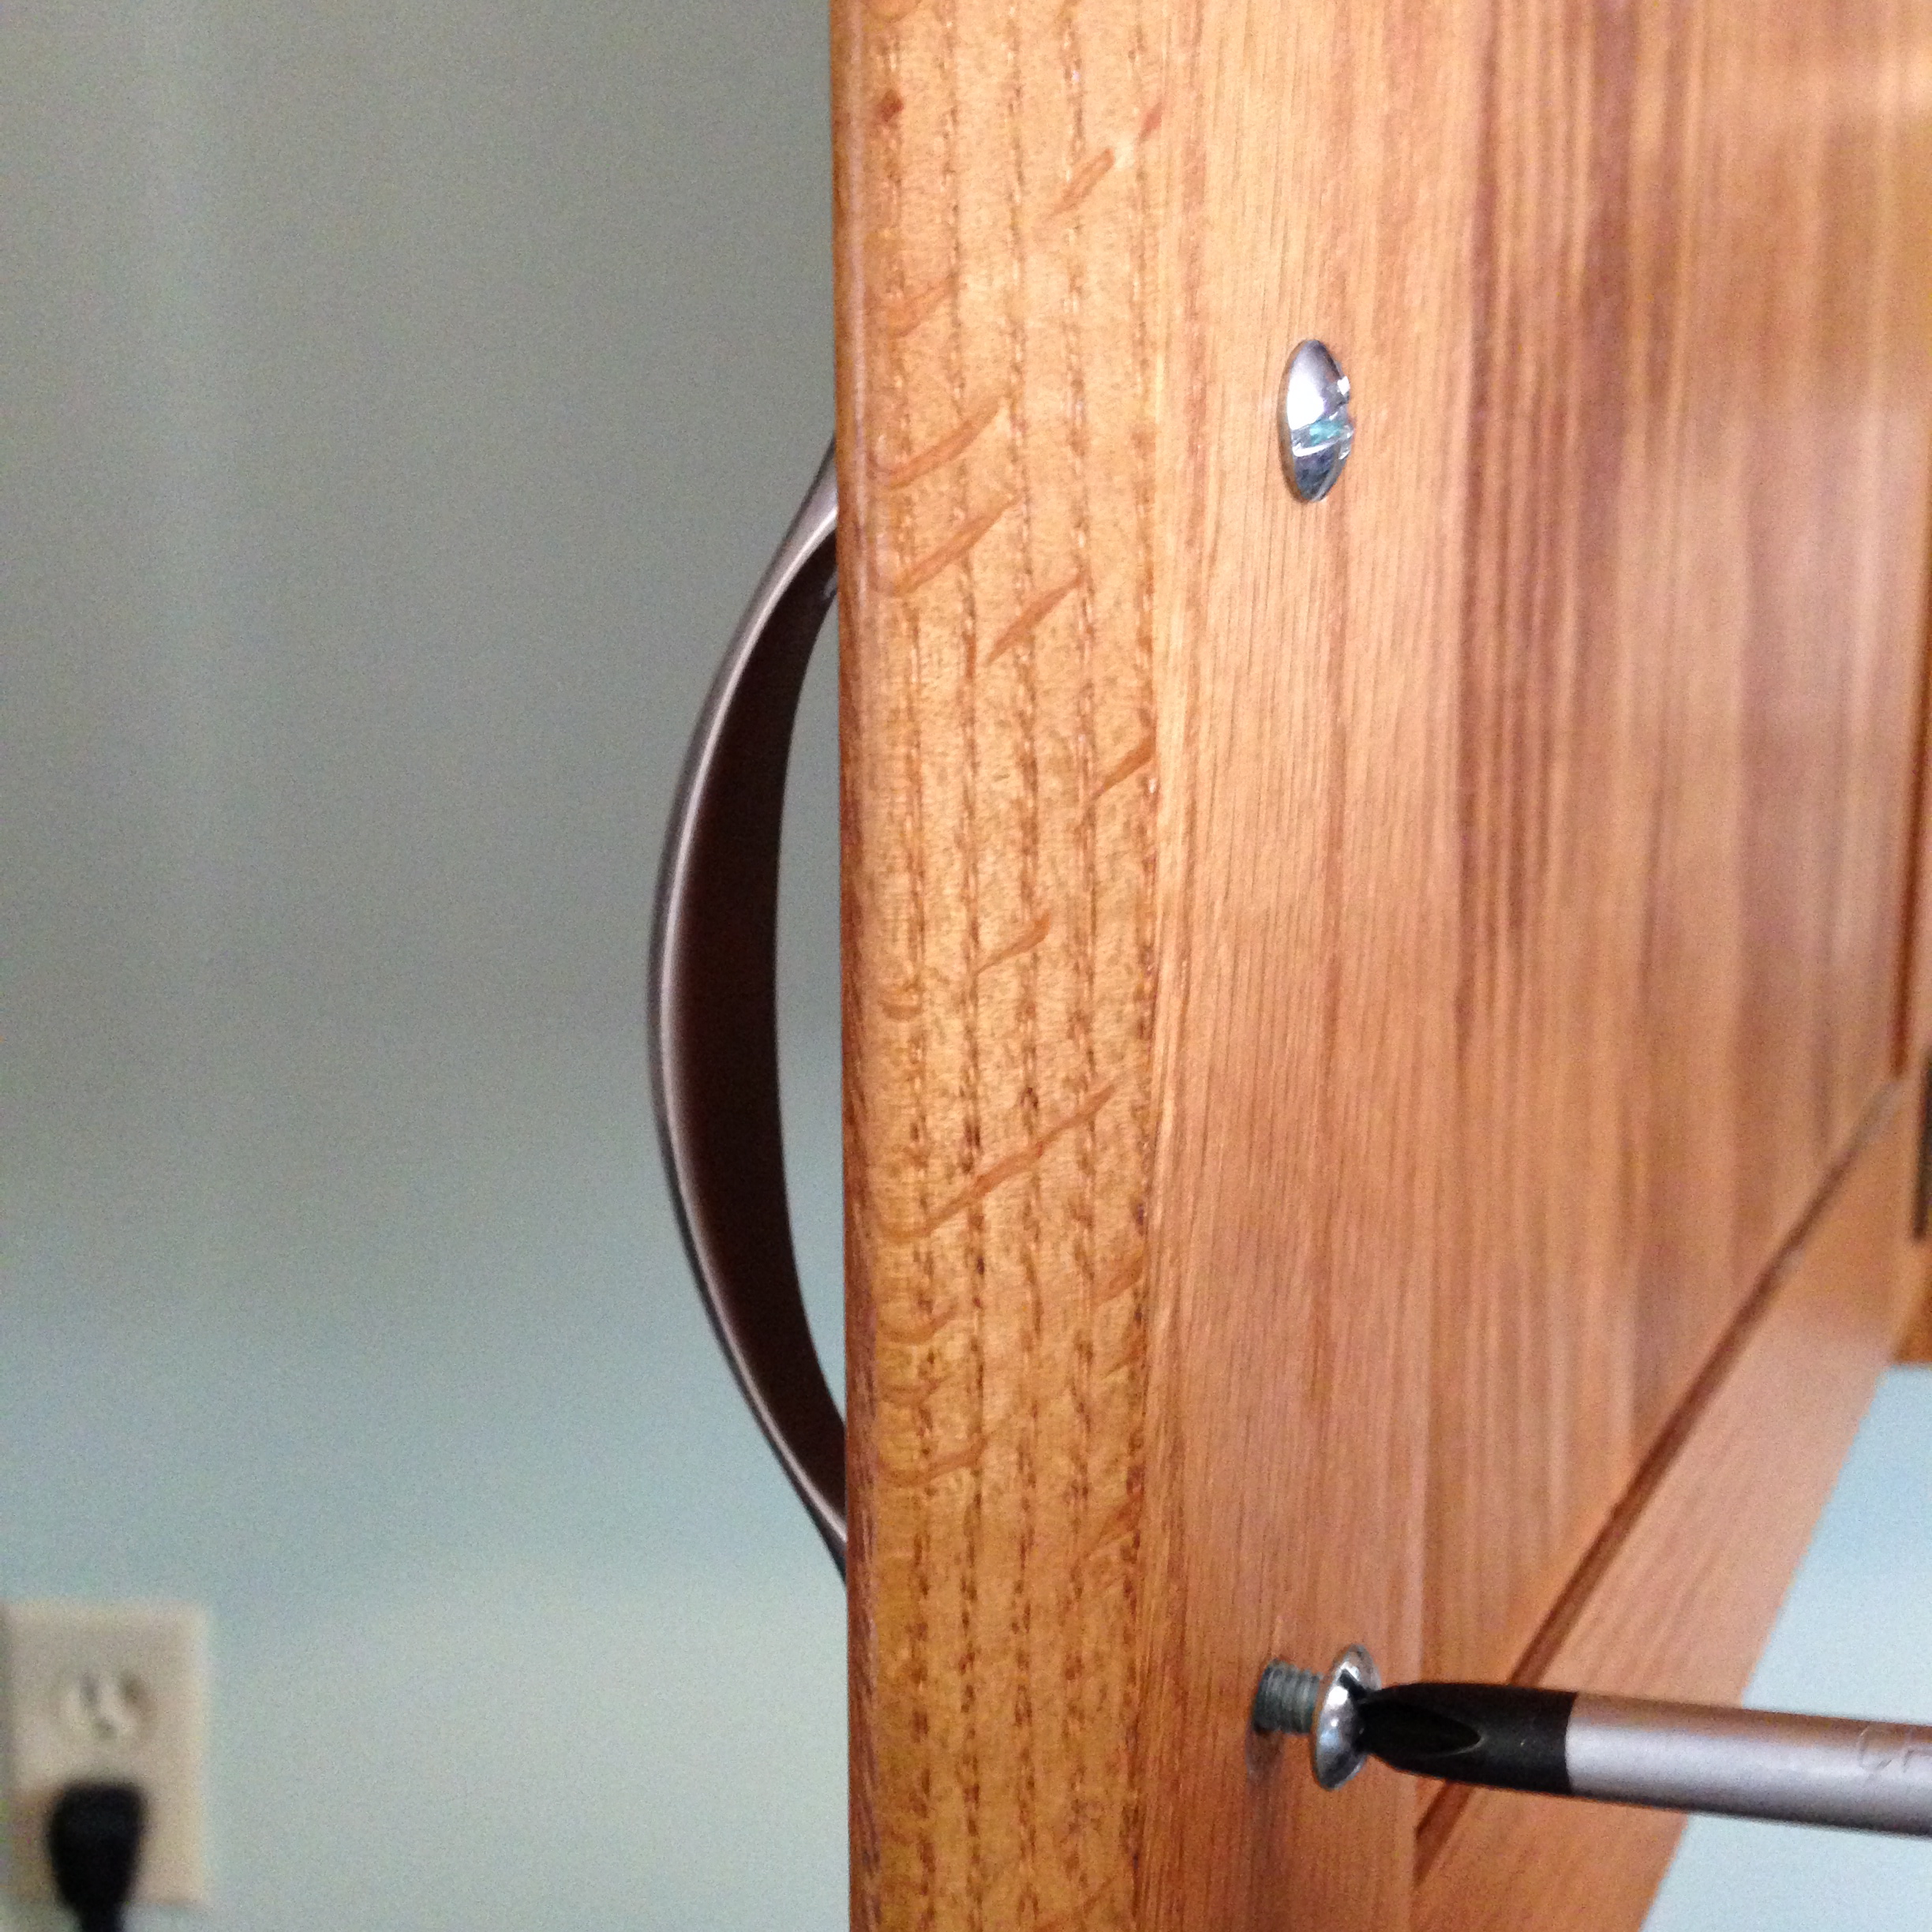
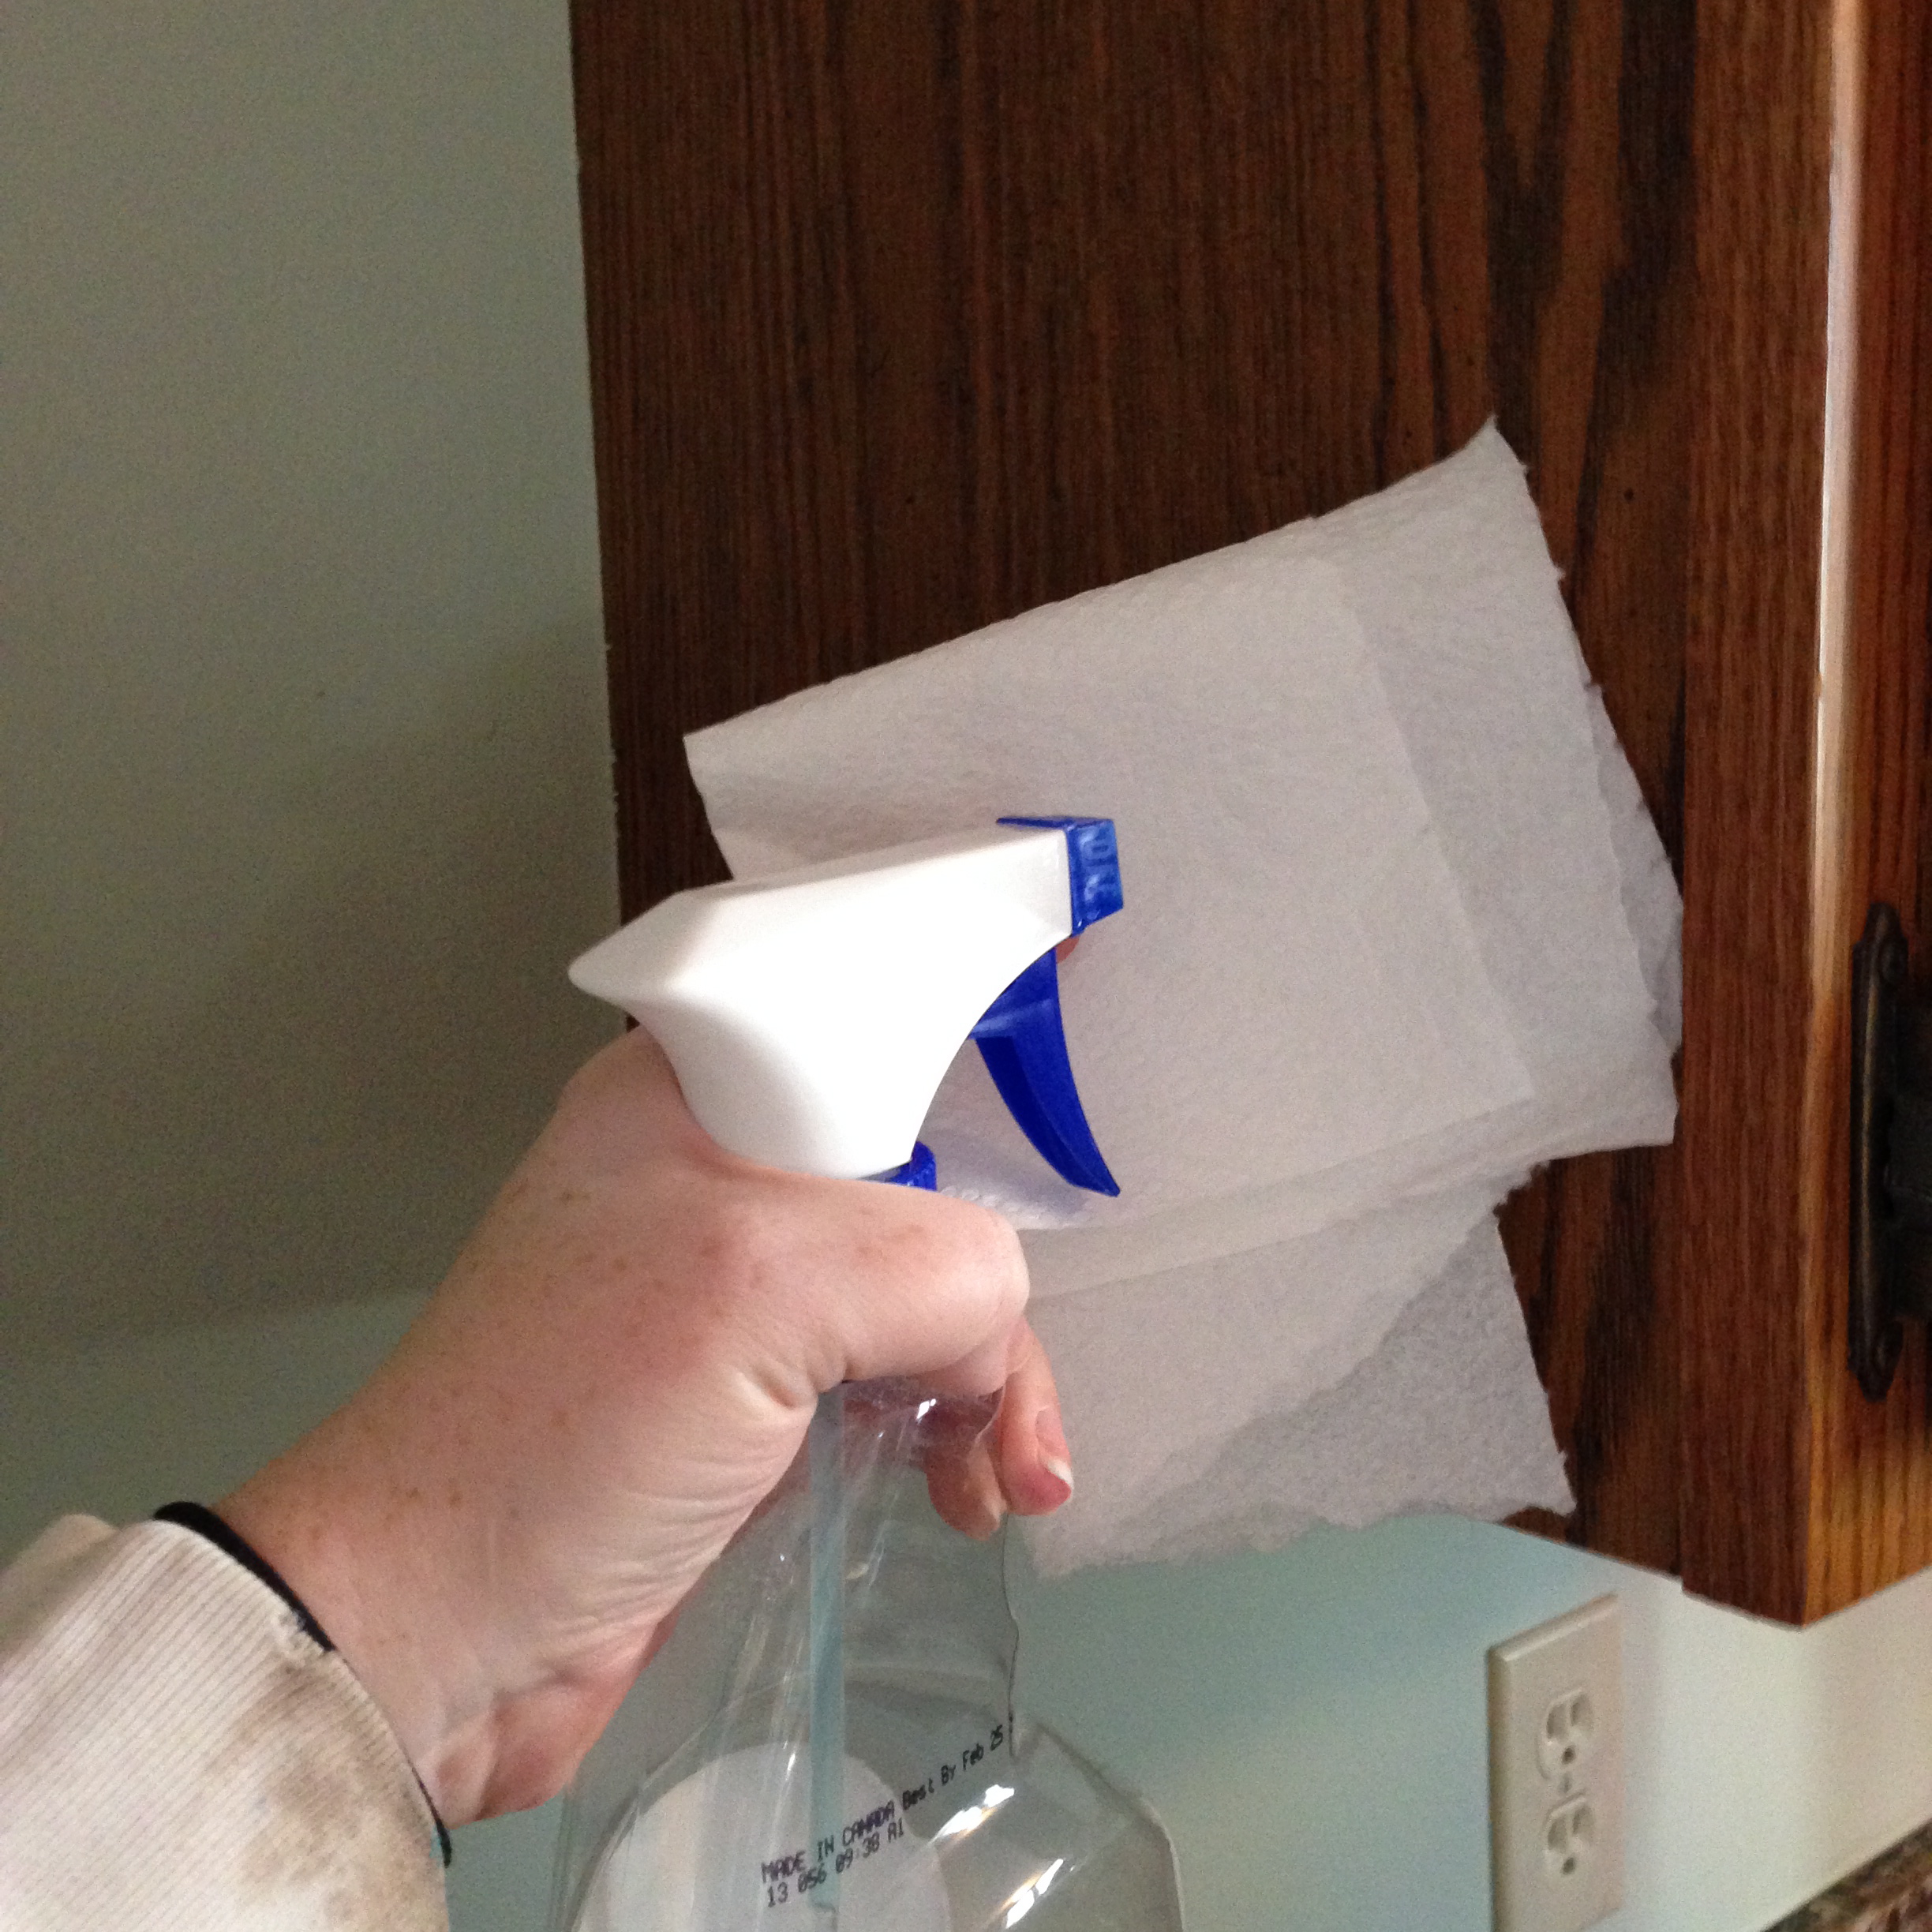
We started out with some prep work taking all the cabinet hardware off and cleaning all the cabinets with windex before painting.
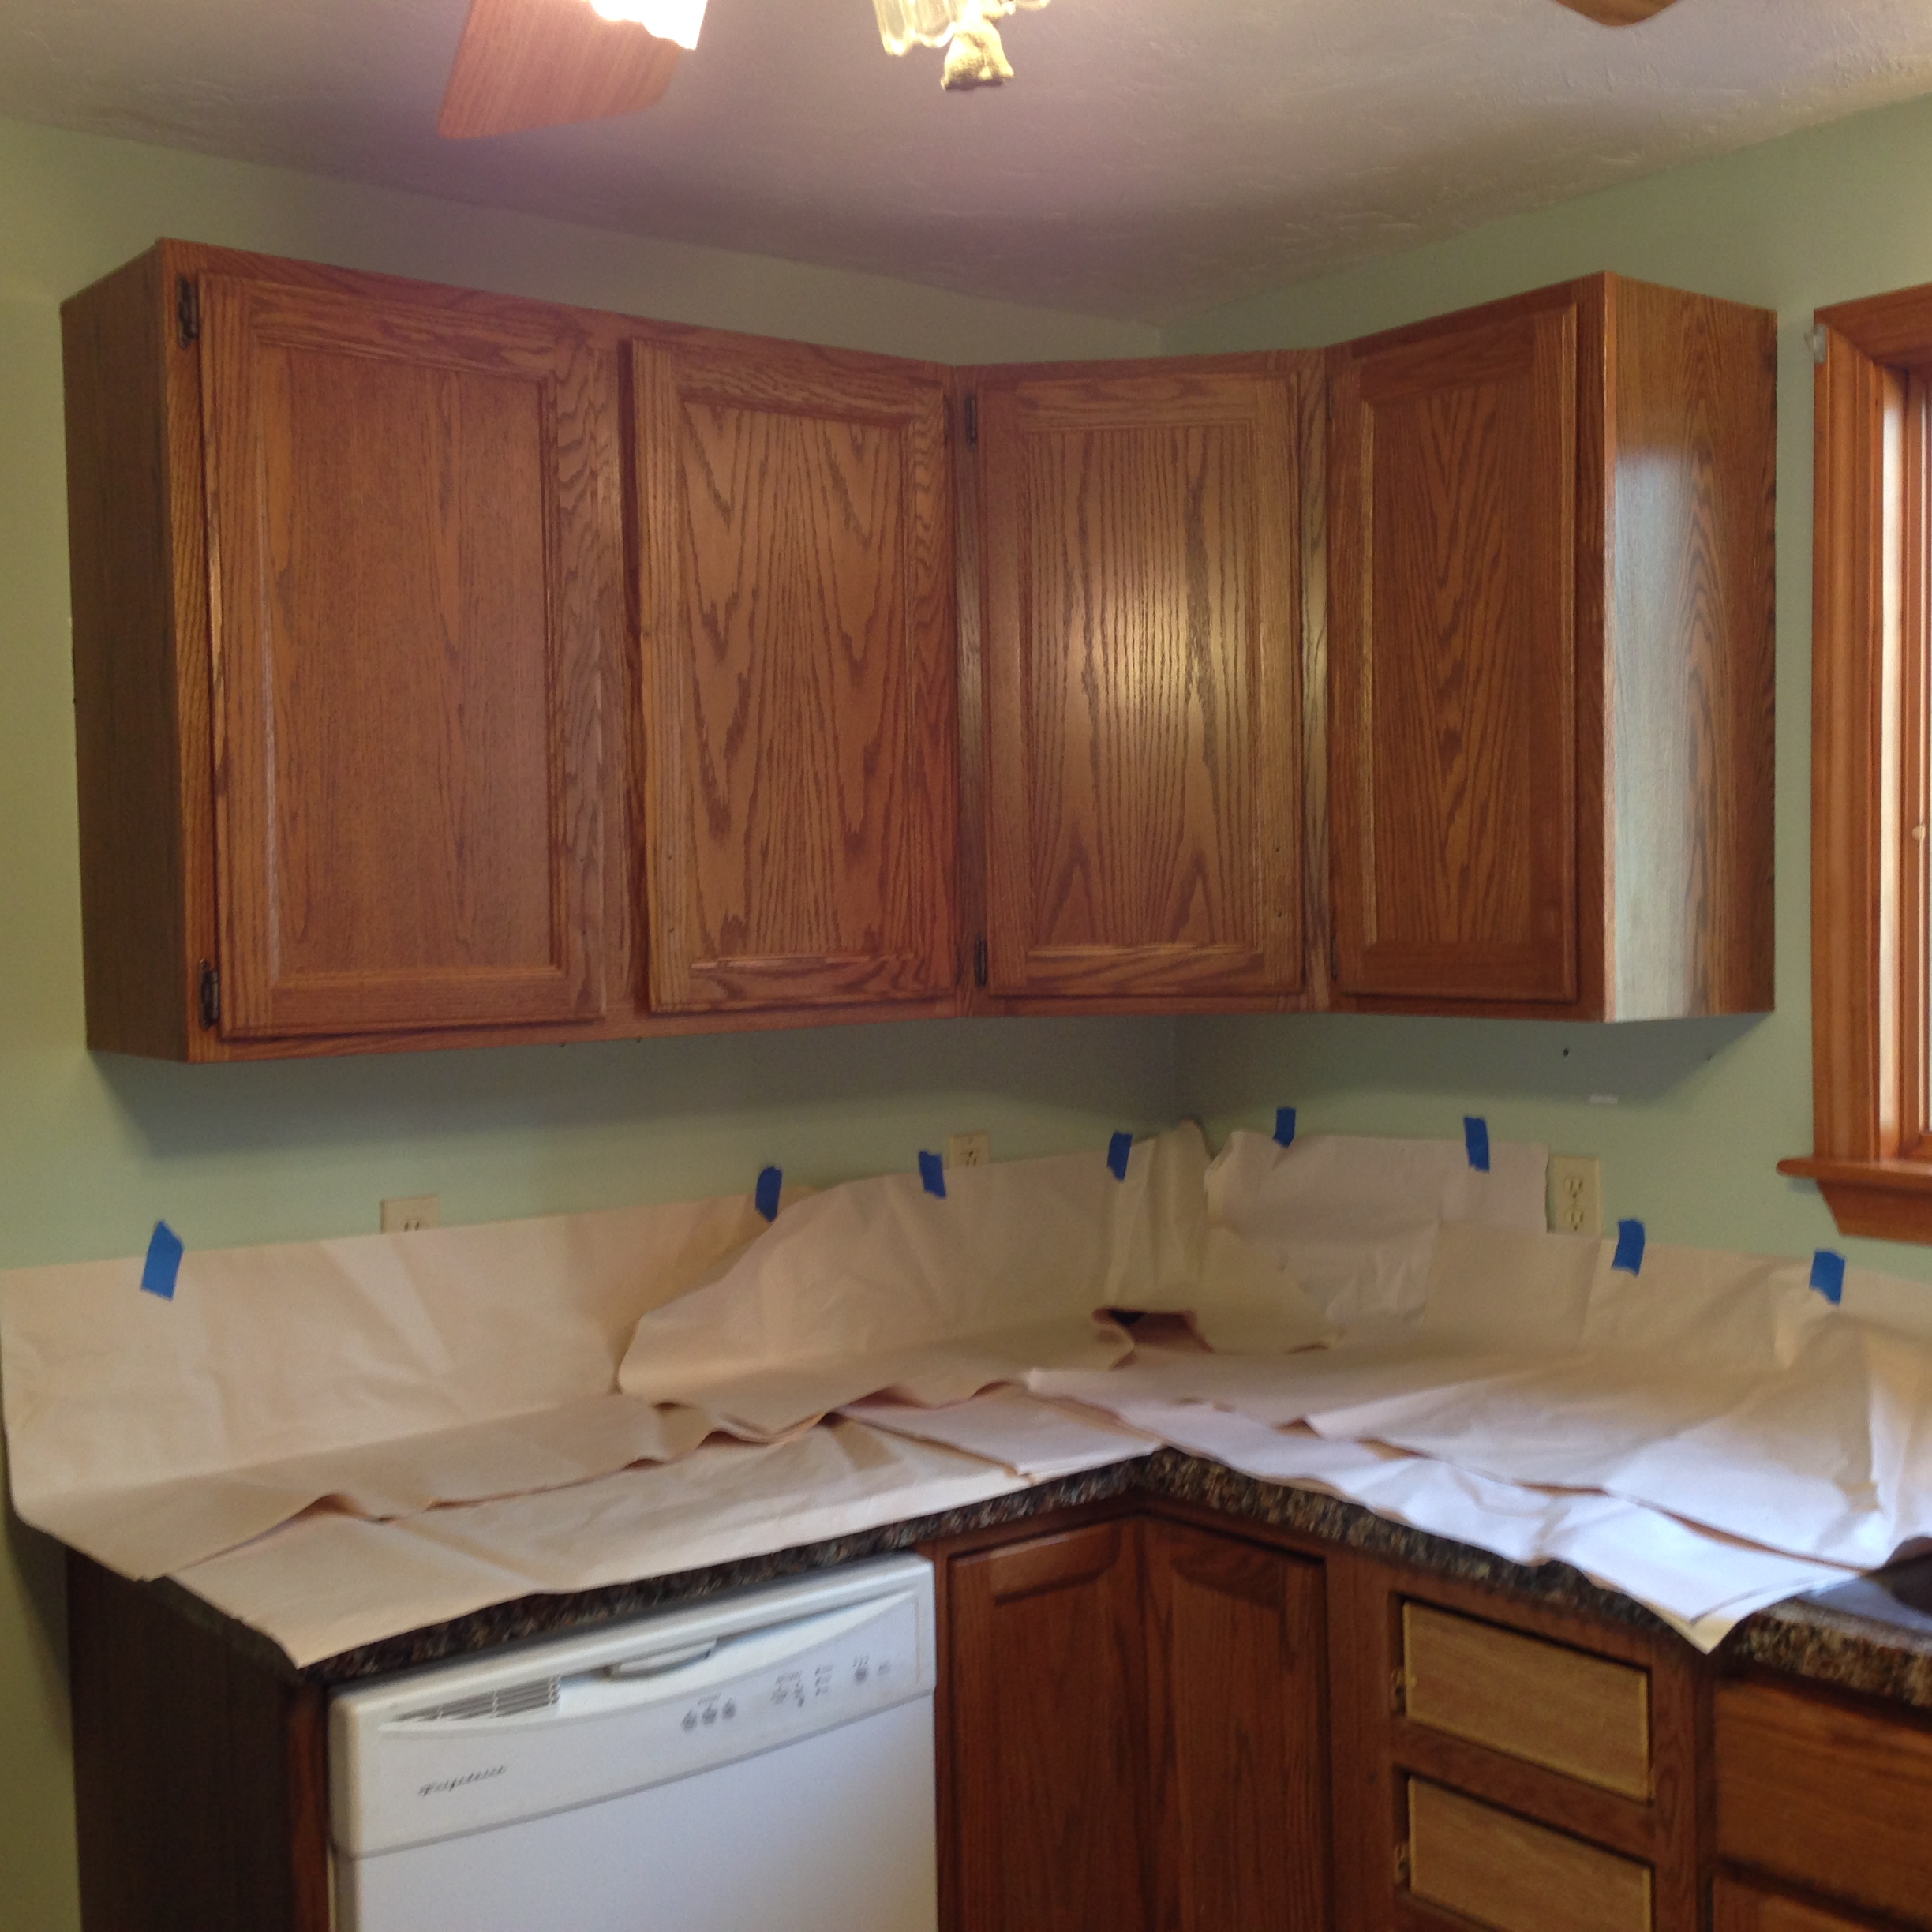
Now we just let our counters cure for 14 days so you bet we are protecting those!
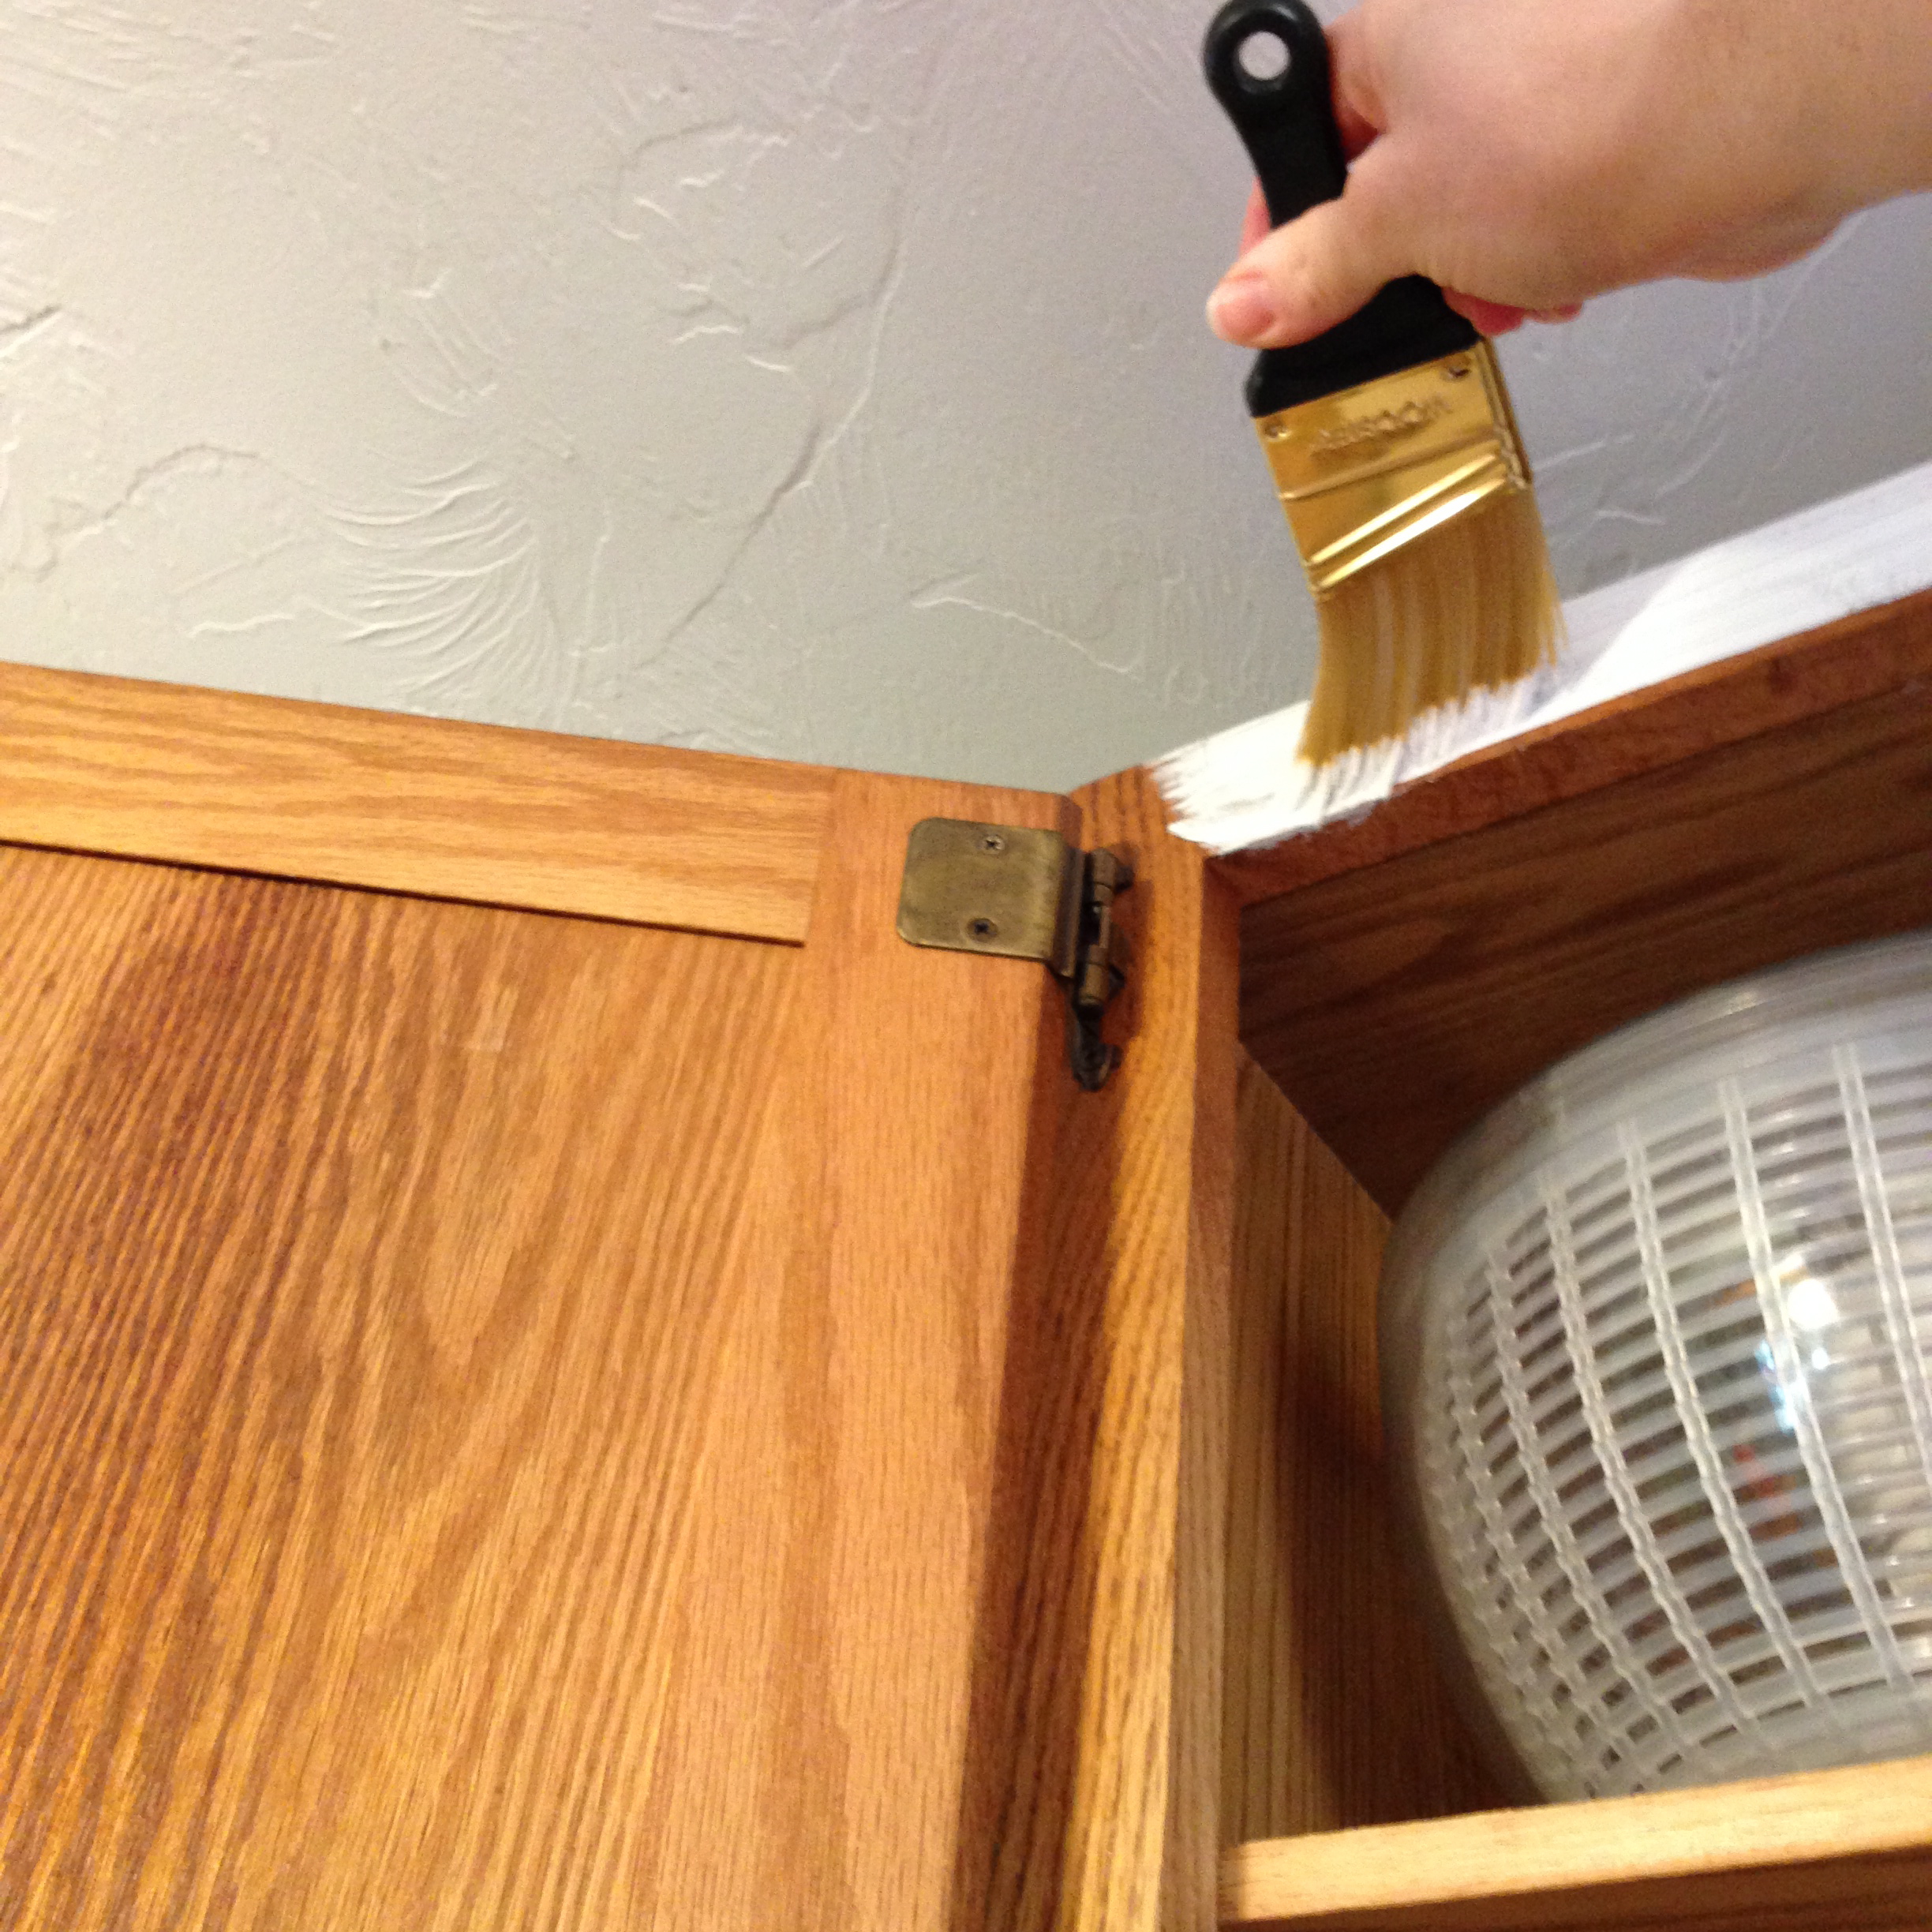
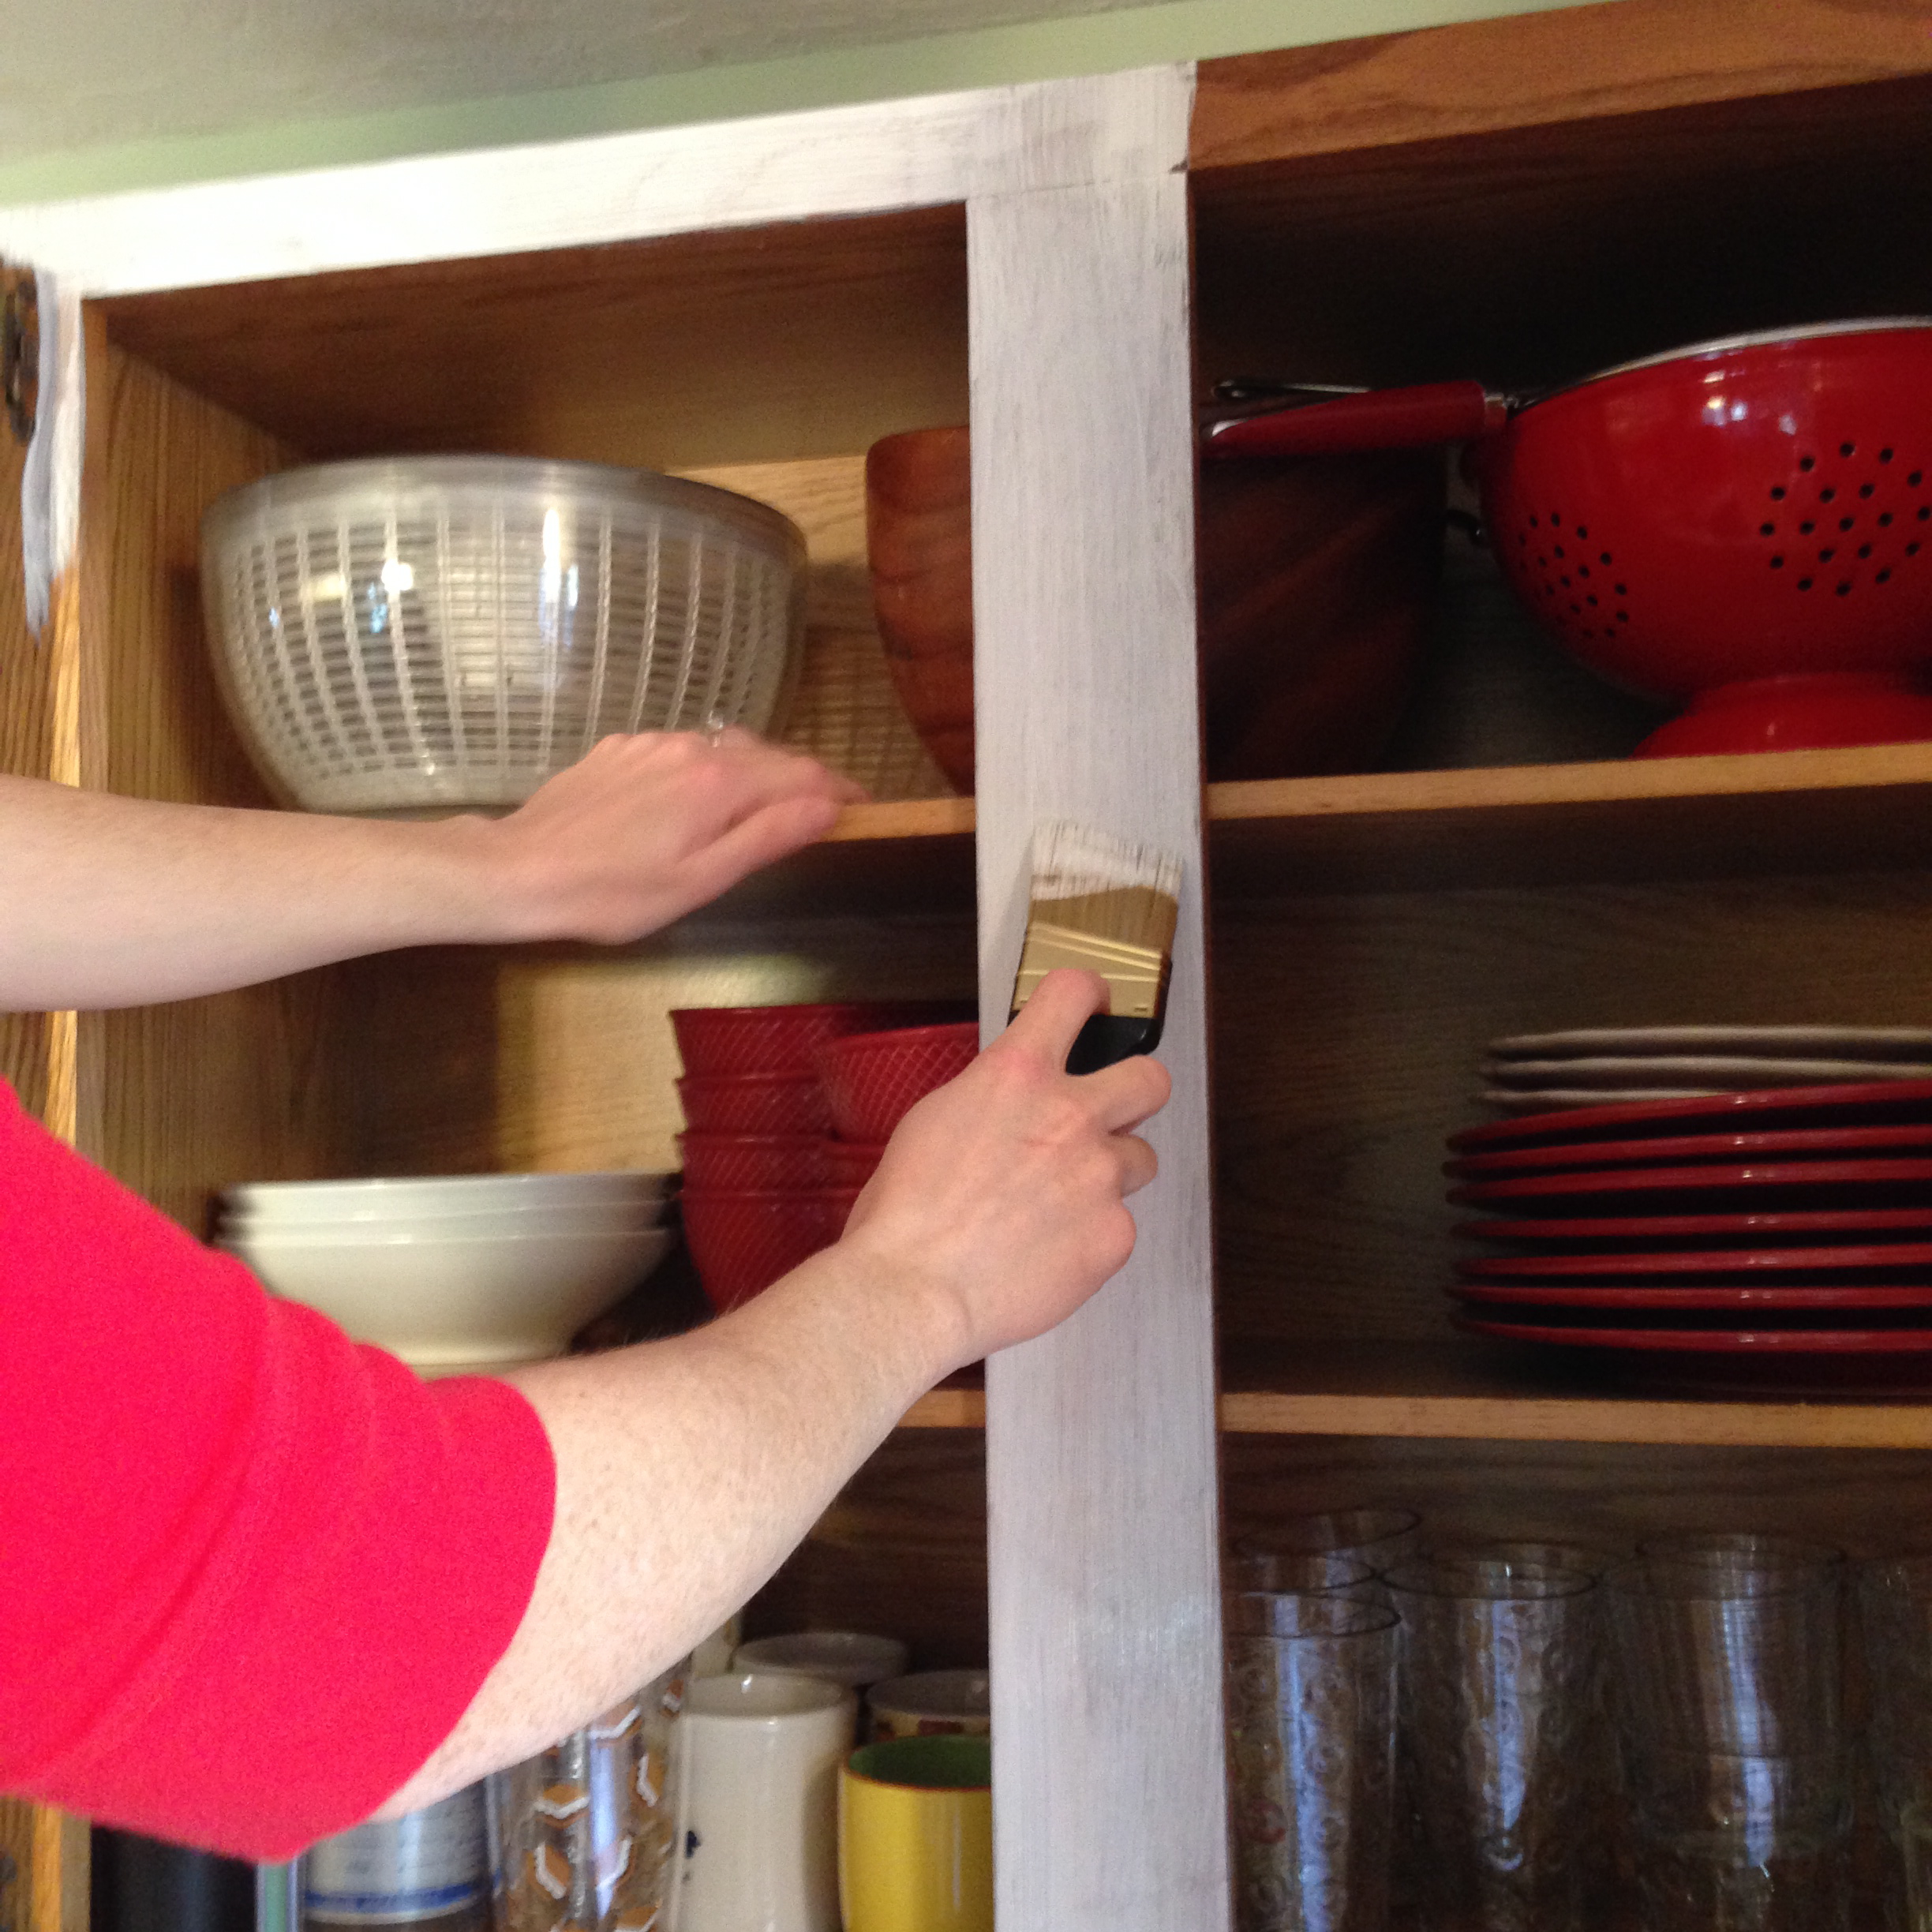
We started with the insides of the cabinets and actually went out and bought another angled brush so two of us could paint at the same time. This kit was so easy that we even left everything inside of the cabinets.
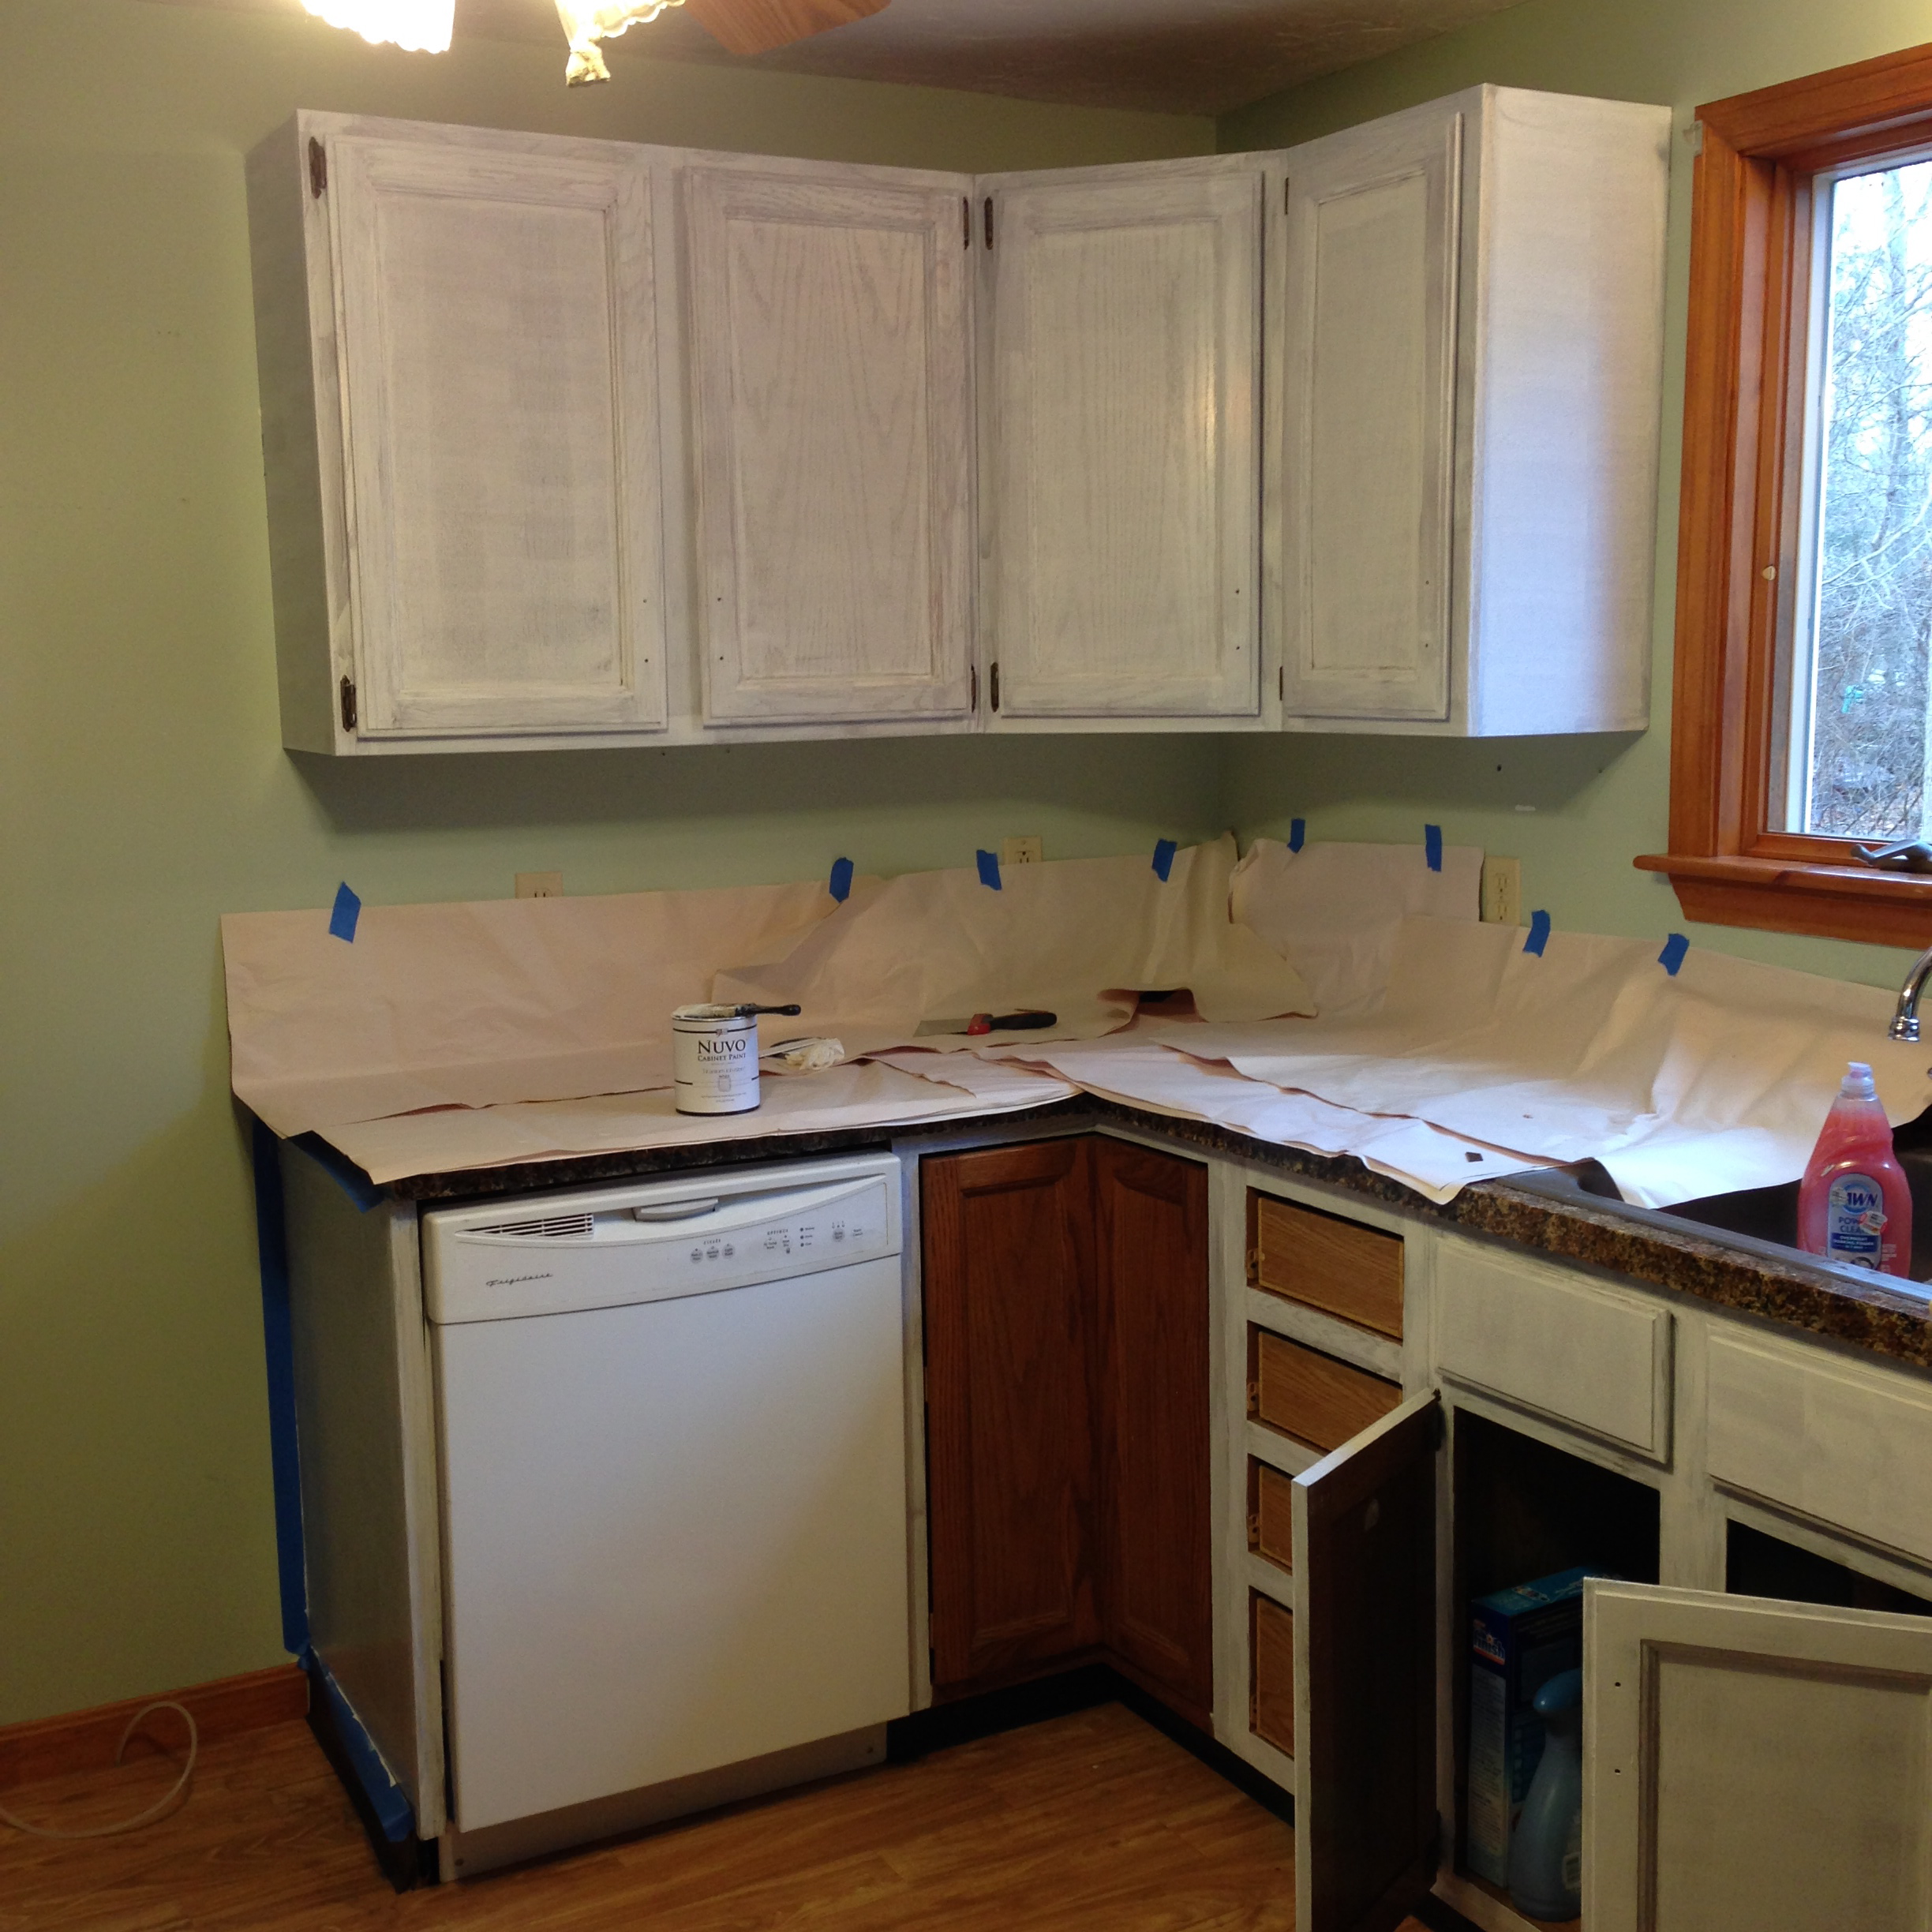
This is how the kitchen looked after the first coat of paint. In the end we actually ended up putting on three coats. With this being a fairly small kitchen we still had leftover paint.
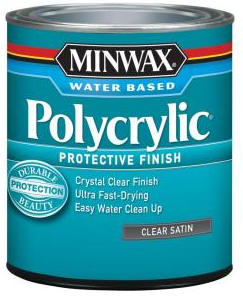
After the three coats of paint dried we decided to apply a clear coat to the cabinets. Now this did not come with the kit but we had read online that if you want the cabinets to with stand the test of time it was a good idea to use a Polycrylic finish.

Tada! What a difference a little paint make. The kitchen looks more up to date and modern! Just wait until you see next week’s backsplash! Stop back on April 17th for the full unveiling and a giveaway!


Wow, if this keeps you from having to sand down the cabinets first, that’s pretty amazing. Your kitchens looks fresh and beautiful. Thanks for this tip! -Dawn @ We Call It Junkin.comHistory & Home link party, Tue-Fri, weekly
What an amazing difference the paint makes in the kitchen! The counters and cabinets are really striking. We’ve just moved into our new home, and the cabinets are still in good shape, but unattractive. We’ve chosen a color similar to yours to really brighten the kitchen. Did you find it hard to paint around the cabinets with the doors still attached? I’ve always taken the hardware off the doors and drawers, and also taken the doors off the cabinets. Visiting from Thrifty Thursday!