This post contains affiliate links, please read our disclosure policy.
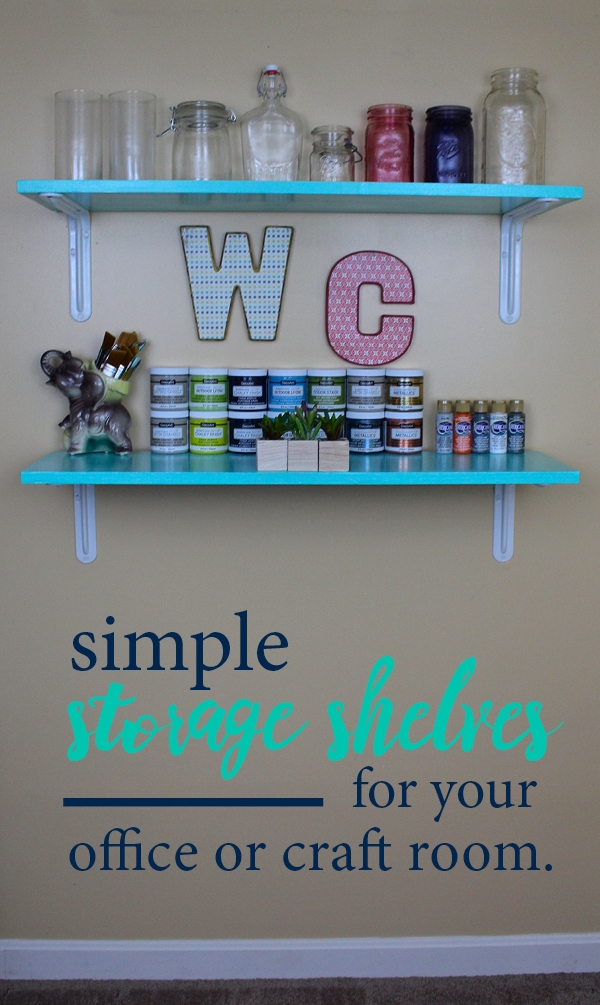
Over the long weekend I finally got down into my craft room and what’s the first thing I did? I made simple storage shelves for my craft room. I was at home depot grabbing stuff for my kitchen renovation and in the back of my head I knew I needed additional storage to organize the space. I wandered into the storage/organization aisle and made a couple of passes wondering what would be best for the space. I have a lot of small containers of paint and a lot of vases and jars. I liked the idea of shelving but the laminate shelving left much to be desired. For the cost of a shelf I knew I could cut and paint my own. So I grabbed brackets and headed over to the lumber department.
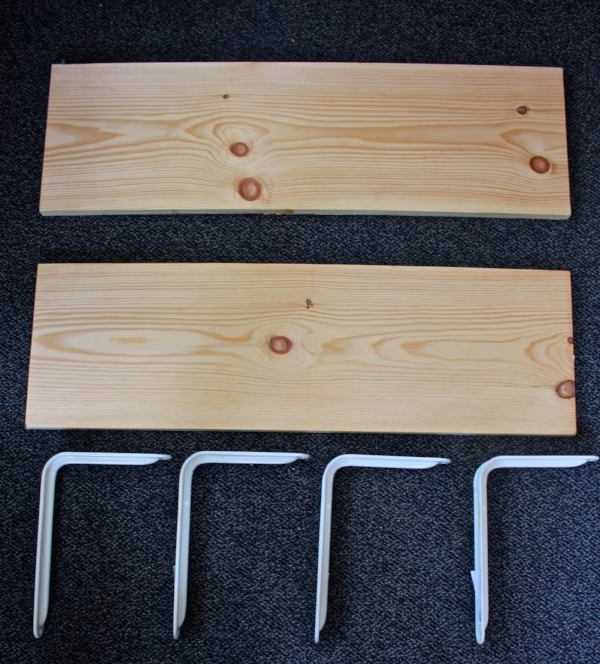
While in lumber I compared the cost of pine and common board. Needless to say I picked up a 1×12 6ft common board. I had close to 4.75 ft where the shelves could live so I had the board cut in half to 2 3ft boards. Did you know in the lumber department you could get them to cut wood for you? I often do this so I can fit it in my car. But since I had all my kitchen cabinets drying on my workbench I had them cut it to size. This is a great solution if you don’t have the tools at home to cut it yourself or if you just want to skip a step.
![]()
What you’ll need
- 12 inch shelf brackets
- 1 x 12 6 ft common board
- Stain Blocker
- Paint Maxx Gloss
- 1 5/8 inch drywall screws
- 1 inch drywall screws
- Painters Tape
- Measuring Tape
- Level
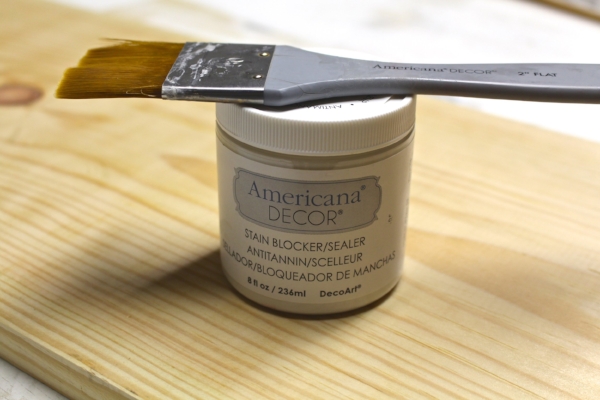
Since I am using raw wood I treated it with stain blocker. This will block the grain and knots of the wood from showing through the wood.
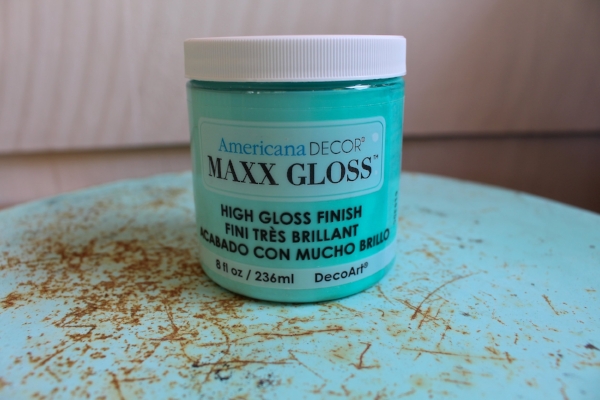
Now I struggled a bit with how I wanted to treat the wood. Part of me wanted to stain the wood but there are already a few different color woods going on in the finished basement so I decided to go with the accent color I’ve been using. Which of course is a teal. Now I wanted the shelves to be a high gloss and durable for everything I am going to pile on them. I decided to go with Maxx Gloss in the color Aqua Waters.

Two coats on each side and you have 2 shelves ready to hang.
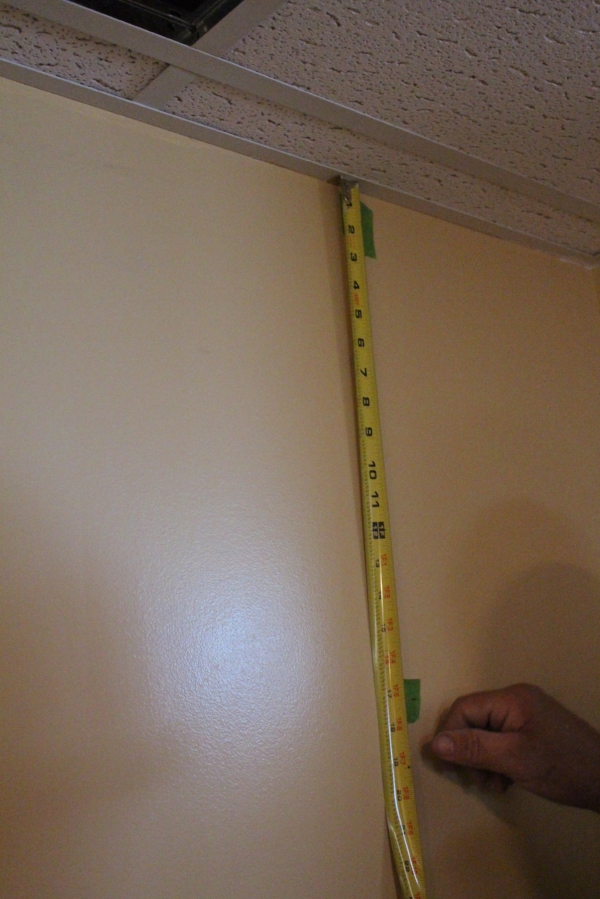
Now the trickiest part for me is always hanging things. Make sure you have your tape measurer, painters tape and a level. First things first find your studs. Since this shelf was going in my finished basement I was able to pop up the ceiling tiles and see where the studs were. If this is not an option you can always use a stud finder. I like to mark the studs with painters tape once I find them. Then measuring down to where you would like your first shelf and mark it again with painters tape. Now here is a trick I learned from my dad. Before you start screwing into the wall take a trimming nail and make sure you hit the stud just where your screws are going to go. This way if you miss the stud it’s a tiny hole.

Screw your brackets into place with your drywall screws. I didn’t worry about the color of the screws because the brackets came with white stickers to hide the screws. A tip for hanging your brackets after you screw in the first hole use a level to make sure the bracket is level when you screw in the remainder of the holes. This will help your shelf be level. Do the same on the other side.
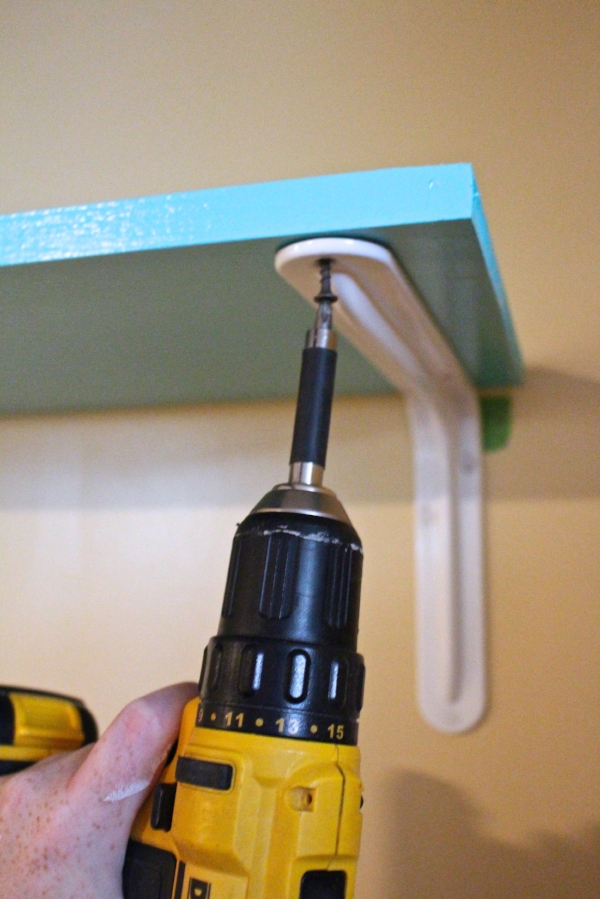
Using your 1 inch screws slowly screw through the bracket hole into the board. If you are not comfortable screwing straight into the hole you can also drill a pilot hole. Make sure the the screw does not go all the way through the board or split the board. There you go you have a shelf. Just repeat another time and you will have two!
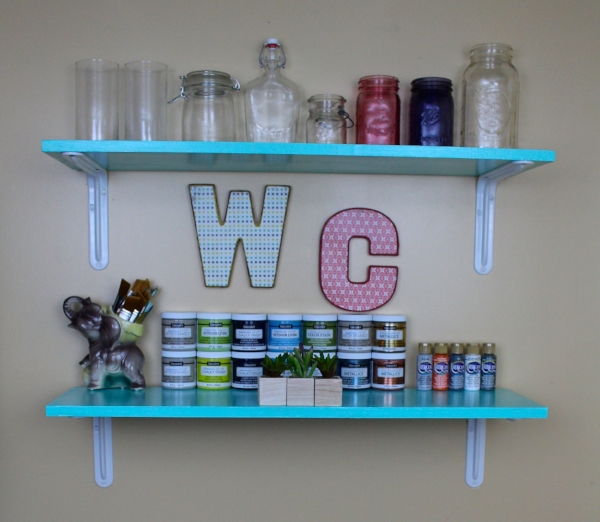
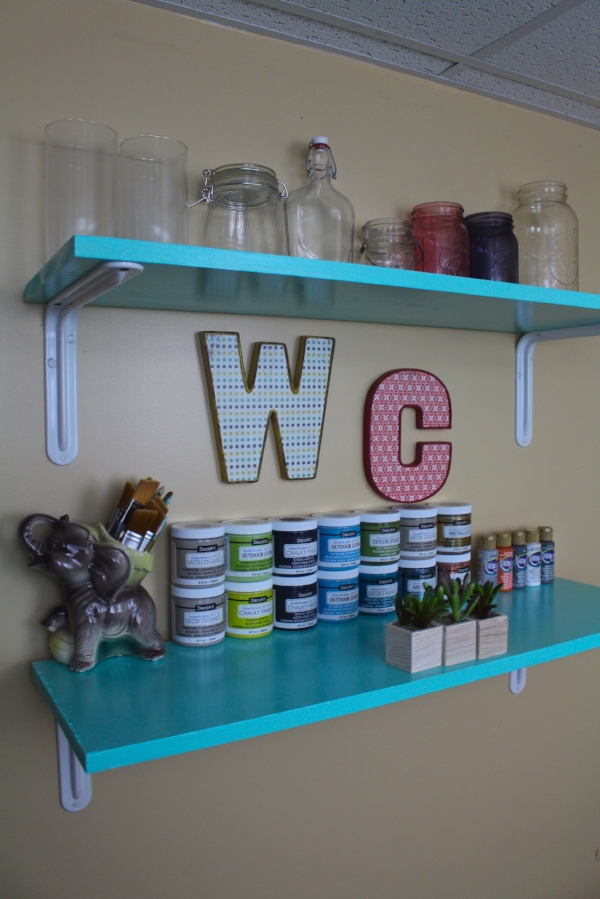
I absolutely love how this came out. I even had these fun metal initials that I had picked up on clearance a while back. It’s funny because I have already been asked what WC stands for and of course it is for Weekend Craft!
Now the rest of my craft room is still under way, which is a nice way of putting that it’s a disaster, but look out for updates in the coming months. I just need to get my kitchen done first!
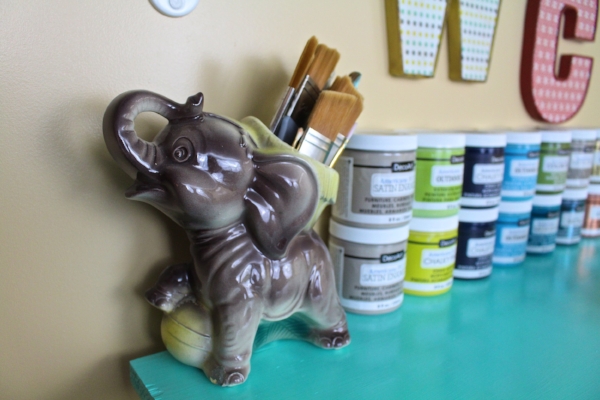
I’m going to leave you with my beautiful vintage Dumbo vase that I use as a brush holder. I found him a few years ago at a flea market and knew I needed him. He fits my detail brushes perfectly and has always looked great on my desk but he is truly on display now!


Hurray for shelves! Such a pretty color. I definitely wanted to take more than 2 jars of DecoArt home from Haven.