This post contains affiliate links, please read our disclosure policy.
I’m excited that Tip Tuesday this week comes from Jeff Beaton owner of jmb furnitureworks. He is where I get most of my advice when upcycling or restoring old pieces.
After you have finished a project and you are starting to prep for paint or finishing, its so easy to get excited and rush through the sanding process to get to the finishing. Finish gives you the immediate eye popping results, but taking the time to go through the proper sanding and prep will really step up the results on your finished product.
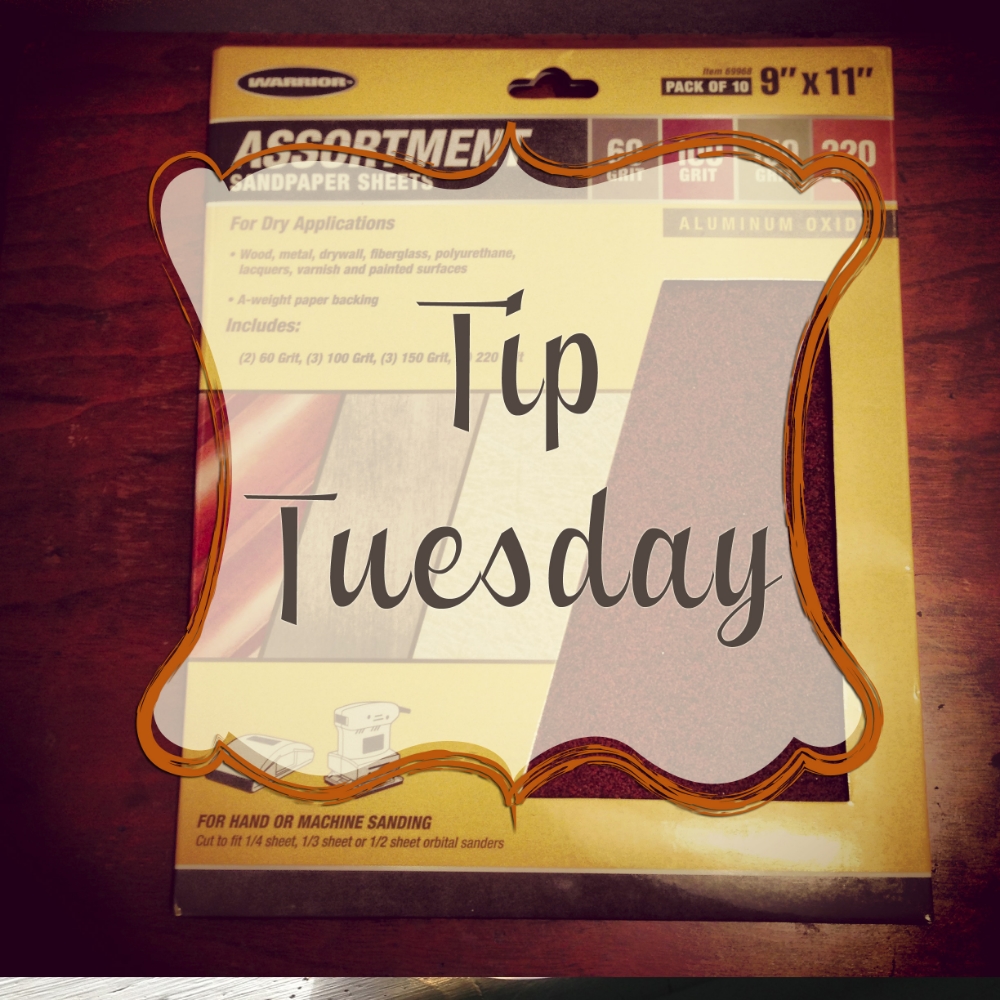
Some of the big mis-steps that I see are not going through all the necessary grits. If you are finishing wood start with 100 grit (rougher grit) and work your way through up to a 220 (finer grit) hitting all the steps, 100, 120, 150, 180, and 220. I see people skipping some of the middle ones, or starting at 150. It may seem counterintuitive but if you go through the steps it makes the sanding go far faster. Starting with 100 grit, it takes off the scratches and roughness very quickly and then moving to 120 once it is smoothed out you are only working to remove the scratches from the 100 grit, likewise for the remaining grits. You may spend 5 minutes sanding with the 100 to get thing started off, but then you are only spending a minute or so on each of the remaining steps and your finish is going to look great by the time you get up to 220. If you start at 150, it is going to take you forever to get through the initial sanding and you are going to be left with an uneven surface.
Take your time with the sanding process, taking the time to prep properly is quicker in the long run and leads to much better finishing results. good luck!
(function(i,s,o,g,r,a,m){i[‘GoogleAnalyticsObject’]=r;i[r]=i[r]||function(){
(i[r].q=i[r].q||[]).push(arguments)},i[r].l=1*new Date();a=s.createElement(o),
m=s.getElementsByTagName(o)[0];a.async=1;a.src=g;m.parentNode.insertBefore(a,m)
})(window,document,’script’,’//www.google-analytics.com/analytics.js’,’ga’);
ga(‘create’, ‘UA-46439362-1’, ‘weekendcraft.com’);
ga(‘send’, ‘pageview’);


i’m one of those who don’t get along with tools too good…. 🙁
No worries sanding involves no tools 😉 Just your hands and a sheet of sand paper. I used to be the same way but then I realized upcycling was a way to save an enormous amount of money to furnish my apartment. I’m sure you feel the same about coupons!
Excellent tips, and I could certainly take heed. I tend to rush through the beginning to get ‘to the good stuff’ but I know you’re right.
Great tips. I would have never thought to use all the different grits. I am the one usually skipping.
Nice, I love the feel of finished sanding wood. Hubby is great at making his stuff and I love rubbing my hands on it. I safely rub and know I will not get pinched by any wood. Awesome!