This post contains affiliate links, please read our disclosure policy.
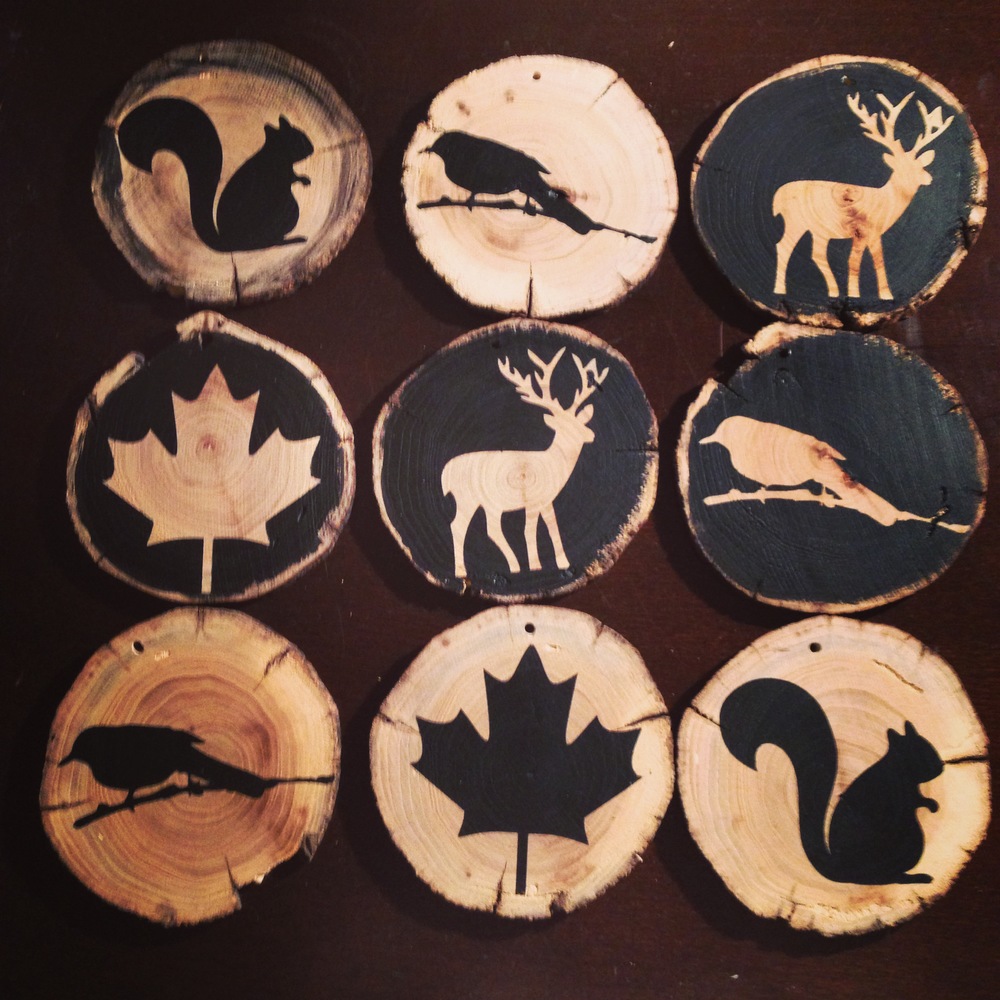
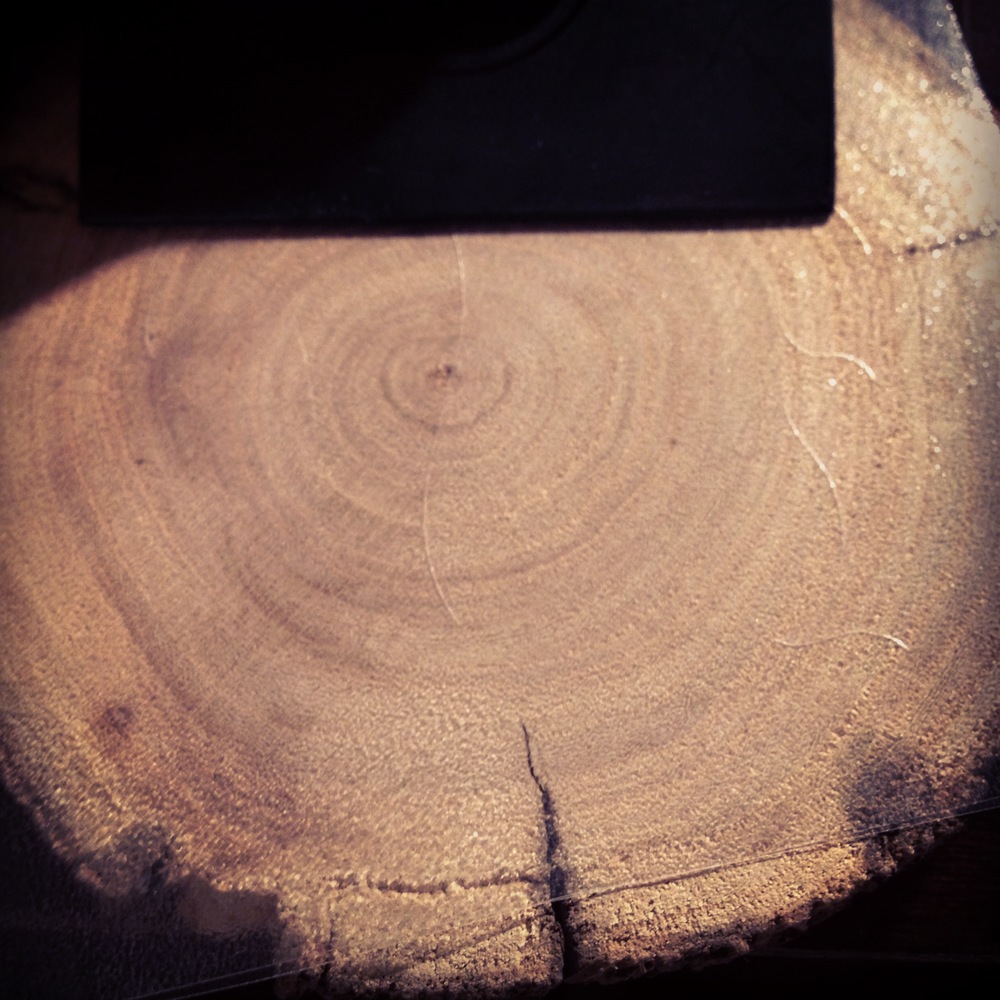
With Christmas being over I can finally show off some of the gifts I gave to my family, I didn’t want them peaking. I have known for awhile that I wanted to work with wooden discs but wasn’t sure what I exactly wanted to do with the wood. I found Prairie Wood Sprite on etsy. Linda was amazing to work with. She even shipped my discs same day and drilled holes for no extra charge.
I was inspired to make ornaments like these from a tutorial Candace from Vintage News Junkie had posted, during the December Silhouette Challenge. and from Jessica over at Cutesy Crafts Glitter Reindeer Ornaments post, during 12 days of Christmas. Sort of melding the two ideas together and using chalkboard paint. We all know any excuse to use chalkboard paint I will use it!
I purchased shapes from the Silhouette store trying to think about who I was giving the ornaments to and what would reflect their personality the best.
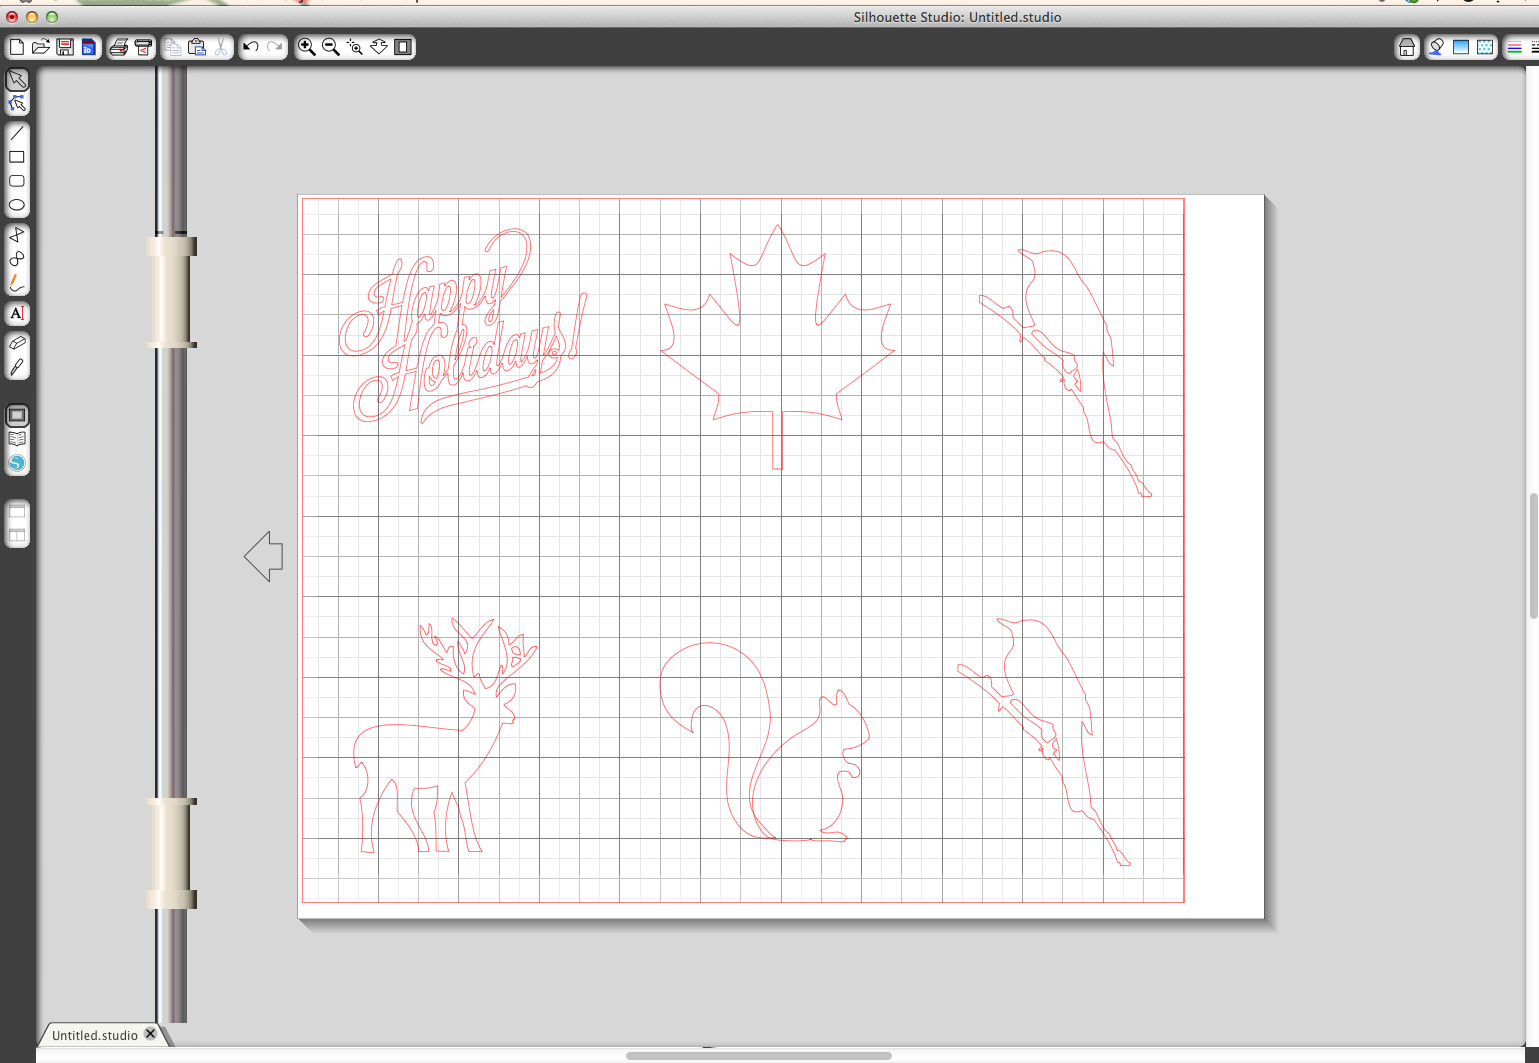
The discs were about 4 inches wide so I made each cut shape a little over 3 inches. I cut the vinyl roll down and placed 6 cut shapes on the file. Instead of using the vinyl I had used for The Elf Chalk Sign, I used stencil vinyl from Silhouette. I liked using the stencil vinyl a lot. It is a bit thicker and gave nice crisp lines not letting the paint seep under the vinyl. Overall it is really easy to work with.
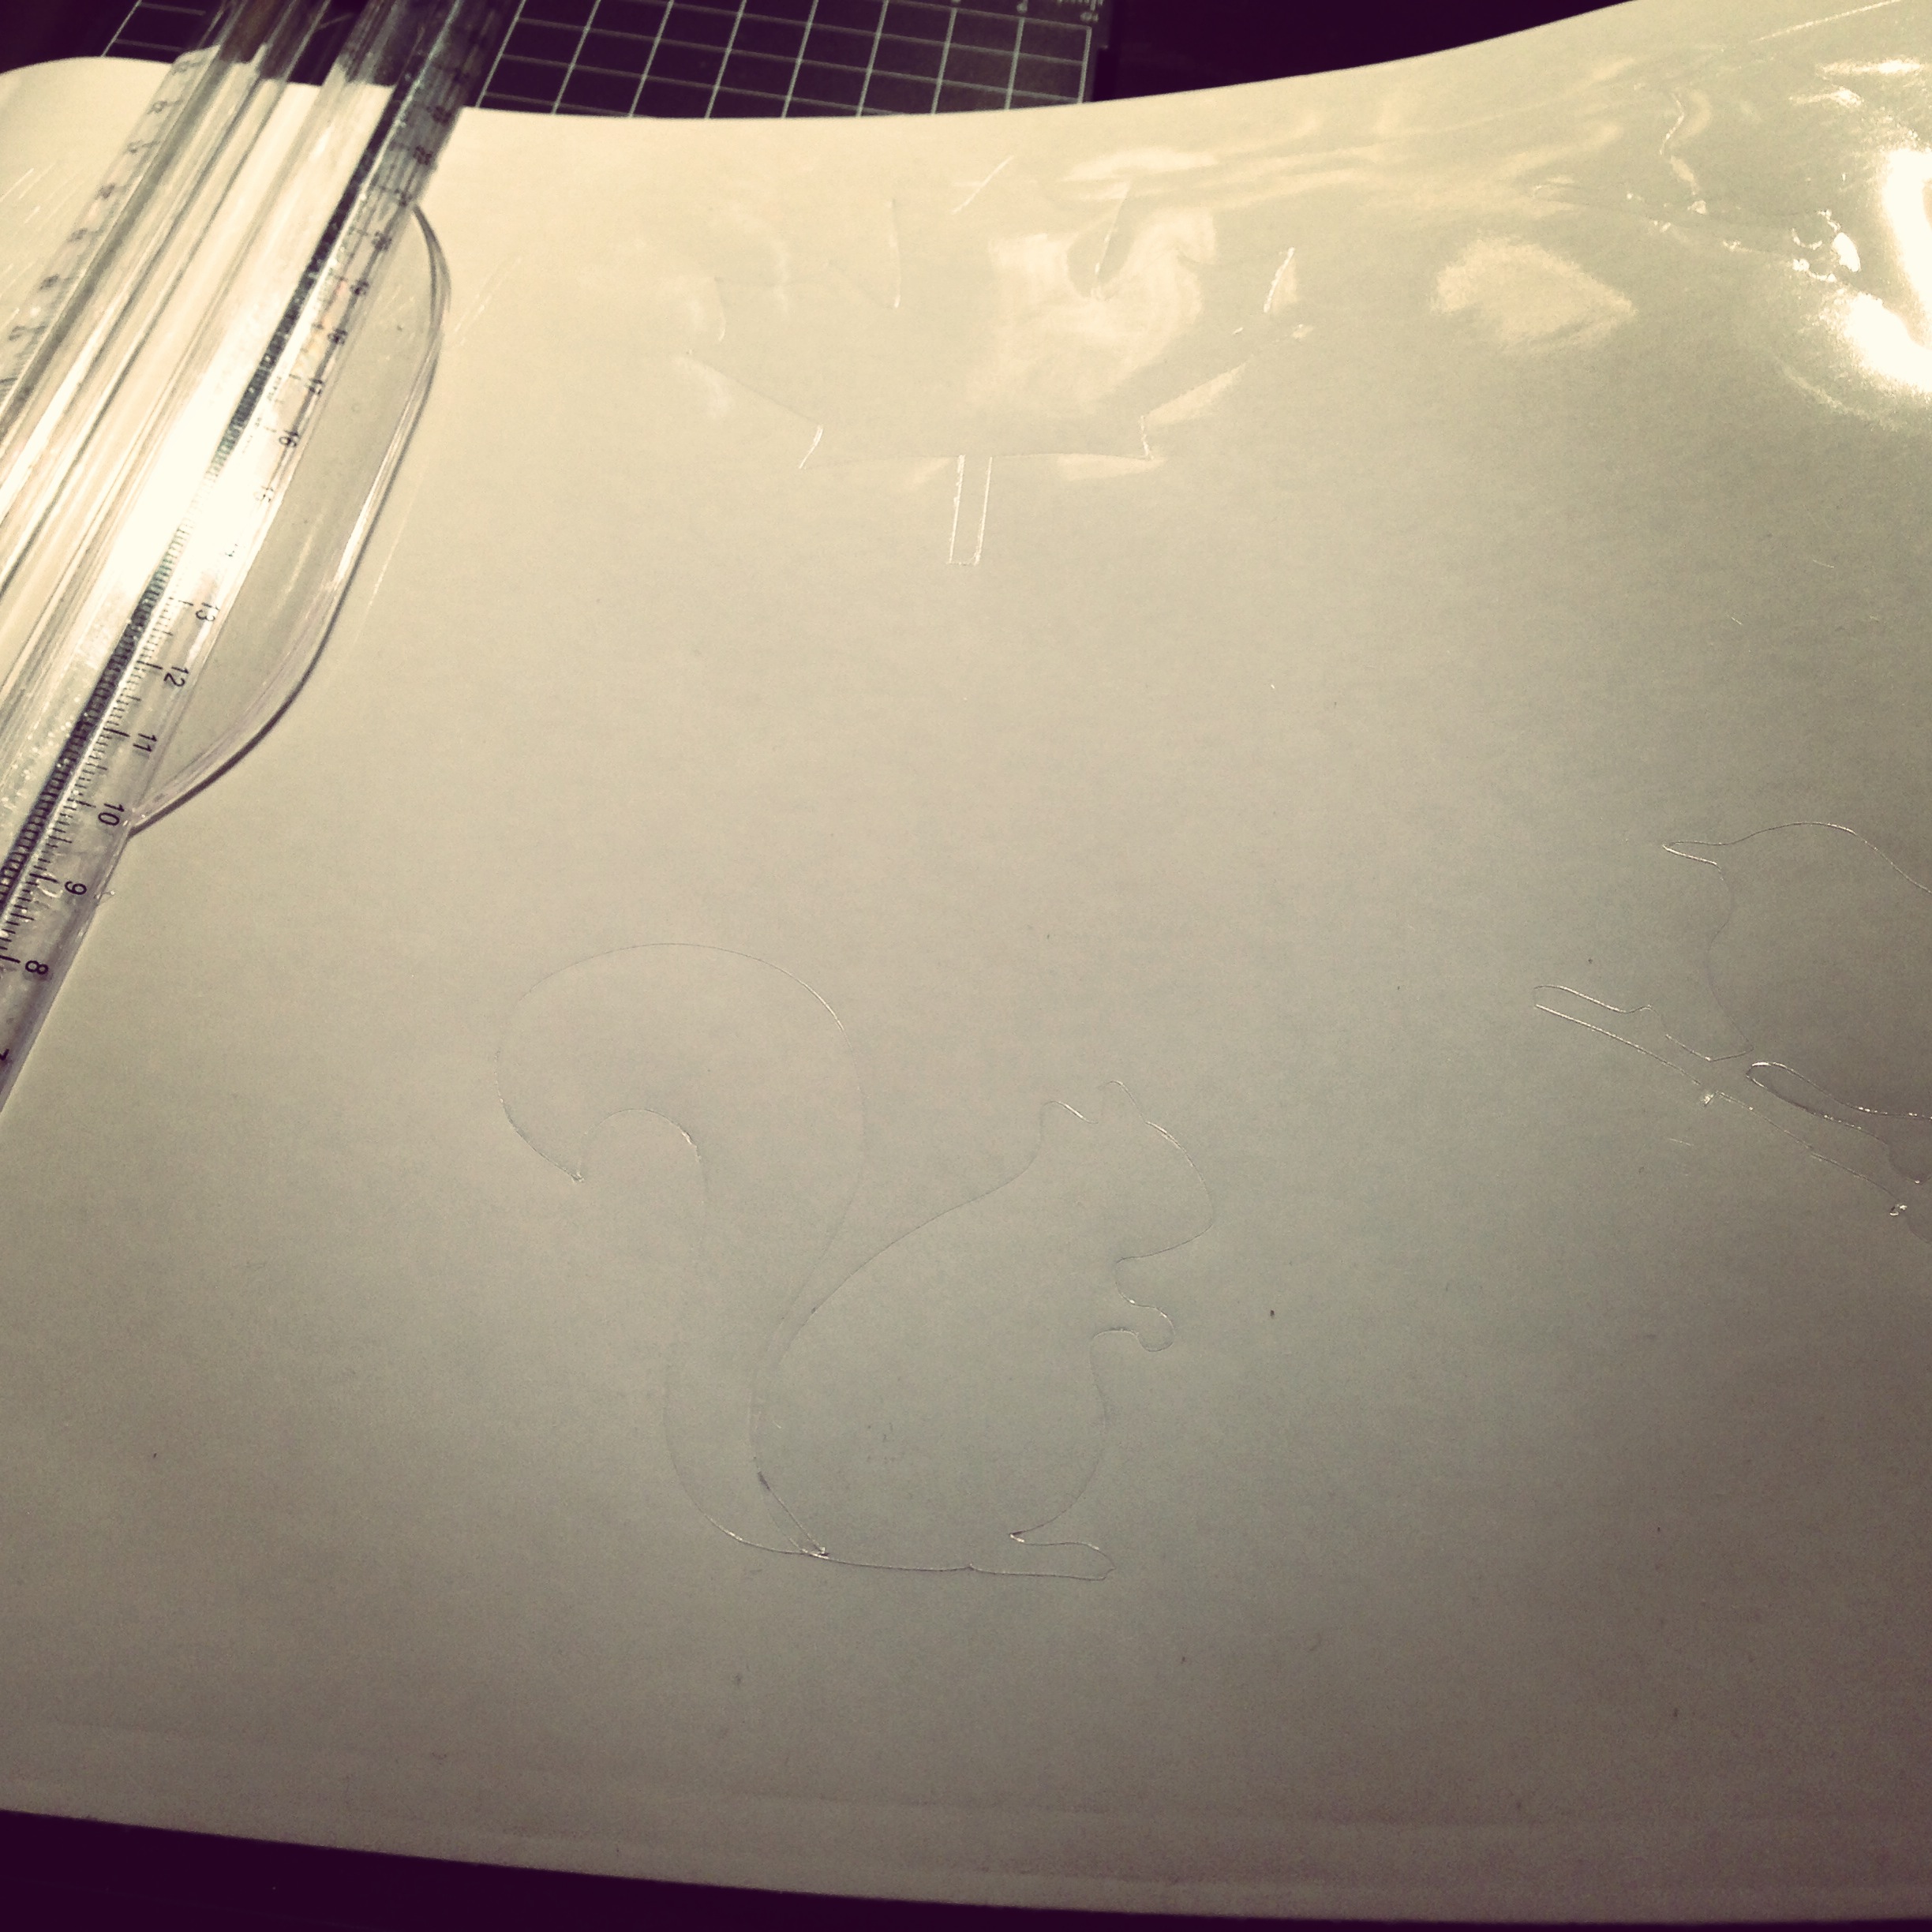

Once the vinyl was cut and removed trim each shape down to size leaving a 1/2-1/4 inch border.
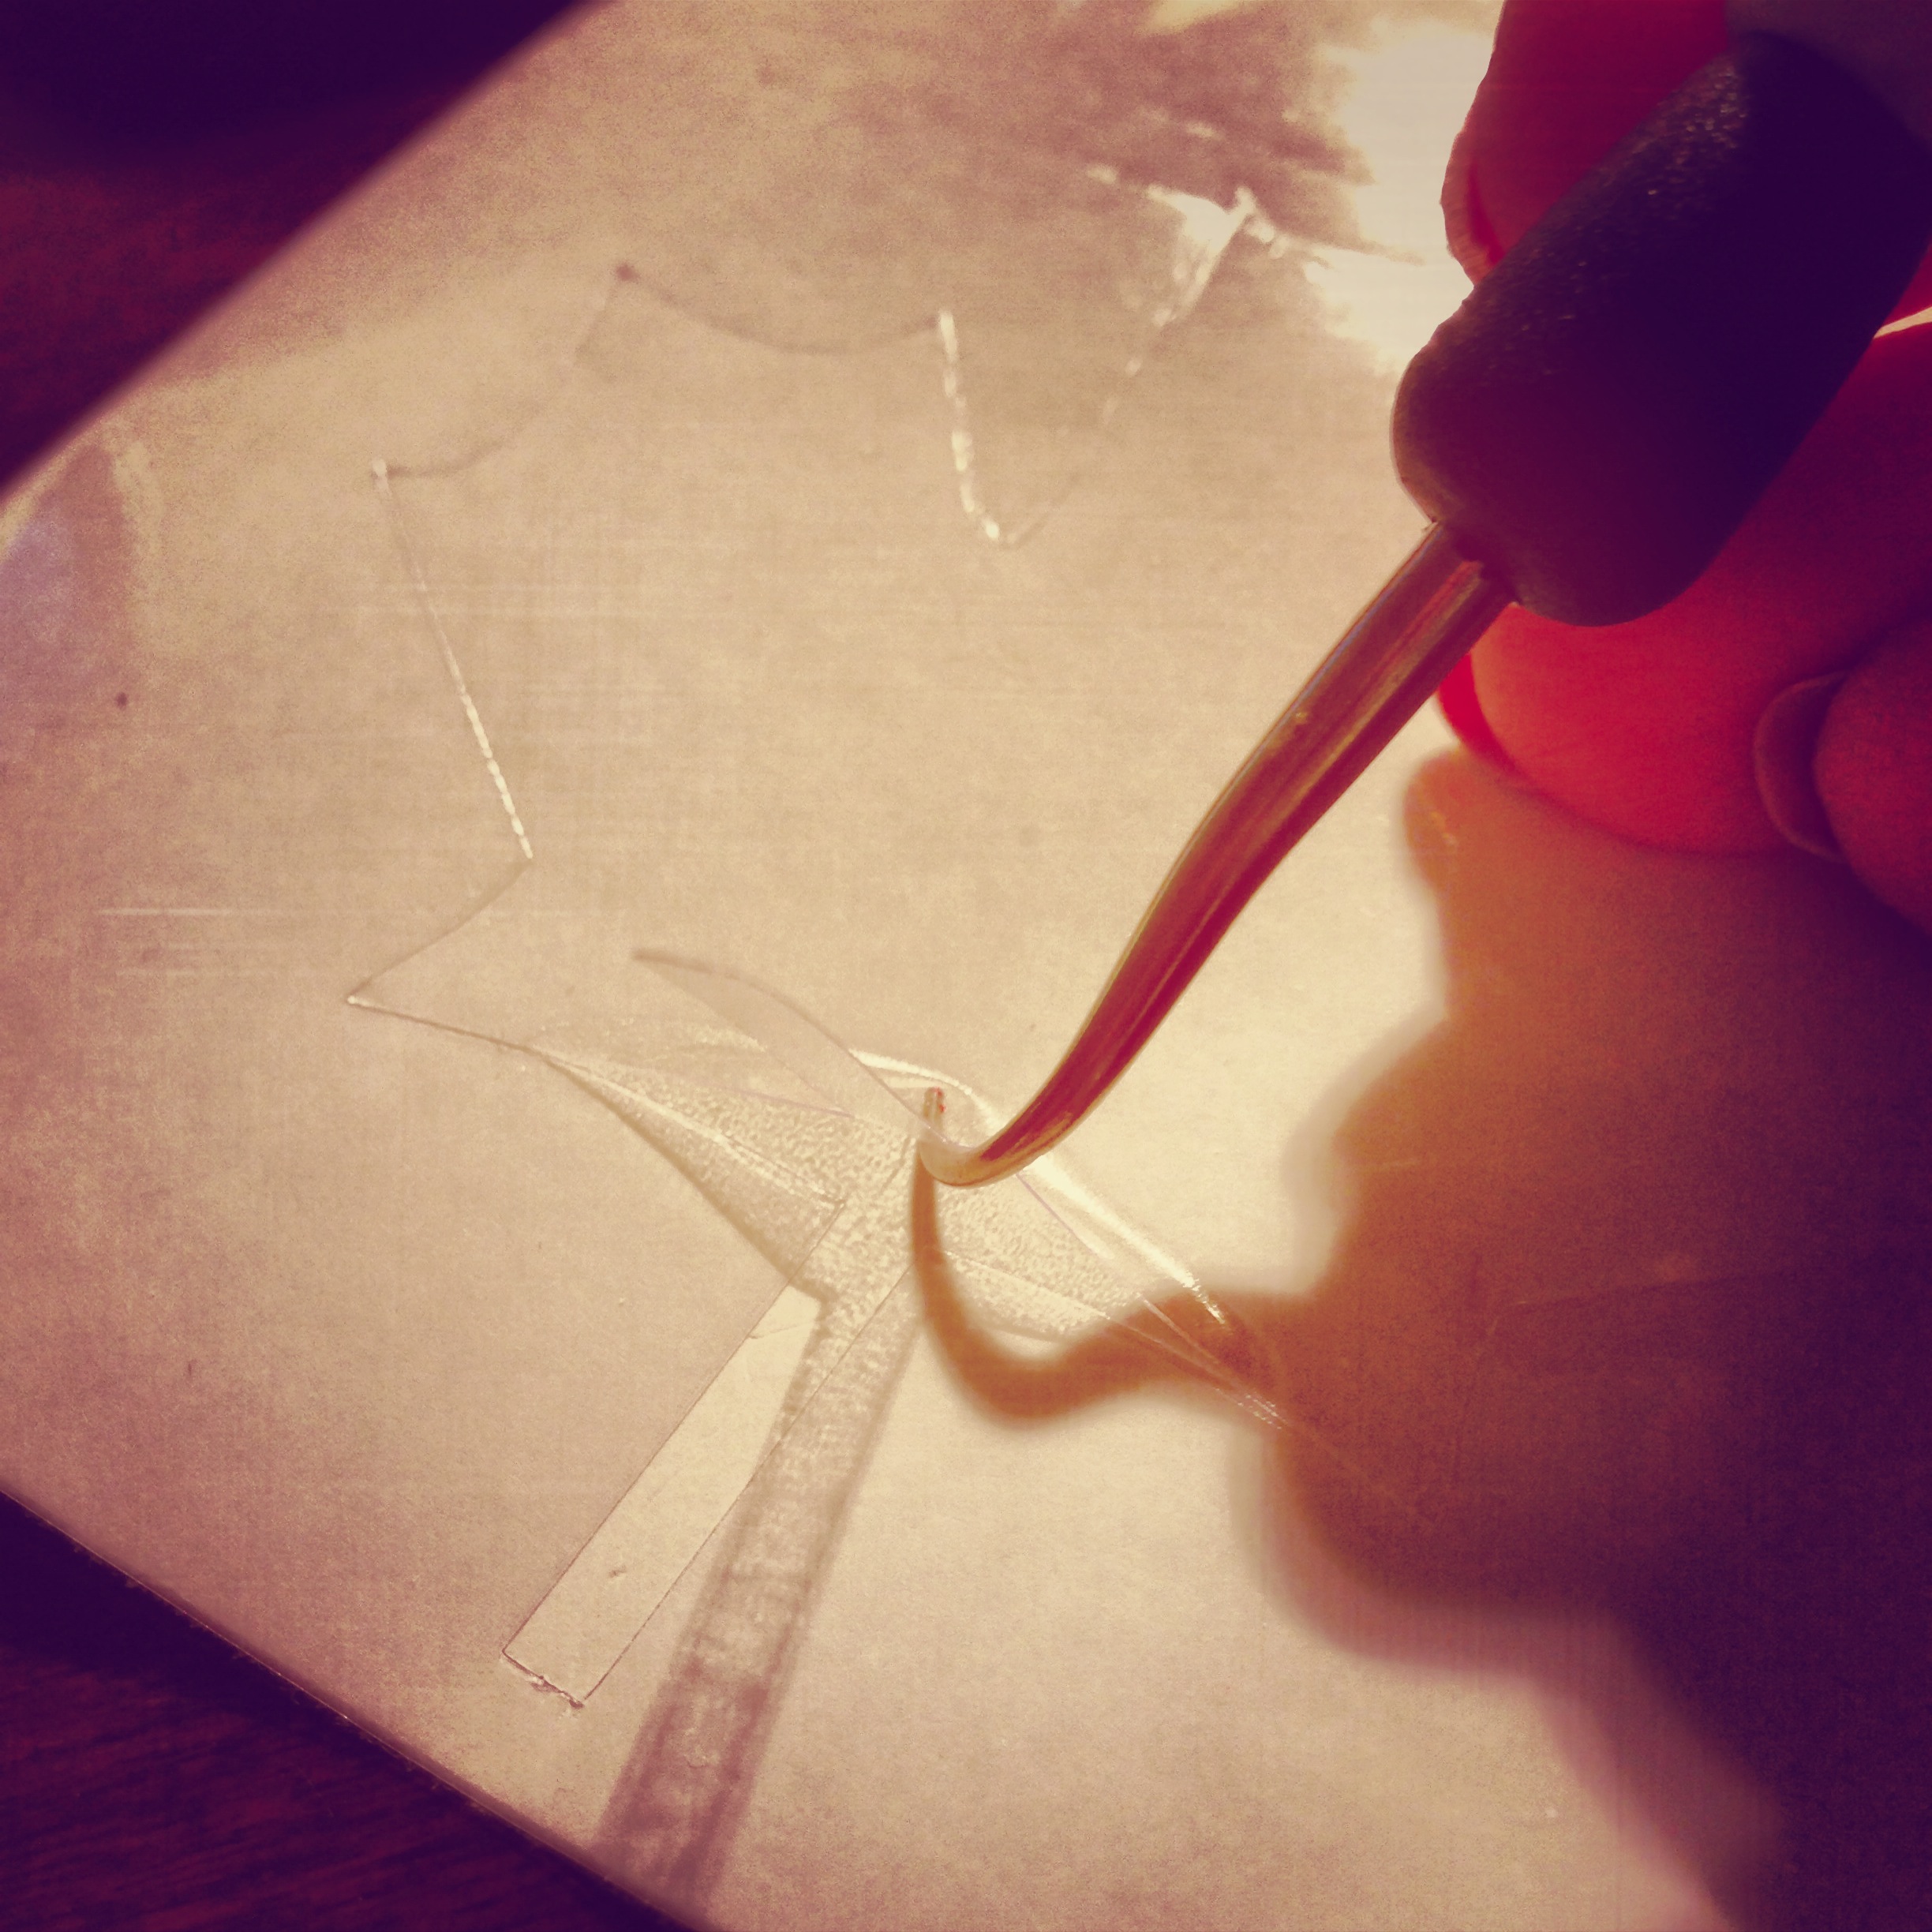
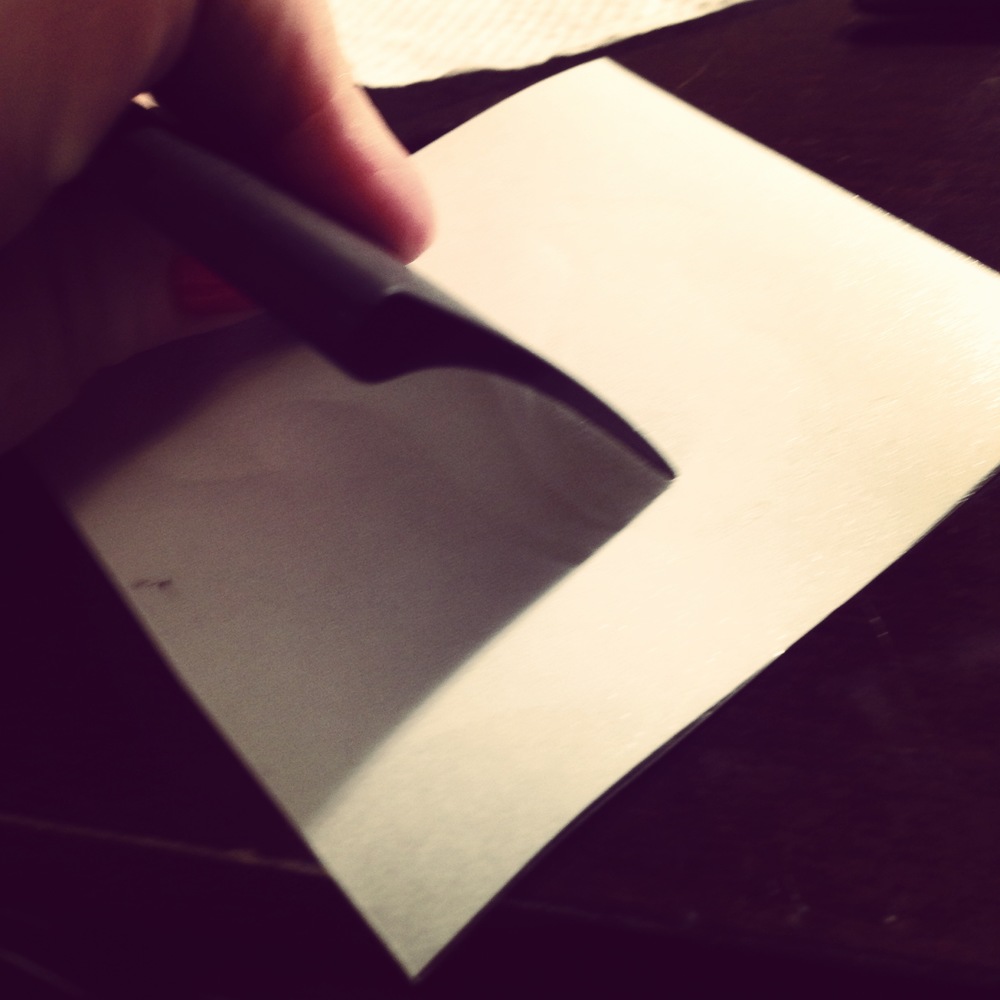
Weed out your shape using the silhouette hook tool (or anything you have that will work).
I originally had the intention to use the vinyl as a stencil to create a solid shape on the disc. When I was weeding the vinyl I thought why not try a “knocked out” version of the ornament. This allowed me to use the vinyl cut twice.
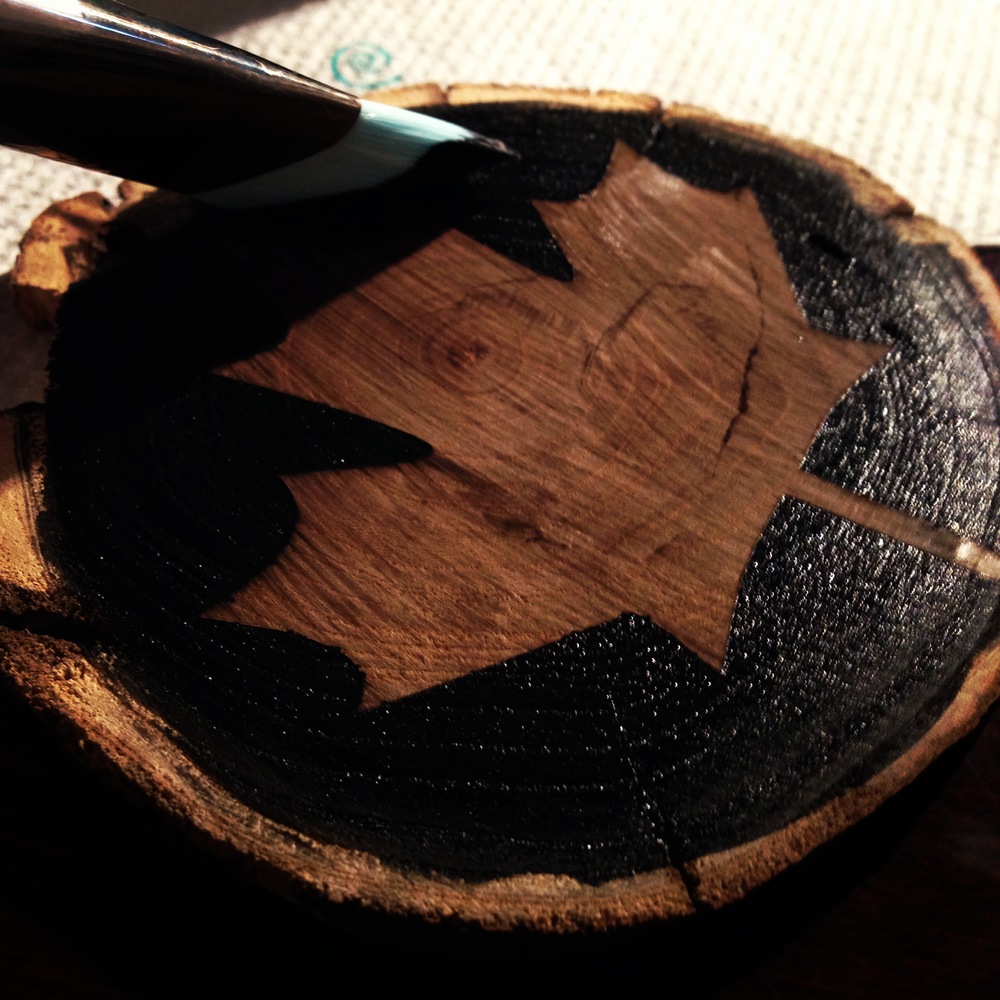
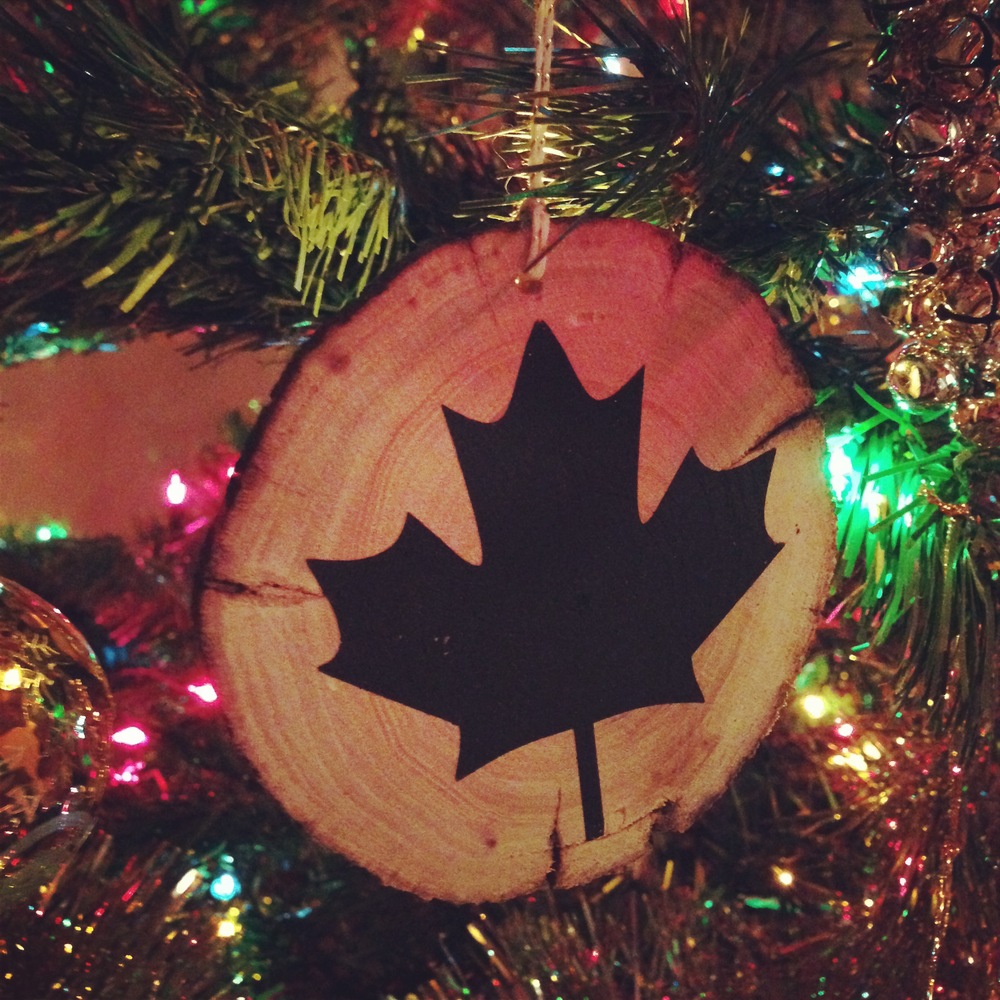
Using chalkboard paint I painted over the leaf, leaving a slight unpainted edge on the disc.
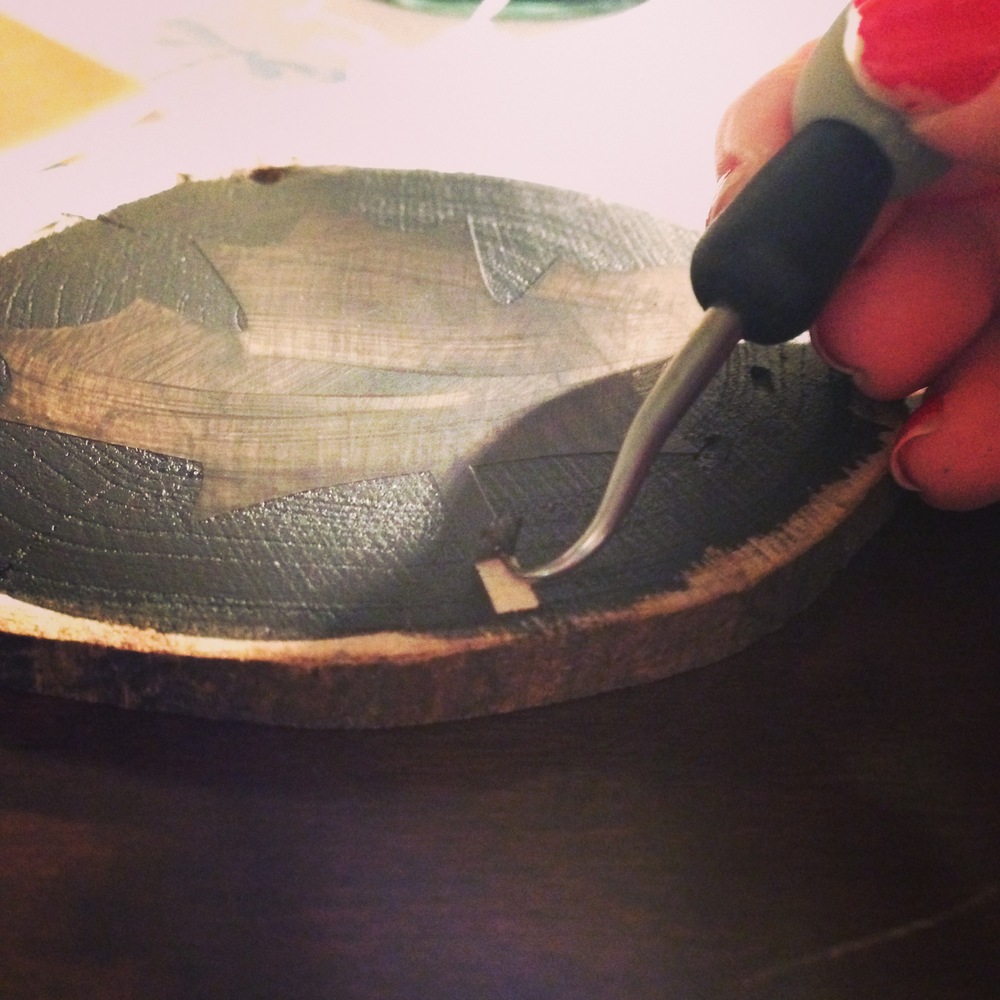
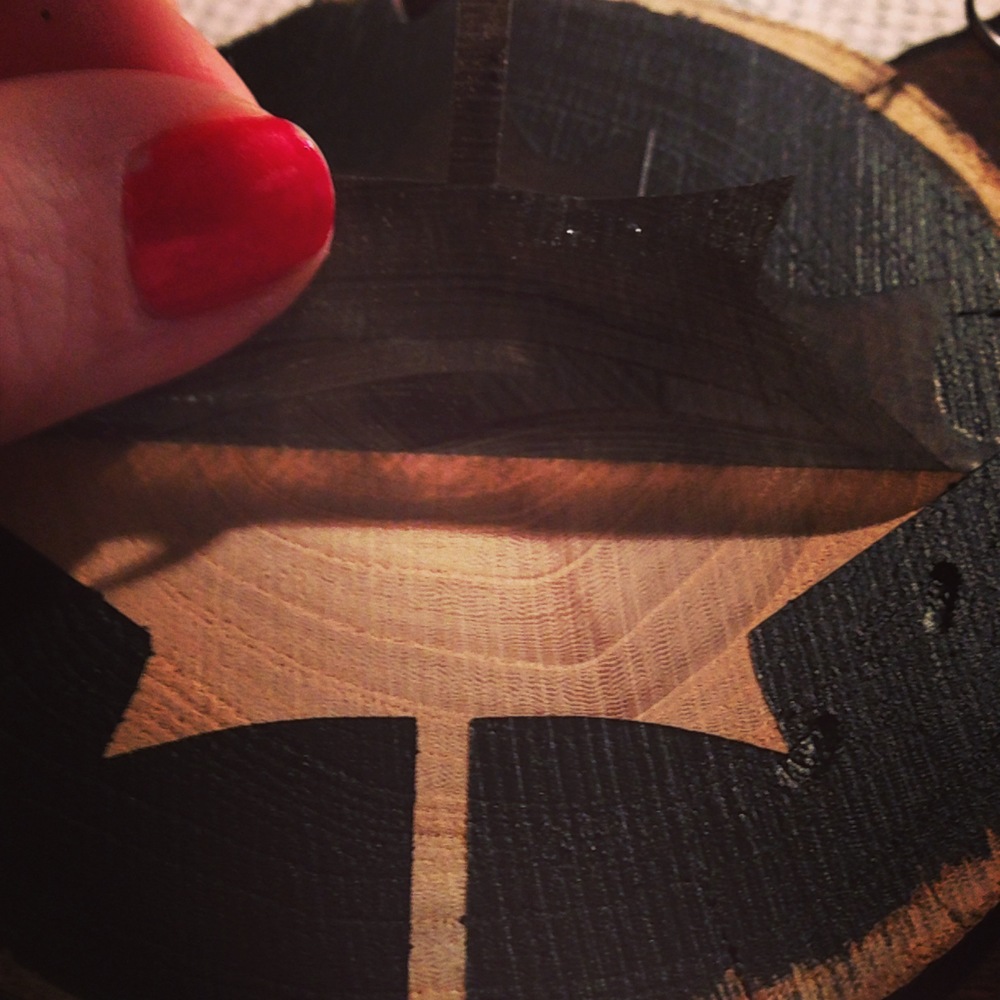
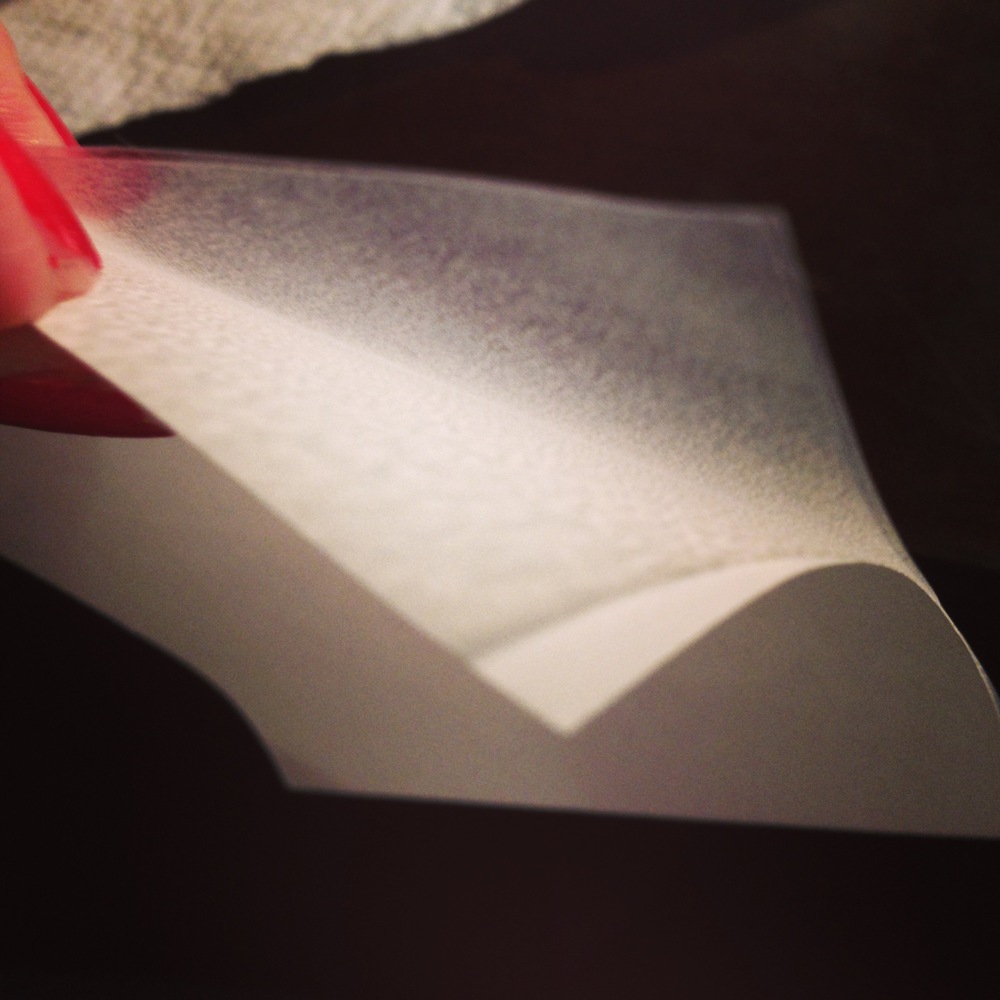
I was surprised how fast the paint dried, I’m talking minutes. I even painted two coats of the chalkboard paint. When the ornament was dry to touch peel back the stencil vinyl.
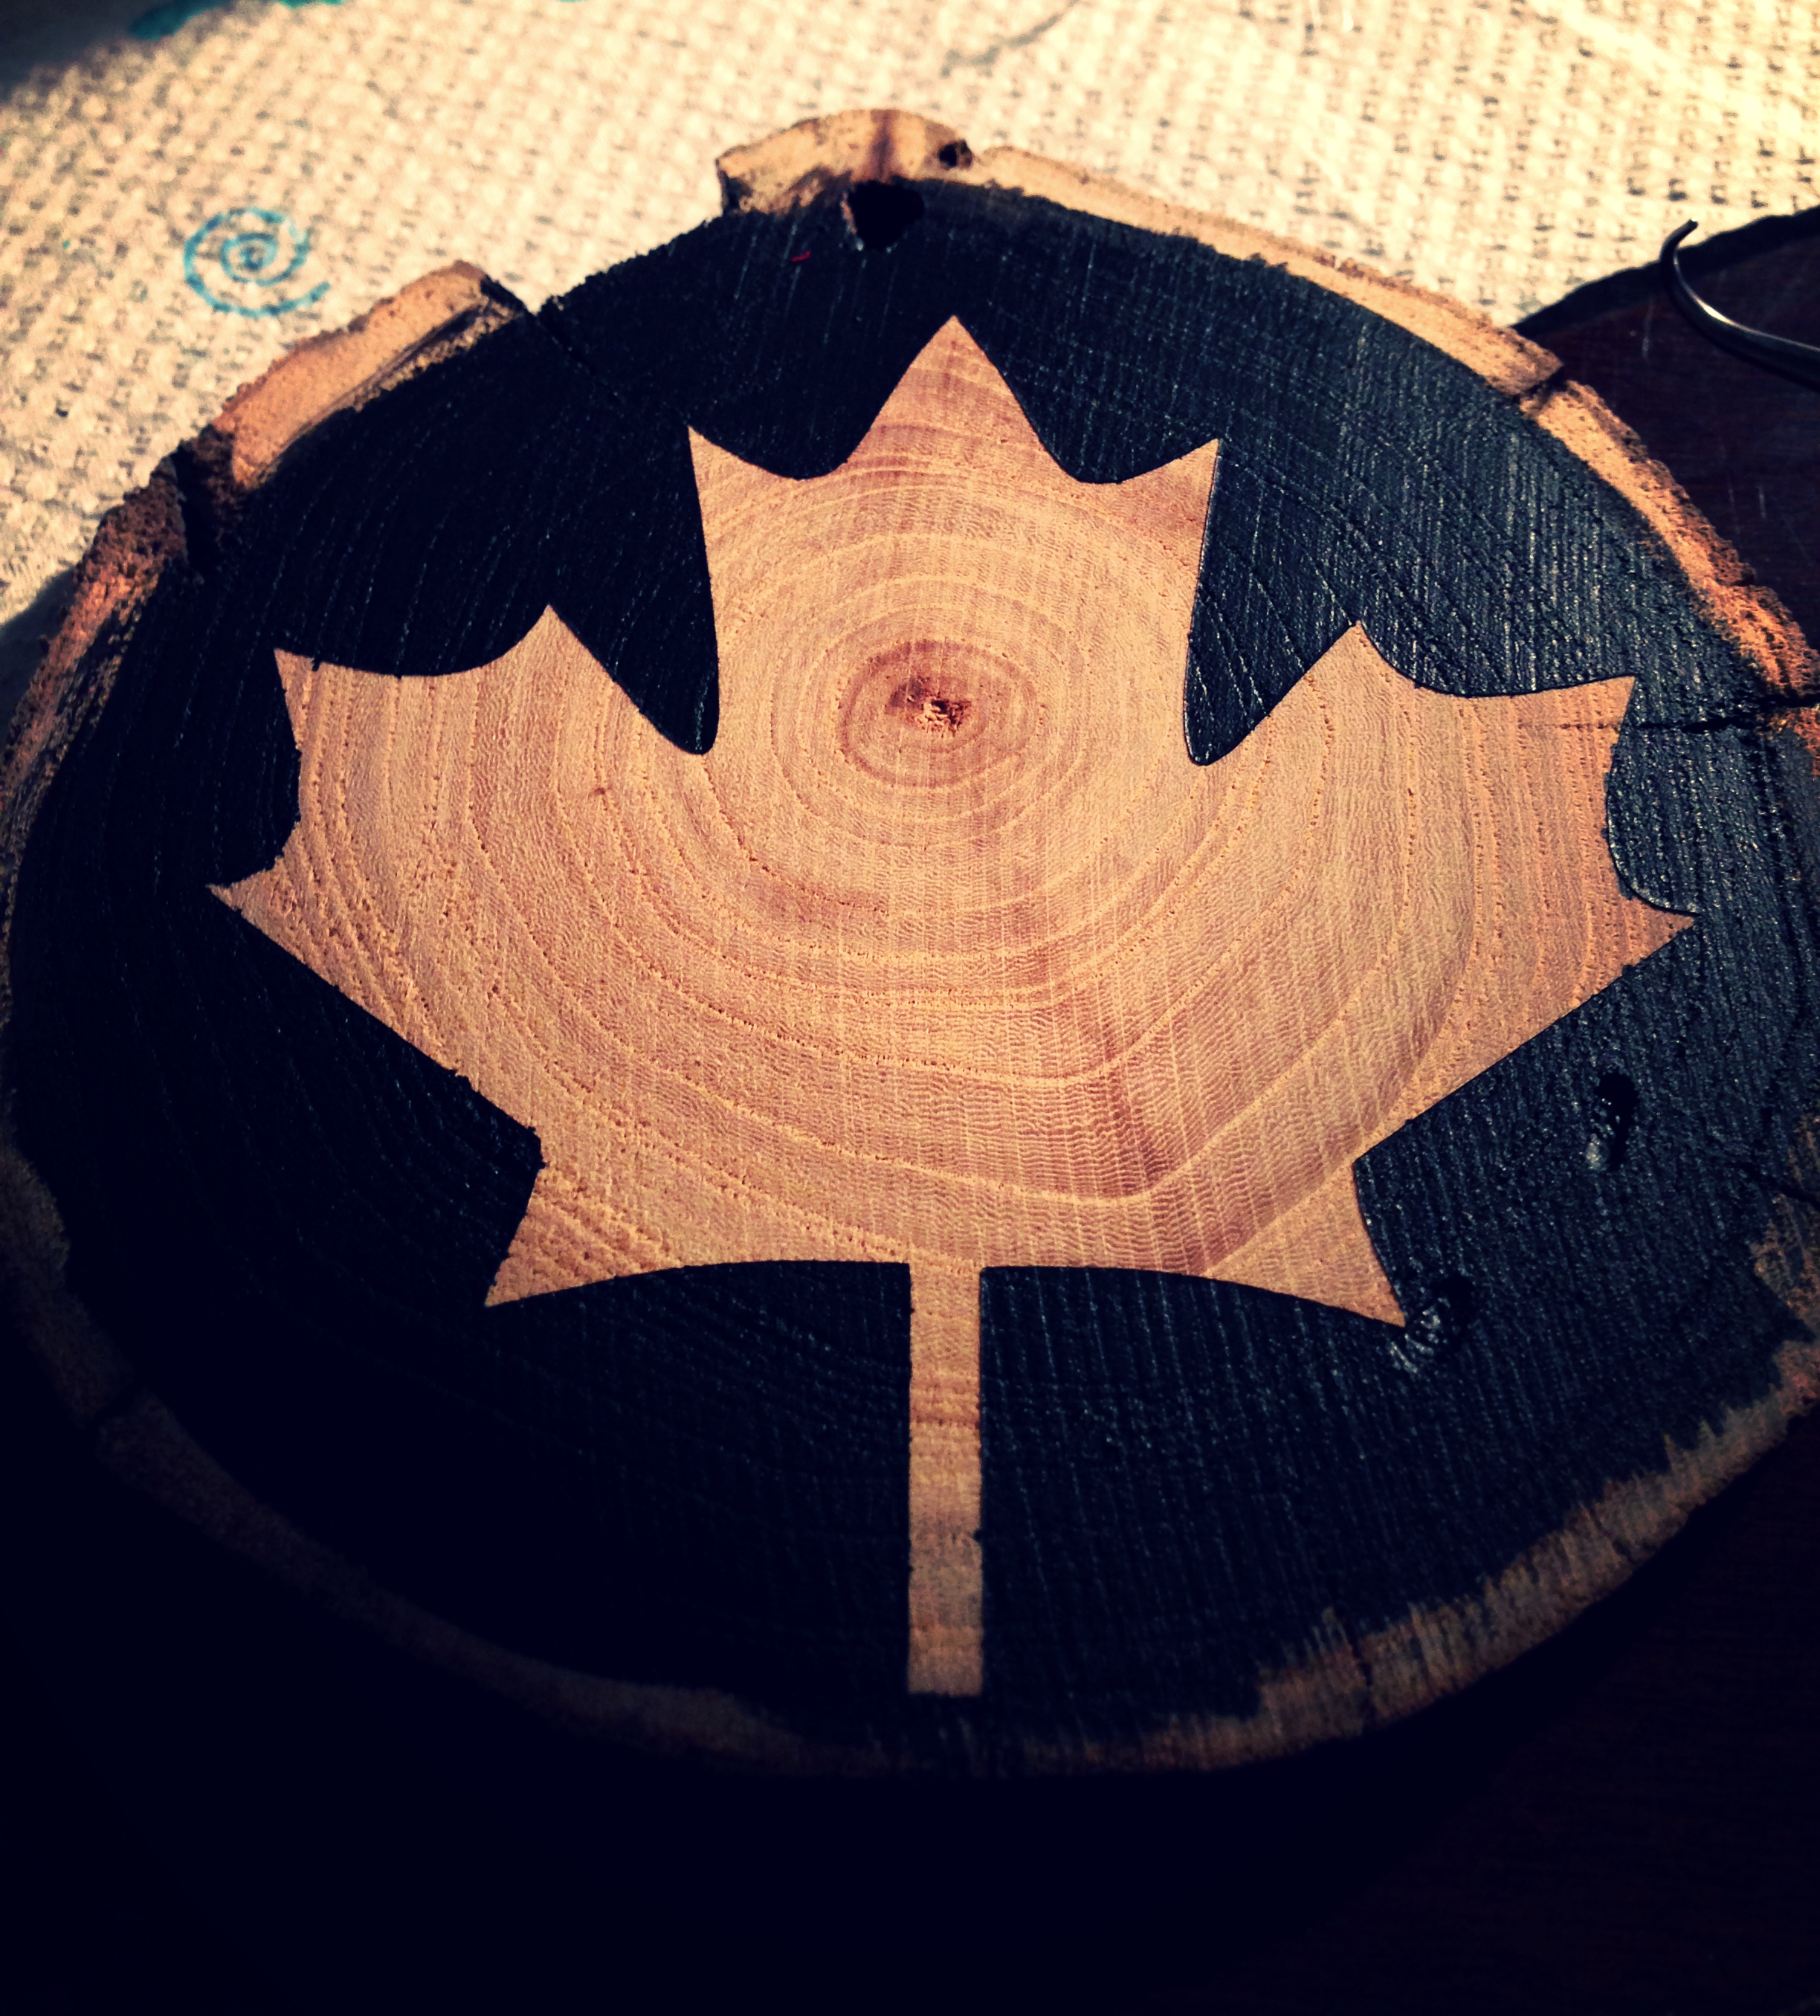
I love the way this came out. My Dad is from Canada which is why I chose the maple leaf. He loved that I personalized the ornament especially for him.
Now there are two ways to use the stencil vinyl. The first way being the way shown above where you use the vinyl as a “knock out” or where you can use the stencil to fill in your shape, as seen above.
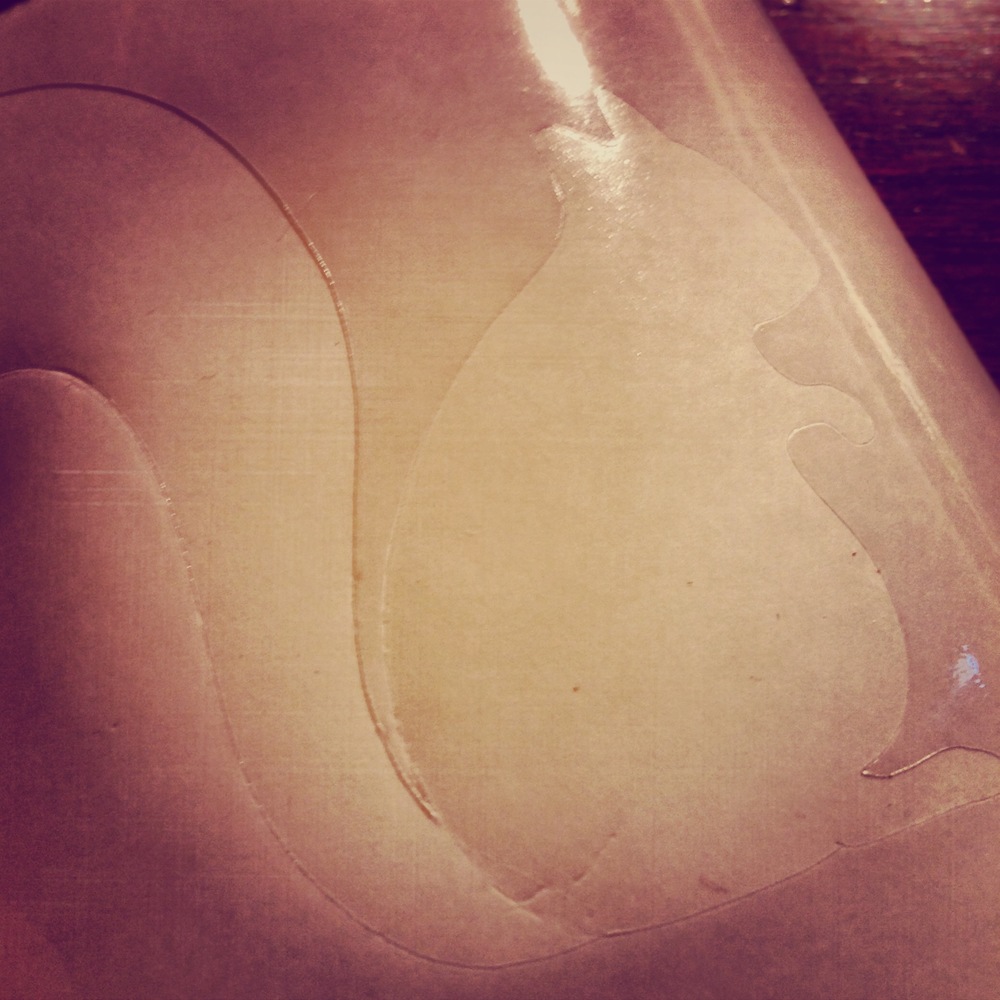
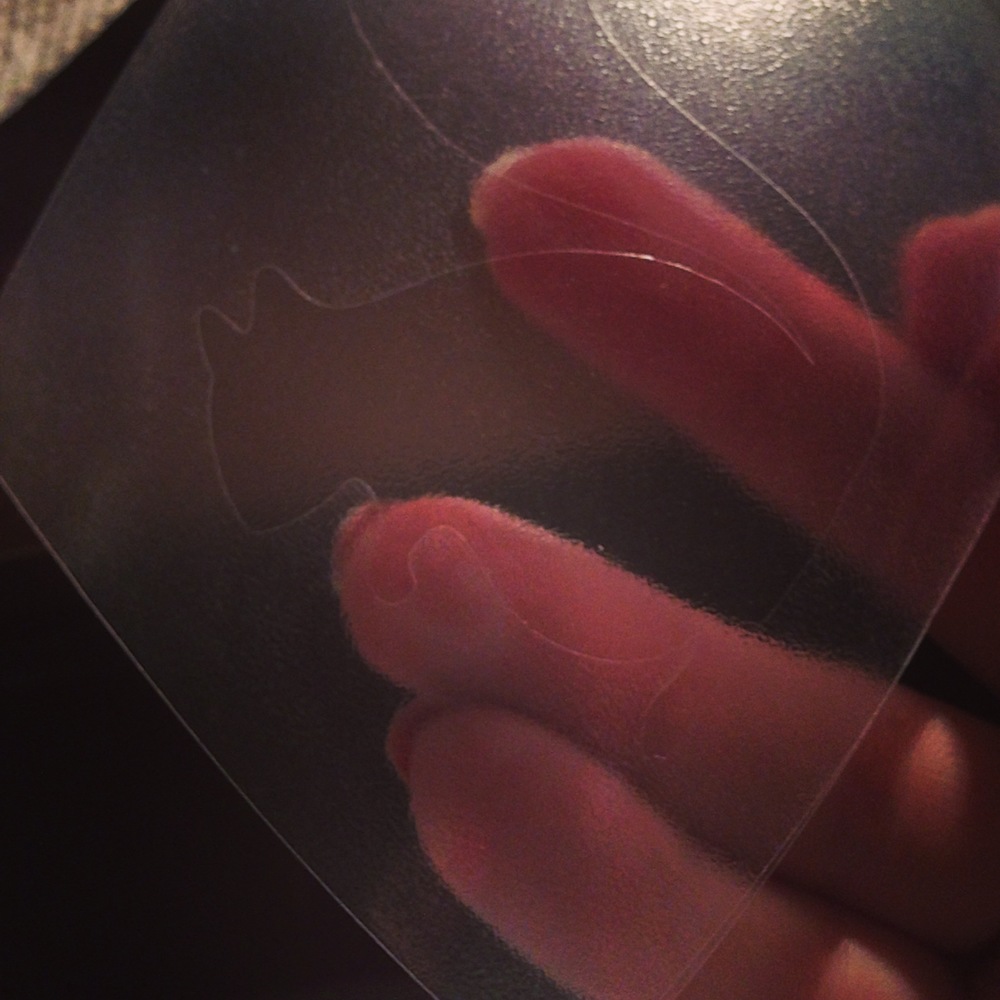
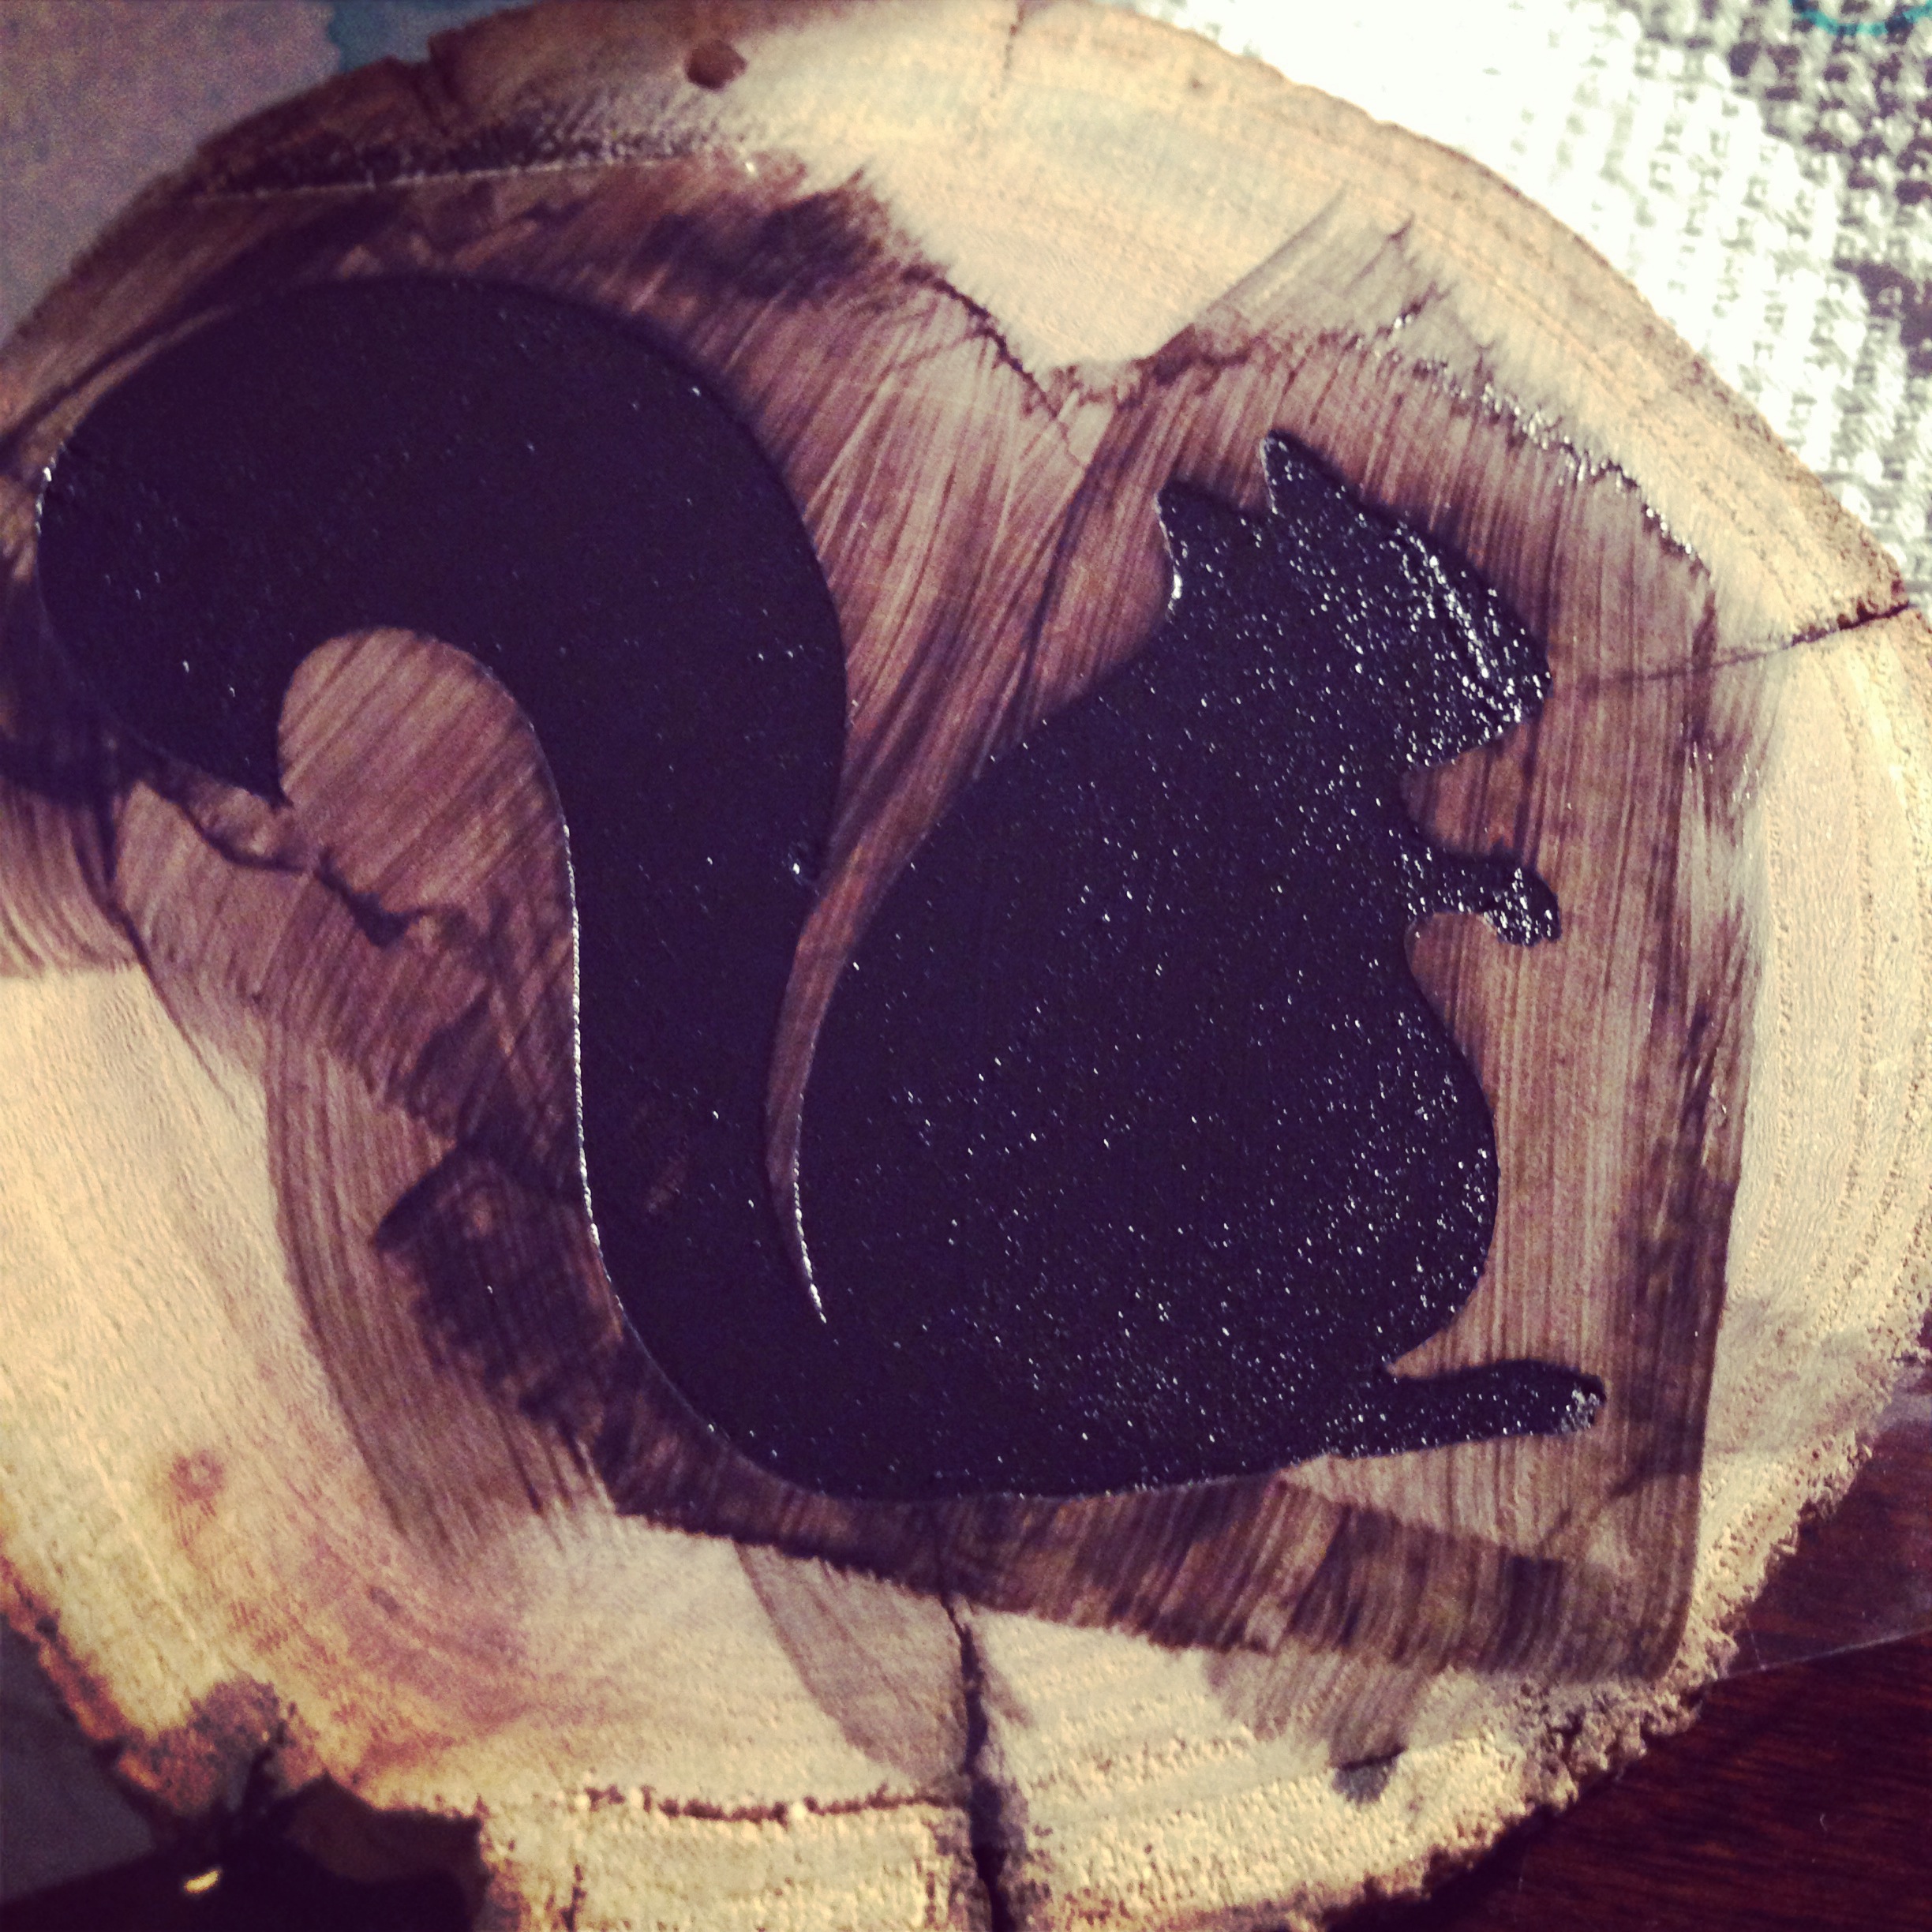
This ornament is for my brother-in-law he has a bit of an obsession with squirrells. So when I randomly came across this file in the Silhouette cut store I knew it was the one. Again I weeded out the cut leaving behind just the negative space.
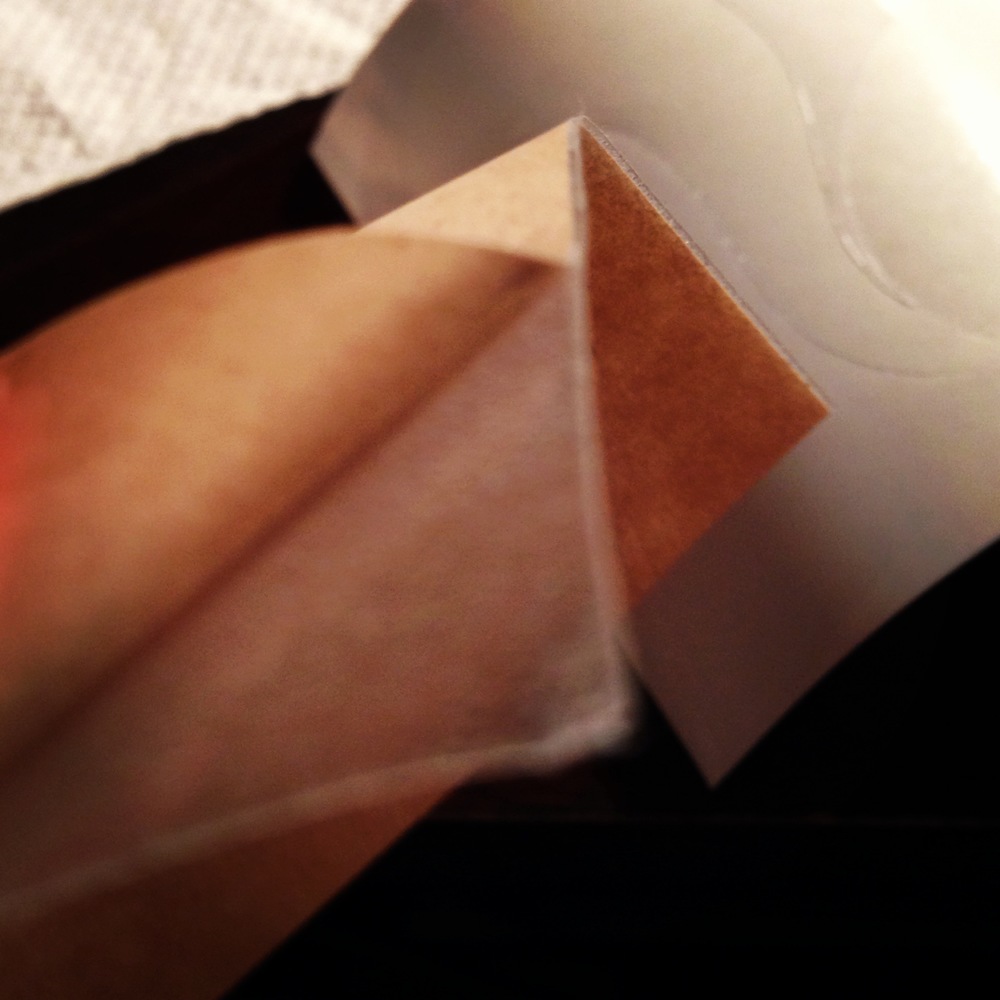
Using transfer tape (cut to size) peel the craft paper backing and place the transfer taper over the top of your design.
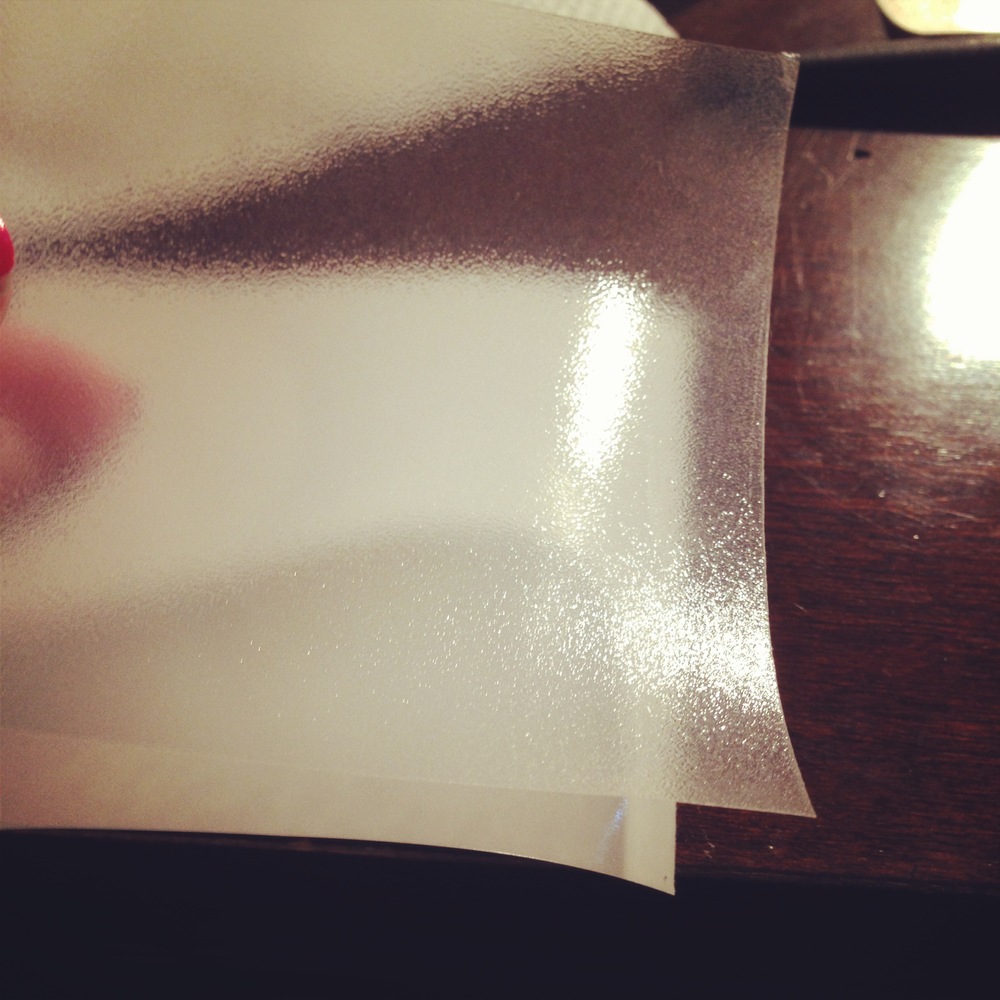
Use a credit card or the Silhouette scrapper tool to rub the transfer paper on. Make sure to rub out all of the air bubbles. Remove the white backing on the stencil vinyl.
Carefully place the vinyl onto the wood. Keep in mind where the hole on the wooden disc is and how the ornament will hang. Using the scrapper apply make sure the design is adhered to the disc and there are no air bubbles.
![]()
Tip– let the transfer tape hang slightly over the vinyl. This way it is easier to seperate the two when you pull back the transfer tape.
Paint over the design (two coats) and let dry. Just peel back the stencil and your done.

I absolutely love how these came out. I made about ten for family and friends and they were a huge hit. I even used them as part of their gift packaging instead of gift tags.
(function(i,s,o,g,r,a,m){i[‘GoogleAnalyticsObject’]=r;i[r]=i[r]||function(){
(i[r].q=i[r].q||[]).push(arguments)},i[r].l=1*new Date();a=s.createElement(o),
m=s.getElementsByTagName(o)[0];a.async=1;a.src=g;m.parentNode.insertBefore(a,m)
})(window,document,’script’,’//www.google-analytics.com/analytics.js’,’ga’);
ga(‘create’, ‘UA-46439362-1’, ‘weekendcraft.com’);
ga(‘send’, ‘pageview’);


They are so incredibly beautiful! You’re so talented, congrats! I wish I was a bit less of a klutz :)Happy New Year!Hugs