This post contains affiliate links, please read our disclosure policy.
I am so excited to be a part of the Silhouette Challenge! The Silhouette Challenge is a group posting event that takes place on the second Monday of every month at 10 a.m. eastern. “The Challenge” is to work with a new material or medium that you have not yet tried before using your Silhouette machine and create something that you can share on your blog.
Being apart of the challenge this month has made us able to offer a GIVEAWAY of $155 Amazon gift card. Keep reading for your chance to enter and to see fellow Silhouette Challengers projects!
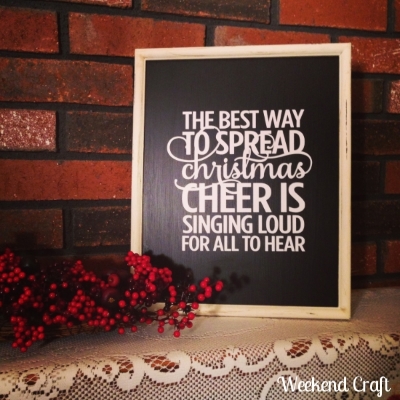
Being fairly new to having a silhouette cameo myself I decided to work with vinyl this month. I have always admired witty vinyl signs that I have seen on etsy and at the stores. With the holidays approaching a christmas themed sign seemed appropriate to place on my mantle above the stocks that were hung with such care.
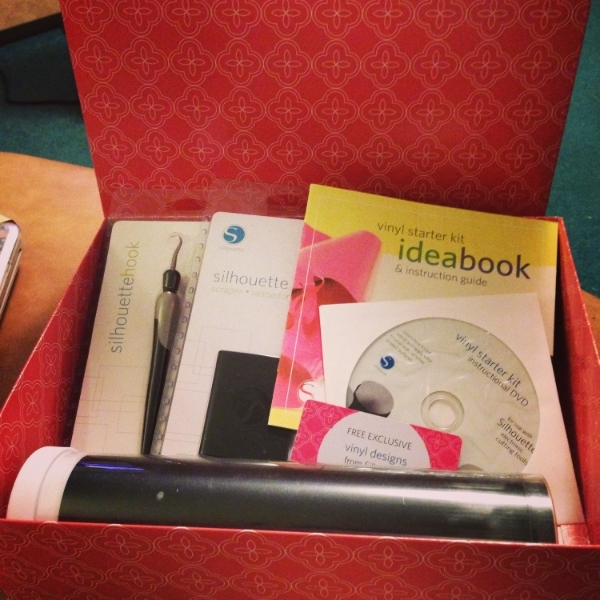
I recently purchased a vinyl starter kit from Amazon. The kit comes complete with an instructional DVD, 4 Colors of Vinyl, an idea book, a download card for exclusive vinyl downloads, a vinyl hook and scraper.
The kit was great to get started with although I found the dvd to not be as helpful as youtube and my favorite silhouette bloggers (some of whom are listed below!)
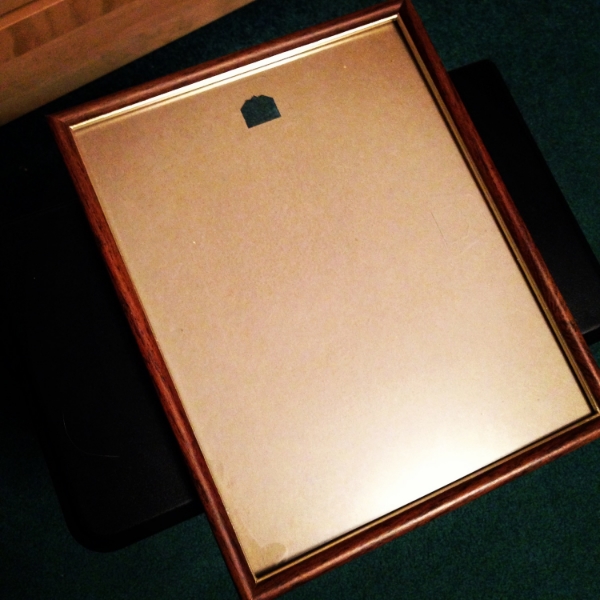
Now with every project I like to add an upcycled component. I was helping clean my parents office and found this frame that needed a little love but had great potential.
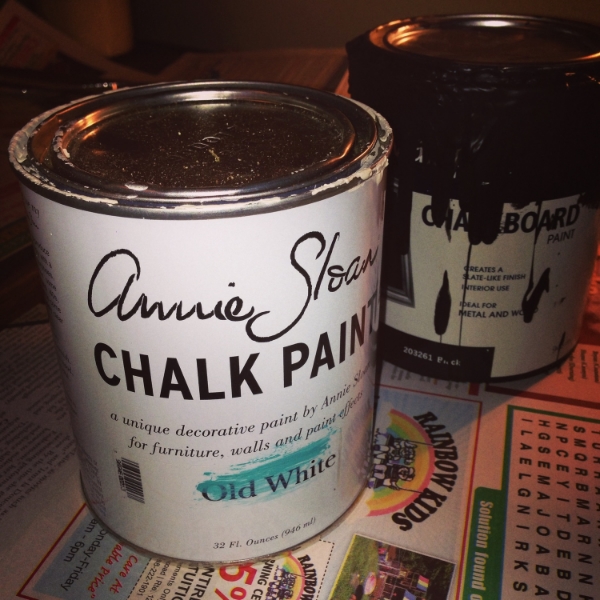
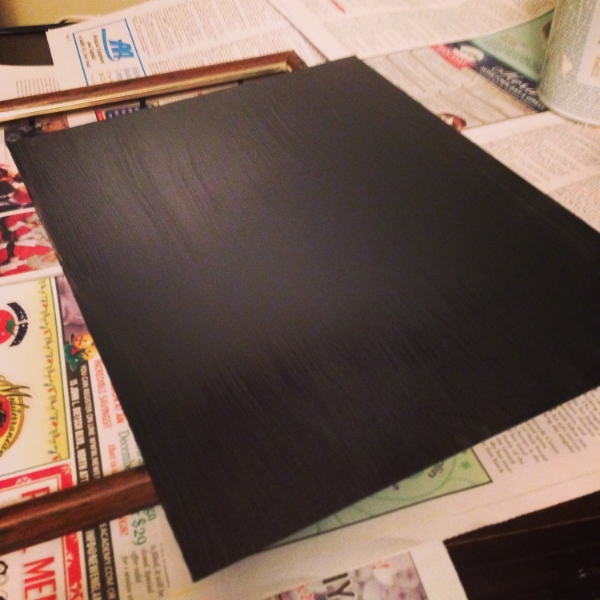
Using Valspar chalkboard paint from Lowes. As you can tell I am not the neatest with the chalkboard paint canister but to be fair I have had it a few months. (Tip that I just learned if your paint is getting hard to close you can store it in mason jars).
This is something I do often turning a frame into a chalkboard. It is relatively inexpensive and it already has a hanging mechanism. All you need is to paint the glass with 2-3 coats of chalkboard paint. In this case since I am applying vinyl to the board and not using it as a traditional chalk board I did not chalk the board.
Tip: If you are using it as a chalk board make sure to use a piece of chalk and turn it on its side and cover the whole board then wipe it clean. This is important because if you do not do this the first time you use your board the chalk will leave a halo on the board.
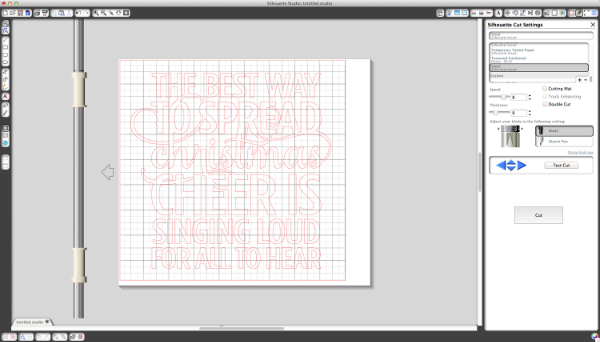
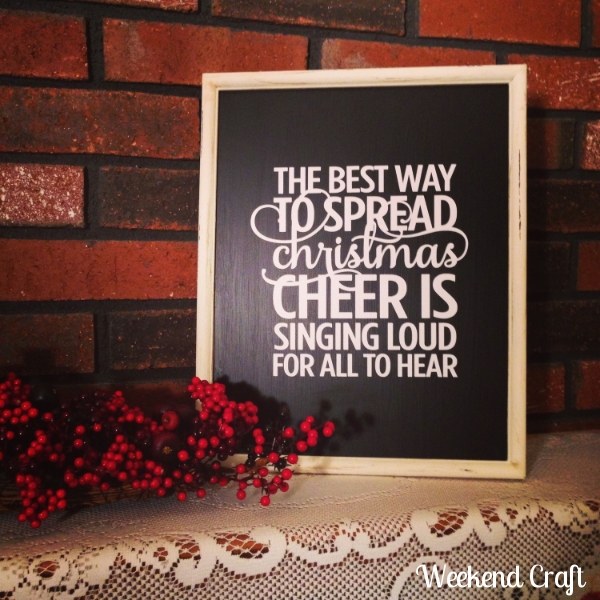
Elf is one of my all time favorite movies. Those who know me know that I watch Elf year round. When I saw the the Silhouette store had a cut file “The best way to spread Christmas cheer is singing loud for all to hear” there was no doubt in my mind that this was perfect for my project.
Make sure to change the cut settings to vinyl and the blade to 2. You do not want a higher setting then 2 because it will cut all the way through the vinyl.
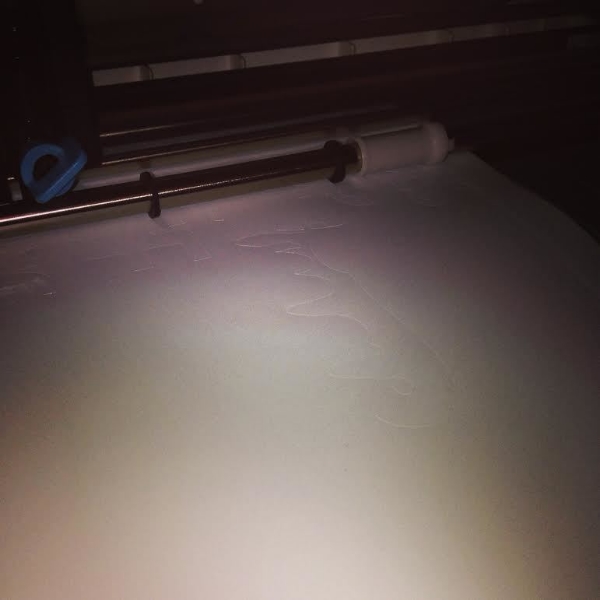
You do not need to use the mat when cutting vinyl but make sure when loading the machine you select load media instead of load mat.
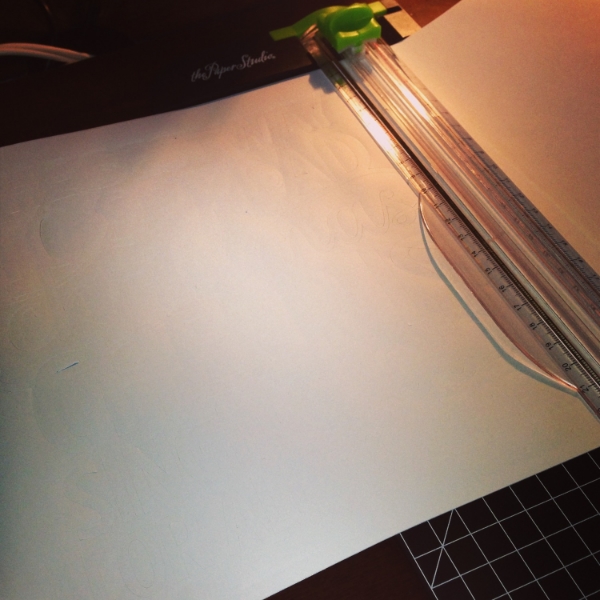
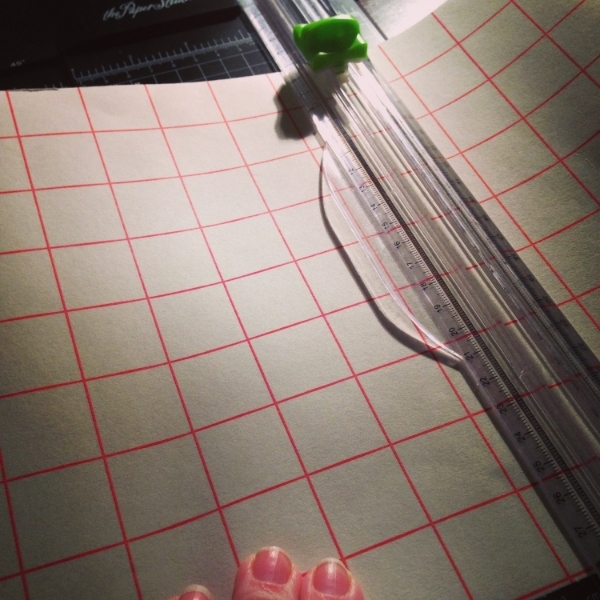
Once the silhouette is done cutting use a ruler or a paper cutter to cut the vinyl and transfer paper to size. Both of these usually come on rolls. You will use the transfer paper later.
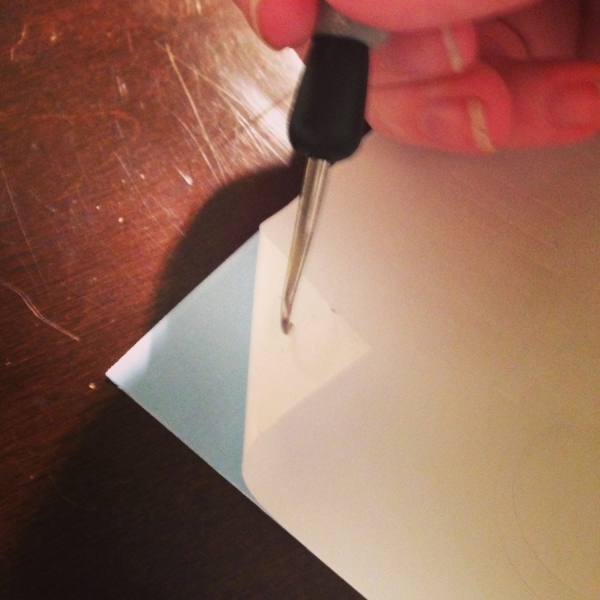
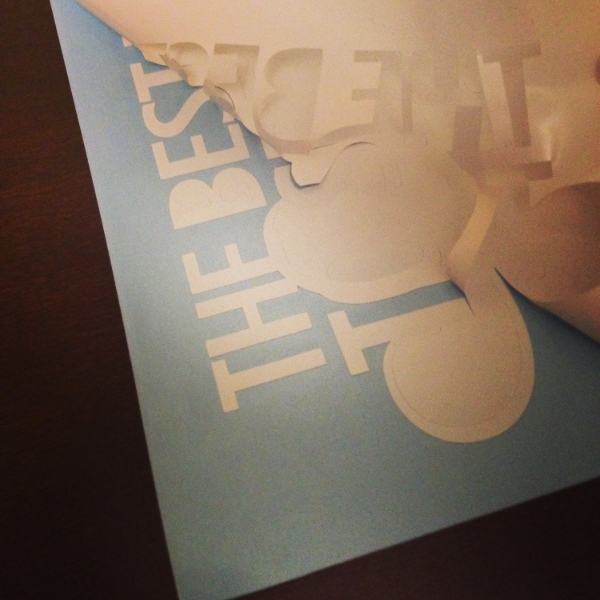
Use the hook to separate the vinyl layers. Gently and carefully pull back on the vinyl.
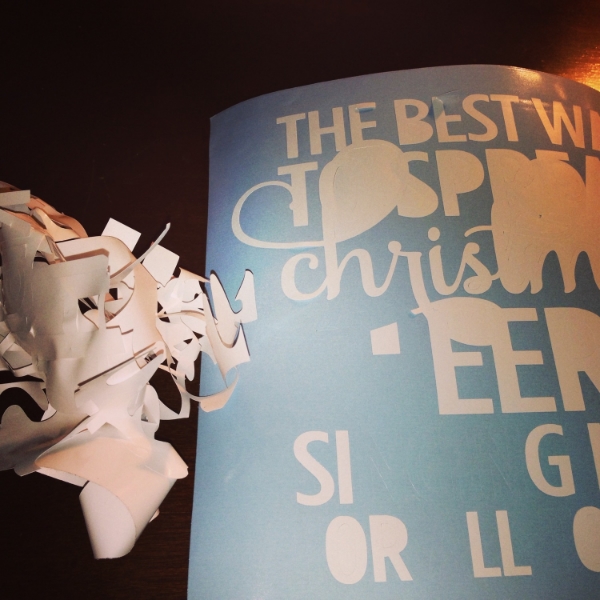
WARNING: If you are watching the Mindy Project while attempting this don’t die of laughter half way through pulling your vinyl and let the excess vinyl you were pulling to make contact with the vinyl. Note vinyl sticks to vinyl. You will most likely need to start over.
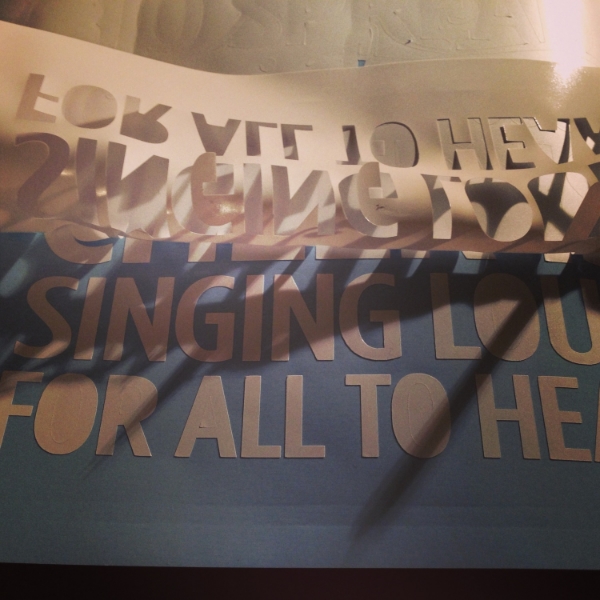
I re-cut they vinyl and gently pulled back the vinyl (Mindy Project paused) and occasionally used scissors to snip the excess vinyl so this would not happen again.
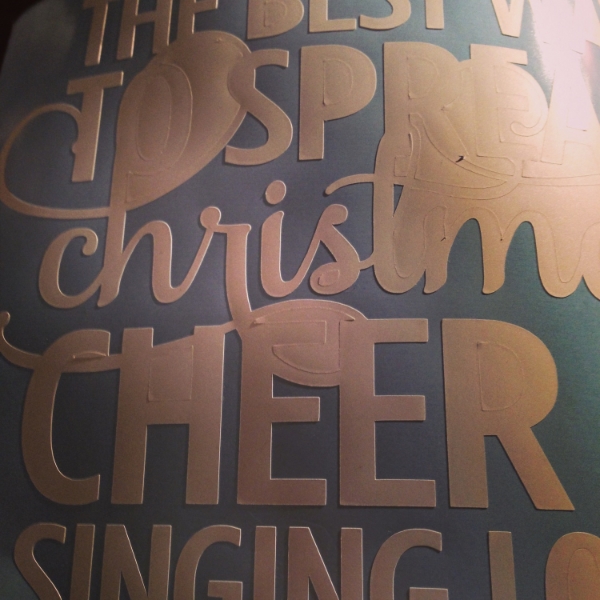
Once you pull back the main layer you will notice that there are still pieces of vinyl to be picked off . For instance the center of the “R”. Using the hook carefully remove the excess vinyl.
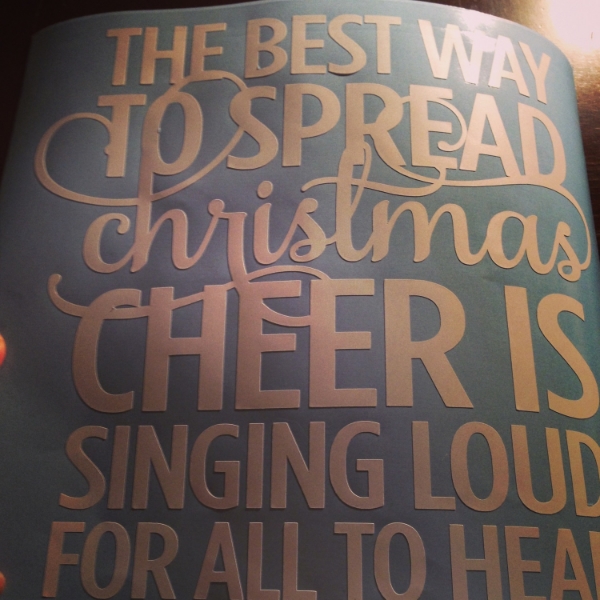
This should be what it looks like when all excess vinyl is removed.
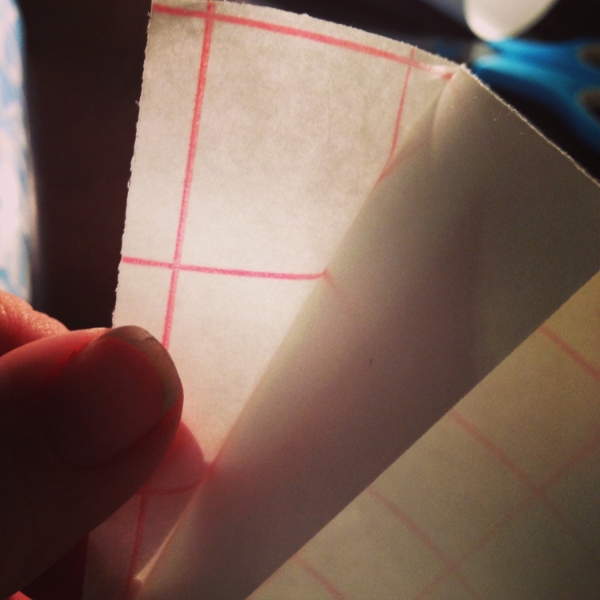
Using the transfer paper we cut to size earlier pull it apart and keep the grid size to lay over the vinyl.
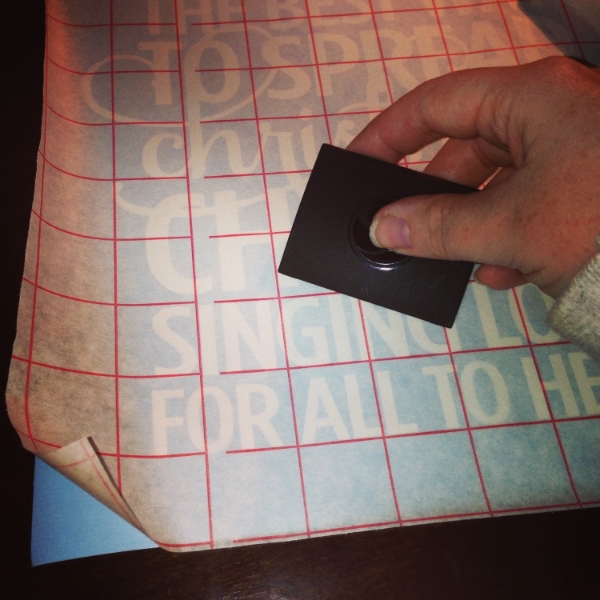
Using the scraper go over the letters. Don’t be afraid to push down hard and go over the same area multiple times.
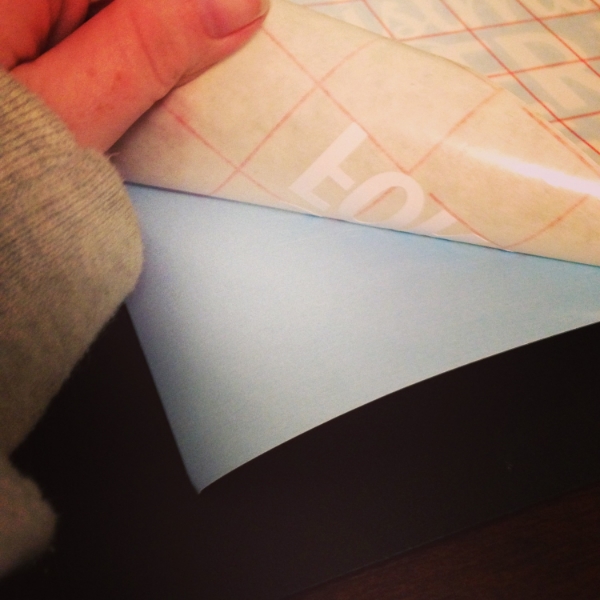
Test one corner by pulling back slowly. If the letters are adhered to the transfer paper start to peal back completely.
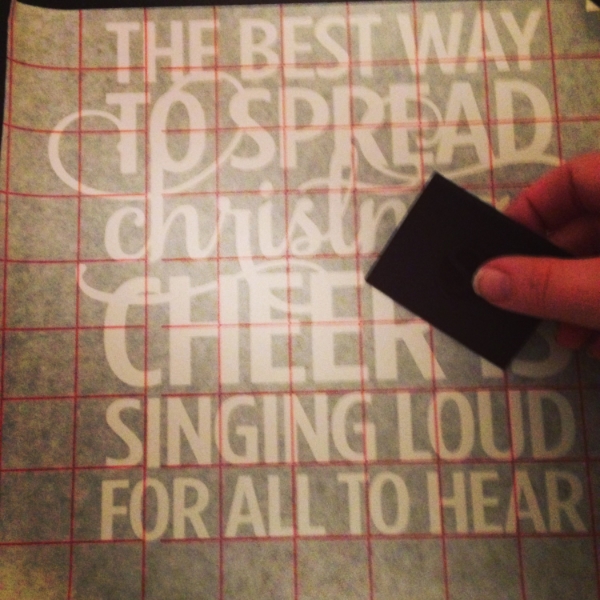
Place the transfer paper on your dry chalkboard using the grid line to place it straight. With the scraper go over all of the vinyl letters and don’t be afraid to press down hard and go over the area multiple times.
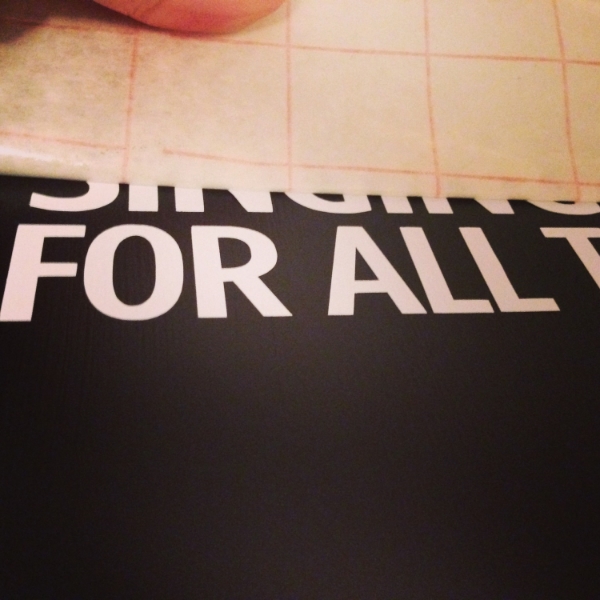
Pull back keeping the transfer paper low and tight.
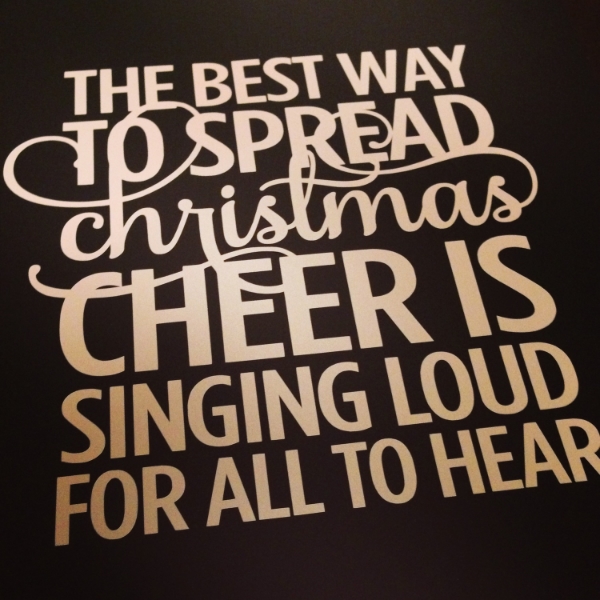
Ta-da. Now I bought this cut file at the Silhouette store you can purchase it here if you want to do this project on your own. It’s relatively inexpensive I purchased it on sale for $0.50.
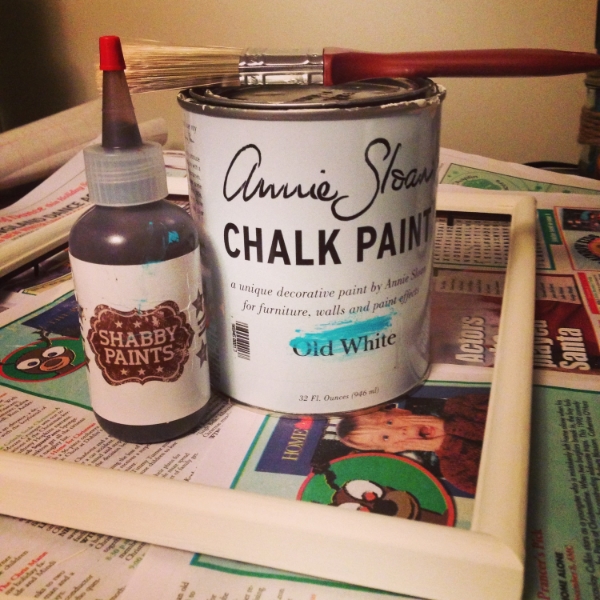
For the frame I painted 2 coats of Annie Sloane chalk paint in Old White. To make it appear more distressed and shabby chic I used Shabby Paints Espresso Vax.
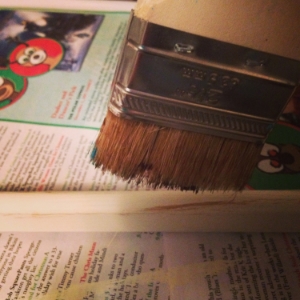
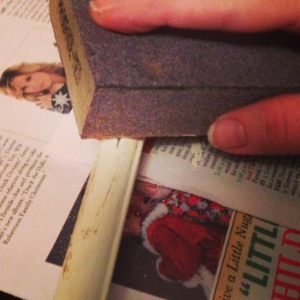
The Vax is super easy to use just add a small amount to a dry brush blot excess off on a paper towel and lightly brush on to the frame. Since I was working with a wood frame. I lightly sanded the frame for some of the wood to show through. Don’t over sand just lightly distress the frame.
This has hands down been one of my favorite projects. Vinyl was so easy to use even for a beginner.
Want to Check Out More Silhouette Projects?
My Silhouette Challenge buddies and I are all sharing projects on our blogs today, so peruse the projects below for a wealth of Silhouette inspiration!
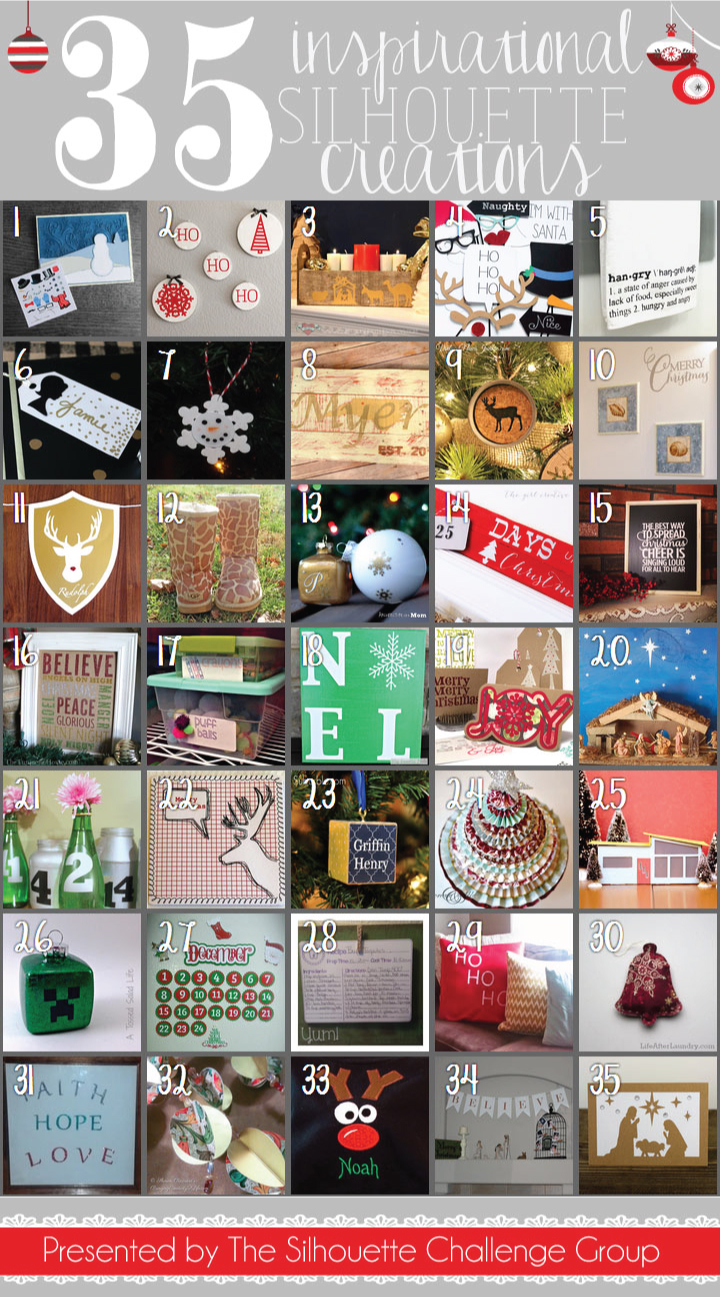
- 2013 Snowman Christmas Card by Please Excuse My Craftermath…
- Christmas Hoop Art by Lil’ Mrs. Tori
- Silhouette Nativity Advent Candle Box by One Tough Mother
- Christmas Party Photo Booth Props by unOriginal Mom
- Another Stenciled Tea Towel by Cutesy Crafts
- Silhouette Gift Tags by Rain on a Tin Roof
- Snowflake Pin / Ornament by Coley’s Corner
- State Sign Couple Gift by It Happens in a Blink
- Mason Jar Christmas Ornaments by Vintage News Junkie
- Merry Christmas Wall Decor by One Artsy Mama
- Deer Head Holiday Banner…featuring Santa’s Reindeer by The Thinking Closet
- Restore your UGGS (with PAINT) by From Wine to Whine
- Monogrammed Snowflake Ornaments by Architecture of a Mom
- Christmas Countdown Sign by The Girl Creative
- Elf Chalk Sign: “The Best Way to Spread Christmas” by Weekend Craft
- Glittery Christmas Subway Art by The Turquoise Home
- Sketch Pen Labels by Sowdering About in Seattle
- Snowflake NOEL Sign by My Favorite Finds
- DIY Holiday Hostess Gift by Everyday Paper
- Folding Nativity Backdrop by Chicken Scratch NY
- Recycled Glass Jar Advent Calendar by Nearly Handmade
- Reindeer Card: Double-Sided Print & Cut by GetSilvered
- Personalized Block Ornament by Suburble
- Paper Medallion Christmas Tree by Create & Babble
- Mini Mid-Century Homes by Tried & True
- Glitter and Vinyl Minecraft Christmas Ornament by A Tossed Salad Life
- DIY Countdown to Christmas Refrigerator Style by My Paper Craze
- Reversible Recipe Holder/Block Frame by The Sensory Emporium
- DIY: Lettered Christmas Pillows by The House on Hillbrook
- Simply Charming Christmas Ornaments by Life After Laundry
- No Glitter was Worn by GiveMeAPaintbrush
- Make Easy Ornaments from Paper Circles by Bringing Creativity to Life
- Cutting Machine Embroidery Applique by Terri Johnson Creates
- “Believe” Christmas Banner by Daily Dwelling
- DIY Christmas Nativity Card by Pitter and Glink
Do you have a Silhouette machine?
Looking for Silhouette inspiration, support, trouble-shooting? Interested in joining us for our group posting event next month? Then, we’d love to have you join our Silhouette Challenge Facebook group. To join, simply fill out the new member request form, and Lauren from The Thinking Closet will get you squared away.
$155 Amazon Gift Card Giveaway!

Here’s what you need to know
- Giveaway runs from Monday, December 9th – Monday, December 16th at 11:59p eastern.
- Giveaway is open to anyone 18 years of age and older, and this is an international-friendly giveaway.
- 31 different bloggers from our Silhouette Challenge FB Group made this giveaway possible, which means…
- There are 31 different potential entries per person! That’s a lot of potential winning power.
- Giveaway prizeAmazon Gift Card for $155
- The winner will be contacted by Lauren from The Thinking Closet by email and will have 48 hours to respond; so, everyone should watch their spam folders.
a Rafflecopter giveaway //d12vno17mo87cx.cloudfront.net/embed/rafl/cptr.js
(function(i,s,o,g,r,a,m){i[‘GoogleAnalyticsObject’]=r;i[r]=i[r]||function(){
(i[r].q=i[r].q||[]).push(arguments)},i[r].l=1*new Date();a=s.createElement(o),
m=s.getElementsByTagName(o)[0];a.async=1;a.src=g;m.parentNode.insertBefore(a,m)
})(window,document,’script’,’//www.google-analytics.com/analytics.js’,’ga’);
ga(‘create’, ‘UA-46439362-1’, ‘weekendcraft.com’);
ga(‘send’, ‘pageview’);




That is my favorite quote from my favorite Christmas movie! (Ok, I’ll admit – I even watch it in the summer.) Love the sign!
I love this quote–I love quote art in general. Beautiful!
So cute! It never occurred to me that the grid lines are on the transfer paper to help you keep your project straight. Duh!
Valerie even with the grid lines it came out slightly crooked! But that’s fine part of being handmade is being slightly imperfect!
Valerie even with the grid lines it came out slightly crooked! But that’s fine part of being handmade is being slightly imperfect!
Soooo cute! And I love this saying!!! Great job!
Love the quote. Thanks for the tutorial!
Friendship is the blessing of God. There are so many people in the world who know the actual meaning of friendship and want to do anything for their friends.