This post contains affiliate links, please read our disclosure policy.
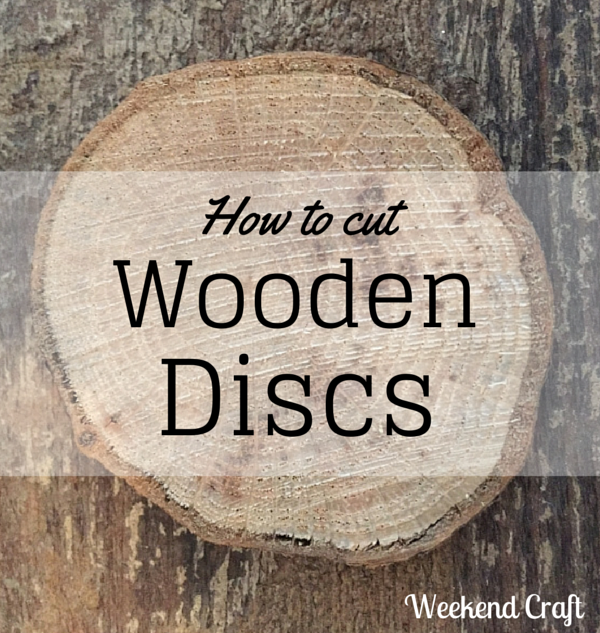
The past two Winters I have been really into crafts and decorating with these wooden discs. Problem is I have been spending a small fortune to buy them on Etsy and have you seen how much craft stores are charging for them? Well on Thanksgiving I noticed my Brother-in-law had done some landscaping in his yard and had a pile of branches to burn. After dinner I went our back and grabbed two small branches.
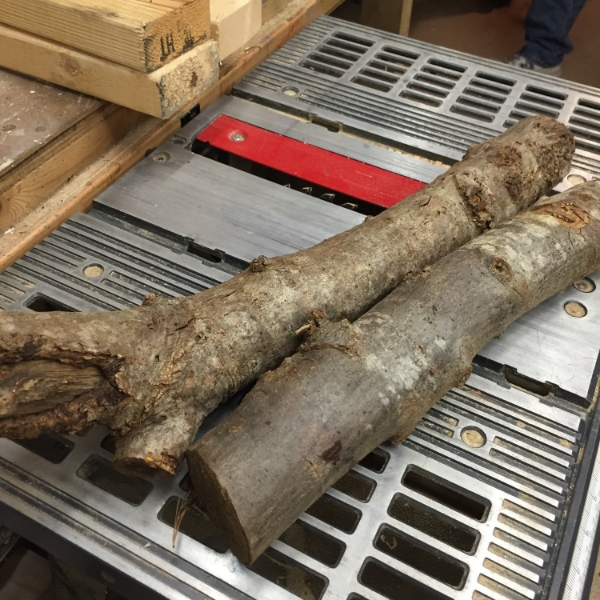
Now I will admit I was scared to cut these at first and I am not normally scared of power tools. But you must be very careful cutting branches because of the knots. Since I was a little unsure I brought them to my Dad’s so the first time we could do it together. If you live alone and its the first time doing a project your unsure of its always good to have someone there.
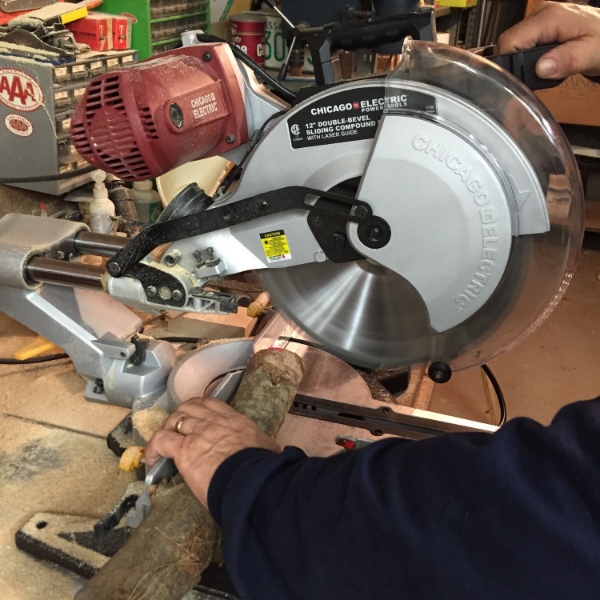
I suggest to use a miter saw when cutting the wood. Make sure you have a good grip on the branch. Since it is not flat it will likely move so a good grip is necessary keep your hand a safe distance away from the blade.
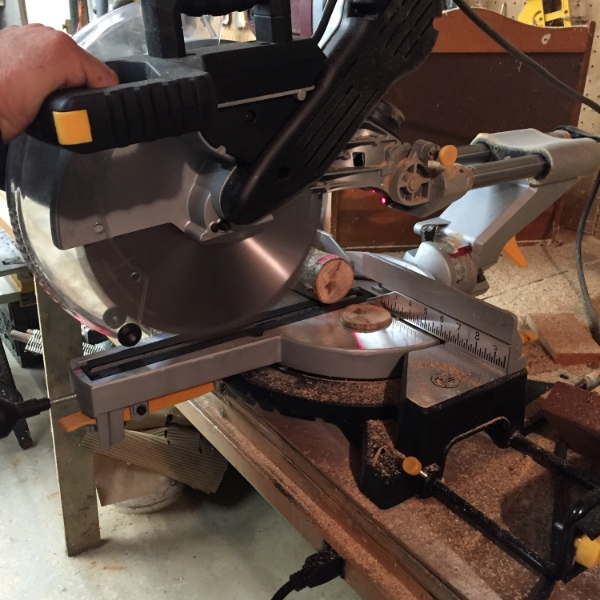
On our miter saw we have a laser to guide where the saw will cut. Lining up the laser with your desired width make your cut. Now I cut mine thin for the project I have in mind about an 1/8th of an inch wide.
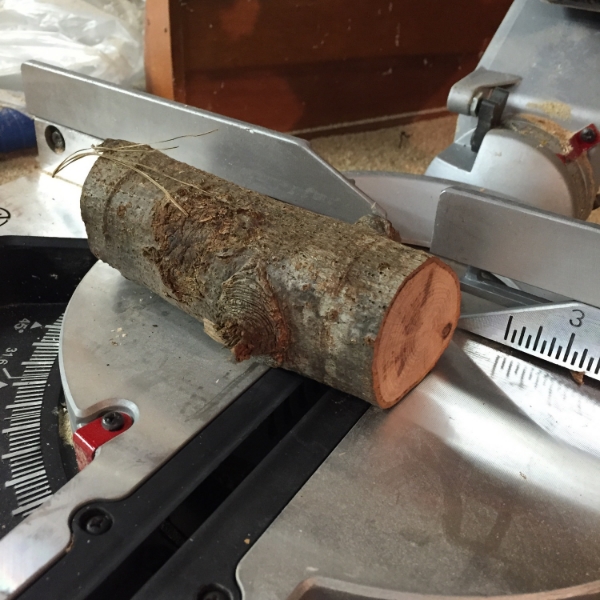
Once you start to get close to the knot stop cutting! Cutting through a knot is dangerous. Remember there are always more branches in the woods you don’t need to risk it.
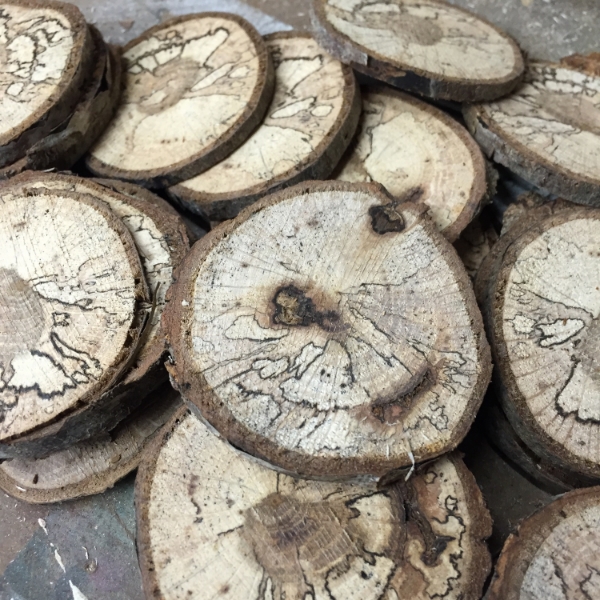
These two small branches made over 70 discs! Now your not done just yet.
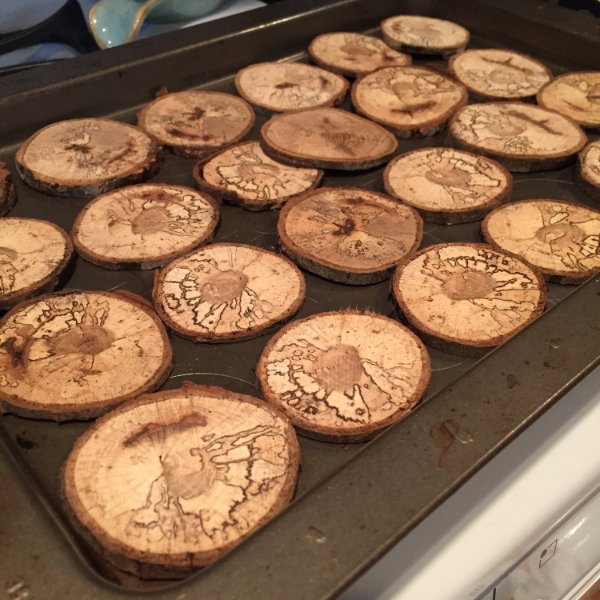
You are going to want to bake these discs. I suggest low heat for over an hour. I baked them at 200 degrees for an hour and 15 mins. This will insure there are no live critters in them!
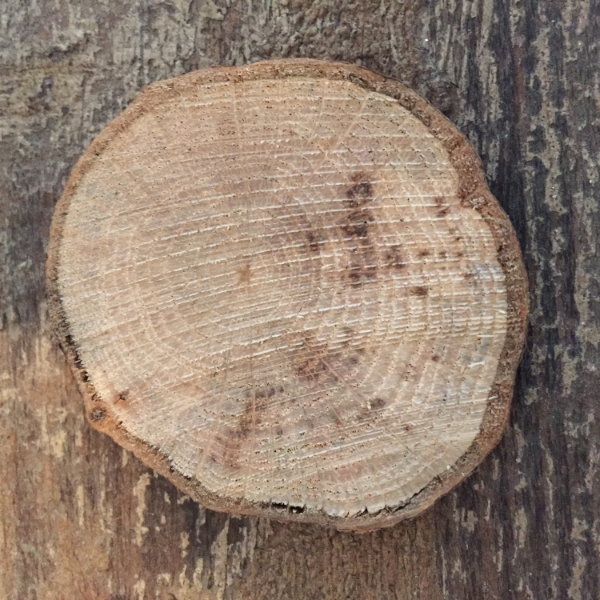
Now what should you make with these beauties? Here are the Wooden Disc Ornaments I made recently with chalk paints.


not the best way but i try to hold them in a salt about a few days, and thats work!
For smaller branches, a band saw works great. Since you don’t really touch the blade, you are able to keep a good grip on the wood.
Hi, I would like to know if the wood cracks when you put it in the oven? Thank you for this post. It is very helpful.
It didn’t for me. Low and slow is the way to go it helps dry out the wood.
Hi I’m new to wood burning, and my husband has cut me some wood but they ended up cracking, I read one comment where someone asked if you dry them in the oven will that keep them from cracking and you had a reply if they sanded afterwards but I didn’t see there reply, so is that what I need to do is dry in the oven then sand to keep from cracking and do i need to treat the wood with anything else?We are blessed with all the wood I need but need to know how to keep the rounds from cracking?
If you put wet or green wood in a microwave and cook it on high to drive the miosture out, this is like kiln dried wood and will make the cells in the wood so it won’t crack. You can cook it but stop before it starts to smoke. I got this input from this old house. I have a seperate microwave in my woodshop and have done this, it works very well.
Great idea if it works. I assume there are some variables, but how long do you think a piece 6" across and 1 to 1 1/2" thick would take? Is there some way to tell, or is it learned guess work?