This post contains affiliate links, please read our disclosure policy.
I wrote this post as part of a paid campaign with I Love to Create and Blueprint Social. The opinions in this post are my own.
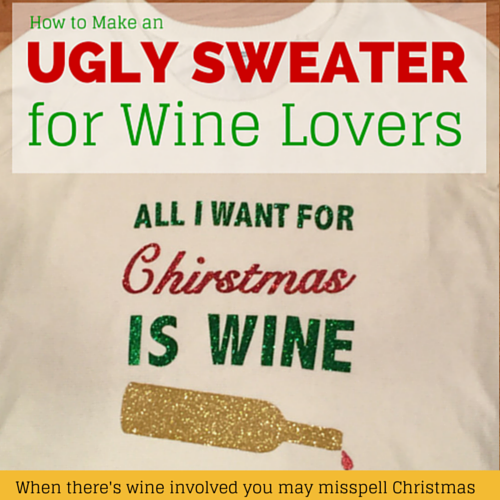
Every year at work there is an annual ugly sweater contest. This is my first Christmas at this company so I was excited to hear about this! I knew I had to bring my A game. I had so much fun with this project and hope you will be full of inspiration to make your own ugly sweater.
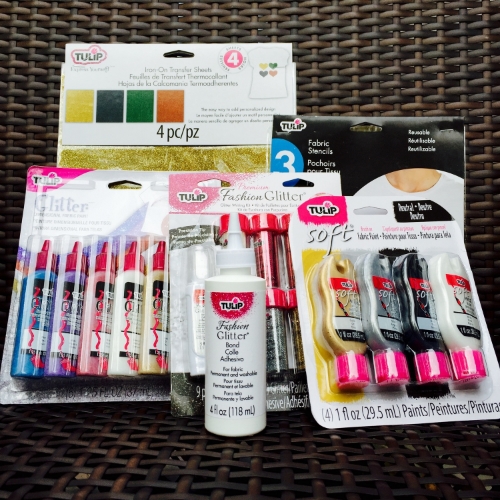
I was over the moon when I opened my #UglySweaterChallenge package that Tulip sent.
What you’ll need
• A Sweater (new, old or thrifted)
• Tulip Iron on Transfer Sheets
• Tulip Glitter Fabric Paint
• Optional Cutting Machine/Silhouette Machine
(Can also trace and cut with scissors)
• Kitchen towel
• Exacto Knife
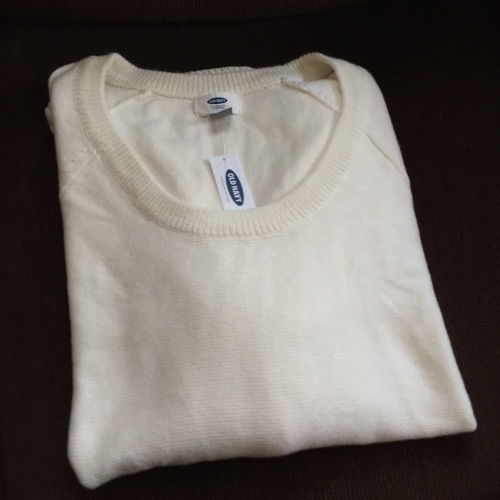
So I rushed off to Old Navy to grab a cheap sweater. I had recently purged my closet making a big donation not even thinking about sweaters! Now here is the hard part. To come up with an idea for your sweater design. From my perspective there are two ways to tackle this. One you just go crazy with patterns and designs and the uglier the better! Two you come up with a fun saying. I chose the latter.
It might be because I have been hearing Christmas music everywhere or because I saw that cringeworthy Mariah Carey performance the other night but I had the idea to use the song “All I want for Christmas is you.”
Now there are also two ways to complete this project. One you can design your text in Word and cut out the letters and trace them or use a stencil. Two if you have a cutting machine like a Silhouette Cameo you can design your phrase in the studio software and cut it out that way.
Who doesn’t like a bottle of wine? I usually have a glass when I am crafting. Once I had my text in place I started to test the cut settings for the Tulip Iron on Transfer Sheets. I found the best cut settings were blade- 4, thickness-9 and speed 3. I also turned on the double cut feature. Download a free Silhouette cut file here.


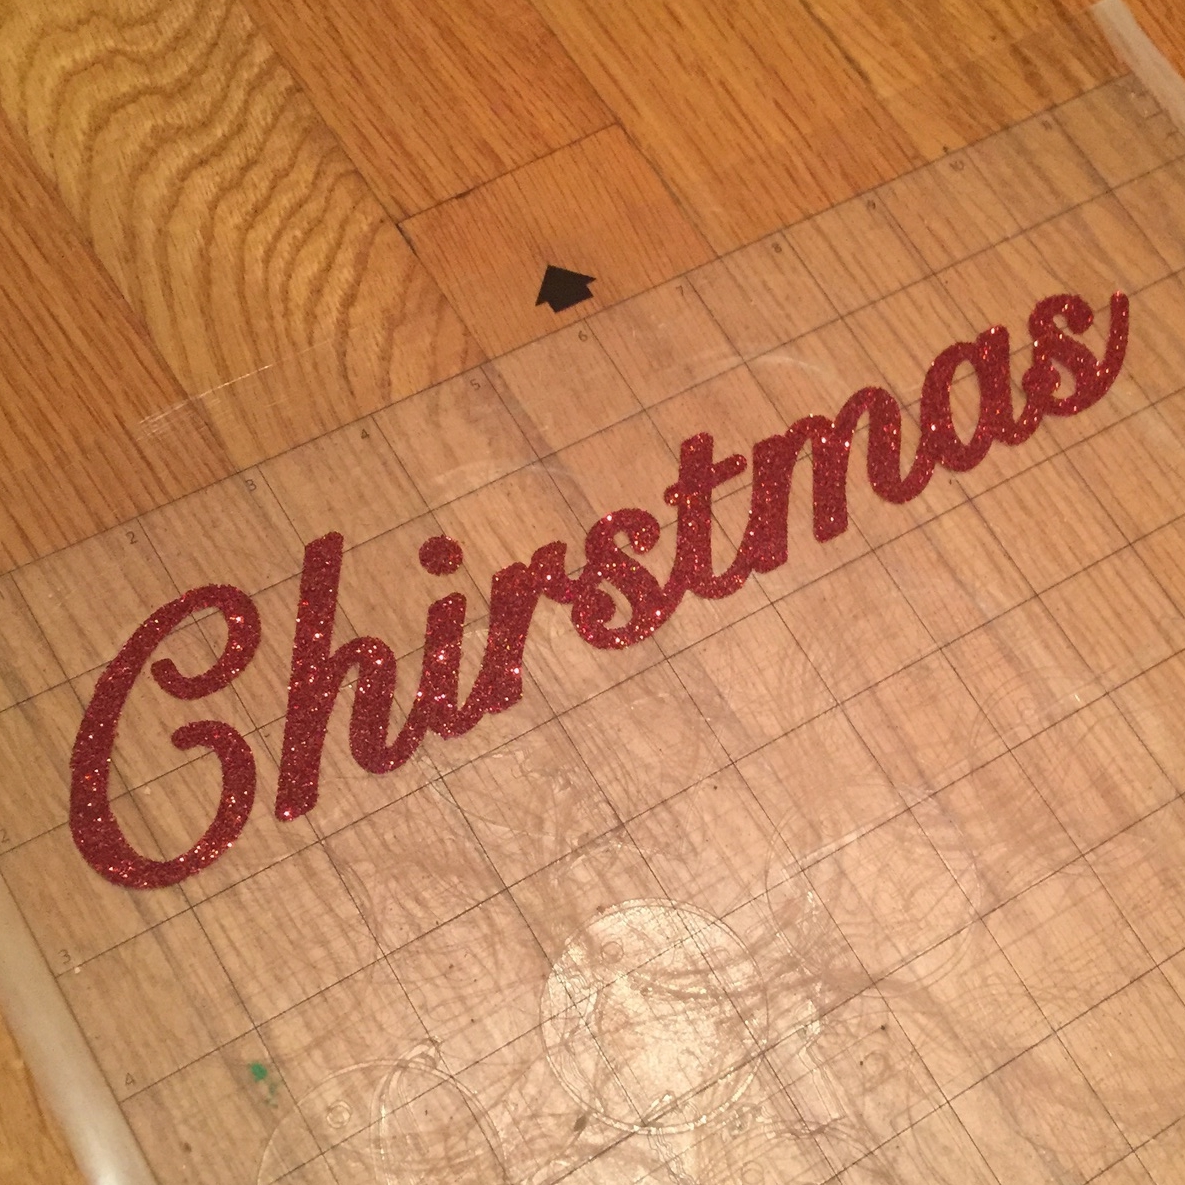
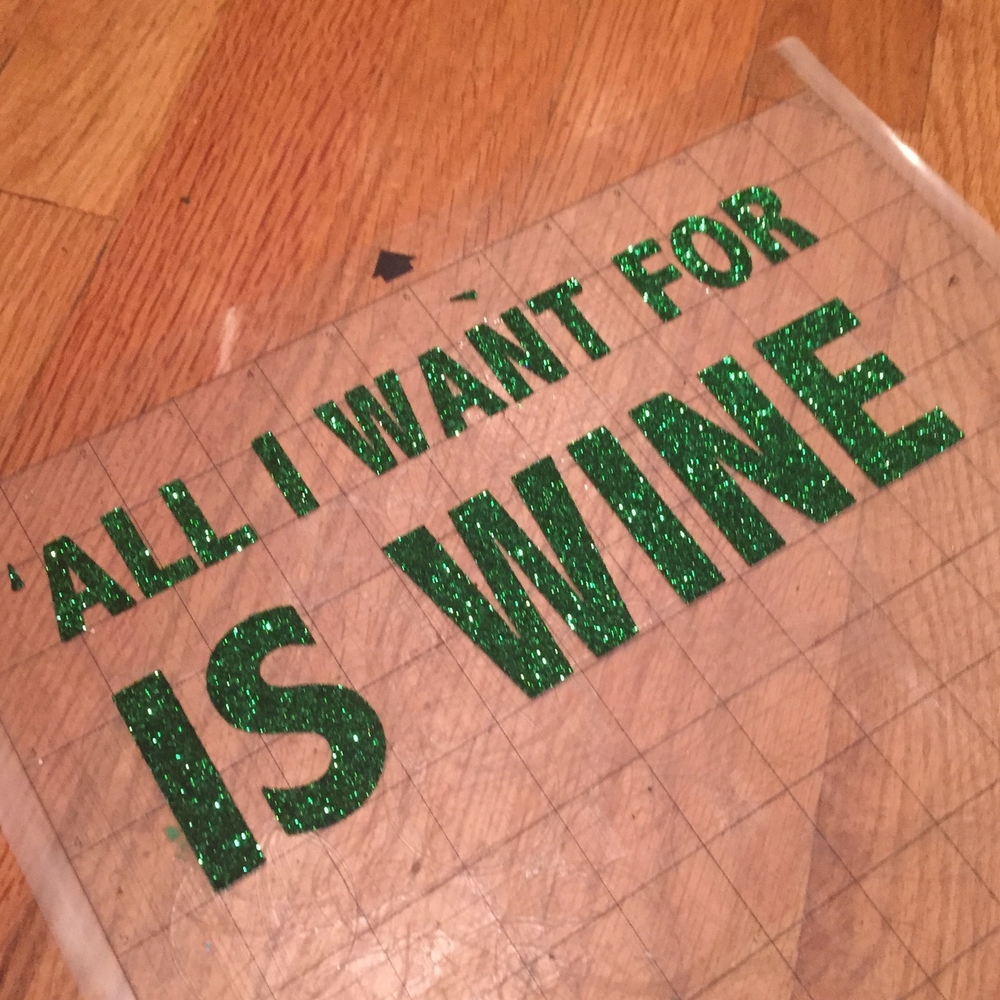
Now that wasn’t too hard. Have an exacto knife handy incase some of the letters need a little help coming detached from the sheets. I cut the word Christmas first since it was script and I knew that the letters would stay together.
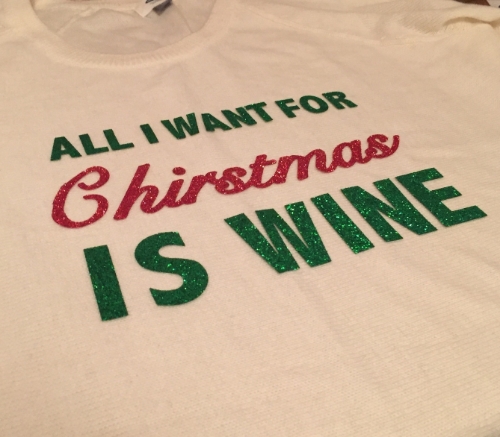
Now here is the tricky part. Laying everything down straight. Start by placing the word Christmas down first. Here a tip look for a thread line in the sweater and try to line each character up with it.

Make sure your iron is hot I warmed mine up for a 10-12 mins before ironing. Set the iron to the type of material you are ironing on to. Use a kitchen towel or a thin piece of fabric and gently lay it over the letters. Make sure the letters don’t shift. Place iron on each section for about 45 seconds. Do this to the whole design. I did go over it a few times afterwards just to be safe.

There you go! The iron on transfer is affixed to the sweater!
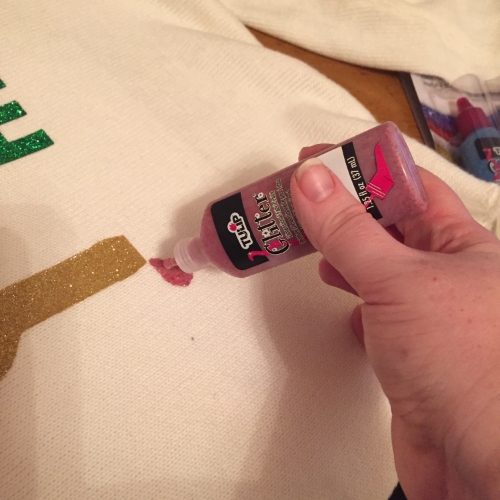
But something seemed like it was missing… that last drop of wine! Using the Tulip glitter fabric paint I added the finishing touches.

Follow I Love to Create
Facebook|Twitter | Pinterest
document.write(”);


This is such a cute idea and there’s still time for me to make one for my favorite wine lover!
Cute project!
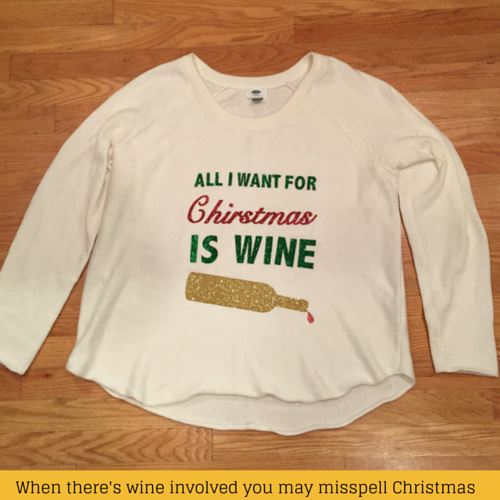
That is AWESOME! What a cute idea, and I love the the dripping wine…