This post contains affiliate links, please read our disclosure policy.
This is a sponsored conversation written by me on behalf of Cricut. The opinions and text are all mine.
Three handmade ornaments made with a Cricut Maker.
It seems like I’ll never be done decorating my Christmas tree because I keep making more ornaments! I’ve had the Cricut Maker about a month and because it cuts thicker materials it seems like the options are endless for what kind of ornaments I can make.
Recently I made snowflake ornaments with chipboard and mini embroidery hoop ornaments with fabric, iron-on vinyl and my EasyPress2. Since I got a new tree this year I wanted it to feel more like my style and personality and an easy way of doing this was to make most of my ornaments. Now I’ve cut chipboard on my maker with the knife tool and used iron on. I thought naturally what’s next? Why not try felt.
This post may contain affiliate links
How to cut felt with your Cricut Maker
Let’s make another ornament. I decided I wanted to make flowers for my tree and landed on poinsettias. I used this poinsettia design space file. In design space I doubled the amount of leaves and petals to maximize the use of my felt sheets.
Here’s what you’ll need
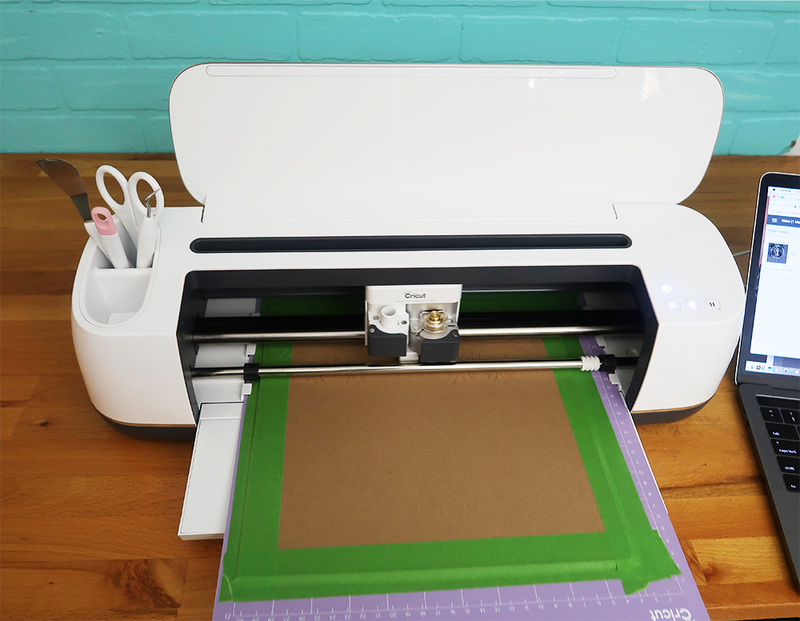
Now when I am cutting felt I like to use the fabric mat. Load your felt onto the mat. Now what I love about Cricut design files is that they separate out your different colors on to different mats once you say make it. So the yellow center is one cut, your second cut will be the green leaves followed by the petal of the flowers.
Now you want to make sure when you select your materials that you click on felt. This is important so your blade adjusts to the right depth to cut through the material.
Weed out all of your petals and leaves. Whats great about weeding felt instead of vinyl is you can just lift the sheet right off and your cuts will be on your mat. It takes only seconds.
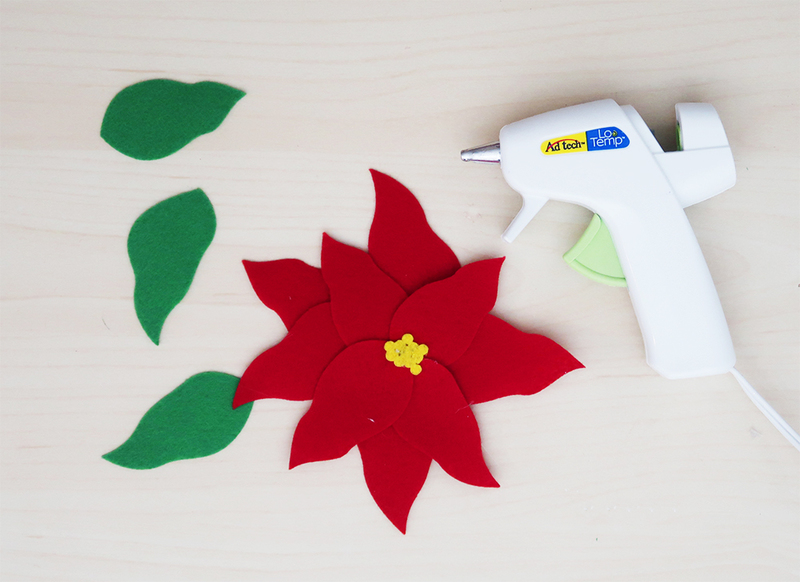
Separate your petals, leaves and yellow middles into piles for each flower.
Find 5 of your larger petals. Start with one petal and hot glue each petal on to one another. Once those are attached create a second layer gluing your smaller petals to the center of the flower. Top the center off with your yellow dots.
To finish off your poinsettias hot glue the leaves to the back of the petals. Now you can glue a string onto your flower to make it a true ornament but I actually like to rest the flowers on the tree. The tree branches keep them in place.
I had felt my tree needed a touch more red and these poinsettias added that as well as visual interest.
The whole theme in my living room is flocked and buffalo check. I found flocked garland that perfectly matched my tree. I added the same buffalo check ribbon and red berries but I also wanted them to feel like an extension of the tree. So I decided to create more chipboard snowflakes and add them to the garland.


I can’t get enough of your tree! Every DIY ornament makes it that much prettier. I really like the felt on these ornaments, gives them a nice texture over paper, as always you do such great work!
I am admiring your tree with a touch of envy as mine sits bare in the corner! The pointsettia ornaments turned out great! I might try this Cricut file to make larger ones to apply to a cushion cover!
Michelle…that Christmas tree is SO YOU!! All the buffalo plaid and red pop of poinsettia just say ‘this is Michelle’s tree!" And the biggest reason I want to upgrade my Cricut Maker is to be able to cut felt and thicker materials and you are just making me want it even more. UGH!!
Thanks for sharing all your great projects.
Hugs, Lynn