This post contains affiliate links, please read our disclosure policy.
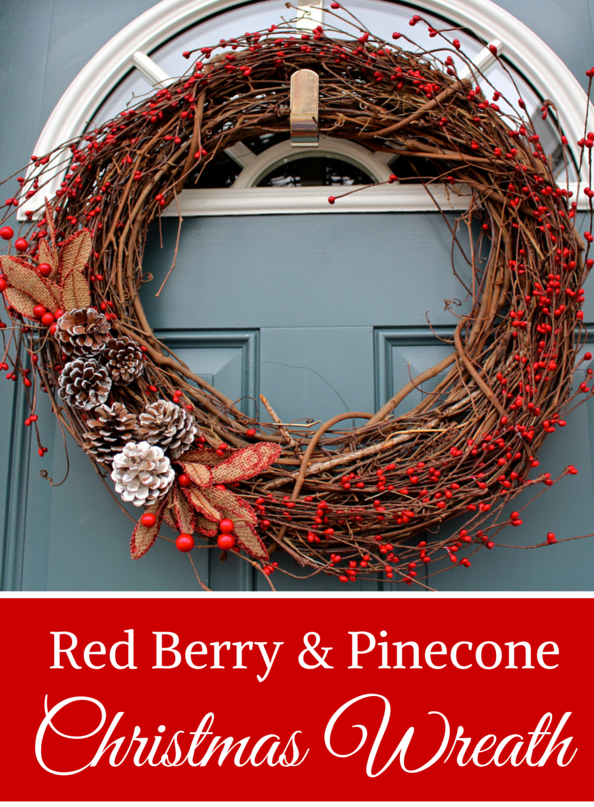
It’s day four of the Holiday Craft Party and I am joining up with Simply Kelly Designs, Two Purple Couches, The House Down the Lane and Where the Smiles Have Been! If you missed yesterday make sure you check out the five fabulous mason jar crafts we created here. So before I tell you about red berry and pine cone Christmas Wreath. Let me tell you more about this week. Make sure you stay to the end of this post a.) to see what the other party goers created and b.) to enter to win a $50 Michaels gift card or $50 to Minted!
So what’s in store this week?
Monday- Ornaments
Tuesday- Gift Tags
Wednesday- Mason Jar
Thursday- Wreaths
Friday- Home Decor
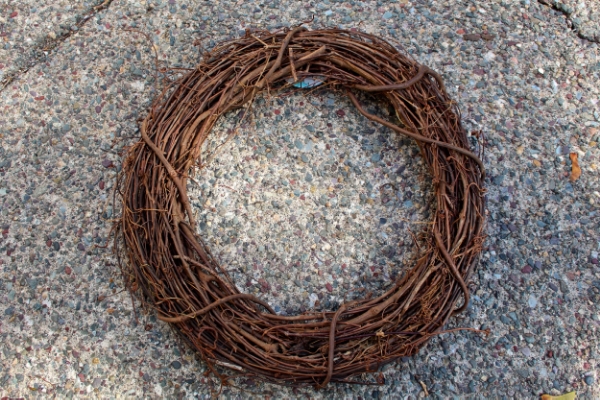
Now I am kind of on a grapevine wreath kick. You may remember that last month I created a fall wreath with this same base. I had stopped by Trader Joe’s, to buy everything pumpkin, and saw these gorgeous grapevine wreaths for $3.99. Since the fall wreath I went back and bought two more bases to tuck away for Christmas wreaths which I am showing you today!
So here’s what you’ll need
- Grapevine Wreath Base
- Floral Wire
- Wire Cutters
- Festive holiday florals
- A focal point, for this wreath it was pinecones
- Accents pieces, burlap petals
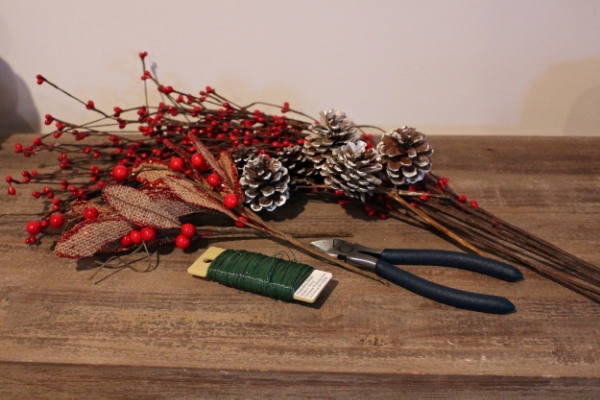
I headed to Joann’s because I knew they had their Christmas florals out already and they were running a coupon for 20% off my purchase again. Now when I go into pick the florals I am going to use I actually bring the wreath with me. I like to faux mock it up in the store to make sure I am on the right track. It can take longer but I think it is better in the long run. I am a very visual crafter.
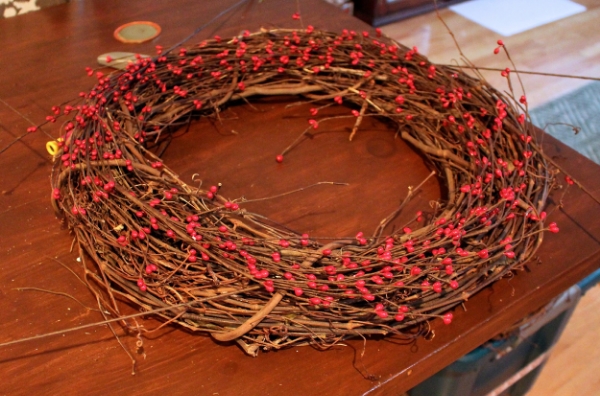
I tend with grapevine wreath to stay more towards the natural florals. I knew that with this particular wreath I want to cover the whole base with red berries. Once I got the wreath home I laid out the sprigs spacing them evenly before weaving them into the wreath.
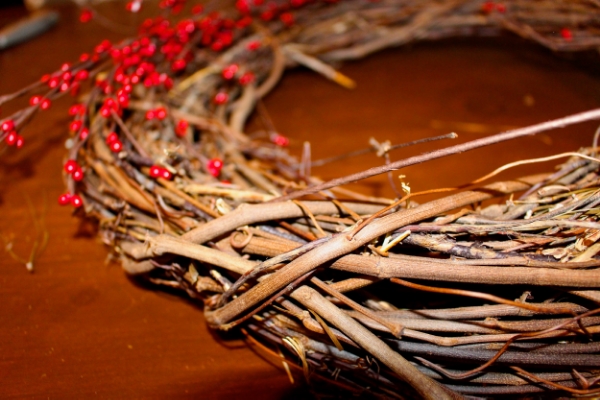
Once I had the wreath laid out I started to weave the florals through the grapevines.
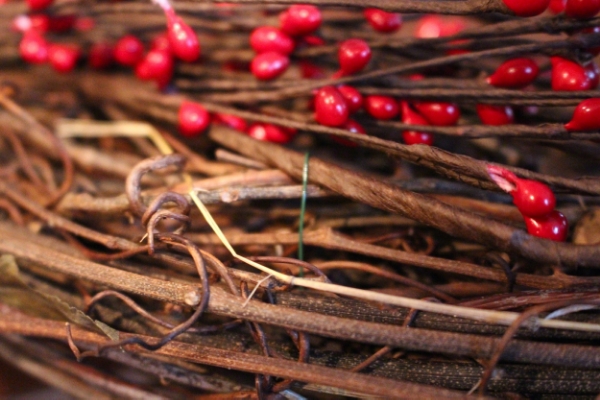
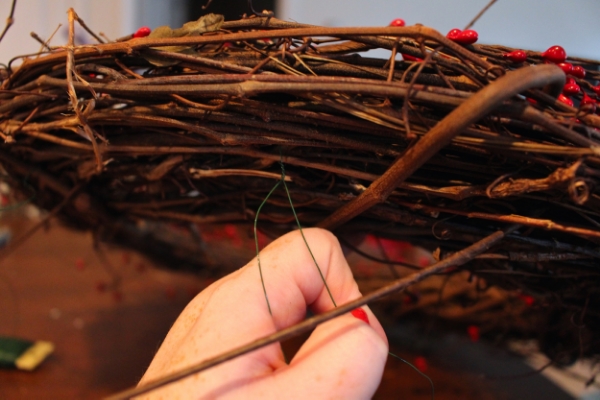
Once they were woven through the back side I used floral wire to secure the berries. Going through the front of the wreath and twisting the wire tightly in the back. Then I added the pinecones and burlap petals as the focal point off centered on the front of the wreath.
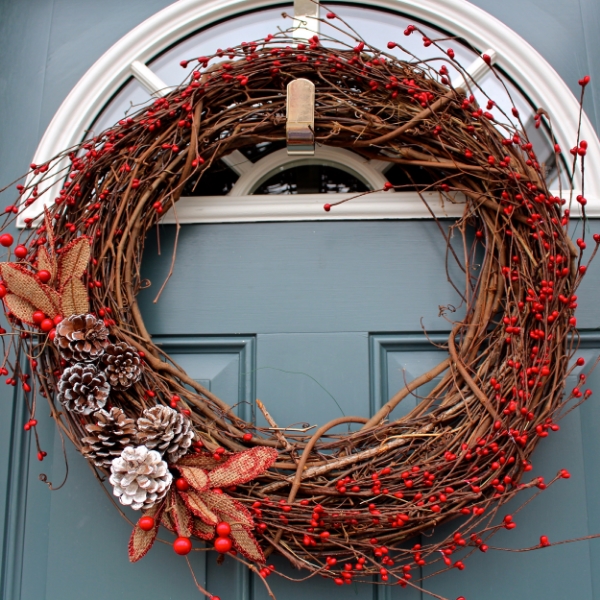
What I love about these grapevine wreaths is that they are so simple to make and it almost takes longer to buy the materials than it does to actually assemble the wreaths.
Now here’s the moment we have all been waiting for. What are the other party goers up to today? What did these ladies make with their wreaths?! Make sure to check them all out.

Whimsical Painted Christmas Stocking Door Hanger by Where The Smiles Have Been |
DIY Snowflake Door Hanger With Embroidery Hoops by The House Down The Lane |
Red Berry and Pinecone Christmas Wreath by Weekend Craft |
Easy Jingle Bell Wreath by Simply Kelly Designs |
Mini Grapevine Wreath Napkin Rings by Two Purple Couches
We are excited to give away some awesome prizes this week to 3 lucky winners. There are 3 prize two $50 gift certificates to Michaels and one $50 gift certificate to Minted. Three prizes three winners. Shout out to Minted.com for providing us with a $50 gift certificate to use towards holiday cards!

a Rafflecopter giveaway
//widget-prime.rafflecopter.com/launch.js





Love the wreath!! Thank you for sharing the giveaway!
This is so pretty, Michelle! I love the contrast of the berries against the grapevine 🙂
Oh my I never thought that easy making this gorgeous wreath. Thank you for the tutorial 🙂
This wreath is perfect for the holidays! I’m also a visual crafter….love your idea for doing an in-store mockup! Other shoppers may think you’re a little crazy, but it’ll definitely make your final product a hit! 🙂