This post contains affiliate links, please read our disclosure policy.
This is a sponsored conversation written by me on behalf of Cricut. The opinions and text are all mine.
How to make a first day of school sign with your Cricut and vinyl.
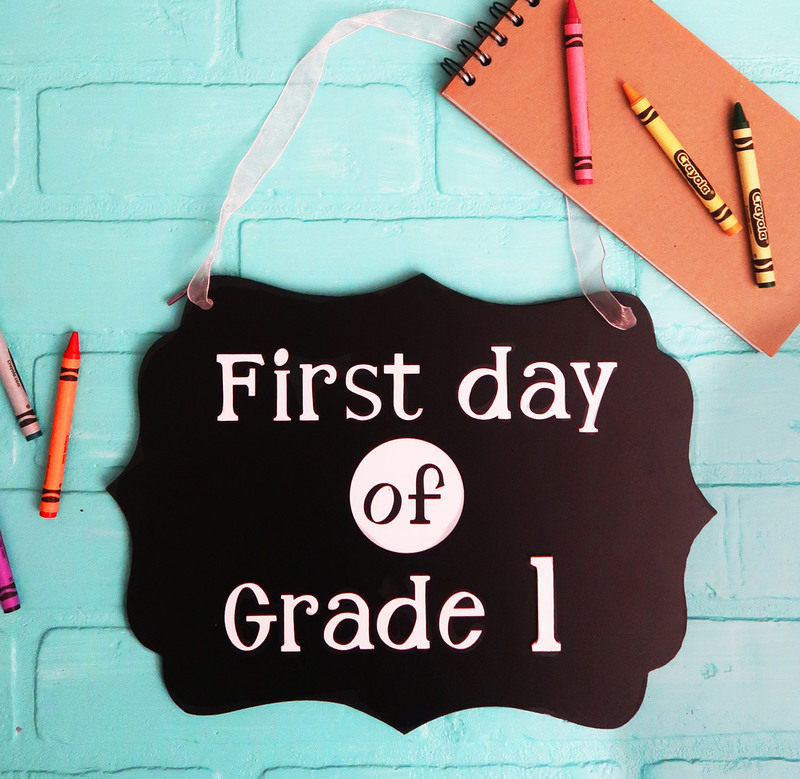
Forget the letterboard everyone is using on first day of school photos lately. Let’s create a first day of school sign that would be reusable for every year or for every child in your family.
I love having a Cricut Maker it makes personalizing easy. Can you imagine when I was growing up, my mom used to have to send away to get out back packs monogramed. Now all you need is a Cricut and iron-on or Infusilble Ink. You can even get your kids involved and help them truly personalize their new back to school supplies or clothes.
Are your kids in permanent vacation mode? Make this vacation mode Tshirt with them for back to school.
Let’s make a first day of school sign that has interchangeable numbers as your kids grow.
Here’s what you’ll need
- Cricut Maker
- Cricut Standard Grip Mat
- Cricut Strong Grip Mat
- Knife Blade
- Chalkboard Blank
- Vinyl
- Transfer Tape
- Heavy Chipboard
- White Paint
- Paint brush
- Velcro
- This Design Space file
Cut your design
Now you can choose to use this design space file or use a different font and create the file yourself in design space. Keep in mind to measure the width and height of your chalkboard at the smallest points and consider this when laying out your design.
In your design space file you are ready to “Make It,” select your machine and then the type of material you are using. Once the material is selected load your mat and touch the blinking button and watch your design come to life.

Weeding
Once the Cricut is done cutting remove the mat and start to weed your excess vinyl. You should just be left with your lettering.

Transferring vinyl
Cut a piece of transfer tape to size and using your scraper tool or a credit card rub the vinyl on to the transfer tape. Peel back the backing the white sheet of backing.
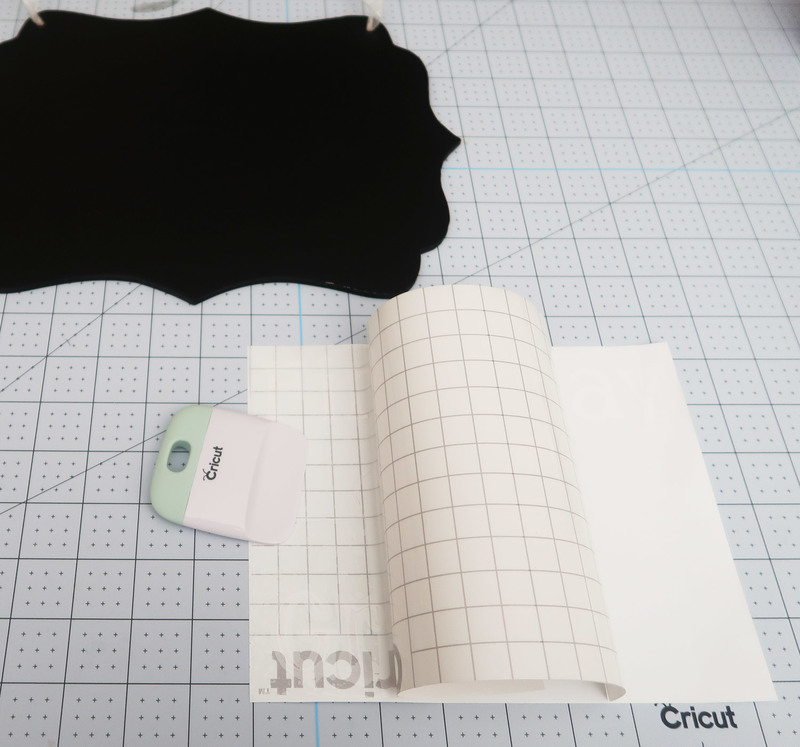
Place the design on the sign. I use grided transfer paper this helps you lay the design straight. Once it is in the desired position use your credit card or scraper too to transfer the vinyl on to the chalkboard sign. Peel back the transfer tape. I like to peel it back low and slow making sure the vinyl is sticking to the board.

How to make the back to school sign reusable
There are a few different ways we can make this reusable. One is to make the sign reversible. We’re going to repeat all the same steps from above to add “The last day of” to the back of the sign.
So whats the sign still missing? The grade that your child is in. There’s a few ways you can add this. First being with chalk or a chalk pen handwrite the grade. Don’t have great handwriting? That’s ok it’s the reason we have a Cricut!
Let’s create some numbers on our Cricut. You can do this out of cardstock, chipboard or basswood. Since I want this reusable for any child in the family I am going to make it out of a sturdier material than cardstock.
How to cut chipboard with Cricut Maker
Normally we would just put our materials on to the mat and we are ready to go but because we are cutting a thicker material you are going to want to get out some masking tape or painters tape.
Place your chipboard lined up on the right side and tape around securing to the mat. Move the 4 white rollers on your Cricut Maker all the way to the right. Do not forget this step the chipboard will not load correctly otherwise. Read more about cutting chipboard with your Cricut Maker here.

Select your material
When you click make it in design space you will be prompted to select your material you are cutting. Make sure to search and select heavy chipboard.
Design space will prompt you to load your knife blade into cartridge b. Also note you should only be using chipboard that is 11 inches or less in width.
Load your mat into your Cricut Maker then press the flashing “c”. Chipboard cuts with passes. These letters take 24 passes which will take about 20 minutes.
Once your chipboard is cut remove it from the mat. 
Paint your Chipboard
I decided to paint the chipboard numbers white so in photos it would blend with the vinyl lettering.

Cricut project ideas perfect for back to school
- Book Covers
- Personalize Notebooks
- Custom T-shirts
- Monogramed Back Packs
- Monogramed Lunch Boxes
- Custom Water Bottles


I don’t do letter boards but I write on chalkboard and have to re-write them per child, per year. I was just thinking how I need to write something for the beginning of this school year. The struggle is real! I don’t have a circuit maker though, but I love your idea to have make permanent and change out the numbers!!! Genius! New Reader:)