This post contains affiliate links, please read our disclosure policy.
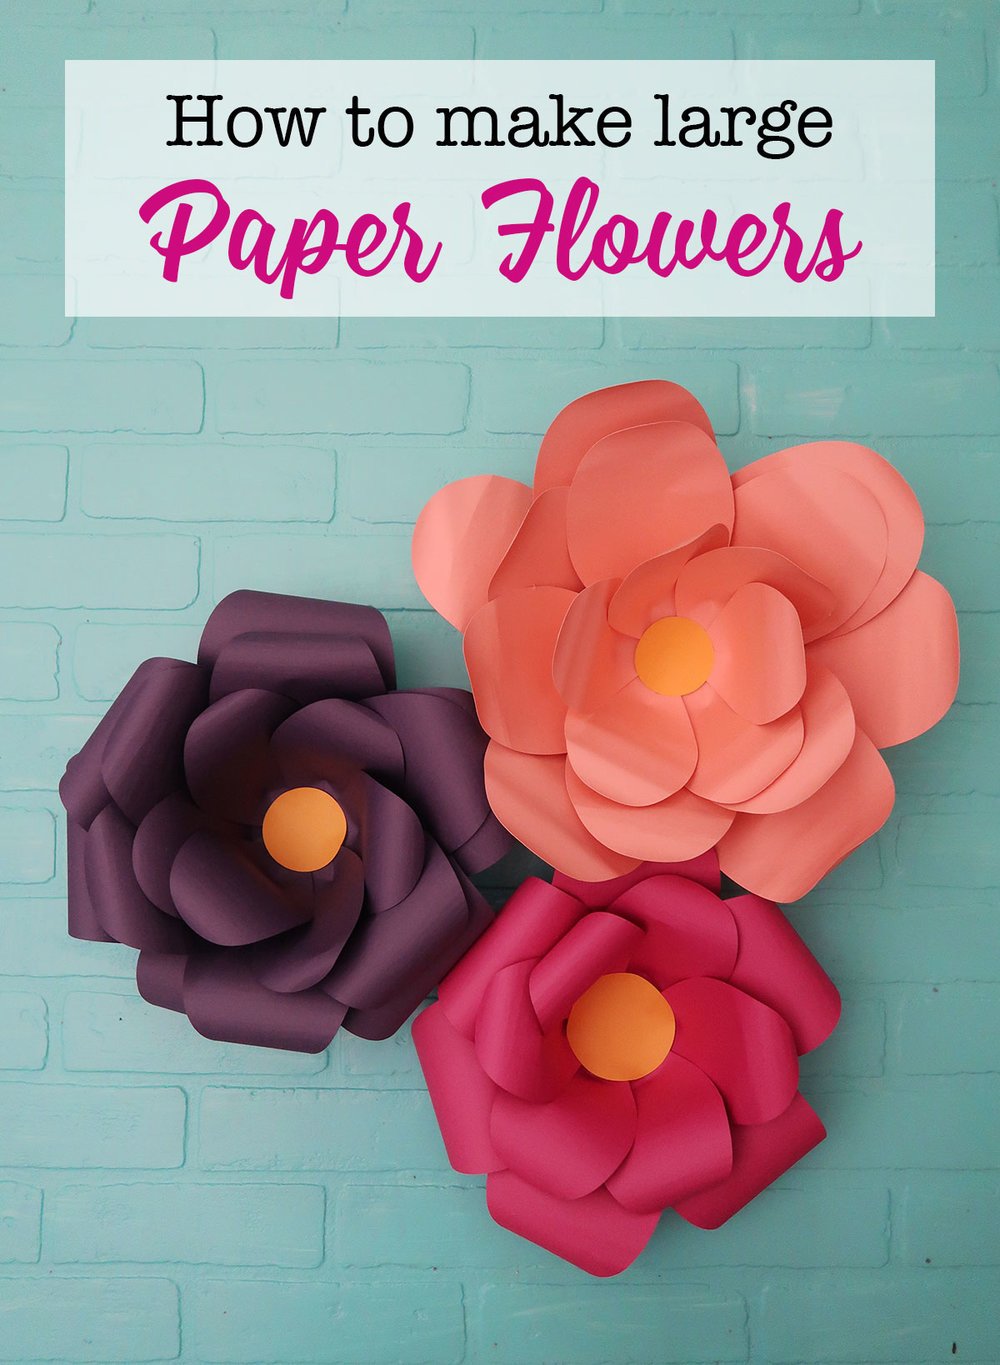
How to make large paper flowers with your Cricut. Including design files to make paper flowers with your Cricut and SVG files to use with your Silhouette.

Large paper flowers are an easy way to make a big impact. These paper flowers are perfect for baby showers, home decor and weddings. Making and assembling these flowers is easy when you have a cutting machine. You can use either a Cricut or a Silhouette. To make these large paper flowers I am using a Cricut Maker.
Love making flowers? Check out these felt flowers I made with my Cricut Explore Air 2. I also made these 3D paper stars with my Cricut Maker. See all my Cricut projects here.
Today I am teaming up with 7 bloggers to share some of our favorites Cricut flower crafts. Make sure to stay until the very end to see all of their projects.
This post contains affiliate links.
What you’ll need
-
Hot Glue Gun
-
Pencil
Let’s get started
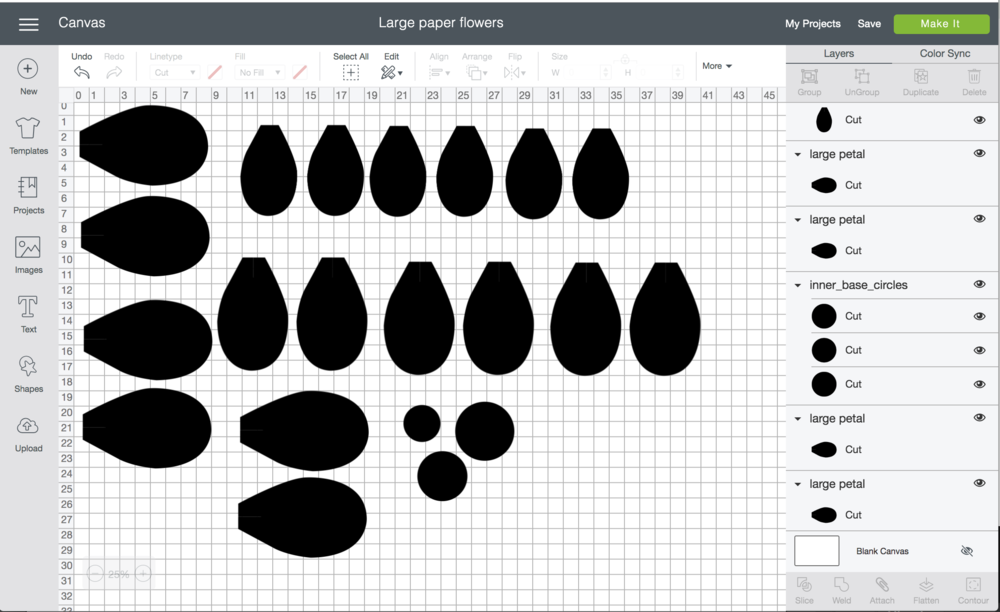
First things first get out that Cricut or Silhouette! Open this Cricut design space file. The design space file has a lot of components. My suggestion would be to click make it and select the size of your mat. The design space software will automatically configure where the petals will fit. The good news is we are cutting all of this except one center circle with the same color card stock.
Now I used my 12×24 light grip mat with 12×24 cardstock but you can easily use your 12×12 light grip mat and card stock.
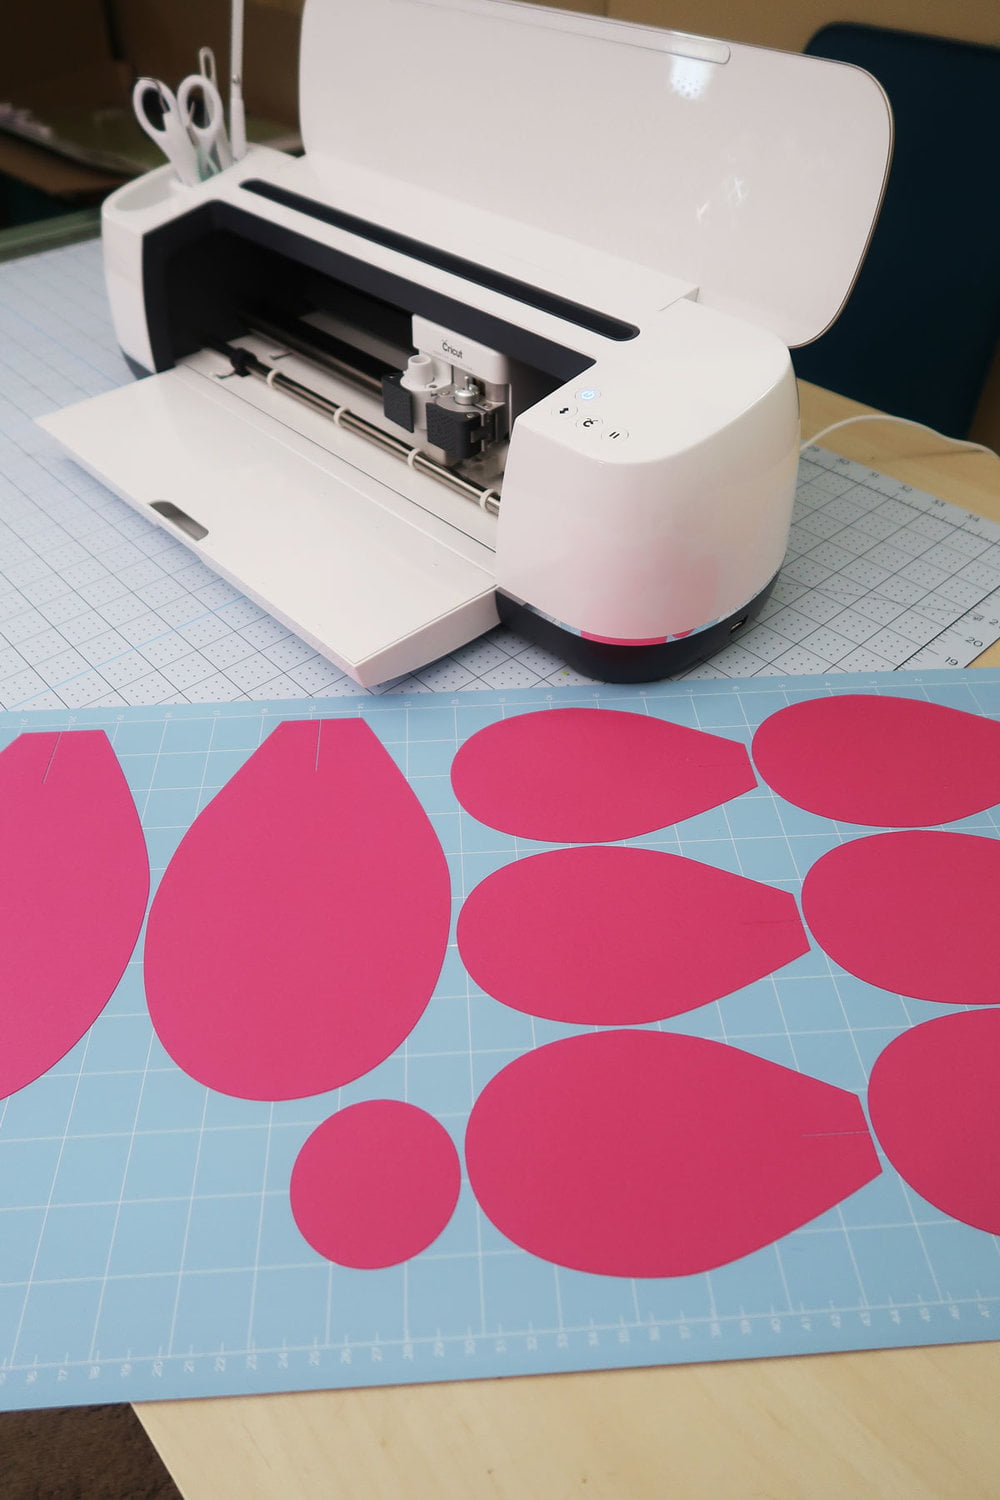
Step One: cut petals
Once you have selected your mat size, select your medium which for me was medium cardstock, load your mat and click the blinking “c” on your Cricut machine.
Since this a multi mat project. Once the Cricut is done cutting one mat remove your petals and excess cardstock from that mat. Load it up with new cardstock and load it back into your Cricut.
Tip: If you find your self doing projects that have to be loaded up a few times during the cut it’s always good to have a spare mat on hand that is ready to be loaded.
To keep track you will be cutting 6 large petals, 6 medium sized petals, 6 small sized petals and 3 sized circle bases.
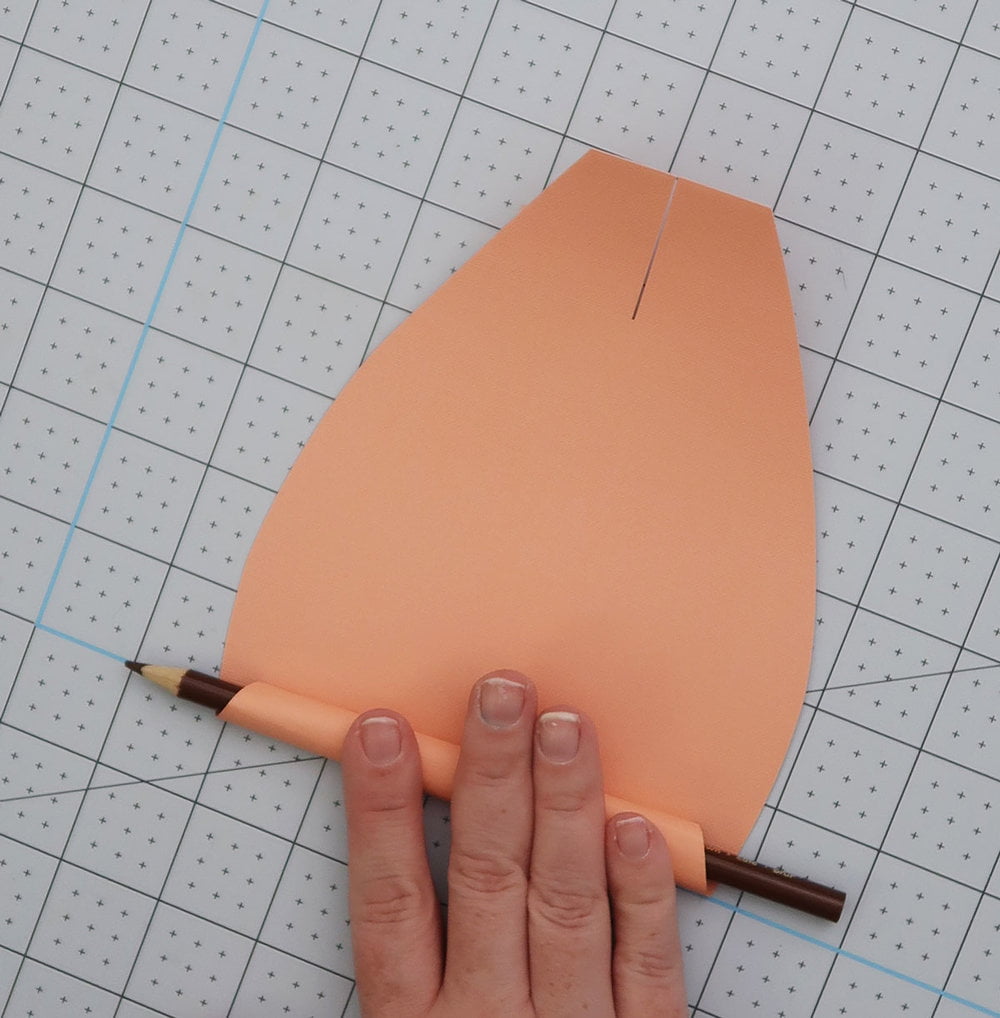
Step Two: shape petals
Using your pencil start to curl the edges of the paper flower petal. I did this by wrapping the edge around the flower petal and rolling it towards the slit in the petal.
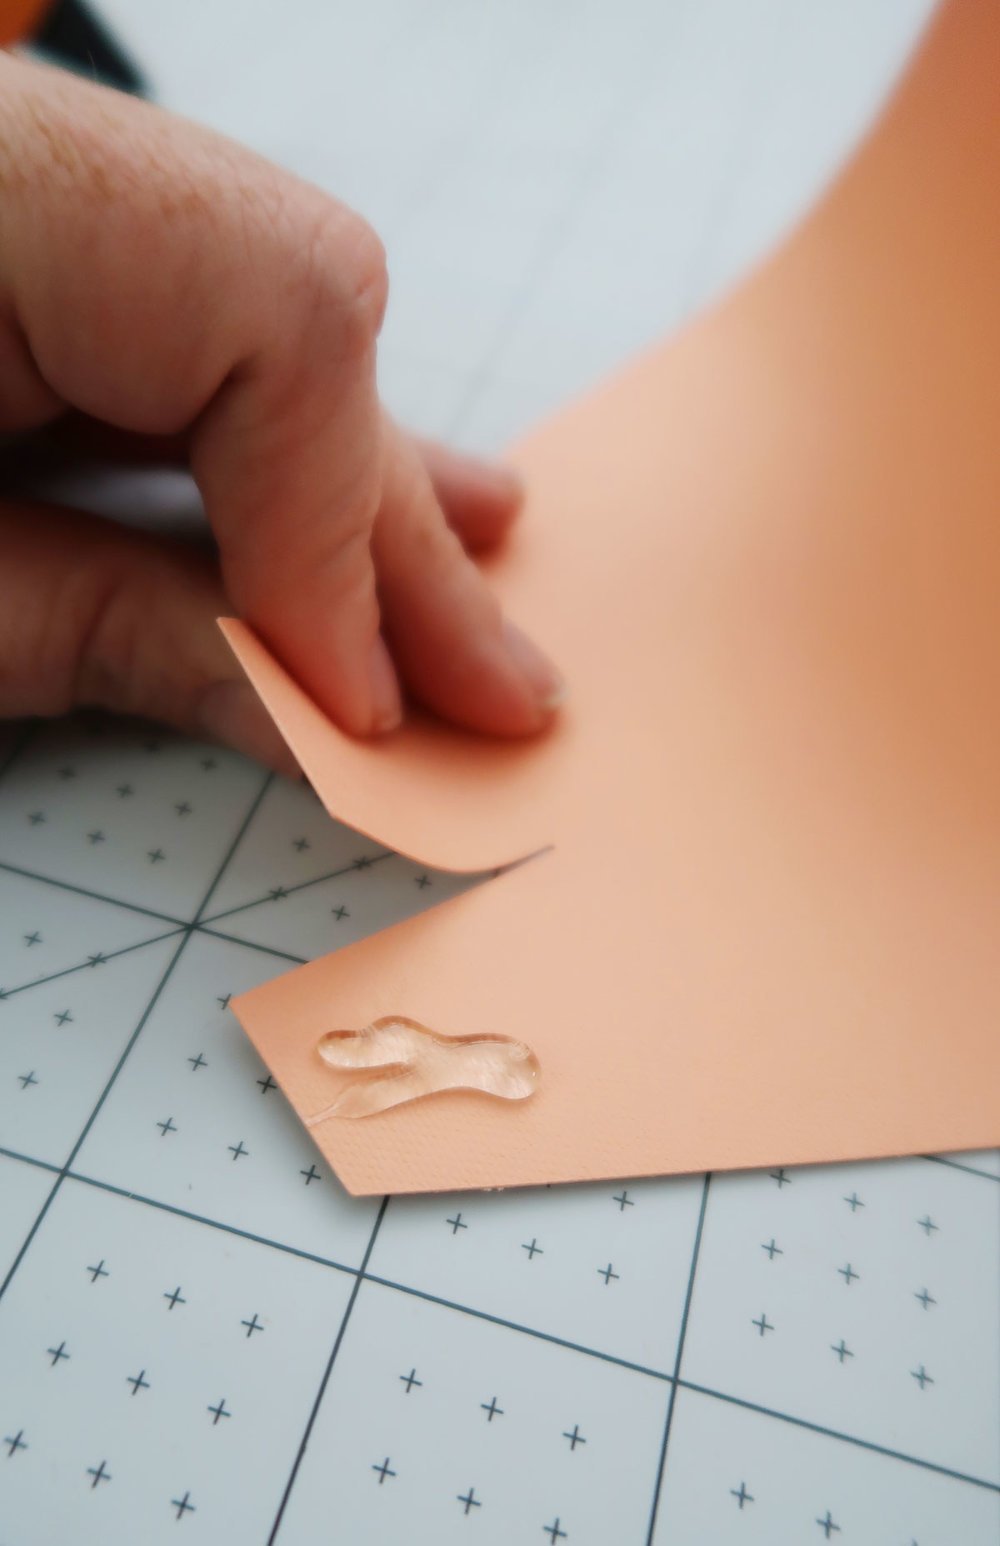
Step Three: add dimension
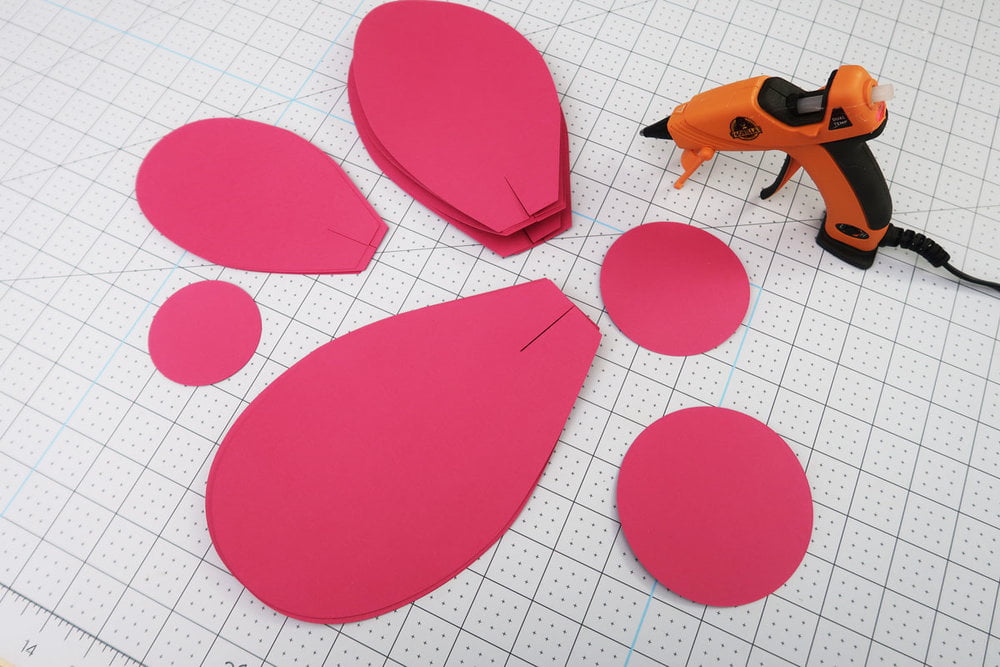
Making sure the curled side is facing downward add hot glue to the right side of the slit in your petal. With the left side cross over the right and place it on the hot glue.
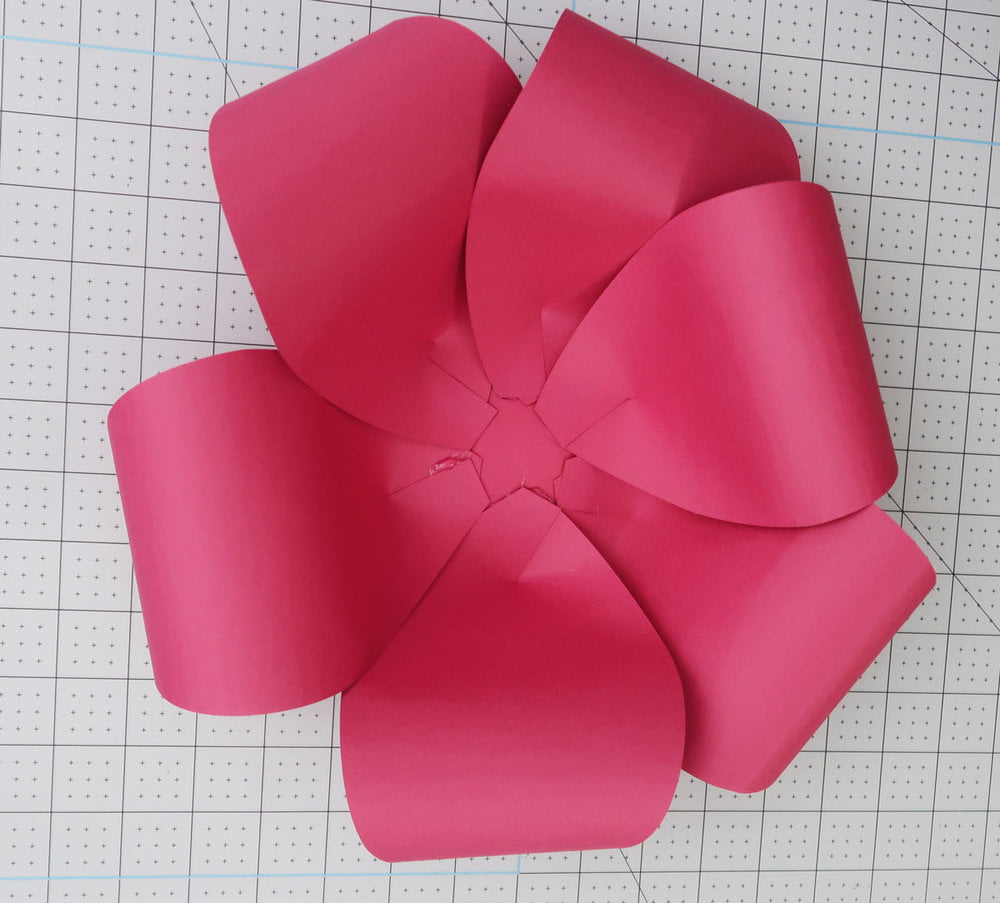
Step Four: create layers
Starting with the larger circle and the larger petal hot glue the petals to the paper circle. Overlap each petal slightly with the petal next to it. Repeat with the medium sized petals and the small sized petals.
Step Five: assemble flower
Now that you have 3 tiers of petals add hot glue to the bottom of the medium petals base and glue it onto the center of the large petals. Repeat this with the smaller petals onto the medium petals.
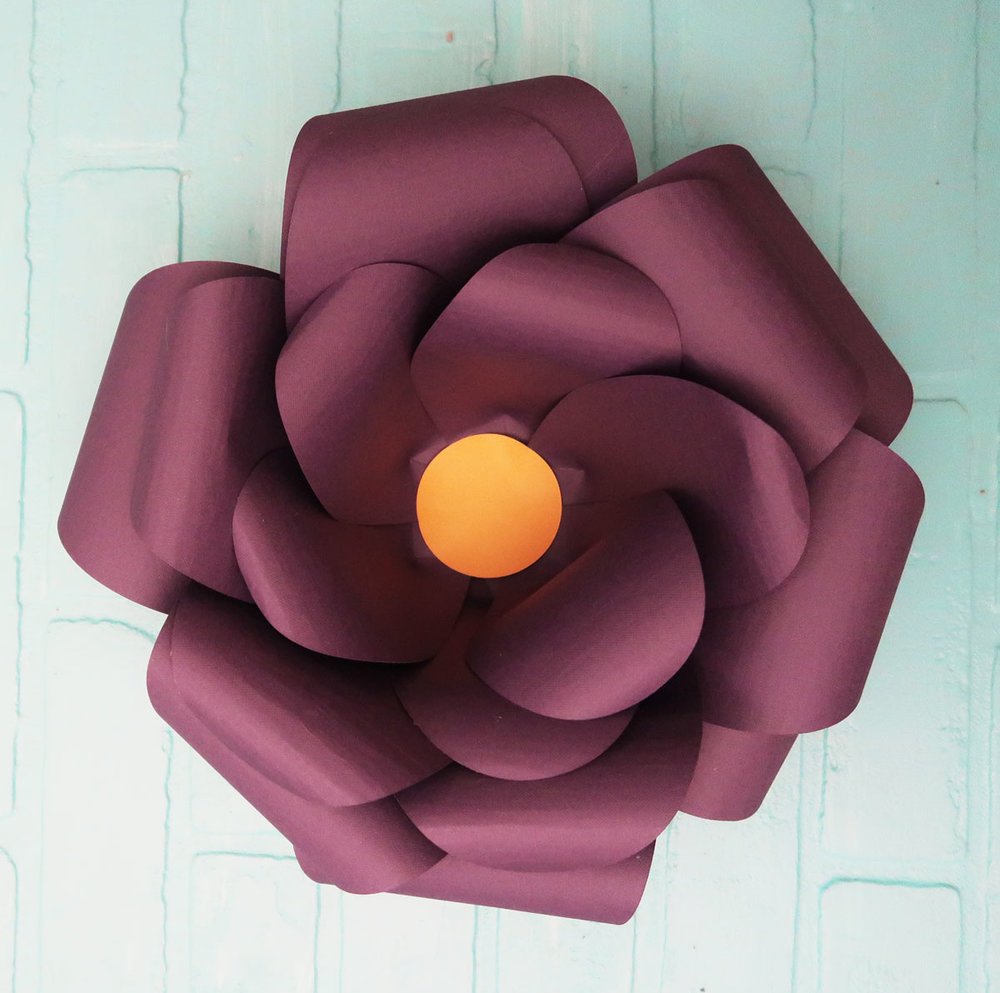
Step Six: finishing touch
Using the small circle in the design space file or SVG cut a center piece of the flower with yellow cardstock. Hot glue the yellow circle on to the center of your flower.
Step Seven: repeat
If you are making more than one of these flowers repeat this process.
Tip: if you want to vary sizes of your flowers use just the small and medium petals, turning off the layers of the large petals in design space. You can also resize the petals in your design space file.
Ideas for decorating with large paper flowers
-
Baby Shower Decor
-
Wedding Shower Decor
-
Craft Room Decor
-
Nursery Decor
-
Birthday Party Decor
-
Little Girl’s Bedroom
8 Flower Crafts Made with a Cricut
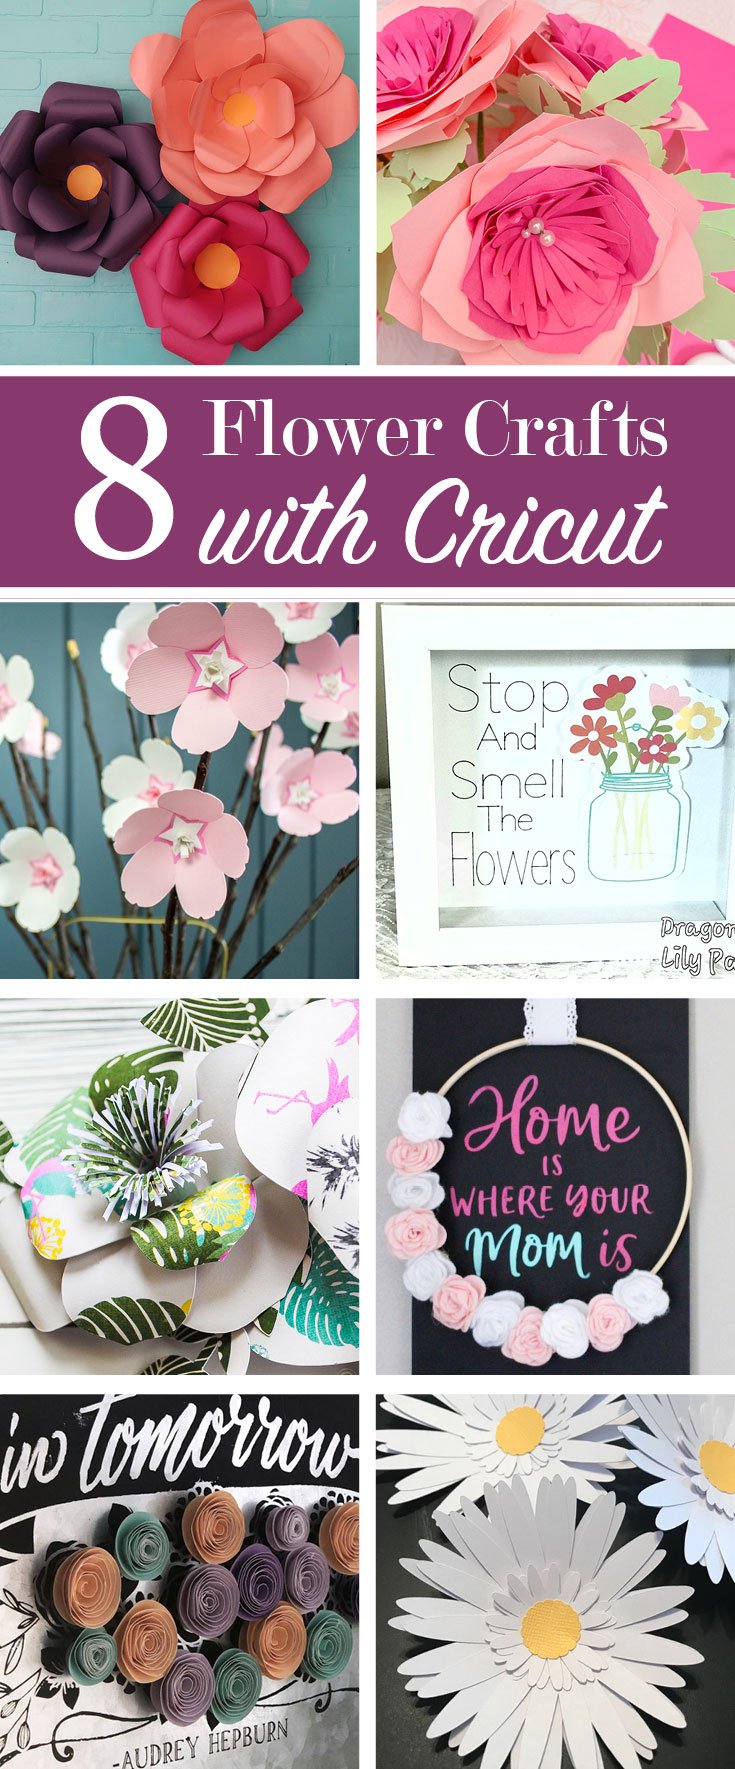
How to make large paper flowers from Weekend Craft • DIY Wedding Rehearsal Bouquet with your Cricut from Happily Ever After, etc • Cherry Blossom Centerpiece from Sustain My Craft Habit • Create 3D Art with Print, Cut and Draw Features of Cricut from Dragonfly & Lily Pads • Beautiful Patterned Paper Flowers from Upright and Caffeinated • Embroidery Hoop Sign With Felt Flowers from Our Crafty Mom • Paper Flowers Made with Cricut from Create & Babble • How to Make an Easy Paper Daisy from Cookies Coffee and Crafts


These are so pretty! And I love the colour scheme you chose. Thank you for hosting this fun challenge – so happy to be joining for the first time.