This post contains affiliate links, please read our disclosure policy.
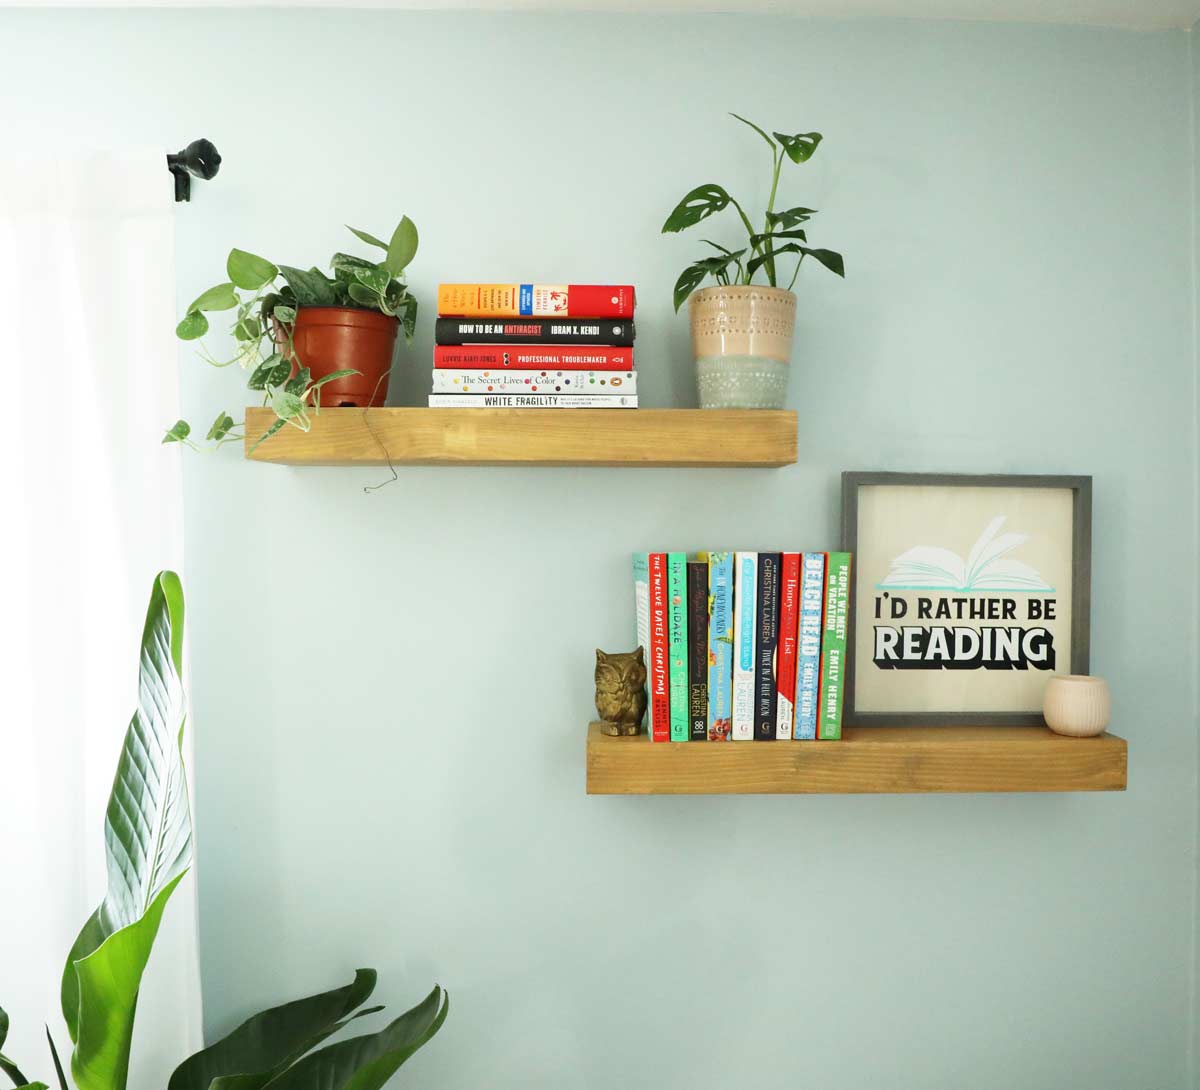
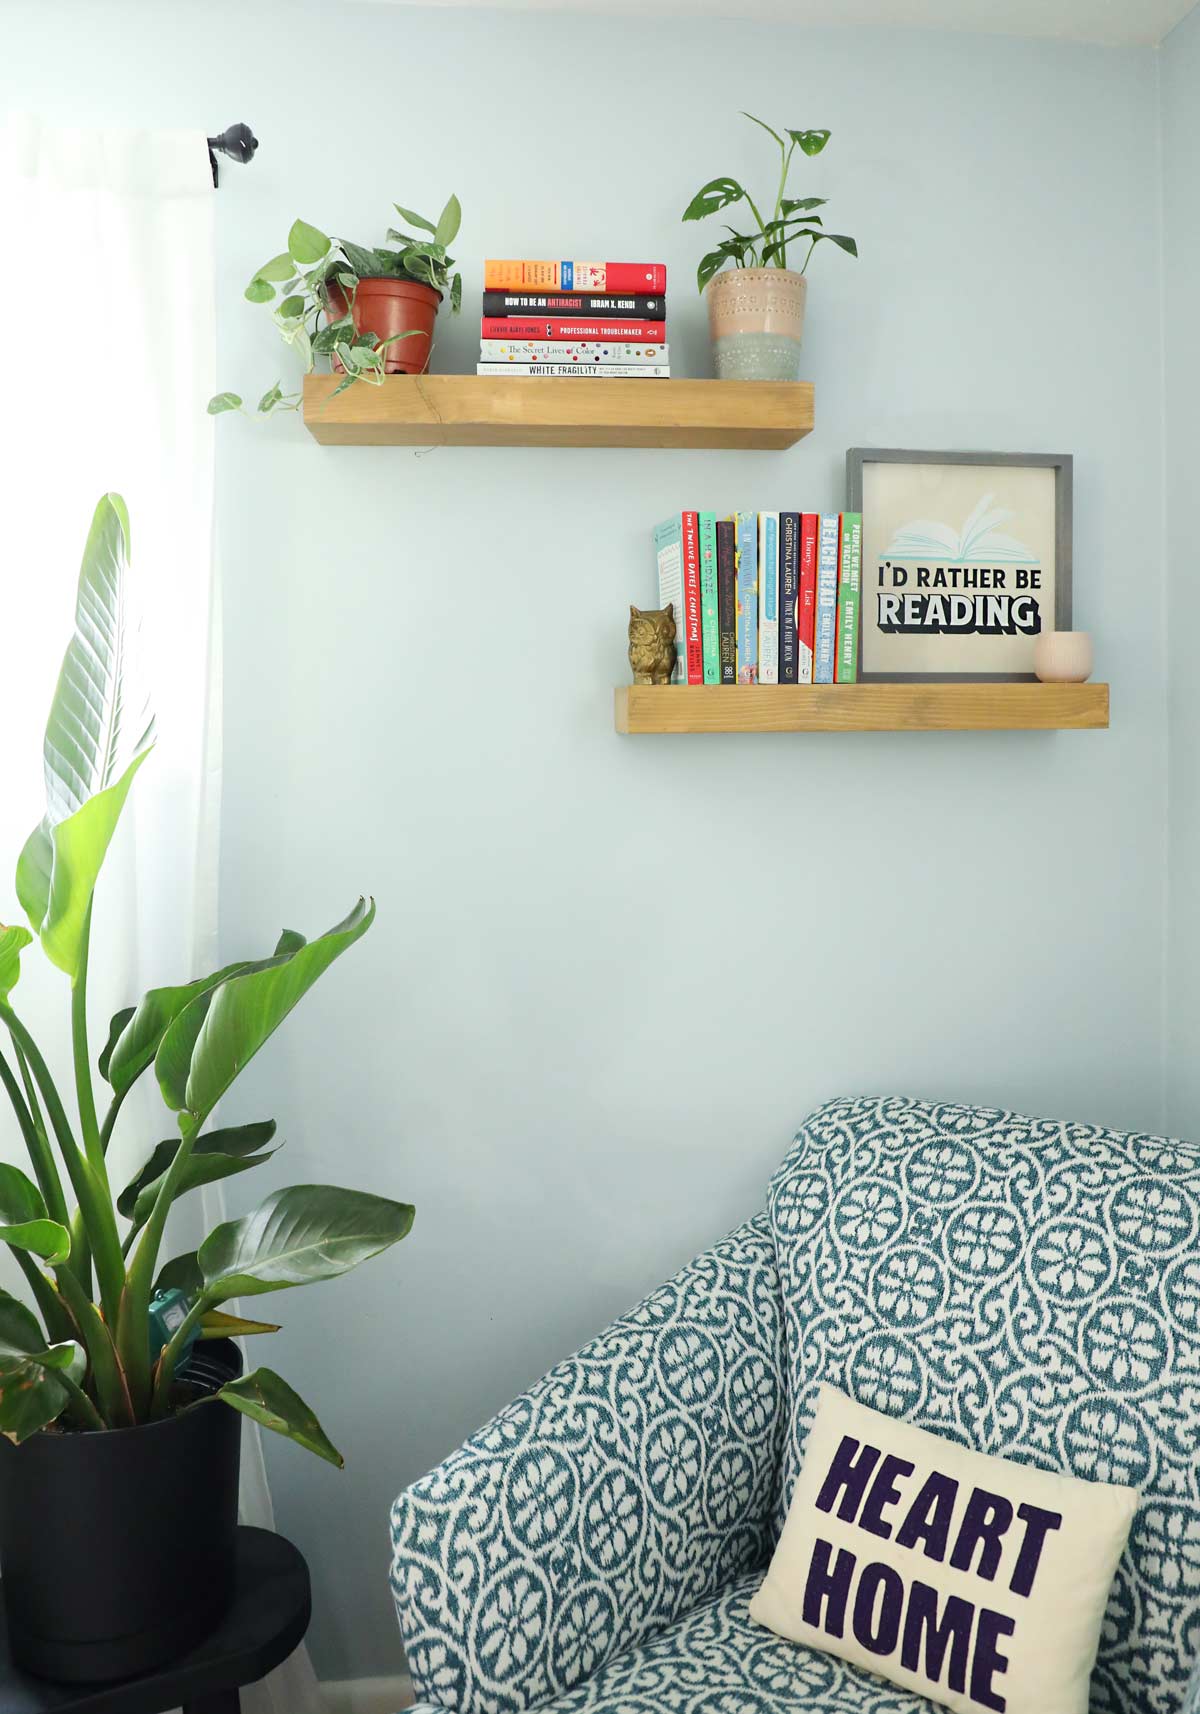
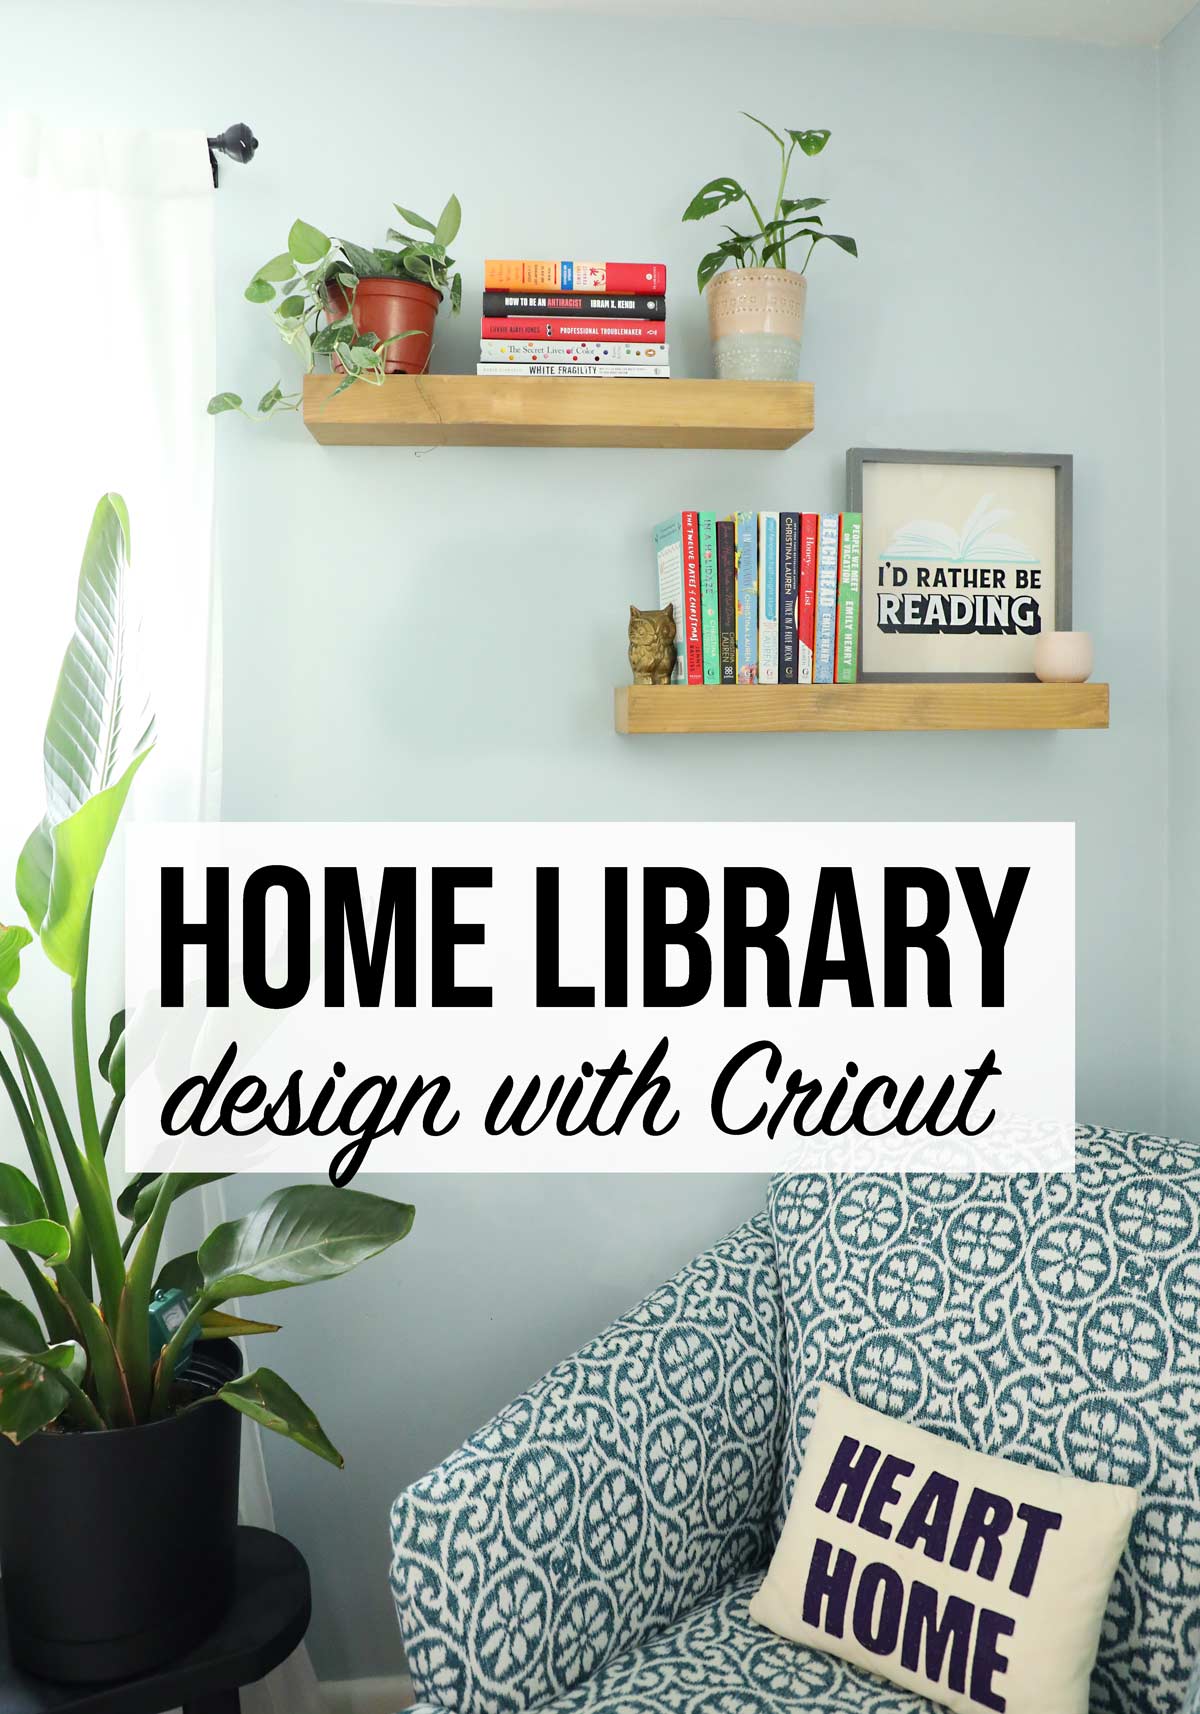
Create an at Home library with floating bookshelves and custom book themed artwork with your Cricut.
This post is sponsored by Cricut but all opinions are my own. This post contains affiliate links.
Since changing my guest room into an office I knew I wanted to add a reading nook. A comfy cozy chair I could curl up in with a good book. I also needed a place for those books. I decided to create an at home library design by adding floating shelves above the chair and either side of my desk.
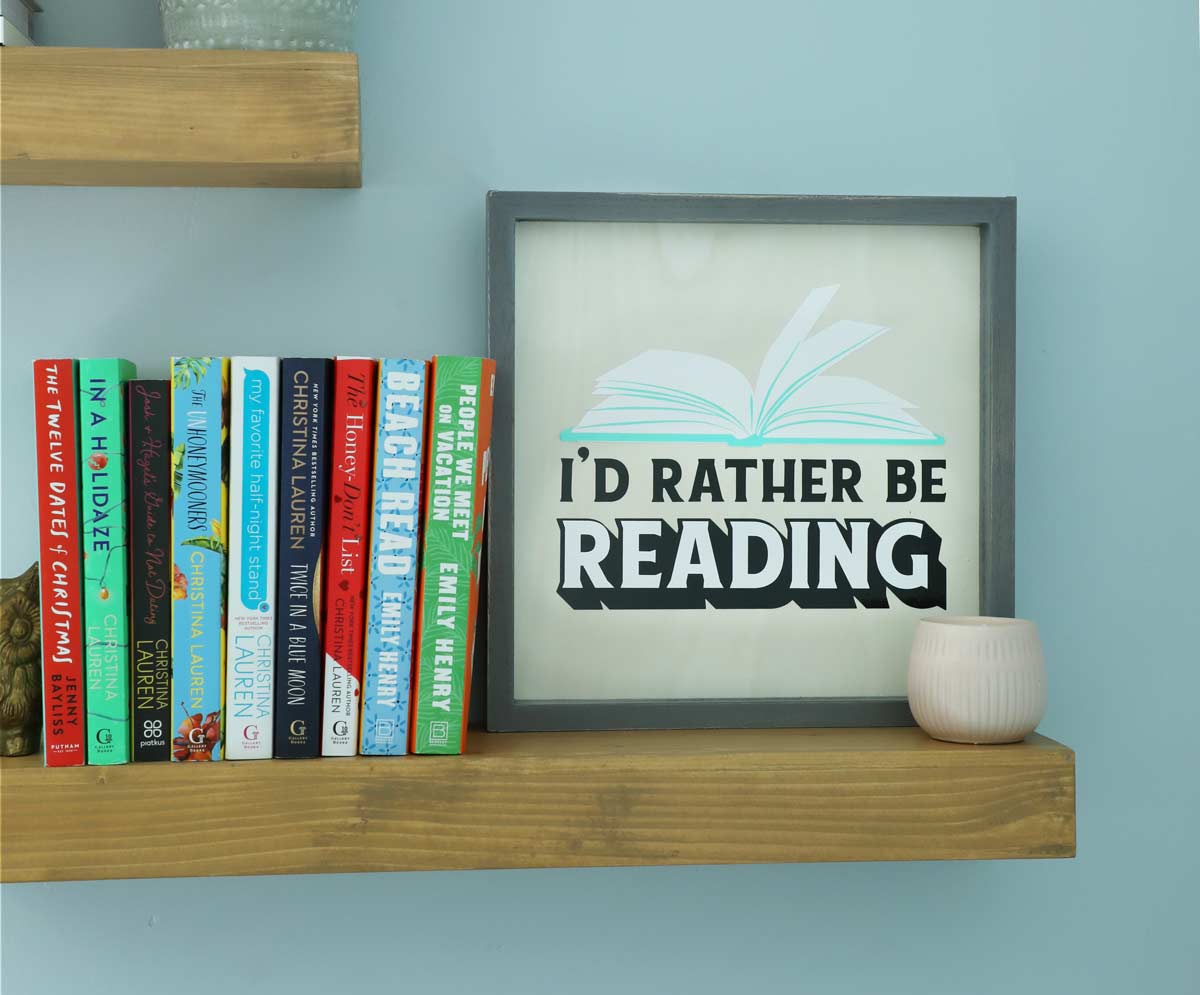
As I was putting on the finishing touches I decided to get out my Cricut Maker and make a custom sign for one of the shelves. I found the perfect cut file in design space as part of Cricut Access. It was a little bit snarky just like me. The artwork said I’d rather be reading. Which is usually the case for me.
What Is Cricut Access?
Cricut Access is a monthly or yearly subscription to the Cricut Image Library of over 100,000 non-licensed images, thousands of ready-to-make projects, and 500+ fonts. It also provides savings on products, designs, and shipping!
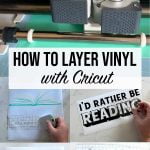
Make a custom Cricut sign “I’d rather be reading” with layered vinyl.
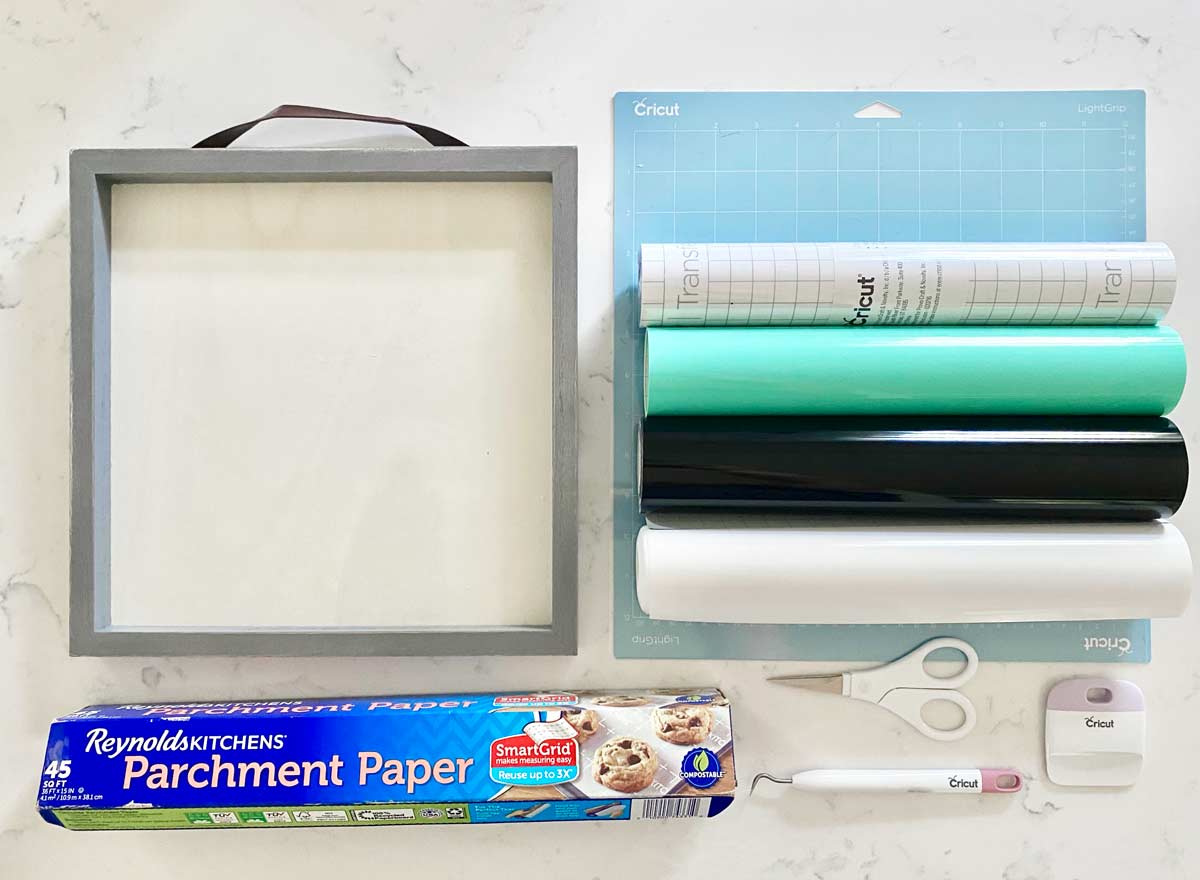
Here’s What You’ll Need
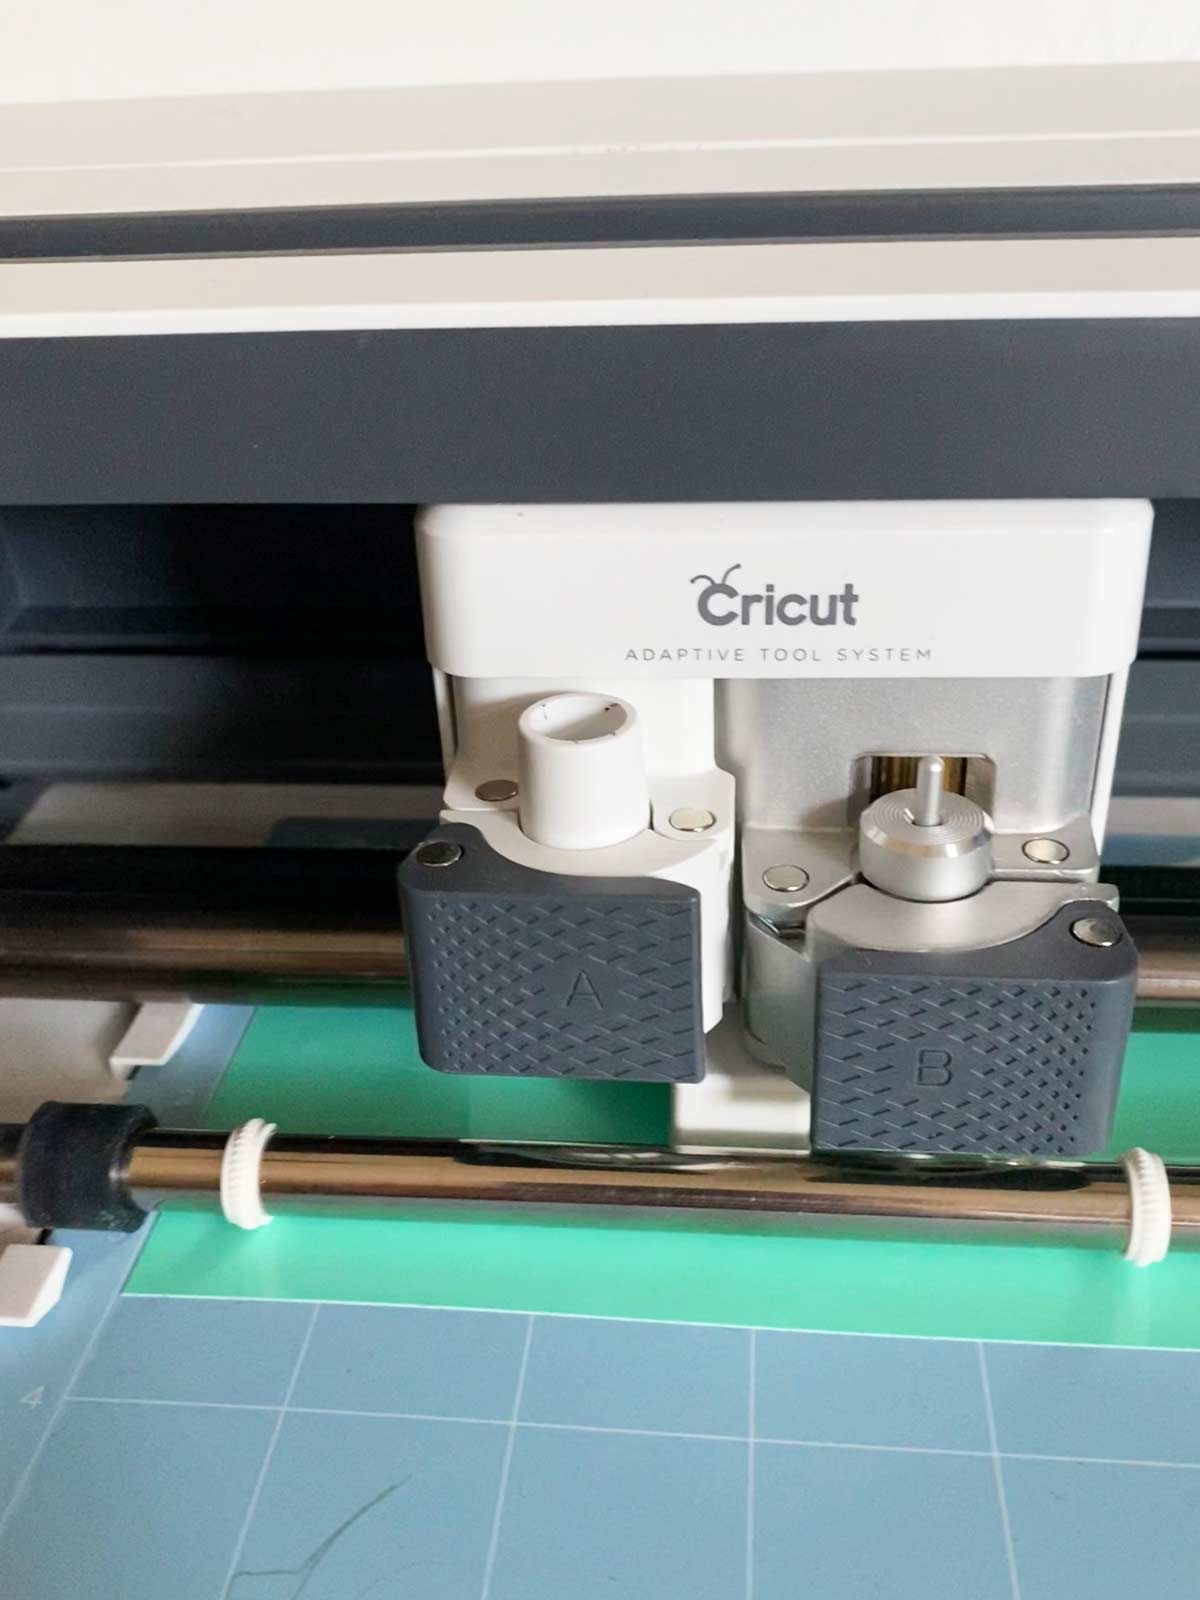
- Any Cricut Machine
- 3 Colors of Cricut Permanent Vinyl
- Transfer Tape
- Light Grip Mat
- Hook Tool
- Scraper Tool
- Blank Sign
- Parchment Paper
- I’d rather be reading file (#M29ABA6F6)
- Floating Shelves
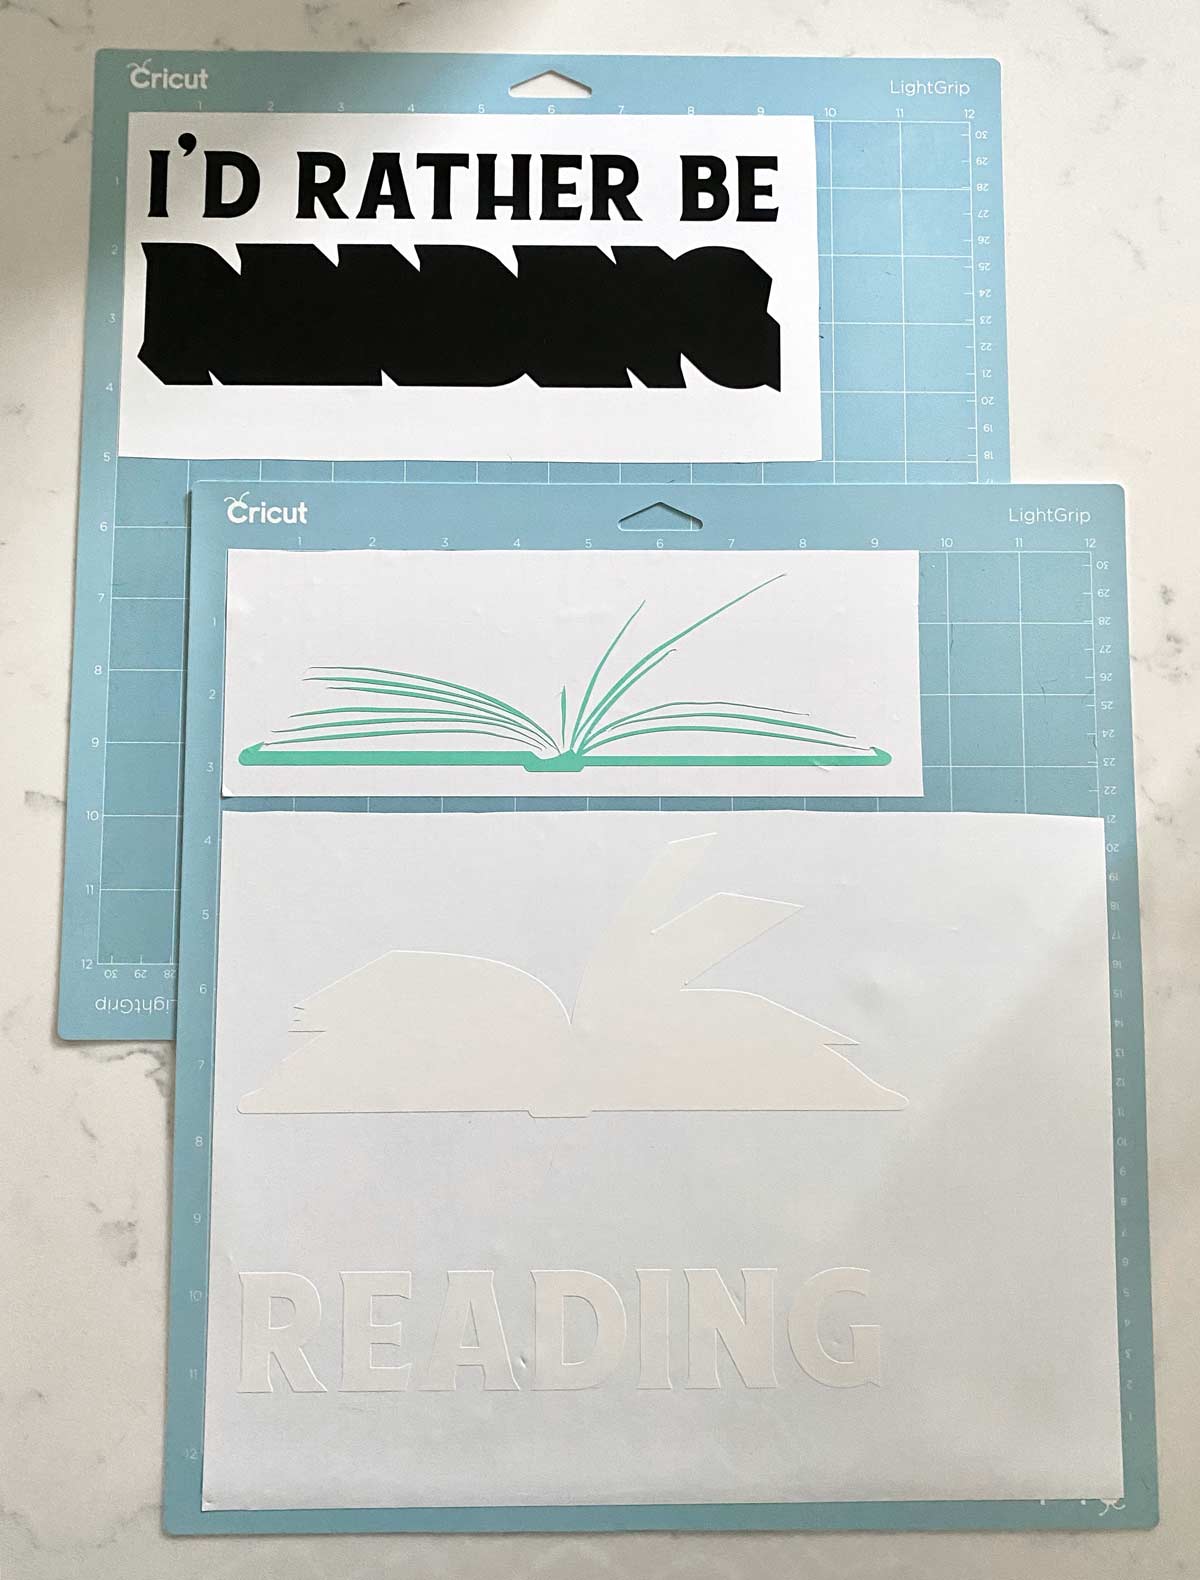
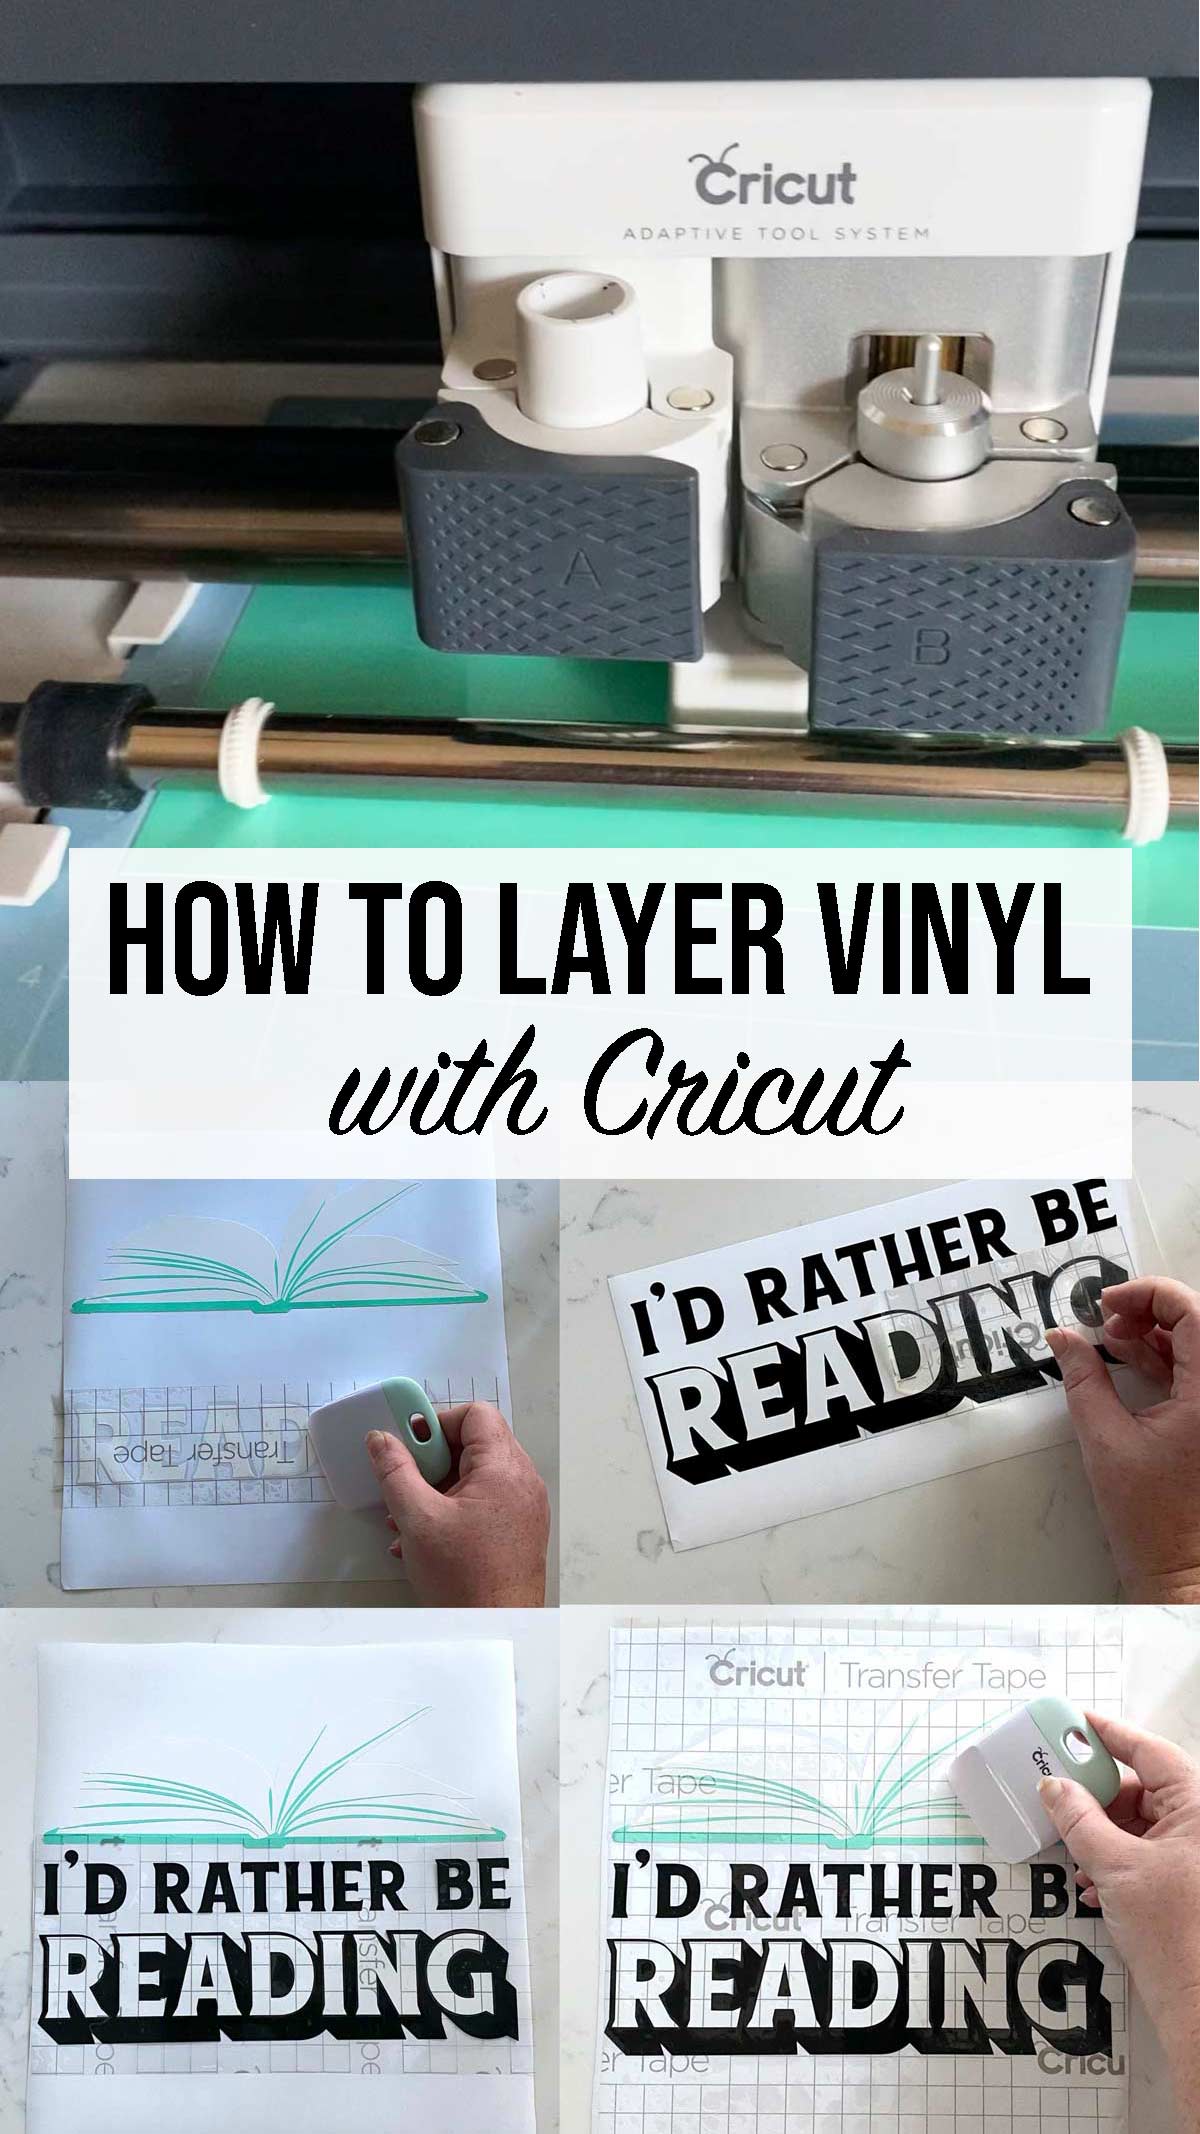
Cutting and layering multiple pieces of vinyl with Cricut
Open Cricut design space and click on images. Search for your image. In this case I searched for both reading and books turning the project filter on to phrases. I found this great design. If you search for #M29ABA6F6 you will find it.
I liked this because it was a bit quirky but I could layer 3 different colors of vinyl. I choose white, black and teal. The color teal I thought would compliment the room and my chair nicely.
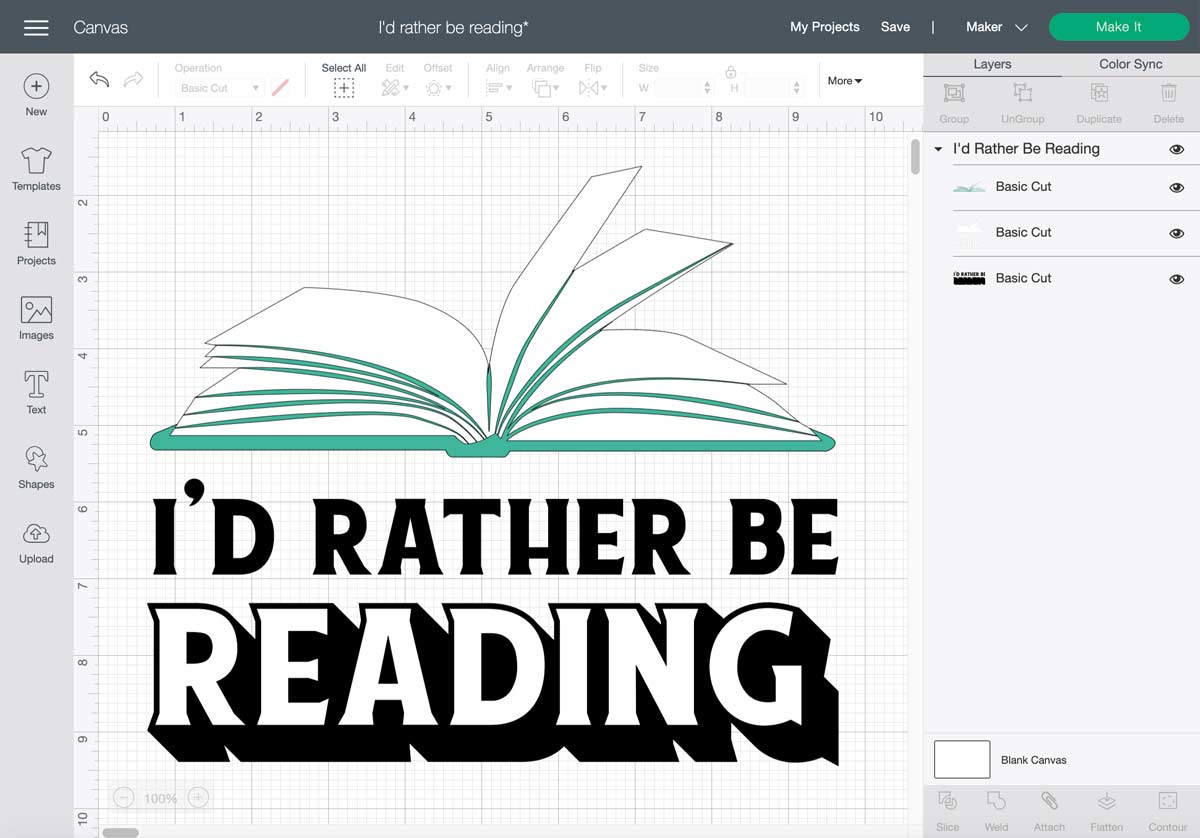
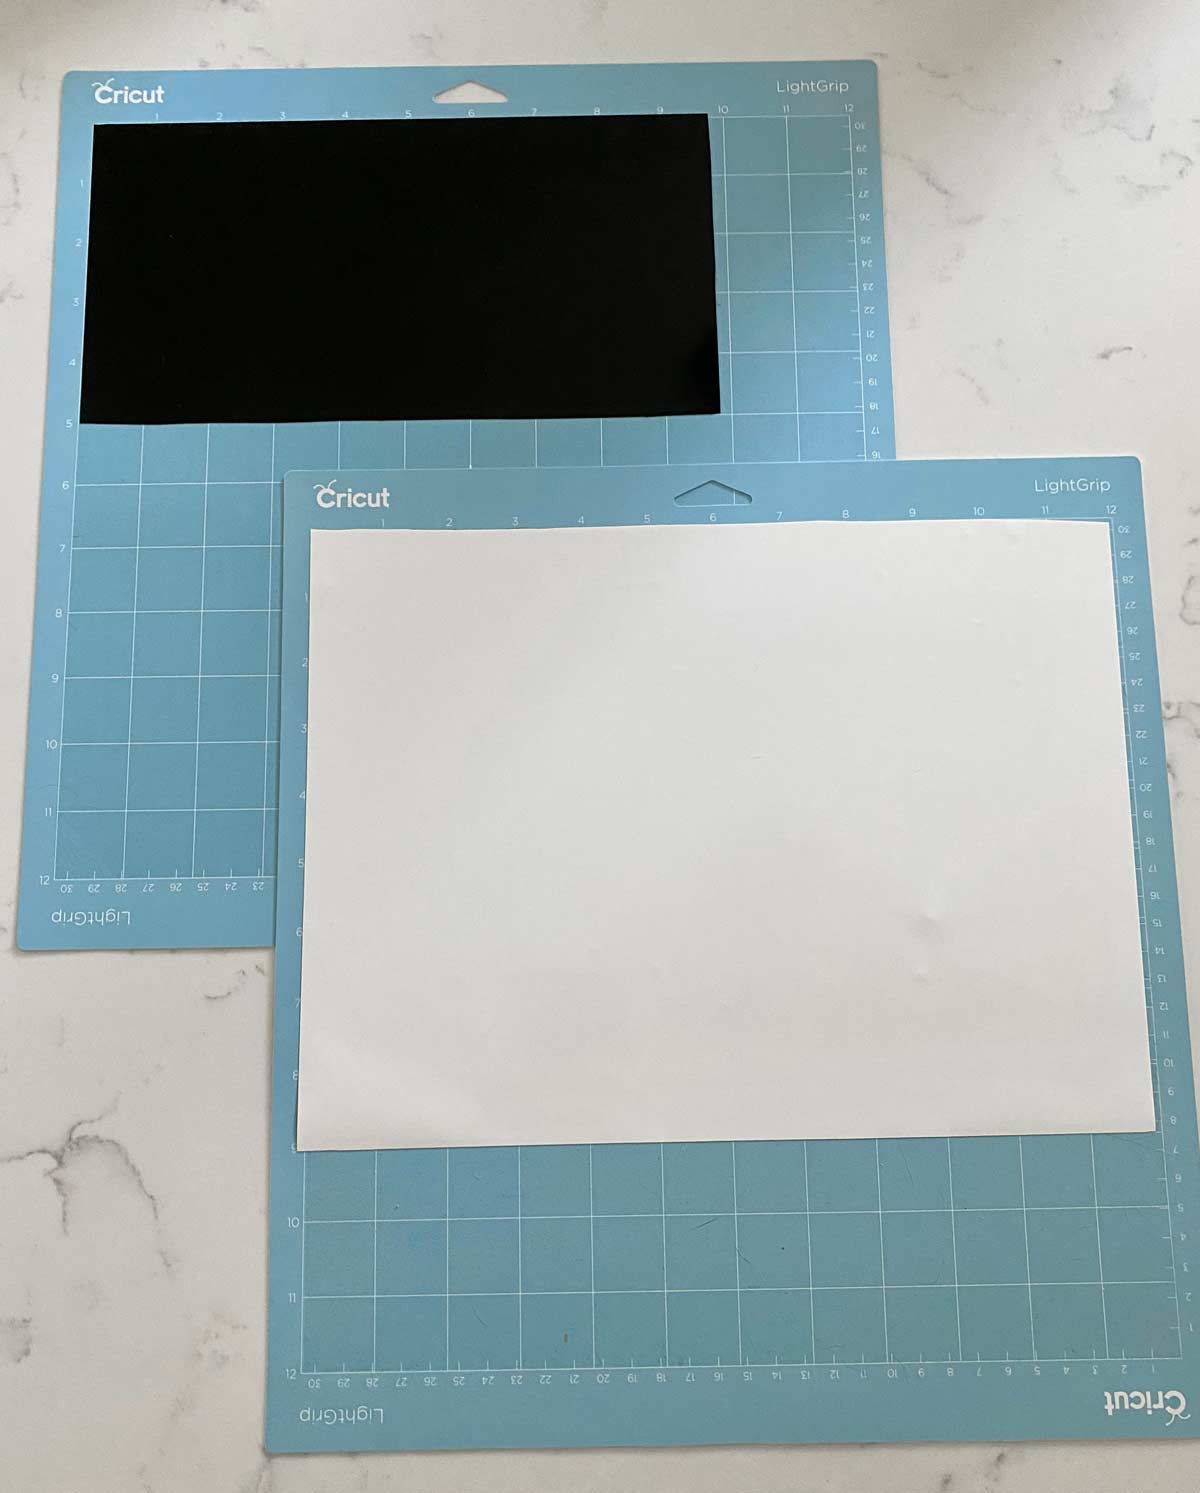
Design space put each color on its on layer. Once you hit make it in the top right corner you will notice each layer is on its own mat.
One of my tips for cutting multiple colors of vinyl is to work with two or more mats. It helps the project go by faster and more efficient.
Cutting Vinyl
Now that you have your designs sized correctly click make it in the top right corner. Now select your machine if you are using the Cricut Maker. Select your material in design space. I used premium glossy vinyl and made sure to select that as the material. You will be prompted to load your mat hit the blinking arrows to load your mat. The “c” button will light up select it when you are ready to cut.
Weeding
Once everything is cut start to weed out your excess vinyl with your hook tool. Now you should have 3 colors of vinyl that are meant to be layered.
Transfer Tape
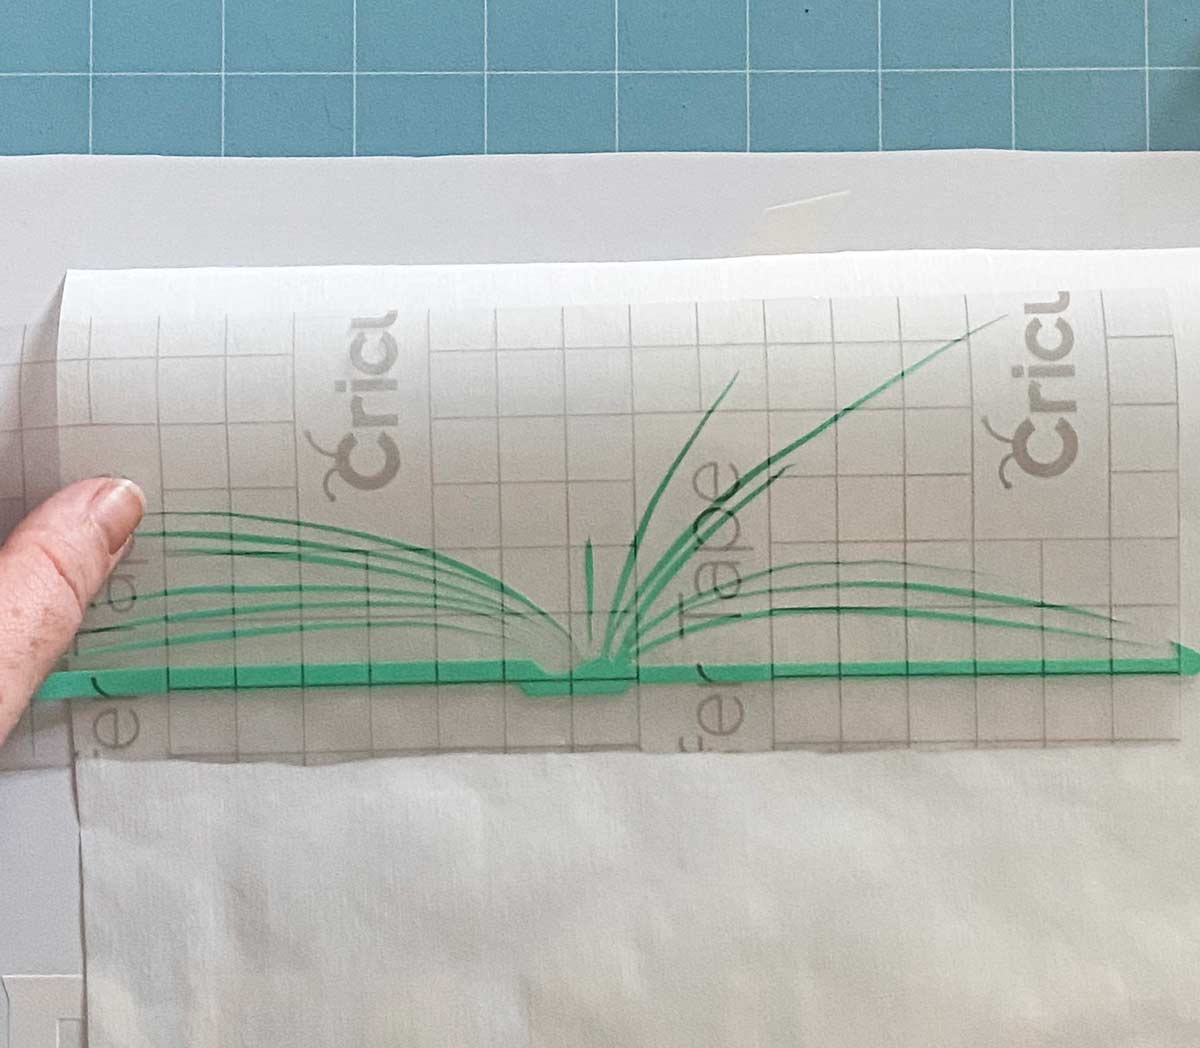
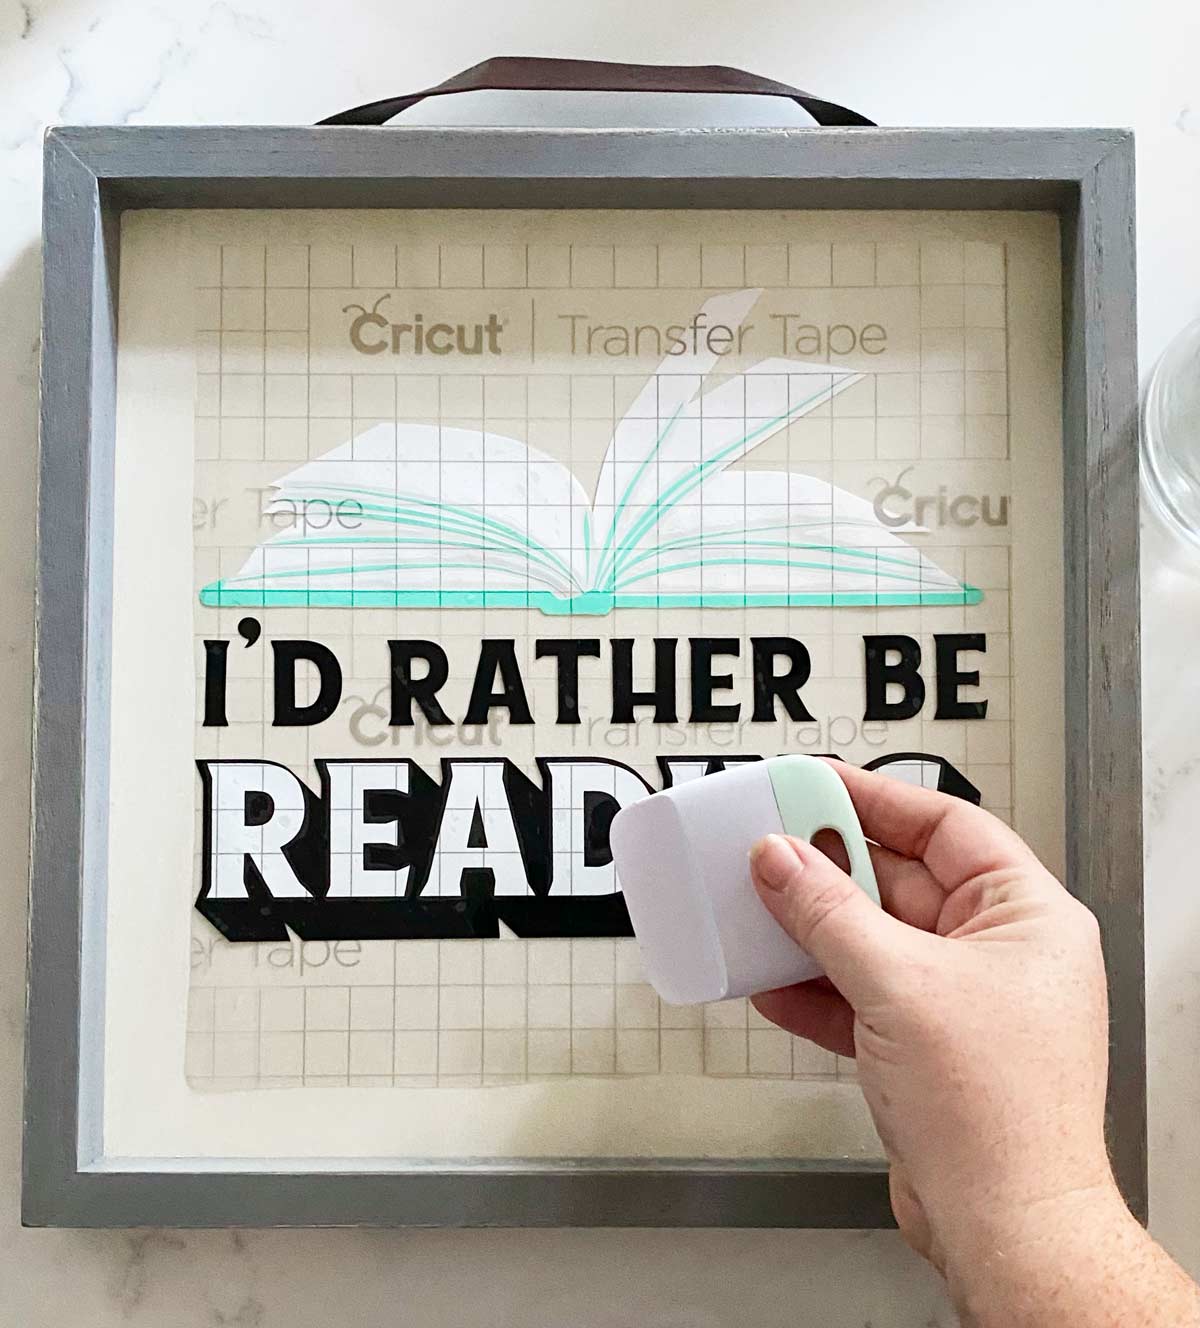
We are going to start with our top layer which is the details of the book pages. Cut a piece of transfer tape to size and using your scraper tool or a credit card rub the vinyl on to the transfer tape. Peel back the backing the white sheet of backing.

Parchment Paper Trick
Now this is where things get tricky, layering vinyl. To get things to line up perfectly and to allow you the ability to reposition I like to use parchment paper. Hinge your transfer tape on one side and slide parchment paper between your first layer of vinyl and your second. Once in position pullout your parchment paper.
Once it is in the desired position use your scraper tool to transfer the vinyl on to the first layer. Peel back the transfer tape. I like to peel it back low and slow making sure the vinyl is sticking.
Layering Vinyl
Now this file was a bit tricky. I realized that I needed the white of reading on top of the black lettering. I used transfer tape to move just the white lettering. Grabbing my parchment paper I lined it up and transferred it on to the black vinyl.
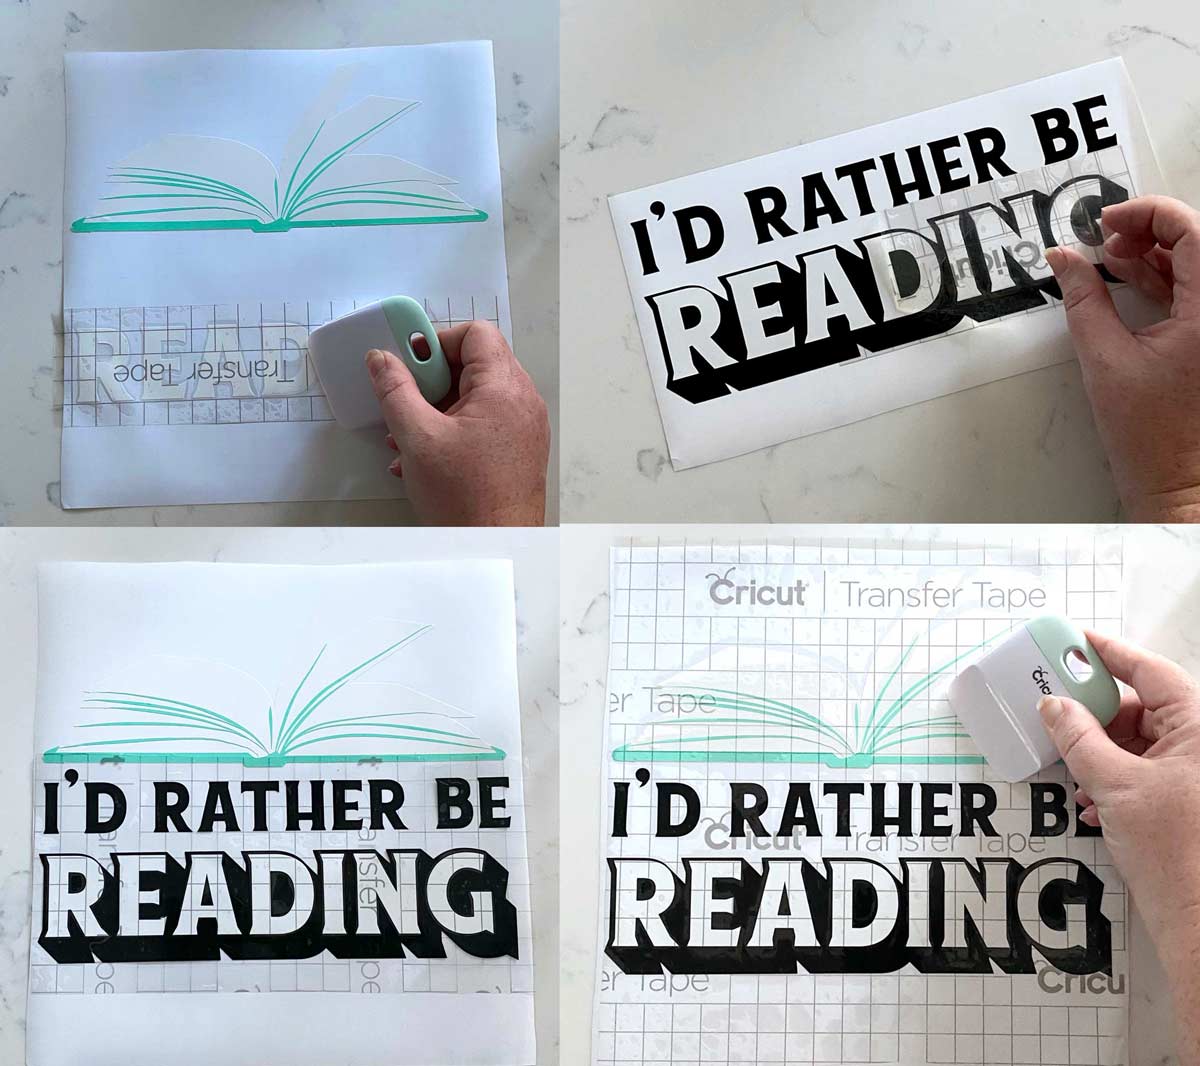
I then transferred the wording under the open book art work. Once it was all in position it was ready to be added to out blank sign.
I absolutely adore how this reading nook came out. I cannot wait to curl up with a book in that chair. It makes the room feel more inviting and well designed. Overall this little home library was a success.


Awesome job!!!! Your space looks super cozy for an afternoon or late night read❤️. Your Cticit sign is the perfect finishing touch!!!!
So cute! Love how they came together.