This post contains affiliate links, please read our disclosure policy.
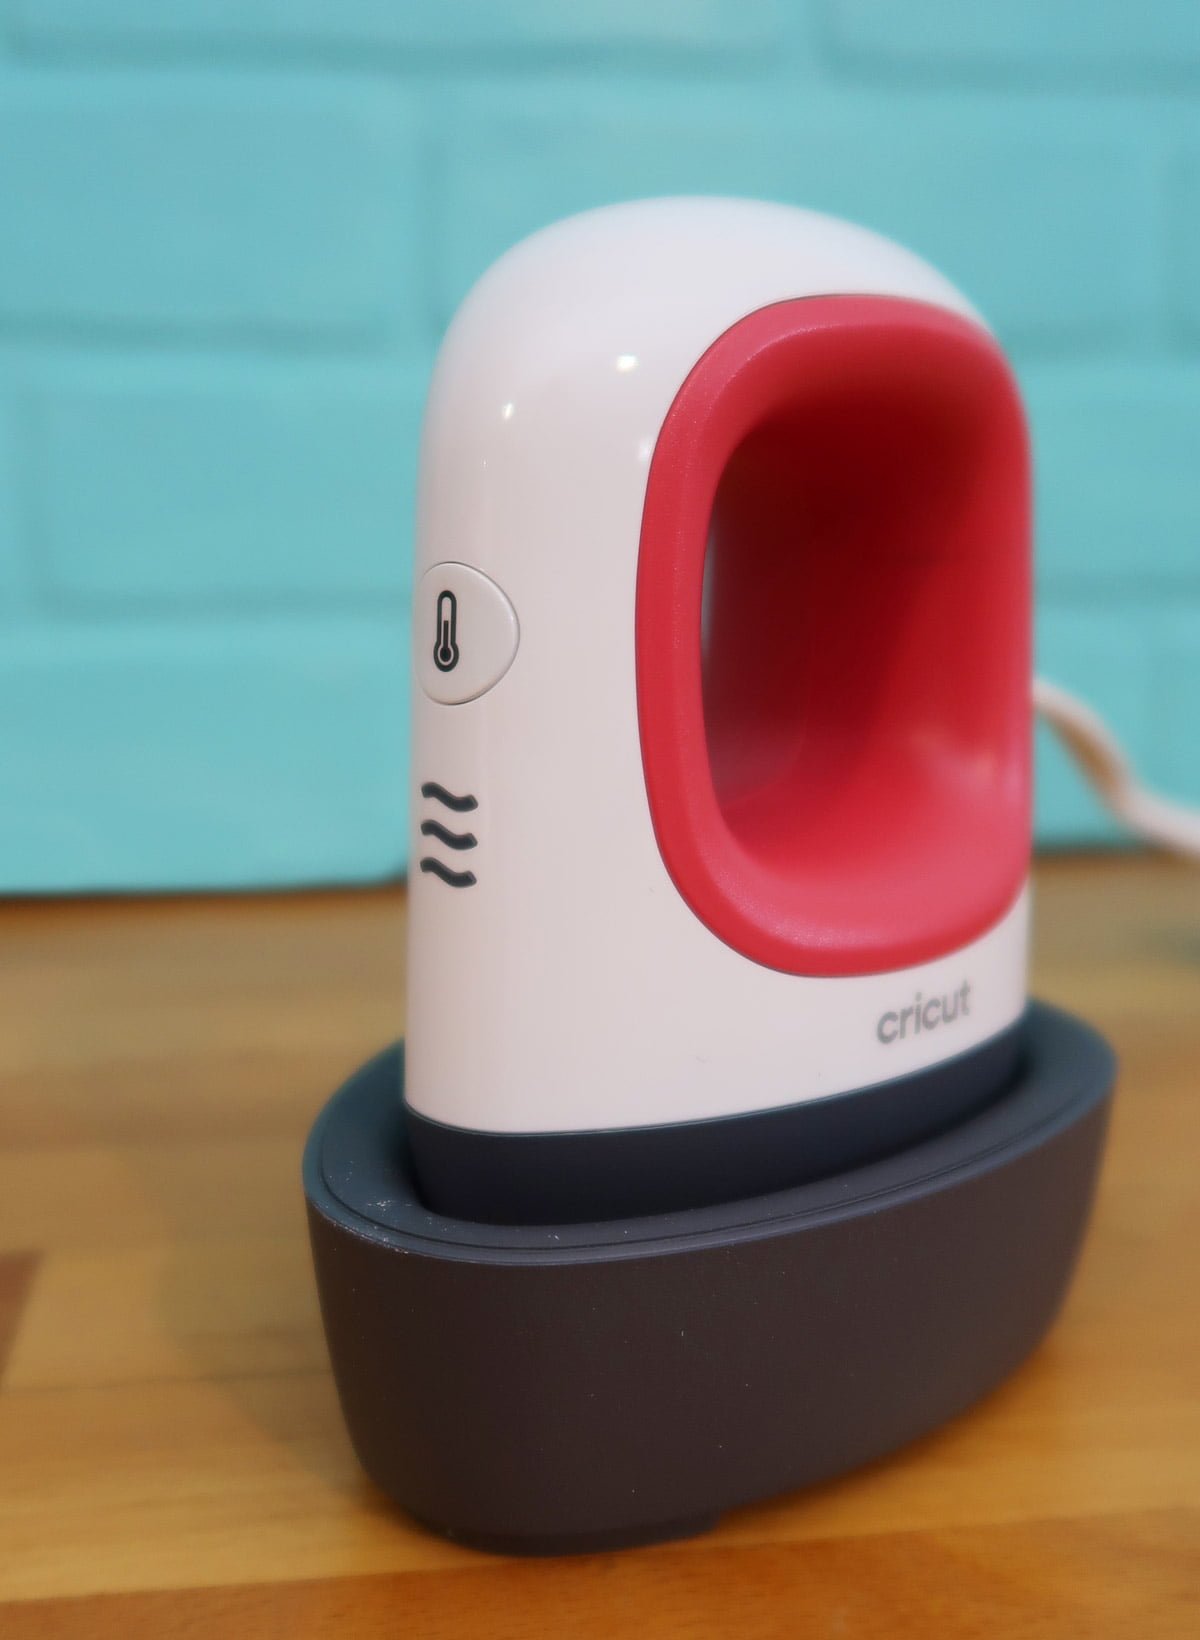
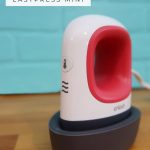
Introducing the CRICUT EASYPRESS MINI. The newest little heat press that can tackle iron-on vinyl on small and curved objects. Learn how to use iron-on vinyl on shoes.
This is a sponsored conversation written by me on behalf of Cricut. The opinions and text are all mine.
I love to use my EasyPress on almost every Cricut project. Heck I even have all the sizes. I was very excited when Cricut announced the EasyPress mini. Cricut EasyPress Mini is perfect for small or unique projects like hats, shoes, headbands and so much more. You could even use it on a stuffed animals!
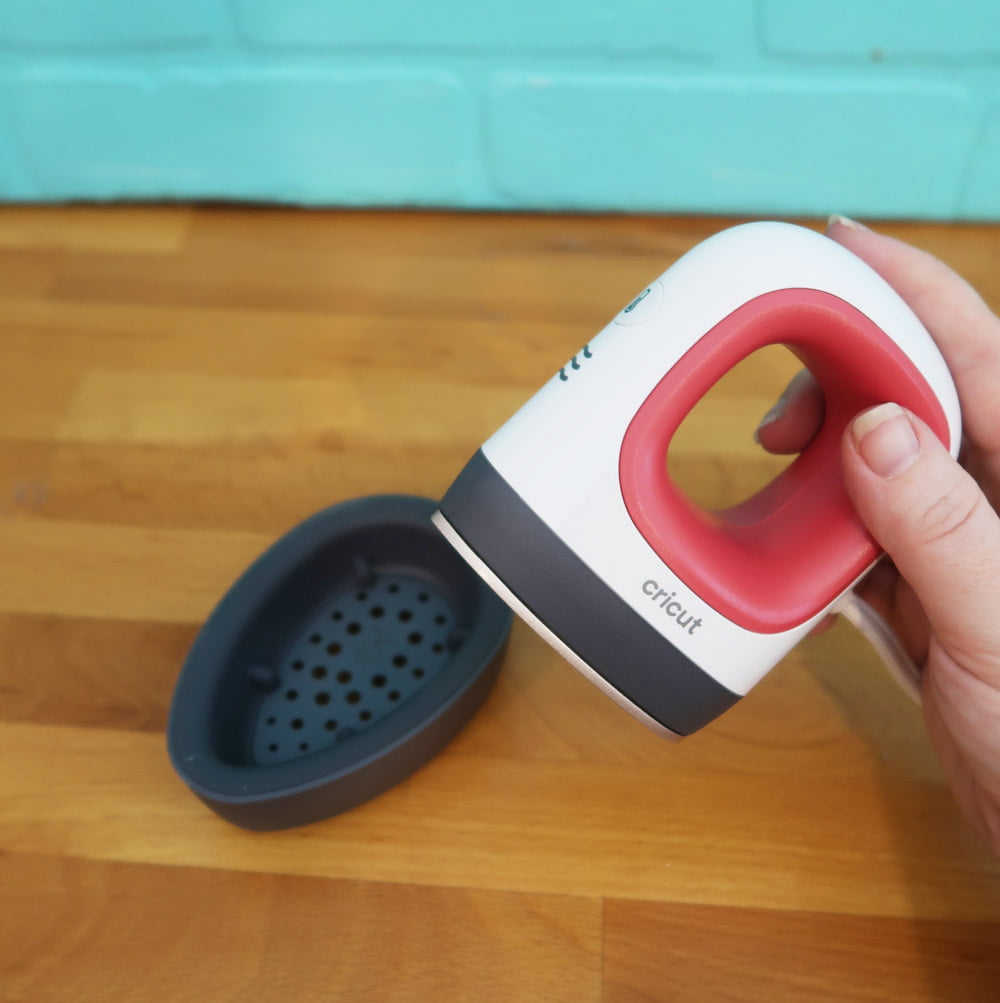
What I love about the mini is that it’s so petite. It’s compact size and ergonomic grip helps it take on curved surfaces. It’s even perfect for hard-to-reach spots between seams and buttons.
Speaking of new have you tried the new tools for the Cricut Maker? Check out how I used them here. What about infusible ink? I had fun making shirts and coasters here.
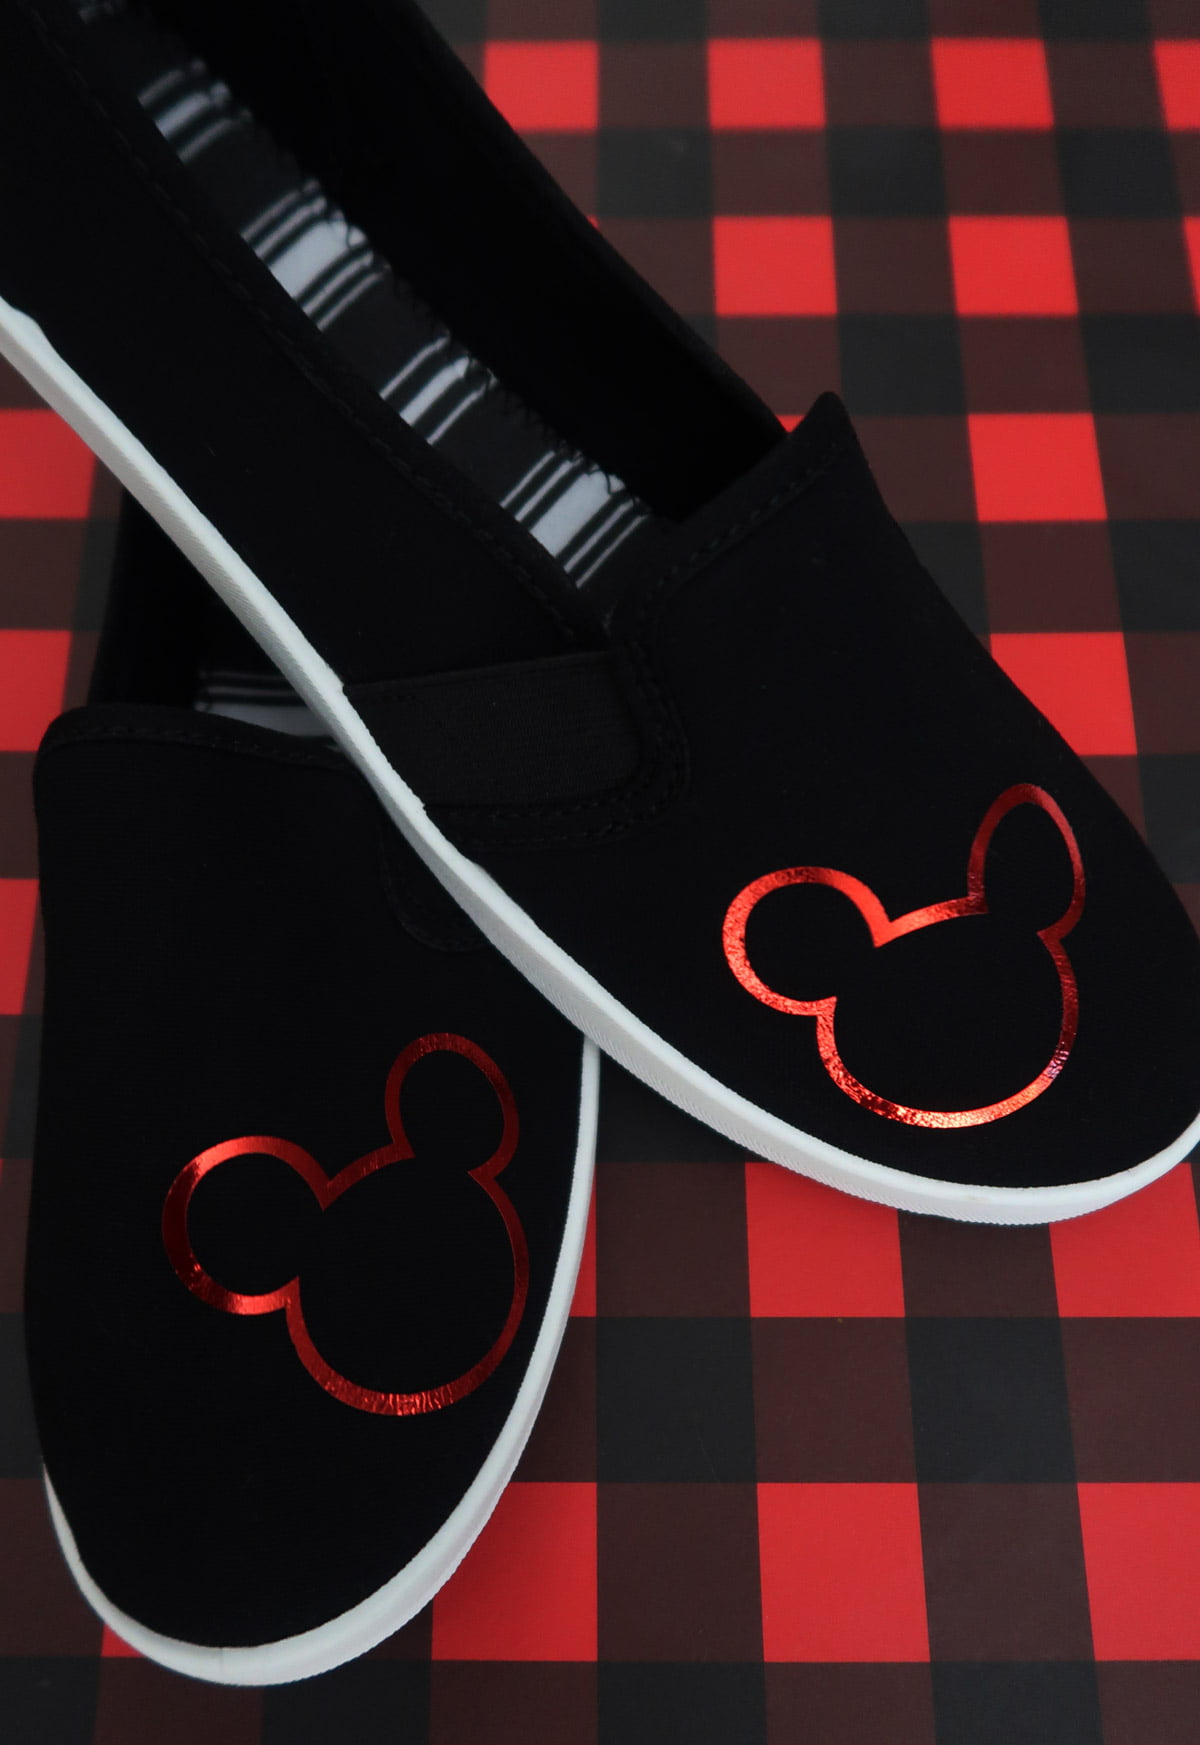
Disney Inspired shoes
I recently went to Disneyland for the first time since owning a Cricut. I was absolutely blown away by the amount of families in DIY Disney apparel. I was immediately inspired to go home and start designing some attire for my next trip.
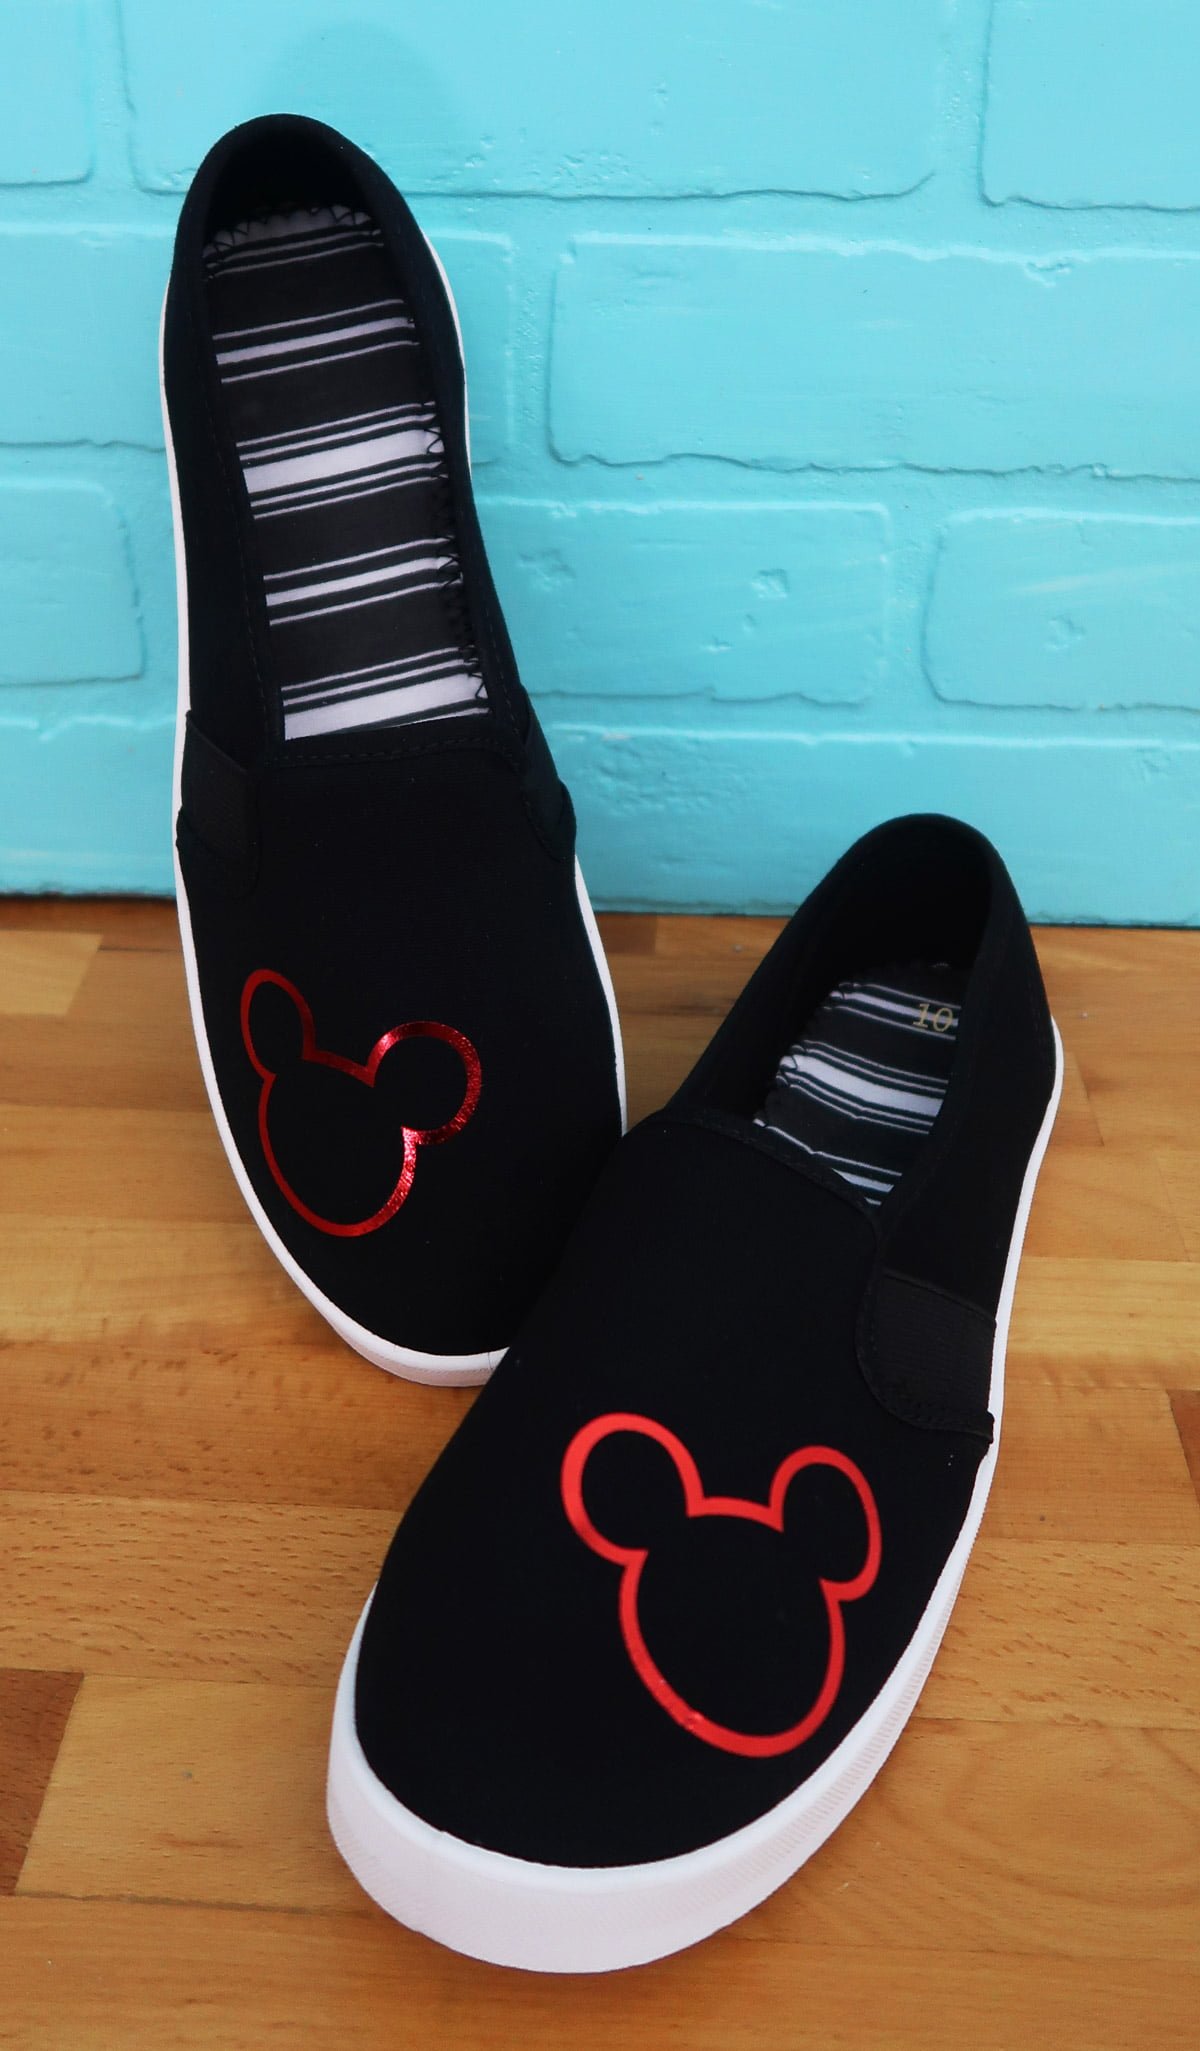
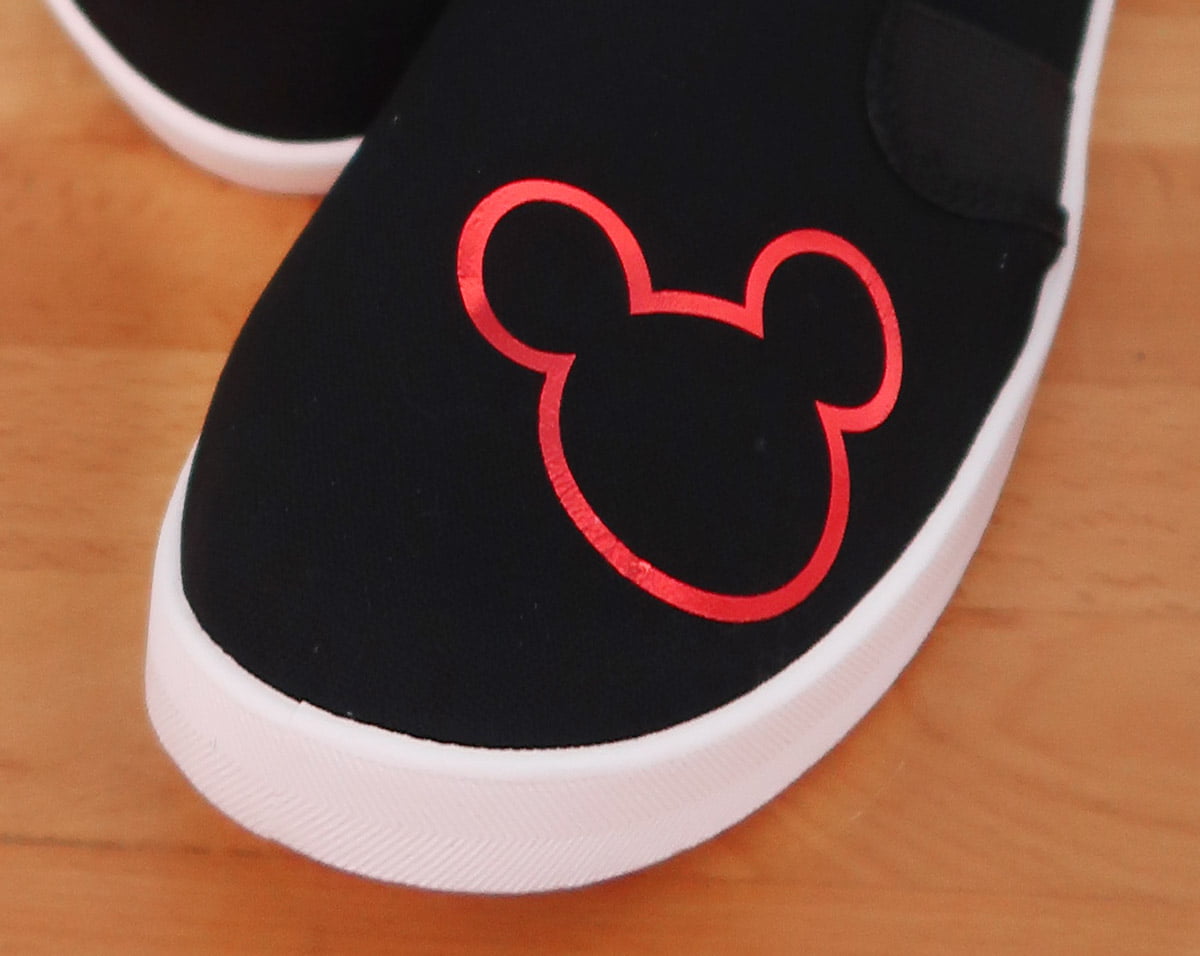
When I got the opportunity to try out the EasyPress Mini I though I will make Mickey Mouse shoes. I have always wanted to try to use iron-on vinyl on shoes. I just didn’t know how.
How to iron-on vinyl on shoes
Now over the years I had ideas for customizing or personalizing shoes but I never had a small enough press that could give me the control I needed. The Cricut EasyPress Mini is 1.92″ wide and 3.25″ tall, it is shaped like and iron and provides tip and edge control so you can place heat exactly where you want it.
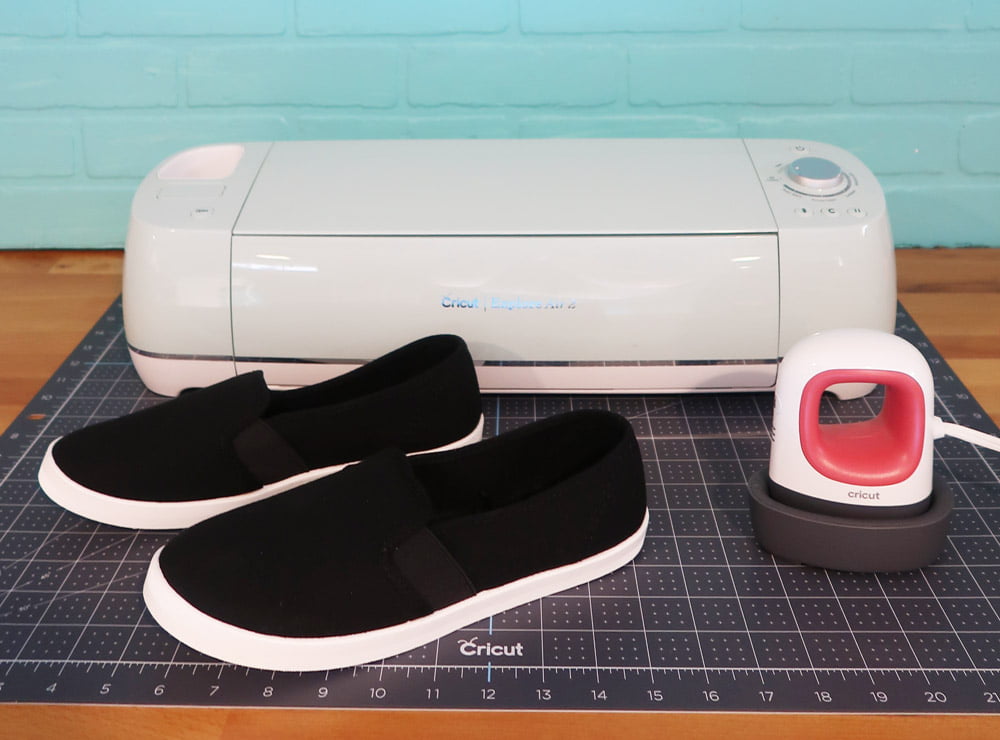
Here’s what you’ll need
- Cricut Explore Air 2 or Cricut Maker
- Cricut EasyPress Mini
- Iron-On Foil Vinyl
- Standard Grip Mat
- Shoes
- Weeding Tool
- Mickey Mouse Design Space File
- Socks (yes, really!)
Cut Iron-On Vinyl
I wanted the iron-on vinyl to visually pop off the shoes so I decided to to use iron-on foil. Place the iron-on foil shiny side down on your mat. If you are cutting anything with lettering make sure you have mirroring turned on.
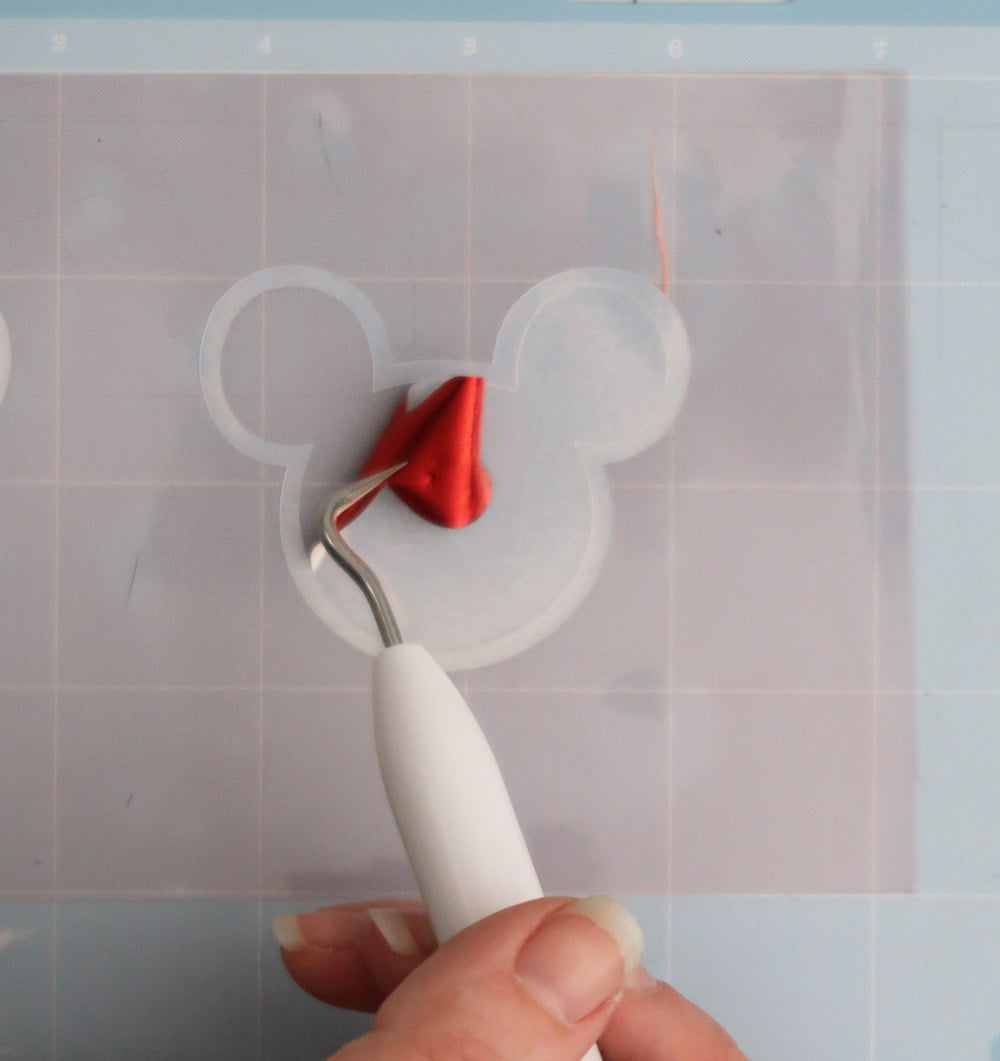
Weeding Iron-On Vinyl
Using the weeding tool, the one shaped like a hook, remove excess vinyl. Leaving just the outline of Mickey. Trim the carrier sheet closer to your vinyl design. This will give you more control when adhering it to the shoe.
EasyPress Mini heat settings
Low for lightweight, delicate, synthetic, or heat-sensitive fabrics; also great for more delicate heat-transfer vinyl, such as Foil Iron-On
Medium for most fabrics and heat-transfer vinyl
High for Infusible Ink projects and blanks
Since I am using foil iron-on for the shoes turn the mini on to the low setting, one wave lit up. Still unsure about what heat setting to use? I always double check using Cricut’s heat guide, here.
Pre-Heat
Wait for your mini to come to temperature. The lights will turn from orange to green. Pre-heat your canvas shoe for 5 seconds with your EasyPress Mini.
Applying Iron-On Vinyl to Shoes
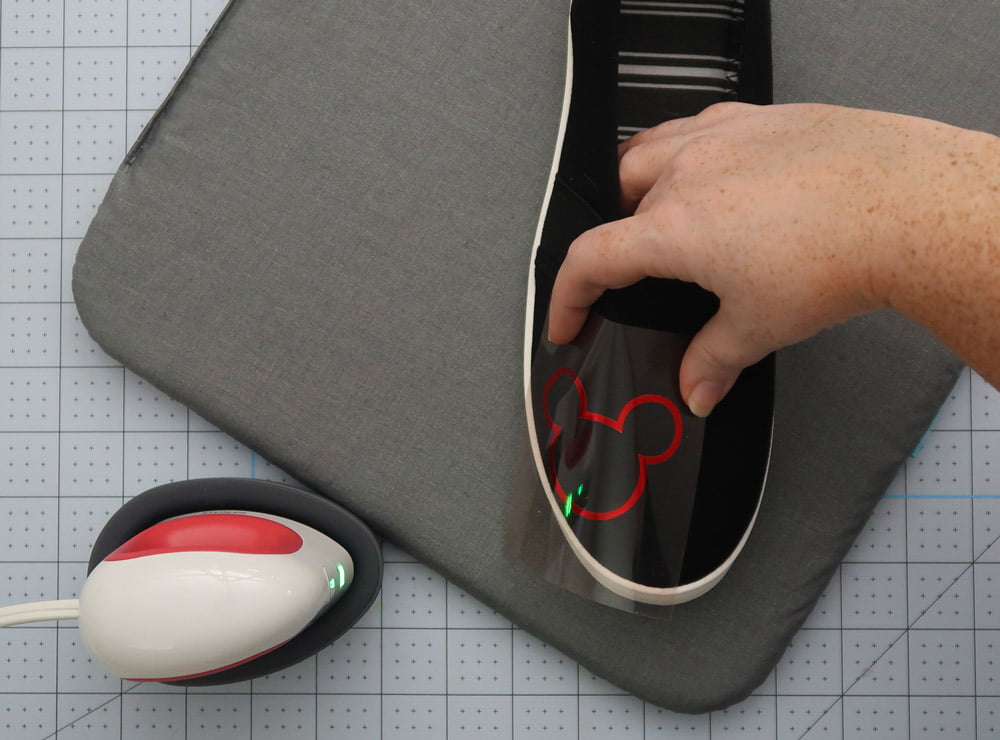
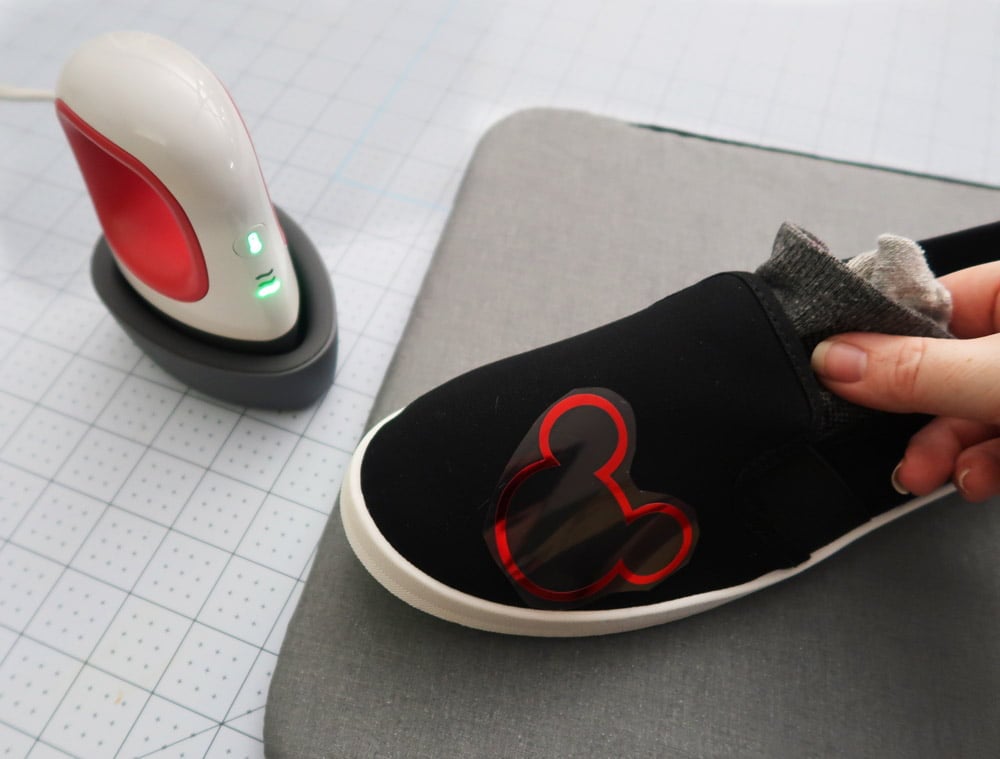
Now it’s time to apply the iron-on vinyl. Since the shoe is hollow we want to insert a rolled up sock to give you something to push against and also is a heat protectant for your fingers.
Place your design shiny side up. Once in place press for 25 seconds. Now since the design is larger than the iron we want to press it in sections.
Wait for it to cool completely and peel back the carrier sheet. Do not peel when it is still warm your foil will wrinkle.
Is a new pair of shoes and excuse to go to Disney? If so I am ready who wants to come with? I’ll make you a pair of shoes. Sound like a deal?
Project Ideas with Cricut EasyPress Mini
- Shoes
- Hats
- Headbands
- Stuffed Animals
- Sewing
- Quilting
Want to see more Cricut projects like these? Check out all my projects here.


2 Comments