This post contains affiliate links, please read our disclosure policy.
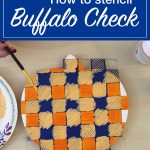
How to make a buffalo check stencil with vinyl and your Cricut.
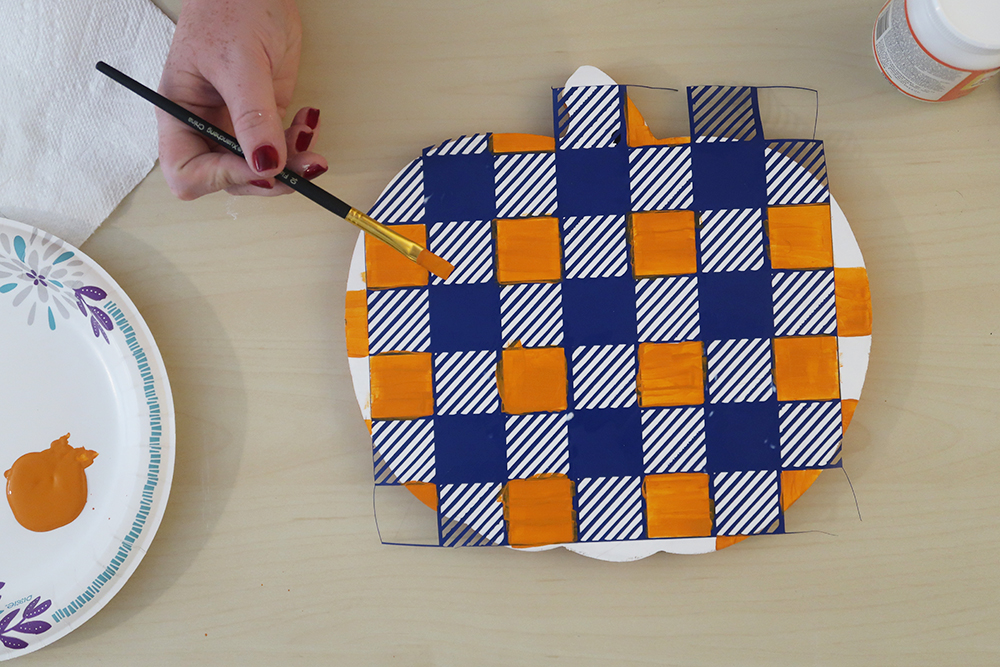
I have been obsessed with buffalo check the past couple of years but what I have realized is that painting it freehand can be difficult. Today I am going to show you how I made a buffalo check stencil with my Cricut.
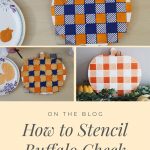
You may have seen the buffalo check pumpkin I created last week and here is how I made the stencil for it.
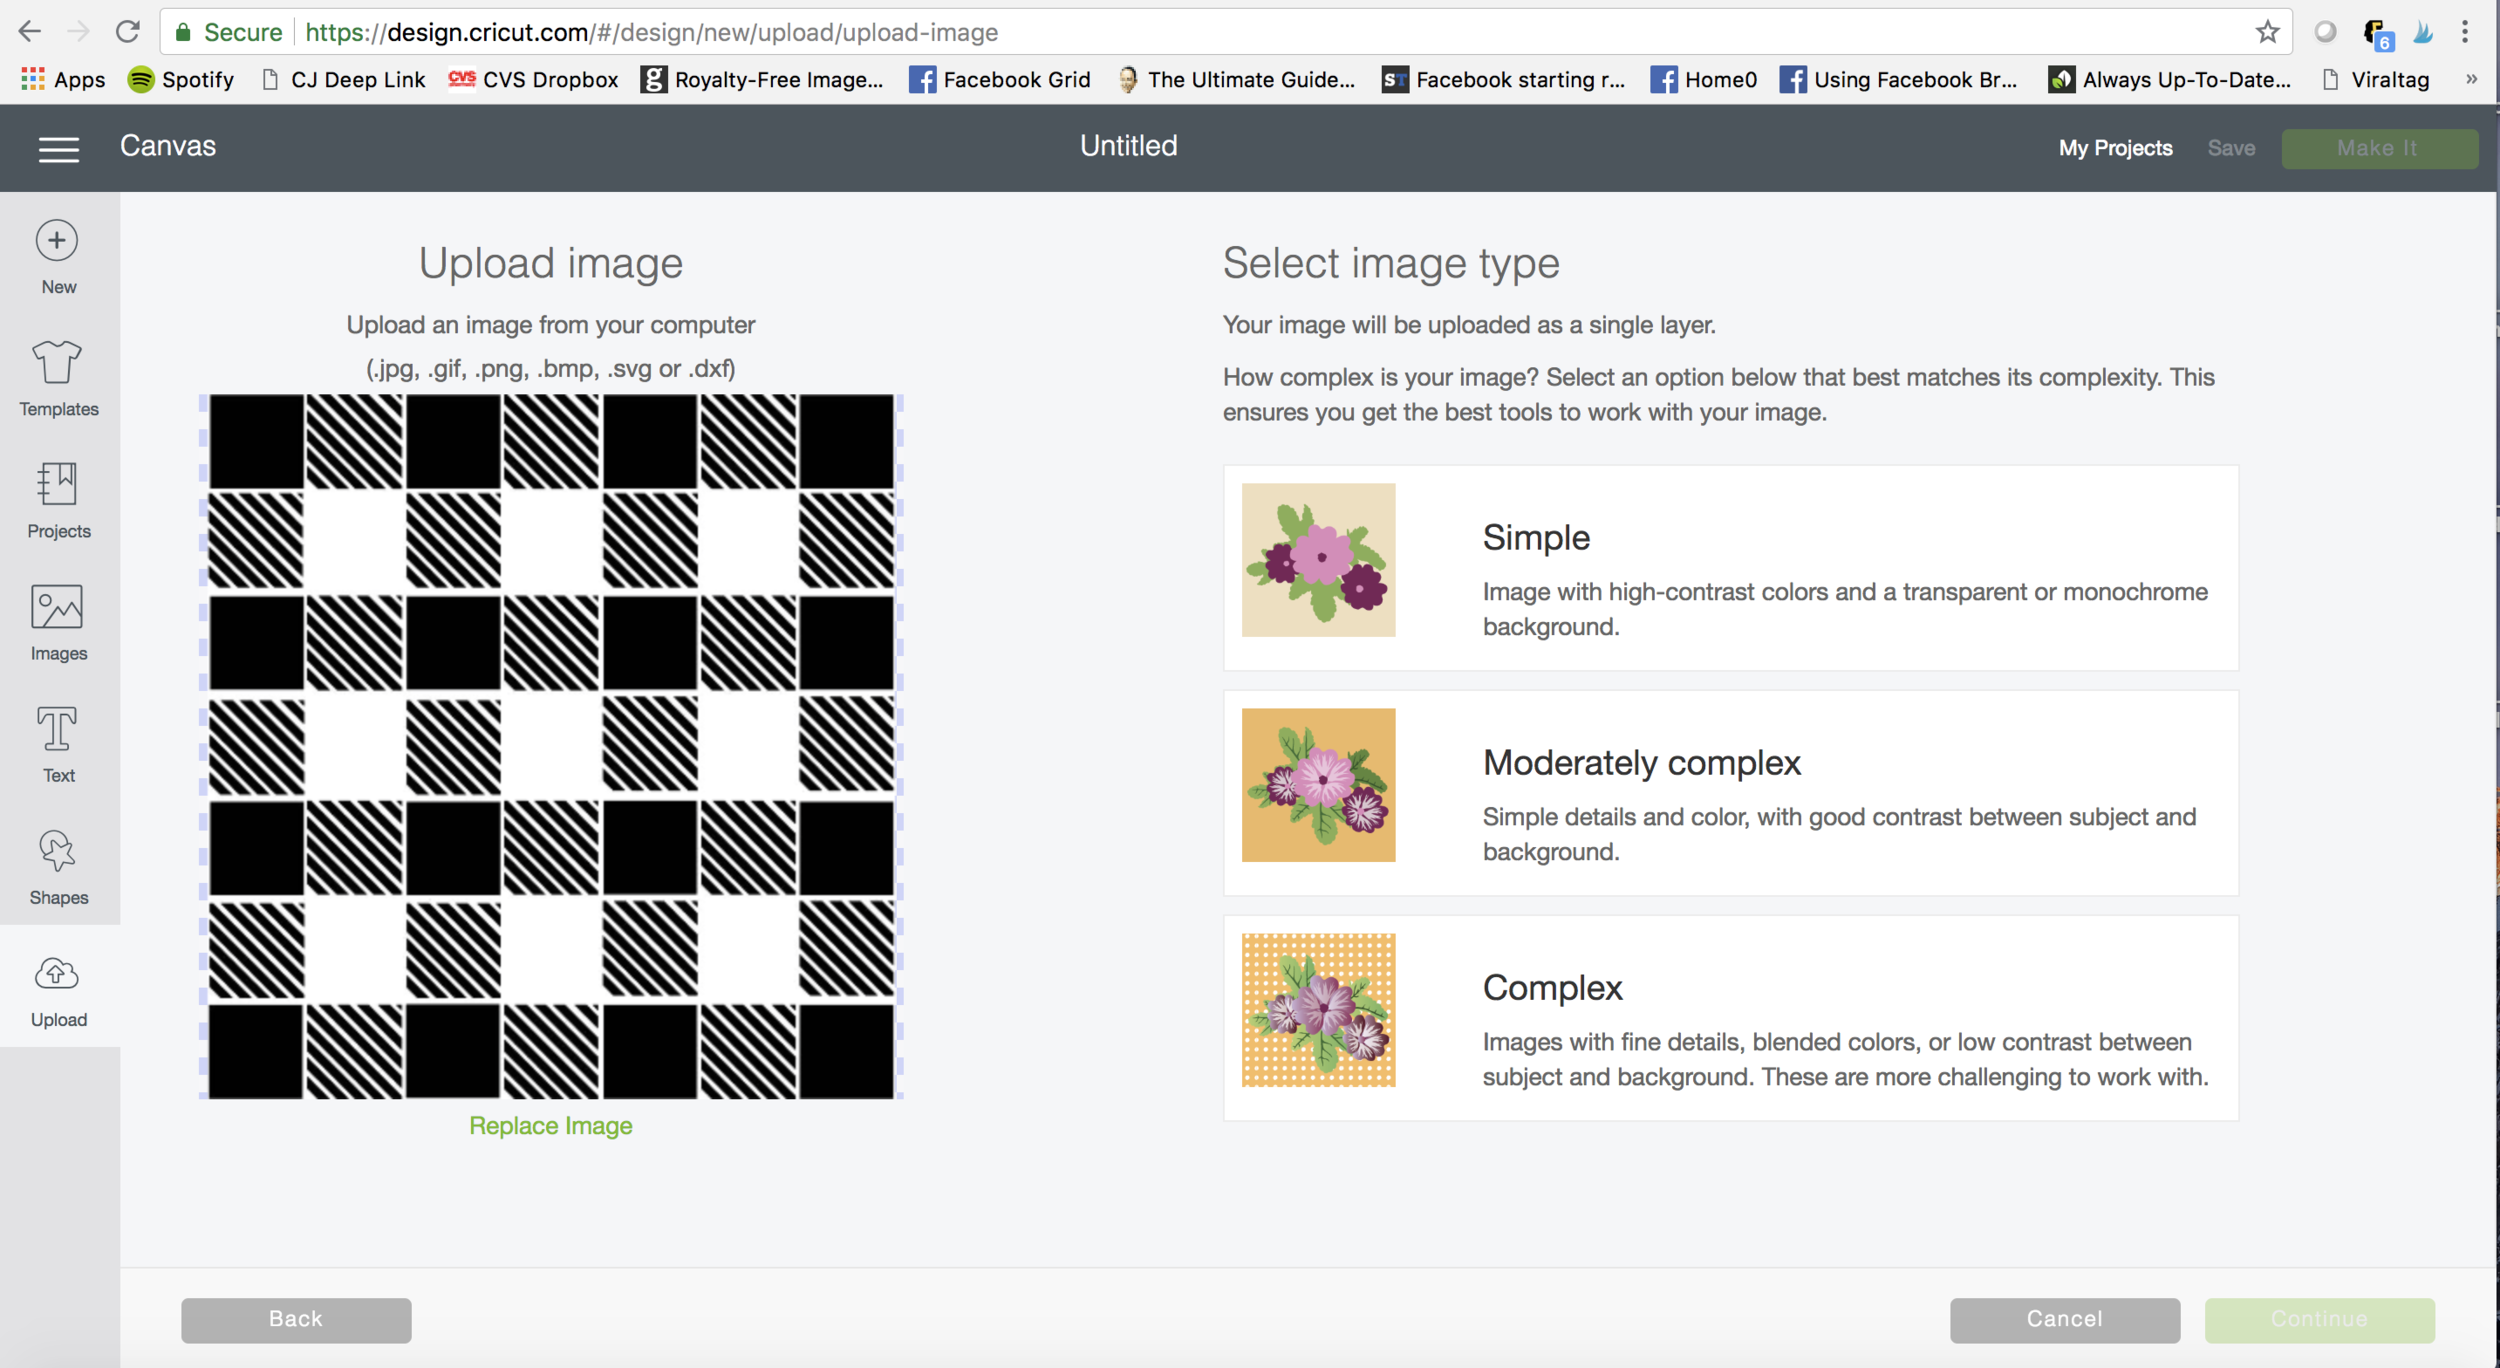
Step One: Upload Image
-
Open up design space and upload this SVG File. (purchase it below)
-
Select image type as simple.
-
Click continue.
Purchase SVG file here.
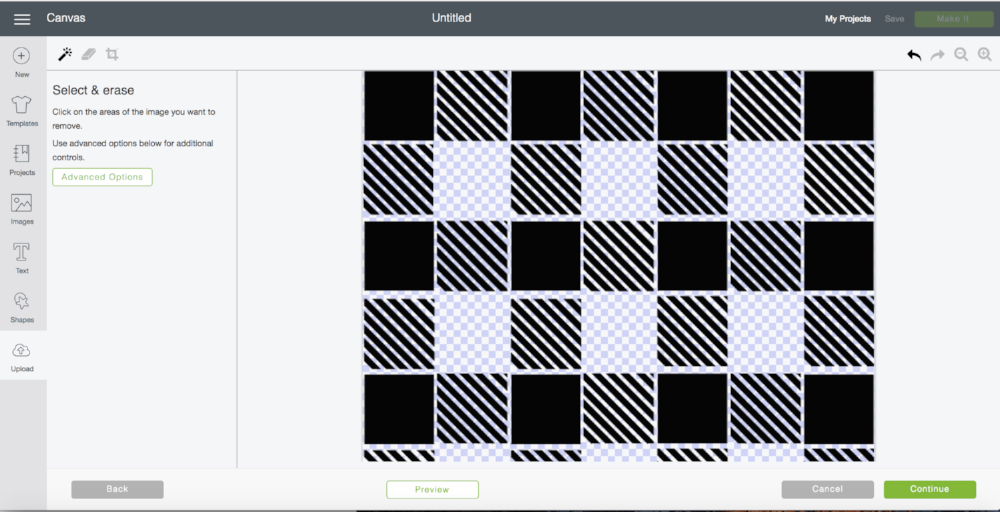
Step Two: Select & Erase
Using the select tool click the white in one of the square boxes. This should remove the background. Everything left should be what you are cutting. If you do not select simple you will have to click ever piece of white to erase it. Click Continue.
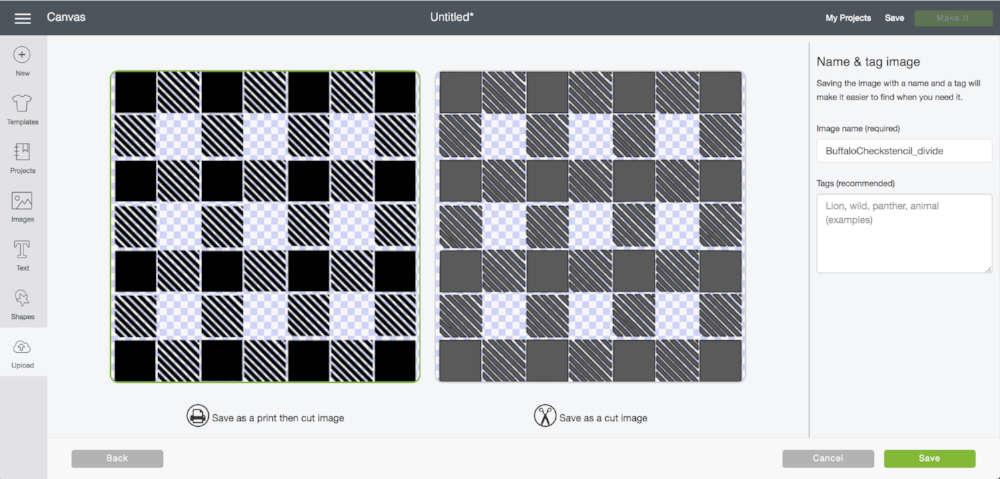
Step 3: File Type
-
Select save as a cut file.
-
Name and Tag your image this will help you find it in your library later.
-
Select save.
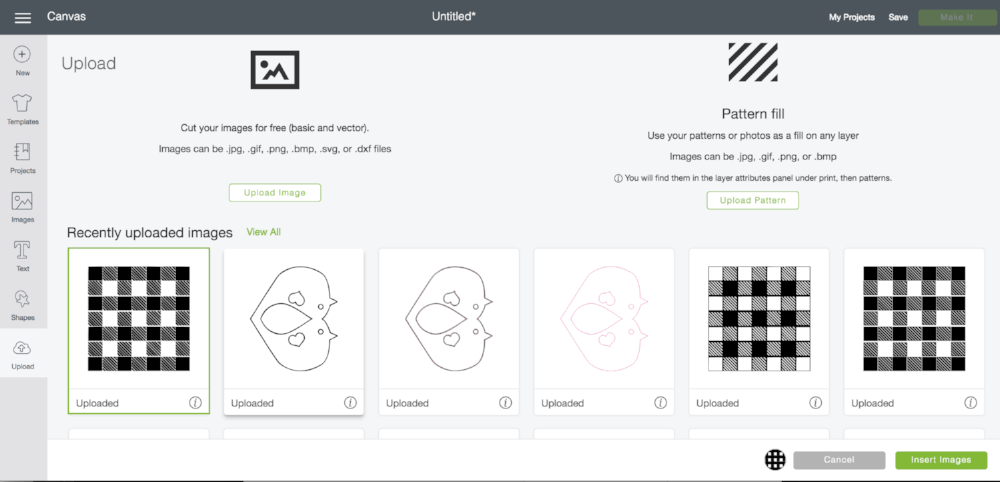
Step 4: Insert Image
-
Select your recently uploaded image.
-
Select insert image.
Step 5: Everything else
For the full project tutorial check out this blog post on how to paint a wooden pumpkin buffalo check here.
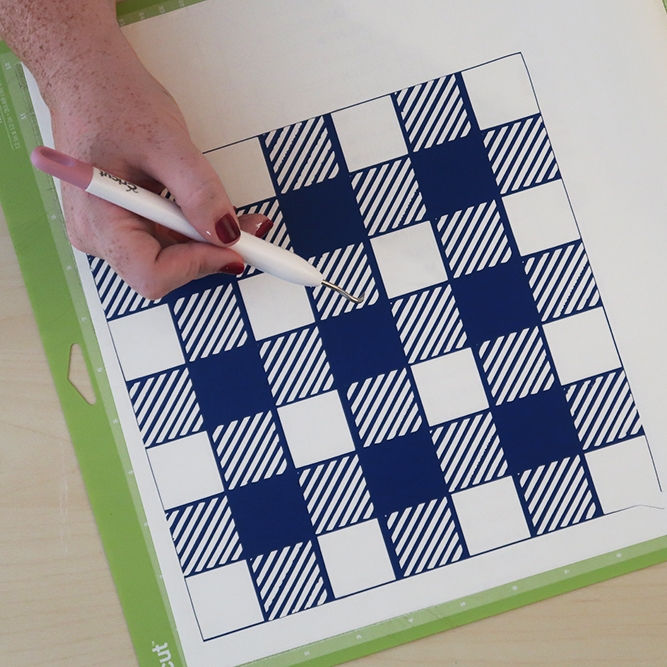
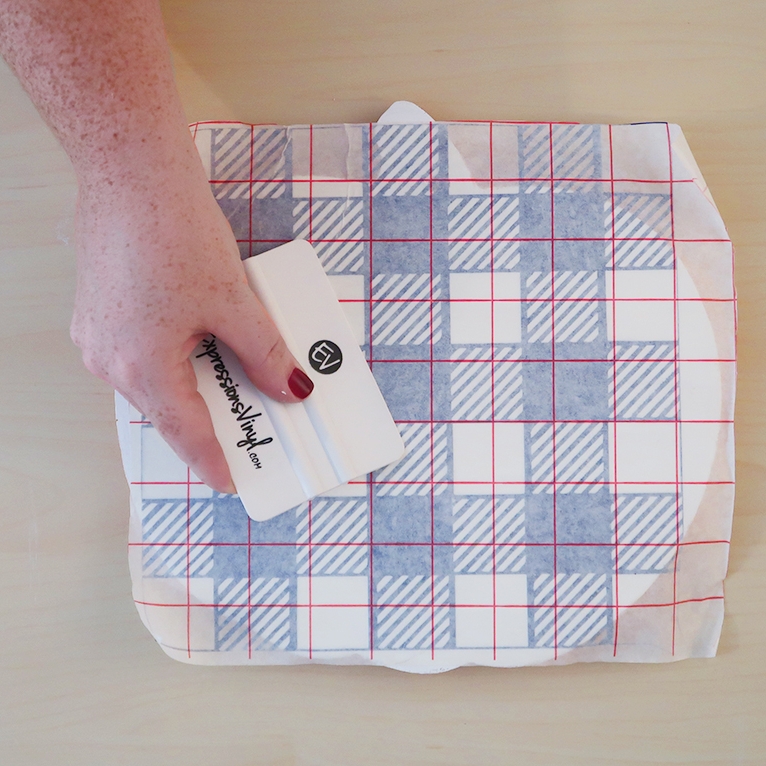
Weeding can be a bit meticulous on a stencil like this but oddly enough I find it therapeutic. It makes me sit still for a period of time which sometimes I have trouble doing.
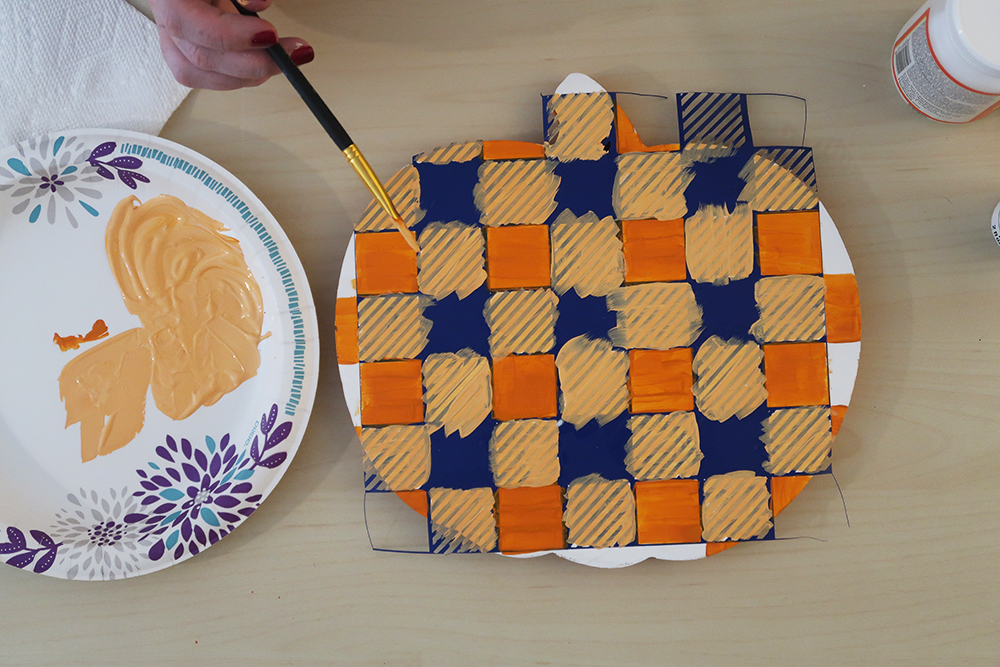
Once you are ready to paint the project comes together quickly. For full instructions on how to make this pumpkin make sure to check out the tutorial here.


Can i use chalk paint?
Thank you!! I wanted to start a buffalo check project but the thought of all the straight lines i knew i would have trouble with made it seem daunting. Thank you for making this so much easier!!