This post contains affiliate links, please read our disclosure policy.
DIY sewing tutorial on how to make a face mask using your Cricut Maker to cut out your fabric.
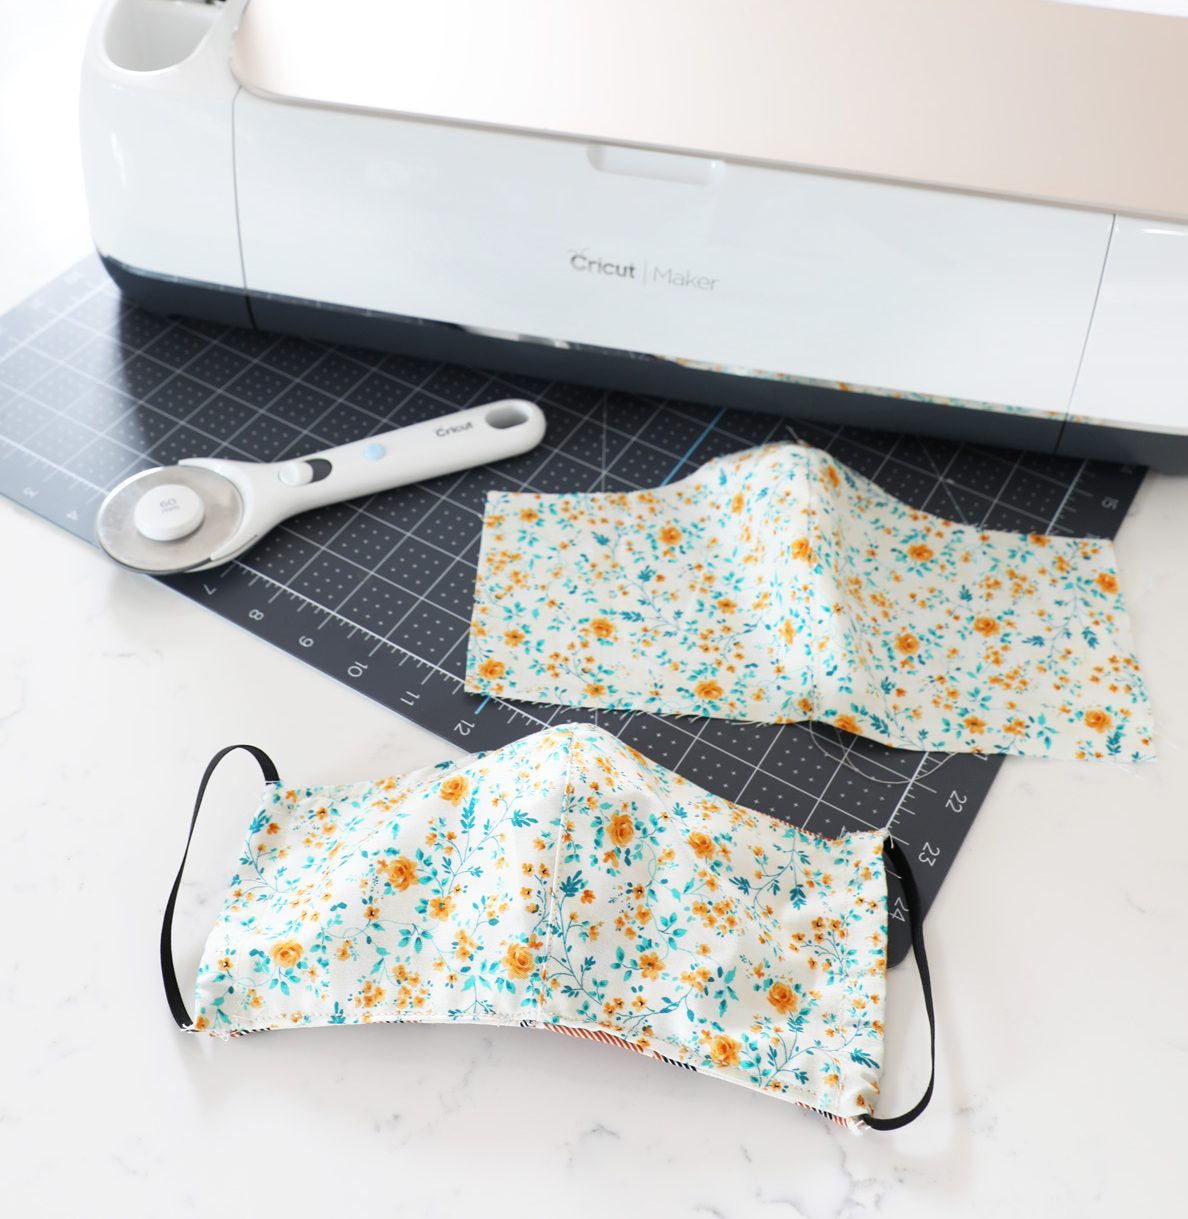
With everything going on in the world I wanted to share how I made DIY face masks for myself and my family. I used my Cricut Maker to cut out fabric for the face masks. This made the process much simpler and efficient when making a large amount.
Once I made the first mask I was able to set up an assembly line and create an efficient process for making masks. Check out the video below or Cricut’s blog for the full tutorial.
Note: These are NOT rated for disease control and not considered PPE. For a direct link on this, visit the CDC website: https://www.cdc.gov/coronavirus/2019-ncov/hcp/respirator-use-faq.html
This post contains affiliate links.What you’ll need
- Cricut Maker
- Sewing Machine
- Cricut 12×24 Fabric Mat
- Cricut 12×12 Fabric Mat (optional)
- Rotary Cutter or scissors
- 8″x16″ Fabric
- 7″x12″ Fabric
- Pins (optional)
- Easy Press Mini or Iron
- 1/4″ Elastic or Ribbon
Chose Design Space file for face mask size
Detailed instructions are on Cricut’s Blog here or follow the steps in the video

Other materials to make face masks.
If you don’t have access to cotton fabric look to see if you have a flat sheet or a flannel sheet that you could cut up. Shop your house do you have any clothing that you could repurpose?
Other materials to use instead of elastic.
- Ribbon
- Head bands
- Hair Elastics
- Cut open a bungee cord
Filters for masks
- Coffee Filters
- Cut up an HVAC Filter


2 Comments