This post contains affiliate links, please read our disclosure policy.
How to add Iron-on vinyl to Pajamas. Personalized pajamas for Christmas morning. DIY Pajamas for the whole Family.
This is a sponsored conversation written by me on behalf of Cricut. The opinions and text are all mine. This post contains affiliate links.
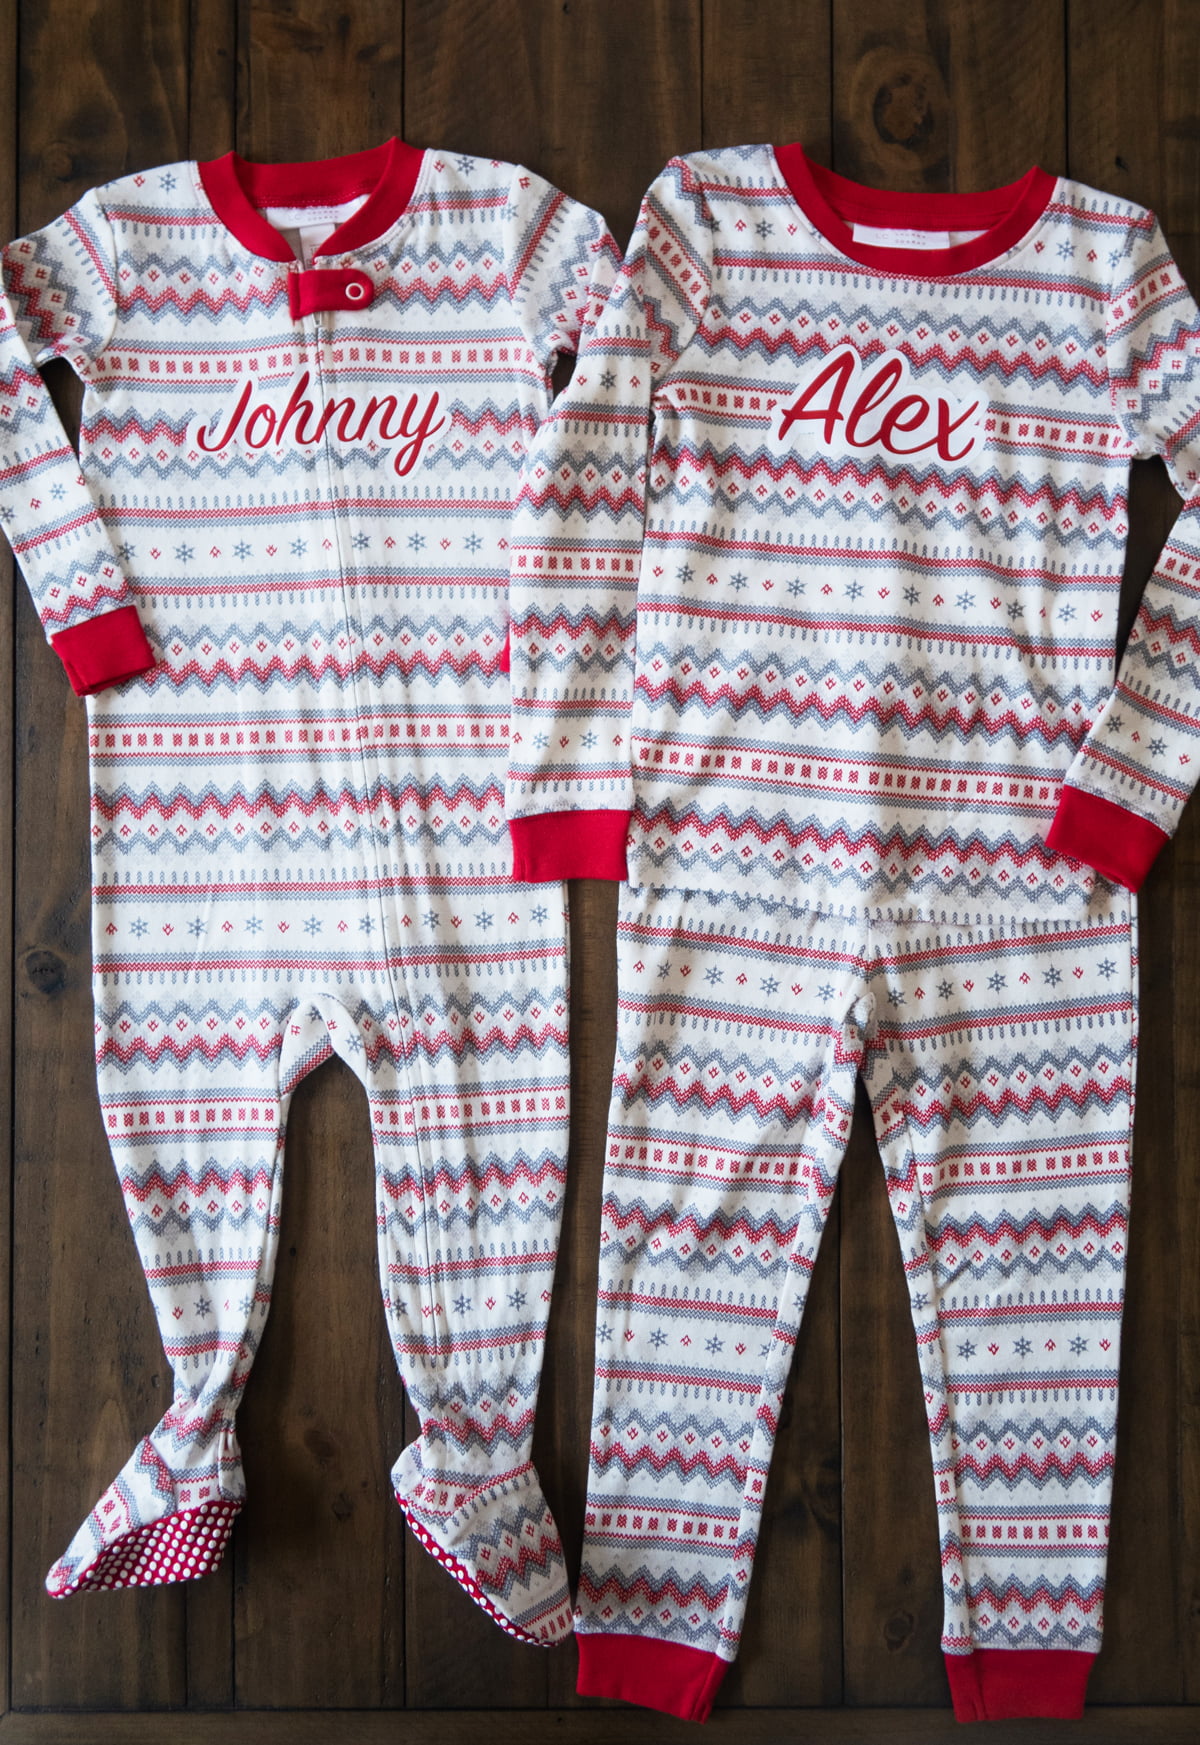
Whether it’s the night before Christmas or for family photos Christmas pajamas are always great choice. But you know what makes them even better? If you personalize them. I am sharing how to apply iron-on vinyl to your pajamas to customize them for every person in your family.
First step is to find Christmas pjs that are available for the whole family I found mine here. It made me happy that they went from infant sizes to plus size. So today I am going to focus on adding names to the kids pajamas.
Reading this but don’t have a Cricut? Drop a hint to Santa by sending him the what a crafter really wants gift guide. Trying to pick out which EasyPress to buy? I have a guide for that here.
What you’ll need
- Cricut Maker or Cricut Explore Air 2
- Iron-On Vinyl
- Cricut Light Grip Mat
- Cricut EasyPress
- Cricut EasyPress Mat
- Weeding Tool or Tweezers
- Cricut True Control Knife
- Pajamas
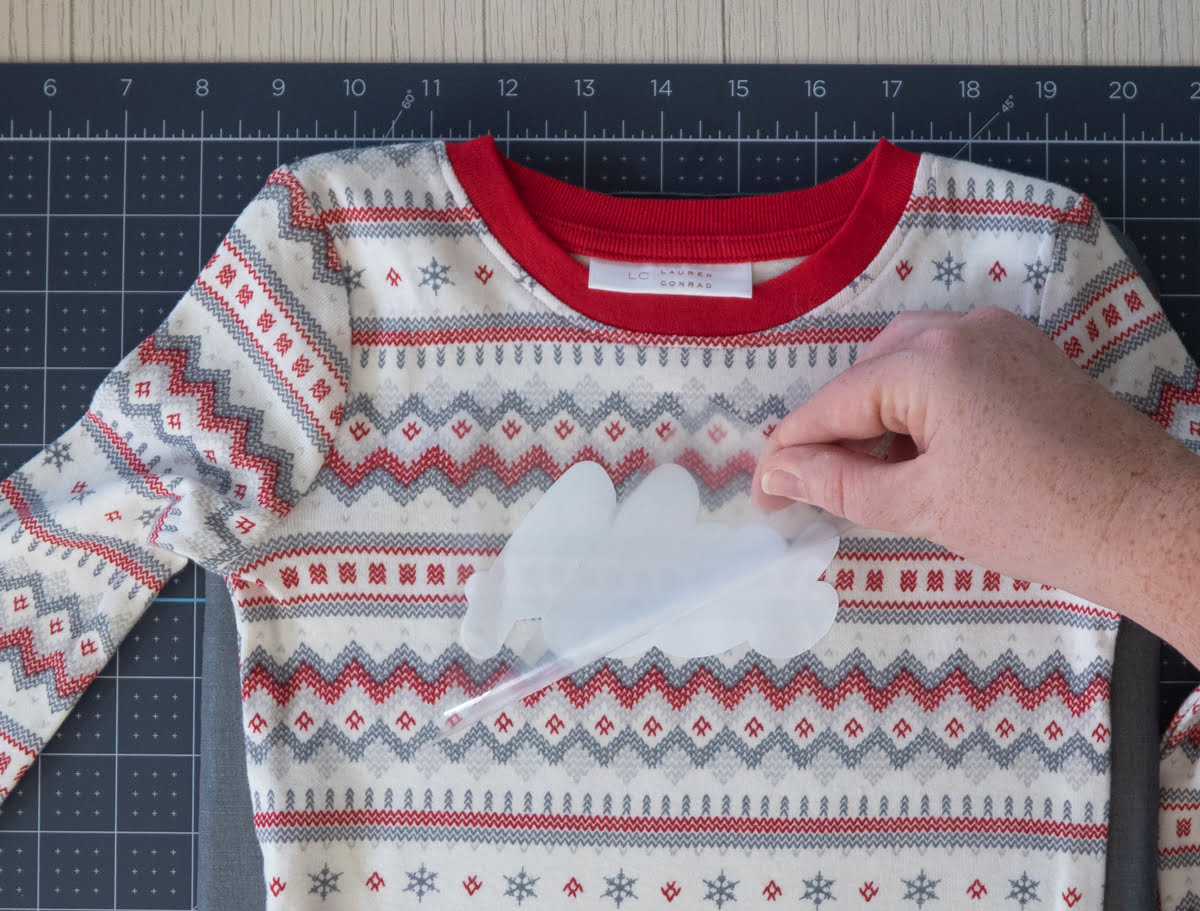
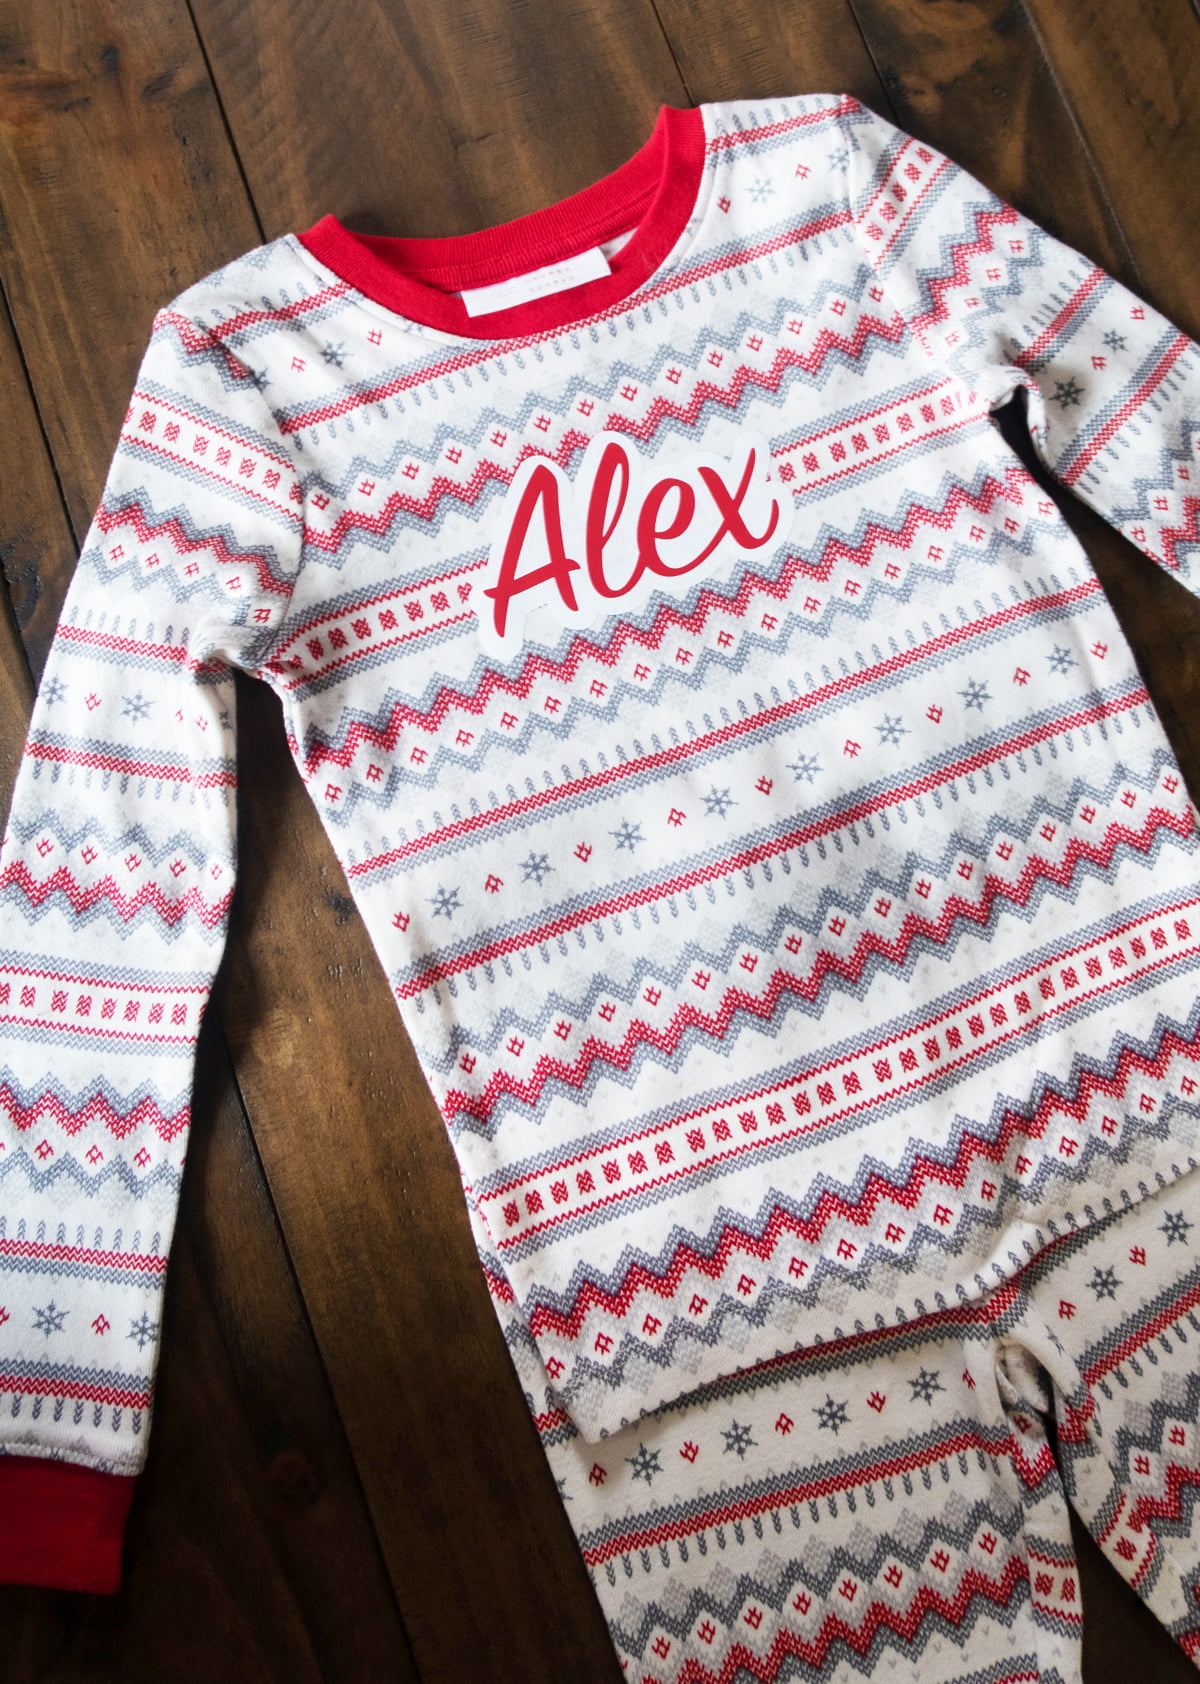
Now I designed my names in design space using a script font and creating an offset path. Adding a base layer of the offset path to my design helped the name stand out. It almost gives it more of a sticker look if you use this technique when making decals.
Don’t want to put a name on the PJs what about Santa’s helper, Nice One, Naughty One, or Elf?
TIP: WHENEVER YOU ARE USING IRON ON AND HTV YOU WANT TO MAKE SURE TO MIRROR YOUR DESIGN.
Place your iron-on vinyl shiny side down and load it into your Cricut to cut. We will be using two different color iron-on vinyl and layering them on top of each other.
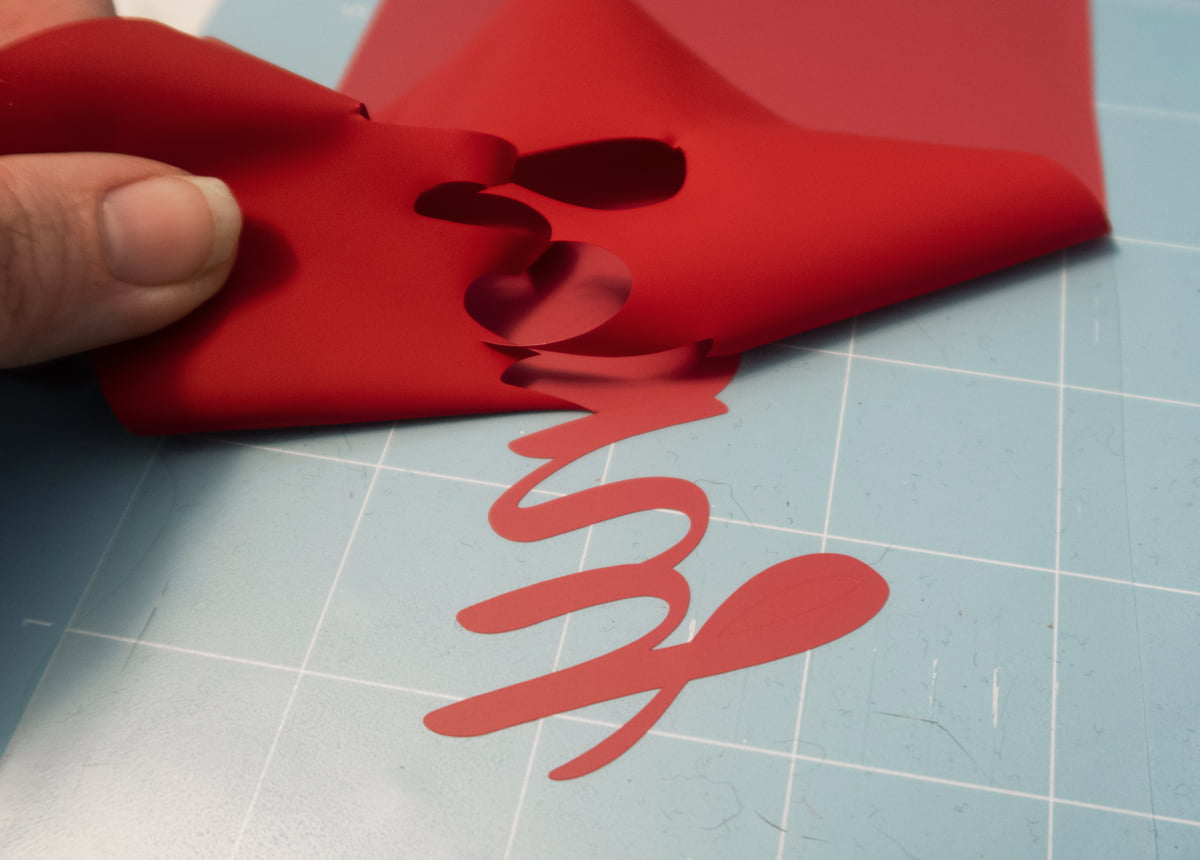
Weeding Vinyl
You are ready to weed your design. What’s weeding? Remove all the excess vinyl just leaving the design you want to press onto your onesie.
How to layer Iron-on vinyl
- Before cutting, be sure to mirror your design. This ensures your image layers are properly oriented once on the pajamas
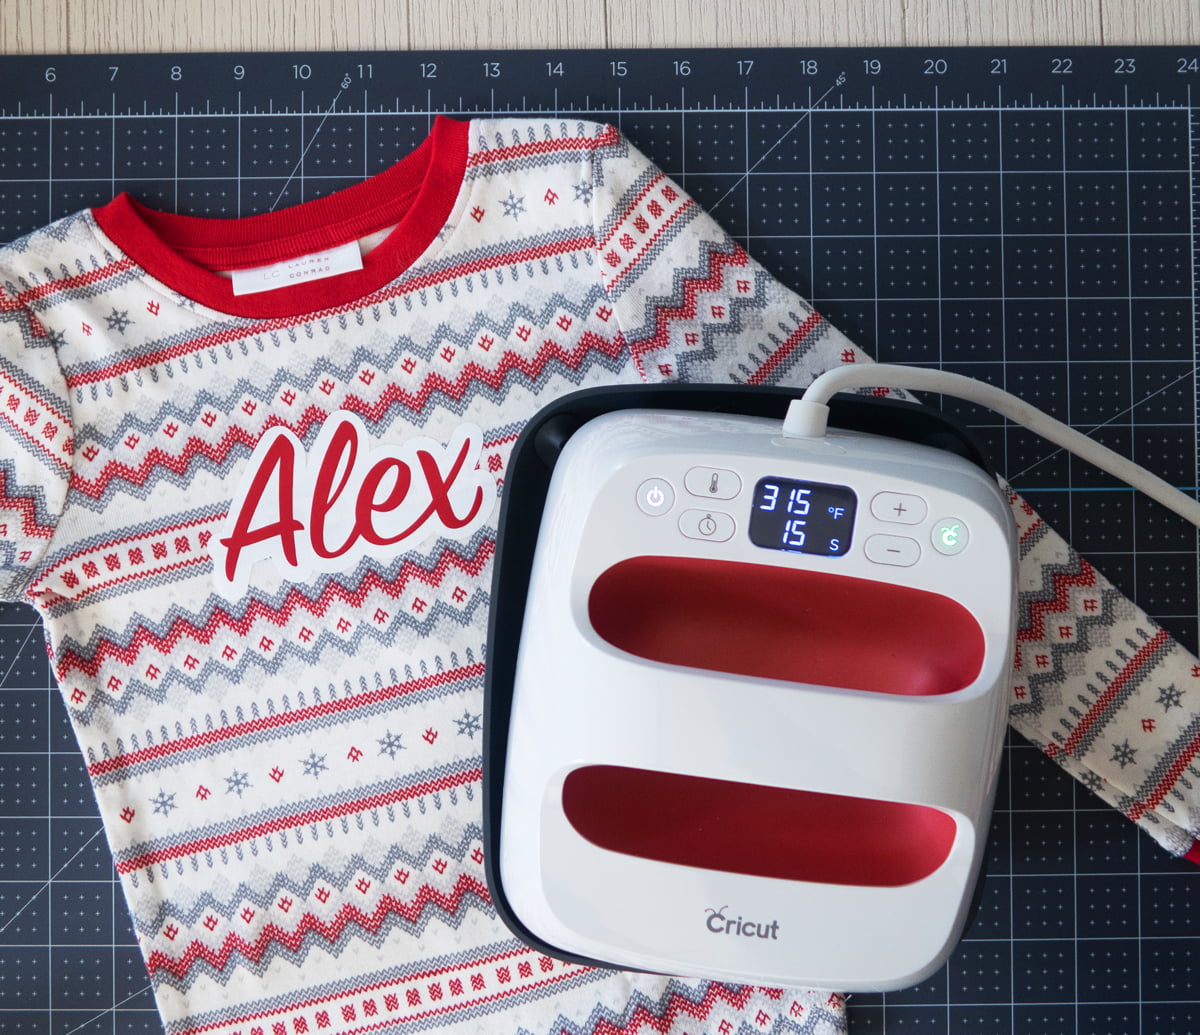
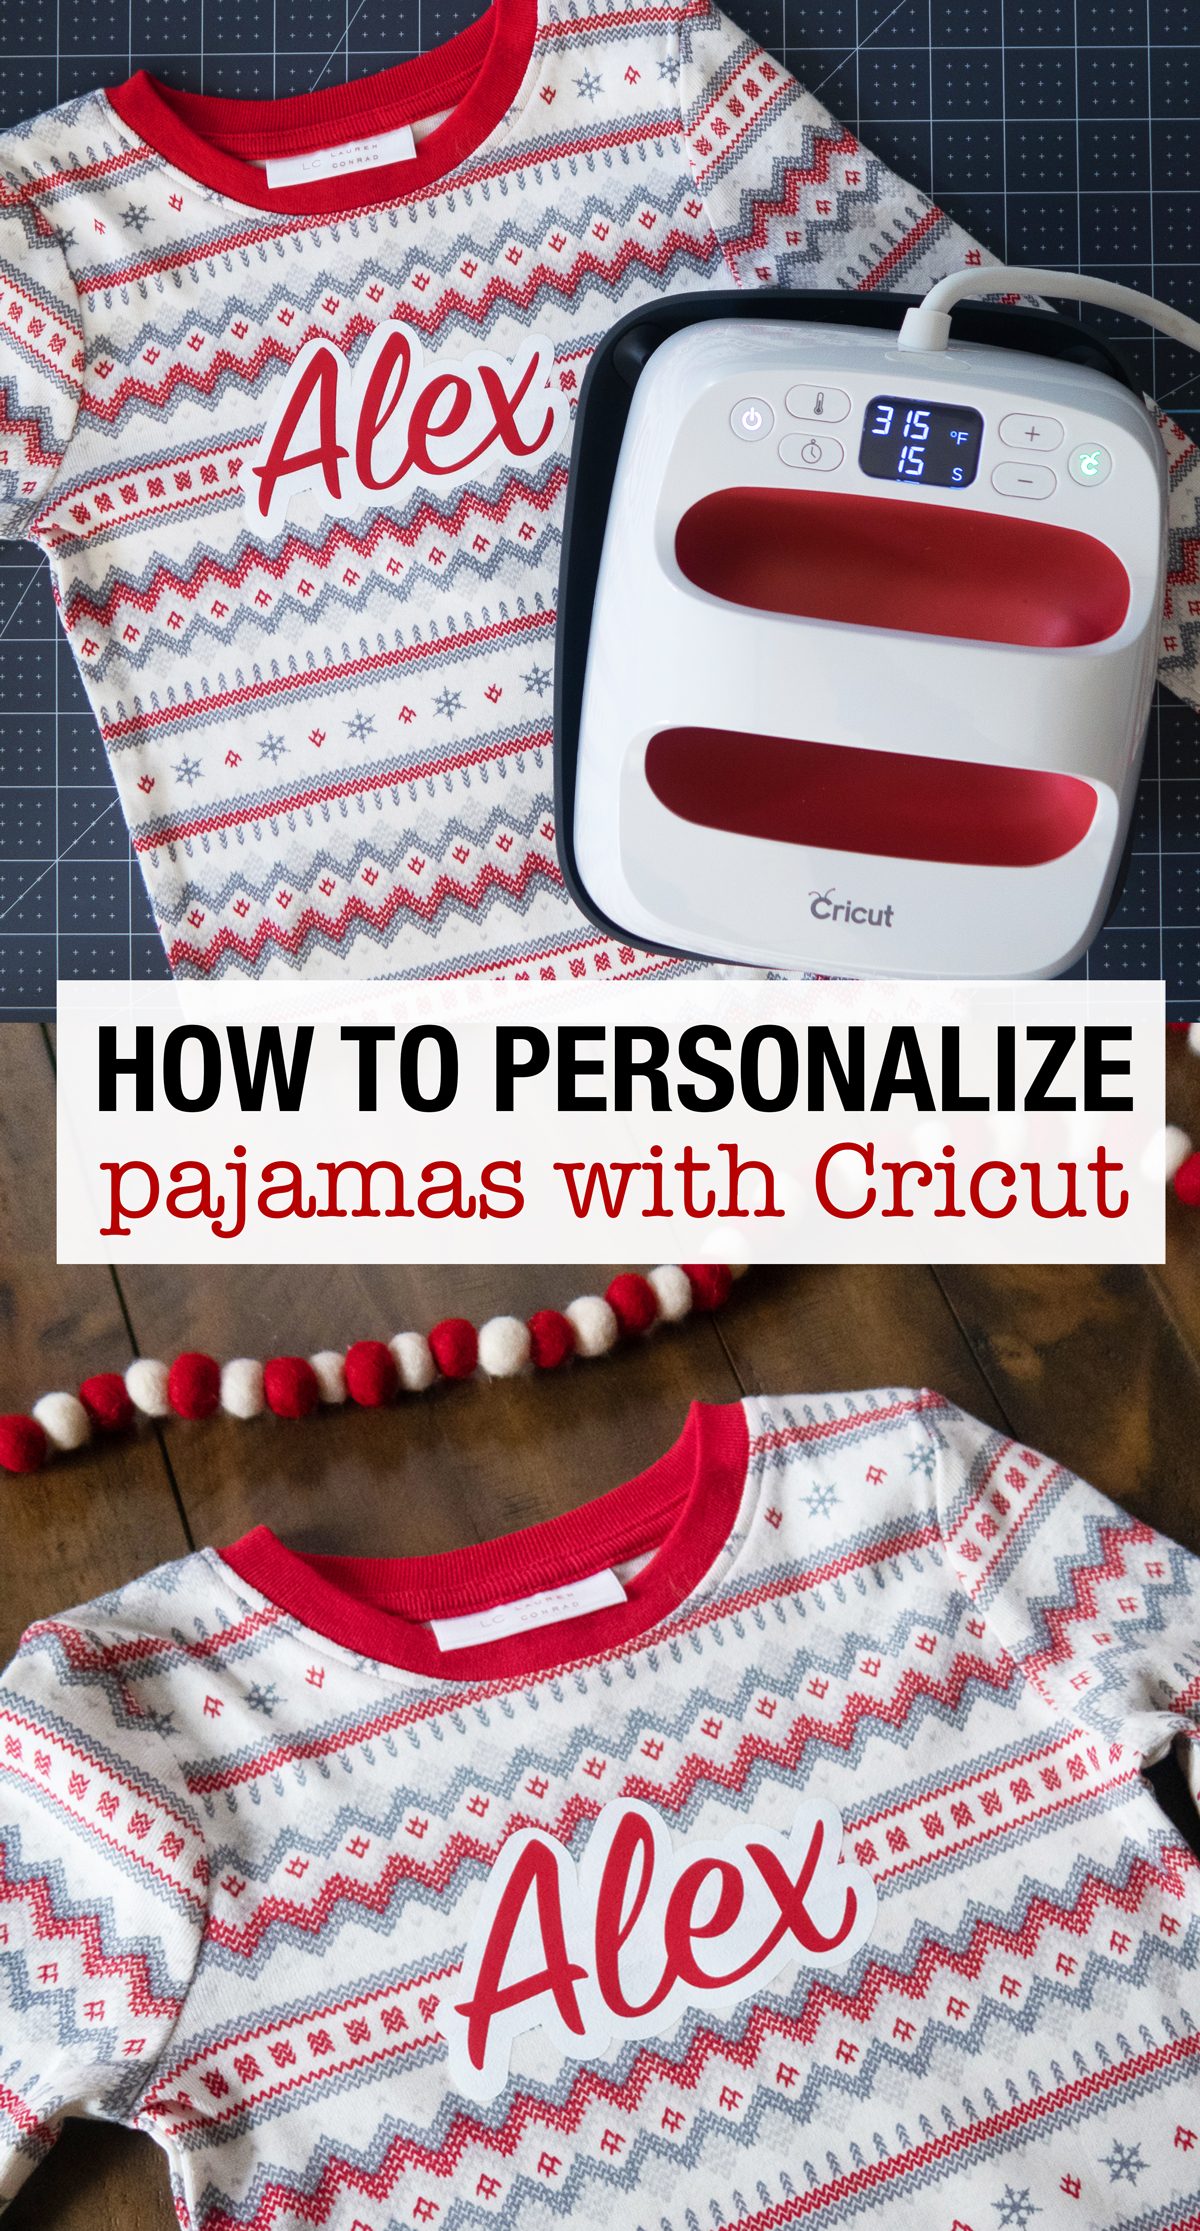
- Set your EasyPress to 315 degrees and using a different set of pajamas? Reference Cricut’s heat guide here.
- Preheat your pajamas for 5 seconds.
- Place the bottom layer of your design onto the pjs, then cover with Cricut EasyPress and apply firm pressure, with two hands, for 1-3 seconds.

- Remove the plastic liner from the applied layer when it has cooled enough to be warm, not hot, to the touch.
- The iron-on will not be completely set at this time, but as you apply more heat with each additional layer, the adhesive for all layers will properly set.
- Top Layer: when adding the top layer of your image, apply firm pressure with the Cricut EasyPress for 15 seconds.
- Flip your pajamas over and apply heat and firm pressure for 10-15 seconds.

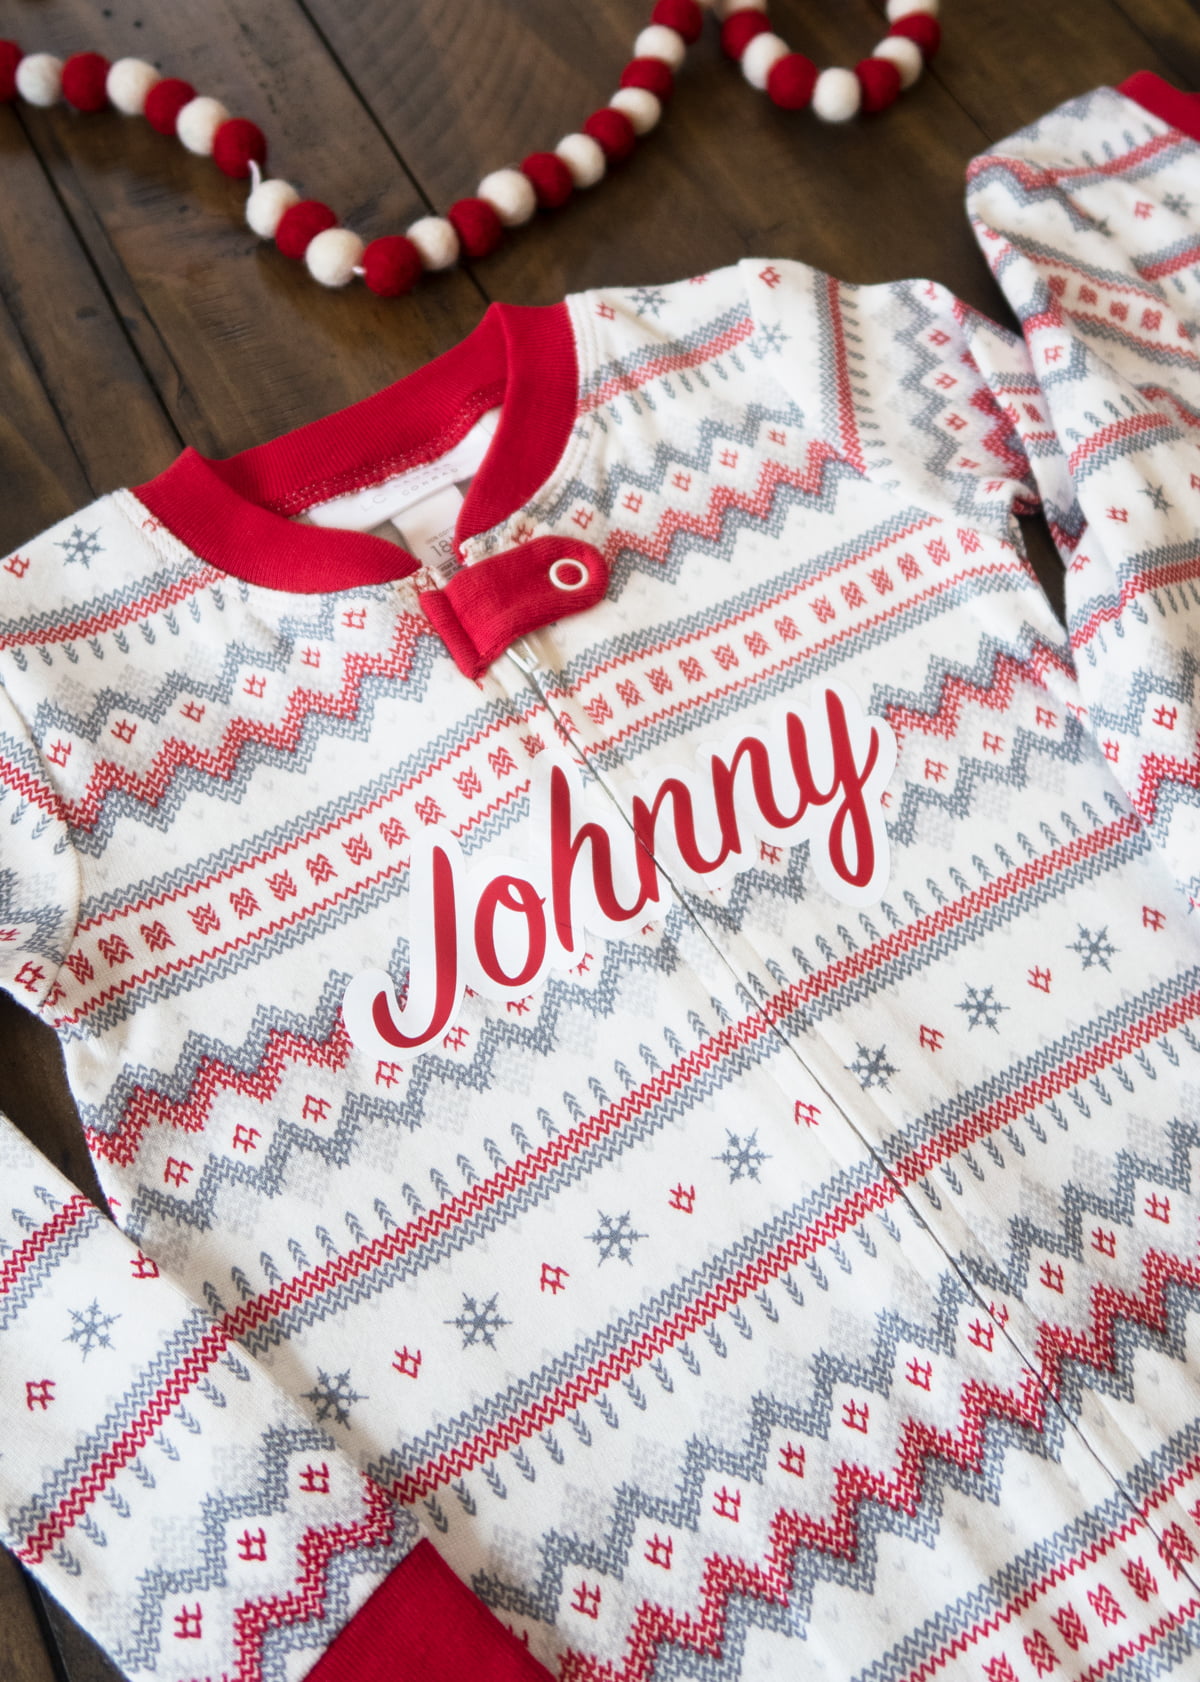
Can you even?! These came out better than I even imagine. The bottom layer of white vinyl breaks up the business of the pattern and really helps the name stand out. But how will add a name to pajamas that zip all the way up? Follow the directions below.
How to apply iron-on vinyl over a zipper
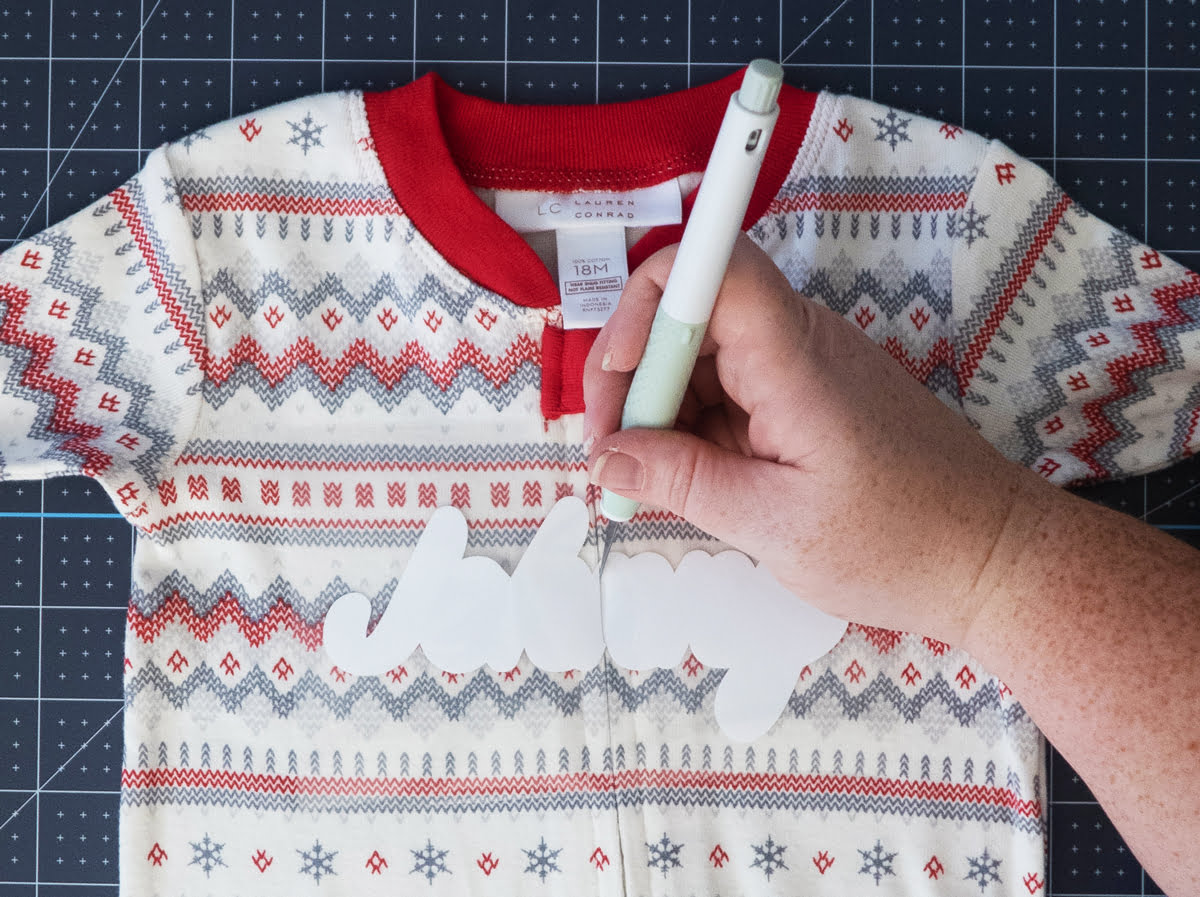
Now that we have the easy pj’s out of the way let’s tackle how to apply iron-on vinyl over a zipper. This is my first time doing this and I put a lot of thought into what was the best way to do this so it looked intentional and the letters are not wonky.
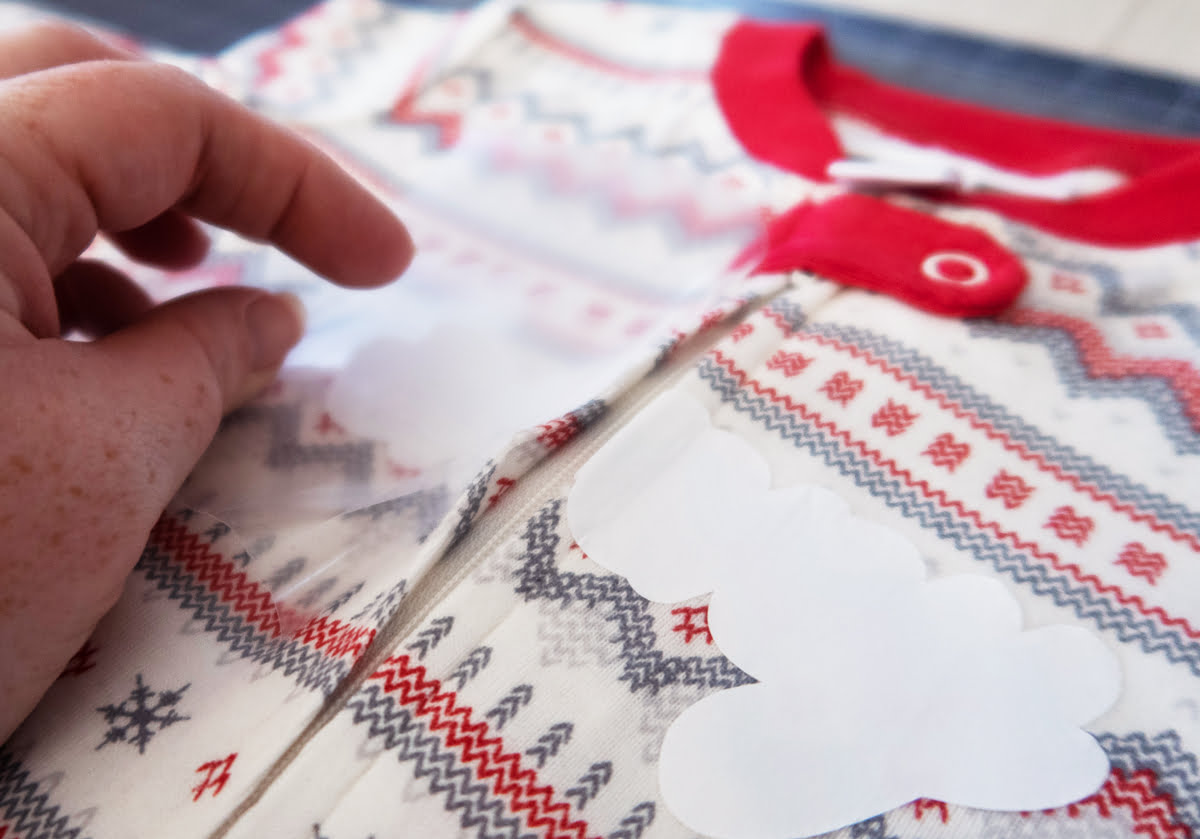
I found if you preheated your sleeper for 5 seconds then added your vinyl onto the pjs and strategically placed the zipper in between letters. Using the true control knife and very carefully cut the vinyl along the zipper. Making sure not to snag the fabric. Now the important part was to not fully cut all the way up the plastic liner, just a slit where your iron-on vinyl is. Leaving that protector will help keep your design or name in place.
Following the same directions as above cover with Cricut EasyPress and apply firm pressure, with two hands, for 1-3 seconds. Remove the plastic liner from the applied layer when it has cooled enough to be warm but not hot to the touch.
Once peeled add your second layer of iron-on vinyl and use your true control knife again to slice your iron-on vinyl along the zipper. Apply firm pressure with the Cricut EasyPress for 15 seconds.
Flip your pajamas over and apply heat and firm pressure for 10-15 seconds.
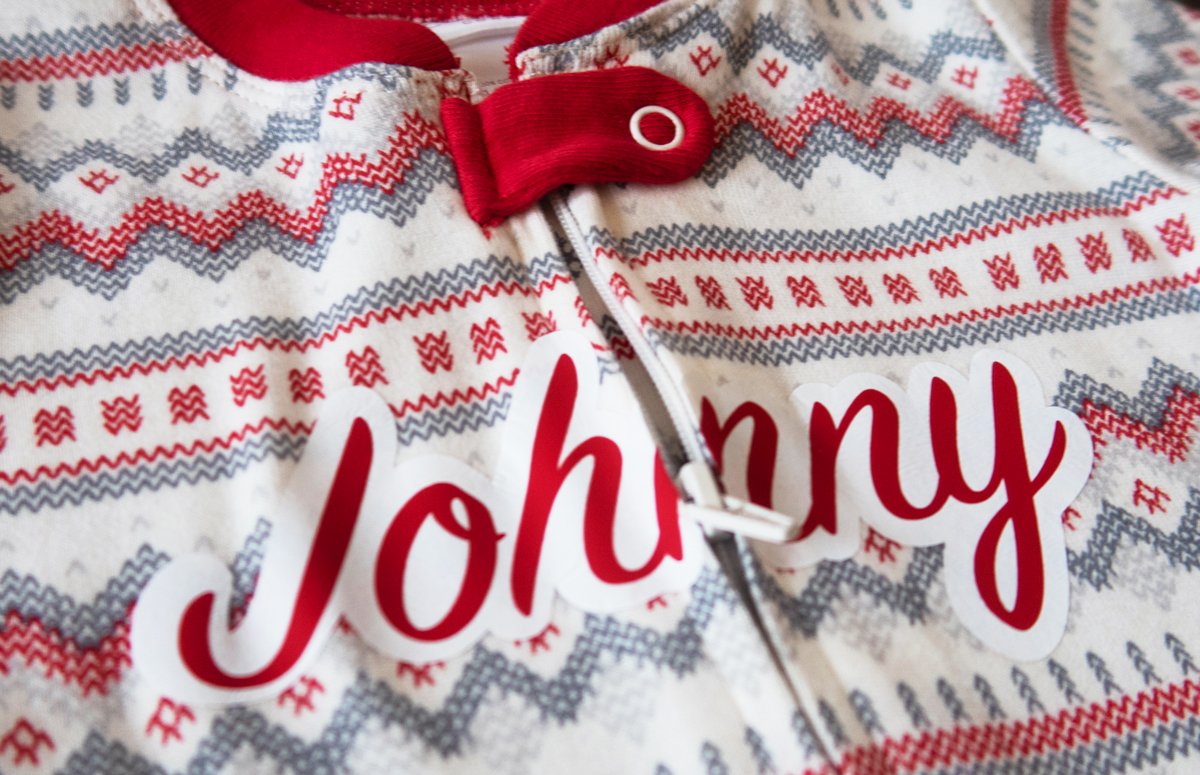
I cannot believe how perfect these came out. When the zipper is up you cannot even tell there is a zipper there. These looks straight out of a Pottery Barn or LL Bean catalog. Do you think my nephews will like them?! Sure do! Alex is obsessed with spelling out his name. I cannot wait to give it to them this weekend. Good thing they are too young to see these online and spoil the surprise.


11 Comments