This post contains affiliate links, please read our disclosure policy.
This is a sponsored conversation written by me on behalf of Cricut. The opinions and text are all mine.
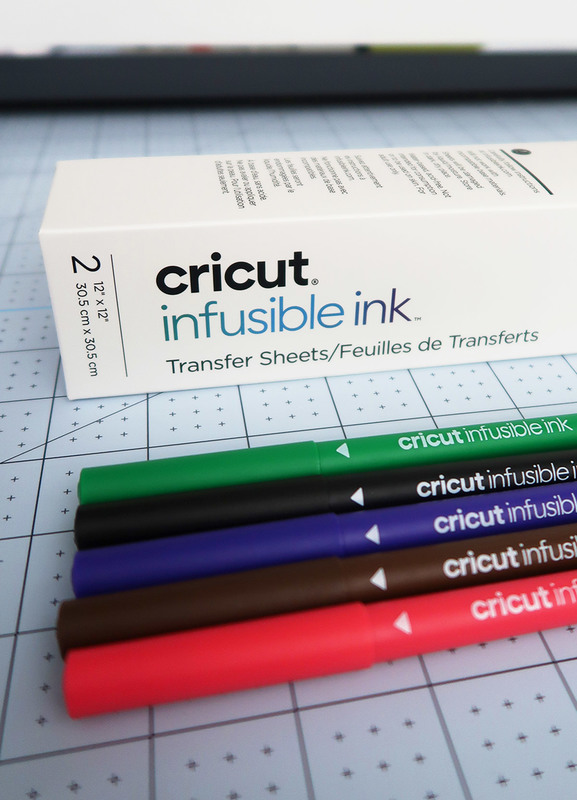
Learn how to make a Cricut Infusible Ink T-shirt and coasters with Cricut Infusible ink transfer sheets and infusible ink pens.
I have been so excited to craft with Infusible Ink and I can’t wait to teach you everything I have learned so far. Today I am going to walk you through the basics of what Infusible Ink is and how to use the markers/pens and transfer sheets on coasters and t-shirts.
What is Cricut Infusible Ink?
Infusible Ink is an ink transfer material in the form of a transfer sheet or pen that is permanently infused into your base material. Once heated the dry ink will infuse into the fibers of your material. Unlike iron-on vinyl it does not sit above the surface which means no flaking, no peeling, no cracking, and no wrinkling.
Where can I buy Cricut Infusible Ink?
Infusible Ink is sold exclusively at Michaels until October 1st. After October 1st they will be available at other retailers, and on Cricut.com.
Do I need to use Cricut Blanks?
You can only use Infusible Ink transfer sheets with Cricut compatible blanks. Look for the compatible with Infusible Ink seal on packaging. They are specifically formulated to work with Infusible Ink. The blanks currently available are: T-shirts, tote bags, coasters, and baby body suits
Which Cricut machines will work with Infusible Ink?
What Infusible Ink Products are available?
- Transfer Sheets 2 packs
- Transfer Sheets 4 pack
- Classic pens: 5 colors, 0.4 tip
- Classic markers: 5 colors, 1.0 tip
- Bright pens: 5 colors, 0.4 tip
- Bright markers: 5 colors, 1.0 tip
Check out Infusible Ink products here.
What Cricut blanks are available?
- Women’s Blank V-Neck T-Shirt
- Blank Crew Neck Men’s T-Shirt
- White Blank Youth Crew Neck T-Shirt
- Baby Bodysuit
- Large Tote Bag
- Medium Tote Bag
- Round Coaster
- Square Coaster
What else do I need?
- Heat Resistant Tape
- Lint Brush
Let’s make some buffalo check Infusible Ink coaster.
If you know me you know I have an obsession with buffalo check. Well I am about to give you the tiniest sneak peek of my newly renovated sunporch. Why? Because I decide to use the Cricut Infusible Ink classic pens to make buffalo check coasters.
Here’s what you’ll need
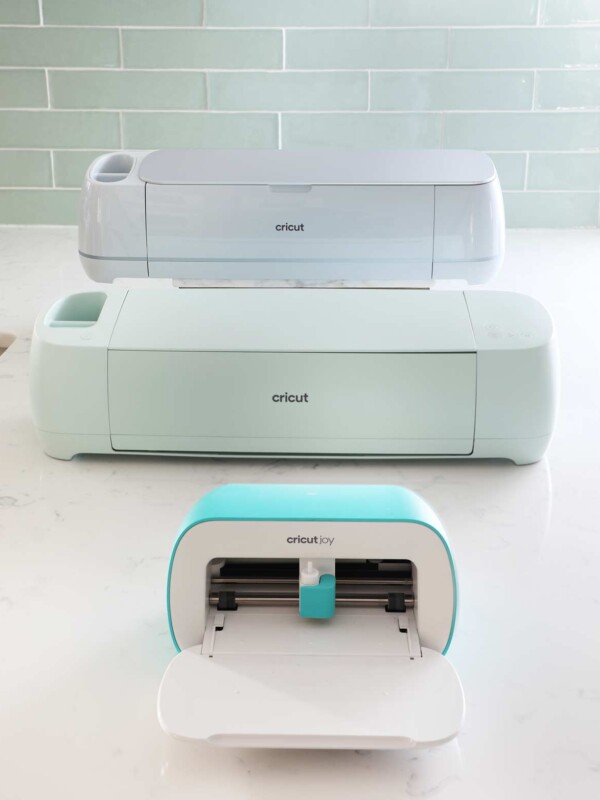
- Cricut Maker or Explore Air 2
- Cricut Light Grip Mat
- Cricut EasyPress2
- EasyPress Mat
- Infusible Ink Classic pens: 5 colors, 0.4 tip
- Laser Printer Paper
- Card Stock
- Parchment Paper
- Heat Resistant Tape
- Lint free cloth
- Buffalo Check Coaster design space file.
Open the buffalo check coaster design file. This should be ready to make it is already sized for the round ceramic coasters. The file is set up to both draw and cut.
Please note if you are creating your own design remember to mirror it. Because this is a pattern it does not need to be mirrored.
Now this is what’s really unexpected and cool. Place your laser paper on to your easy grip mat and your pens are going to draw directly on there. The laser paper will serve as a transfer sheet for your ink onto your coaster.
Load your Infusible Ink pen into your Cricut and you are ready to load your mat and make it. Now I chose to use the pen because it was more fine point to get the details I wanted.

Now we are ready to transfer. Preheat Cricut EasyPress 2 to 400°F. Wipe the ceramic coaster with lint-free cloth. Cover your EasyPress mat with cardstock to protect surface. Position design on coaster and secure with heat resistant tape, avoiding image area
Place coaster with design face down on cardstock. Cover with clean butcher paper. Center machine, press with no pressure at 400°F for 240 s without moving your EasyPress 2.

I still cannot believe the quality of this. The ink is truly a part of the ceramic coaster. Nothing is raised it looks like it was printed on them. I made a whole set for my sunroom and I cannot wait to show you the whole room in the coming weeks.
Infusible Ink T-shirt with transfer sheets.
Now that we’ve use the infusible ink pens and coasters let’s make a T-shirt using the Cricut Infusible Ink transfer sheets. It seems like this Summer I am permanently in vacation mode so I designed this t-shirt to reflect my mood.
Here’s what you’ll need
- Cricut Maker or Explore Air 2
- Cricut Light Grip Mat
- Cricut EasyPress2
- EasyPress Mat
- Infusible Ink Transfer Sheet in Black and Rainbow
- Cricut Tshirt
- Card Stock
- Parchment Paper
- Lint roller
- Vacation Mode T-shirt design space file.

Once you open the Vacation Mode design space file. Size it appropriately for you T-shirt. Click make it. Make sure the design is mirrored and you have selected Infusible Ink transfer sheets for your material.
Now since this is a two colored layered t-shirt I have separated the cuts on to two different mats.

 Prep your Tshirt
Preheat Cricut EasyPress 2 to 385°F. Place your t-shirt on clean mat. Insert cardstock inside t-shirt to prevent bleed through. Make sure to Lint roll the t-shirt removing any excess fibers and lint.
Cover t-shirt with butcher paper larger than heat plate. Butcher paper will come with the transfer sheets. Preheat t-shirt for 15 seconds. Remove butcher paper from top of t-shirt.
Place your sun design face down, with the clear liner side up. Cover with clean butcher paper larger than heat plate. Press with light pressure at 385°F for 40 seconds.
Slowly lift your EasyPress 2 and slowly remove butcher paper.Cool Completely. Slowly remove liner (Note: If transfer sheet remains on shirt, remove with tweezers).
Layer your text overlapping the sun design. with the clear liner side up. Cover with clean butcher paper larger than heat plate. Press with light pressure at 385°F for 40 seconds. Slowly lift your EasyPress 2 and slowly remove butcher paper.Cool Completely. Slowly remove liner (Note: If transfer sheet remains on shirt, remove with tweezers).
I am absolutely blown away with the quality of the Infusible Ink. It stretches and creates a professional quality t-shirt that you could’ve found in a store.




 Prep your Tshirt


I am looking forward to trying this Infusible ink. I see a few fun market totes in my future!