This post contains affiliate links, please read our disclosure policy.
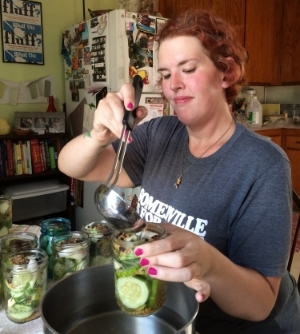
Oh boy do I have a treat for you today! One of my best friends who is a bonafide urban farmer (Chicken’s and all). Not only is she an urban farmer but she is also an amazing photographer, designer and illustrator. She runs Crimson Crane Studios out of Somerville, MA. I am giving my crafty partners in crime full reign over Weekend Craft today.
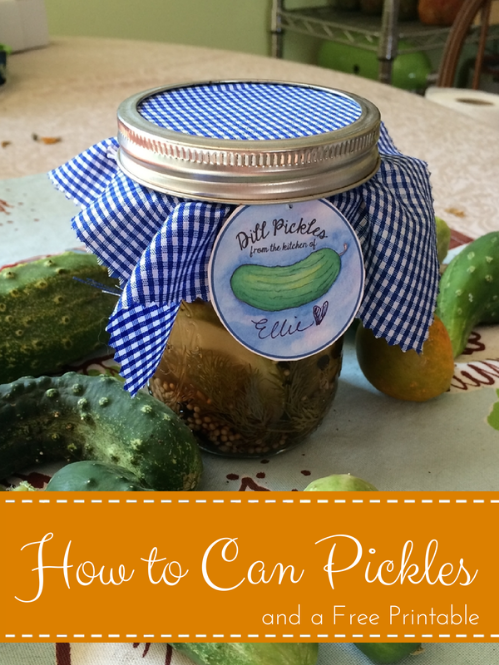
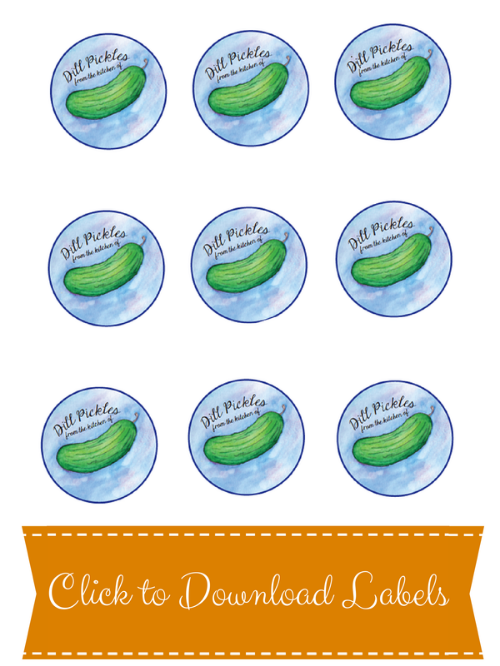
So without further ado I’d like to introduce Ellie from Crimson Crane Studios to teach you How to Can Pickles as well as an adorable illustrated printable jar label!
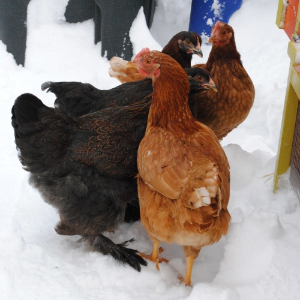
I have what one might consider to be Somerville’s smallest farm. I don’t even think that my yard could be called a yard, we refer to it as “the patch”. It’s about 7ft x40ft, and it contains 4 egg-laying chickens, one herb garden, a compost bin, LOTS of flowers and a garden box that is overflowing and encroaching on the shrubs with tomatoes and cucumbers. This is urban farming at best.

Aside from canning all of the lovely tomatoes I get (so far, it’s just Romas, but the heirlooms are growing bigger by the day!) I have also perfected the art of the perfect Dill pickle. My best friend gave me a book for christmas of 2010 called “Jam It, Pickle It, Cure It” by Karen Solomon. The pickle recipe I used was originally for Dilly Beans (pickled green beans), but after a few rounds of experimenting and tinkering with it, I’ve come out with a really delicious pickle. Michelle Of Weekend Craft and I also discovered that this pickle is really delicious with vodka last New Years Eve.
I’ll explain the canning process at the end, but you can get started here with you recipe. This is a per pint jar ratio.
1-2 cucumbers (depending on size) cut into spears or slices. Whichever you prefer.
1-2 cucumbers (depending on size) cut into spears or slices. Whichever you prefer.
1-2 bay leaves.
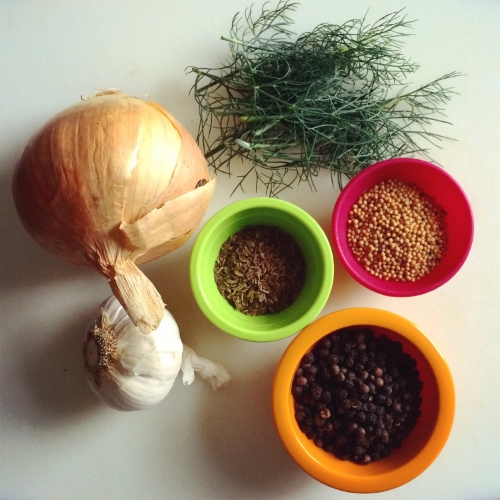
2 bushy sprigs of dill
1 tablespoon of black peppercorns
1 tablespoon of mustard seeds
1 teaspoon of dill seeds
1 large garlic clove
1 slice of onion (about the size of the garlic clove)
The brine:
6 cups of water
2 1/4 cups of distilled white vinegar
6 tablespoons of canning salt
To can everything, you put the cucumbers into the jars first along with the dill sprigs and the bay leaves. Those two ingredients slide down the side of the jar and then you can add the cucumbers.. it makes getting everything into the jar a little easier. Once the cucumbers, Dill sprigs, and bay leaves are in, then you can add everything else in. Once everything is in the jar, then you ladle in the brine, leaving about 1/4-1/2 of an inch at the top of the jar. Put the lids on the jars and screw the rings on and then you are ready for canning.
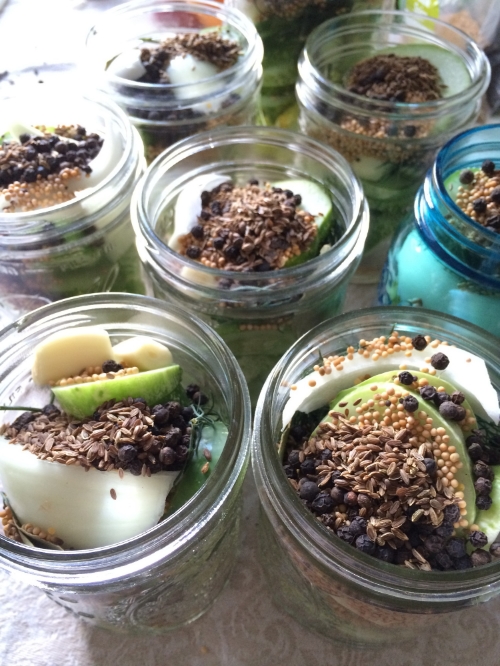
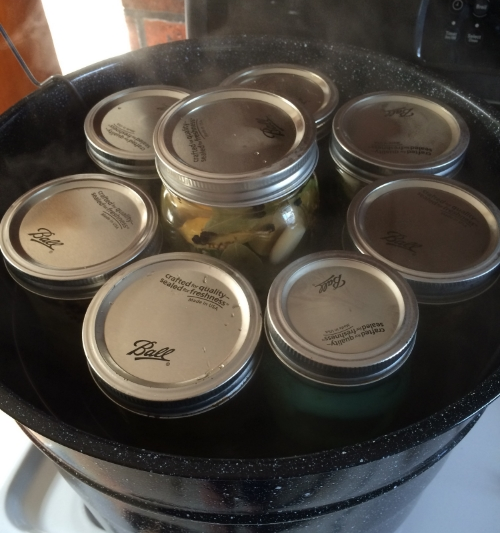
The canning part sometimes intimidates people, but in reality, it’s pretty easy. If you don’t have a canning pot with a rack, you could easily use a large soup pot and some canning or salad tongs (although they work, they’re a little tricky) like I did when I started.
Set up your canning or soup pot with boiling water. Once the water is boiling, lower the jars into the pot and make sure the water is about an inch over them. Keep the jars in the hot water bath for 10 minutes. Once the time is up, take them out and put them on a towel to dry and start cooling. You’ll know they’re properly canned because the metal lids on top will have clicked down forming a seal. You should be able to hear the little metallic pop of the jars sealing one by one. I find the sound to be extremely satisfying. It may take a few hours to overnight for this to happen. If it doesn’t (which has not yet once happened to me yet) you’d have to add a new lid and try canning them again.
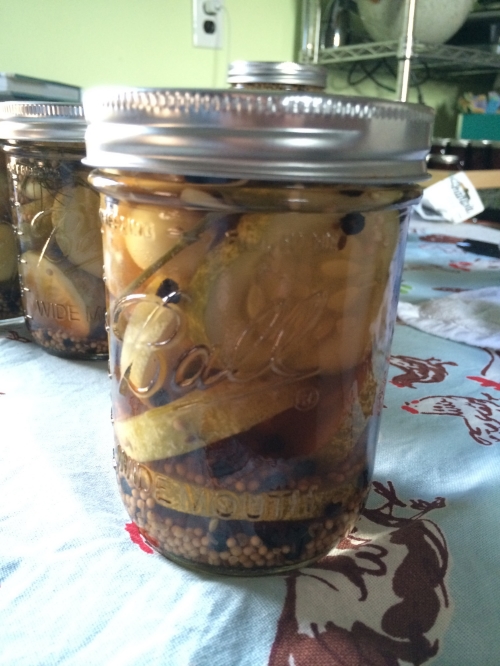
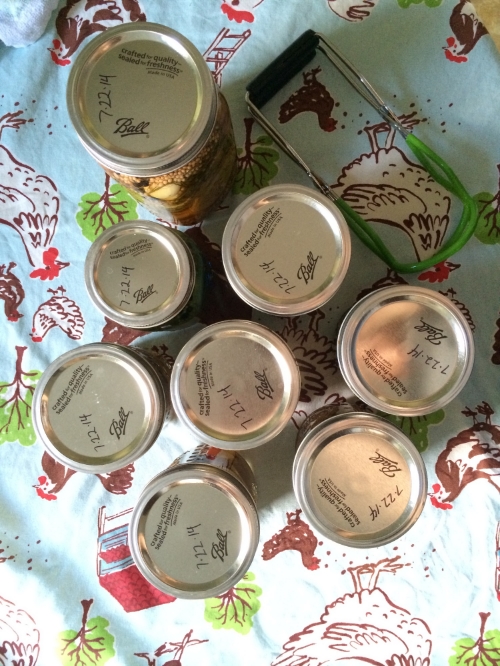
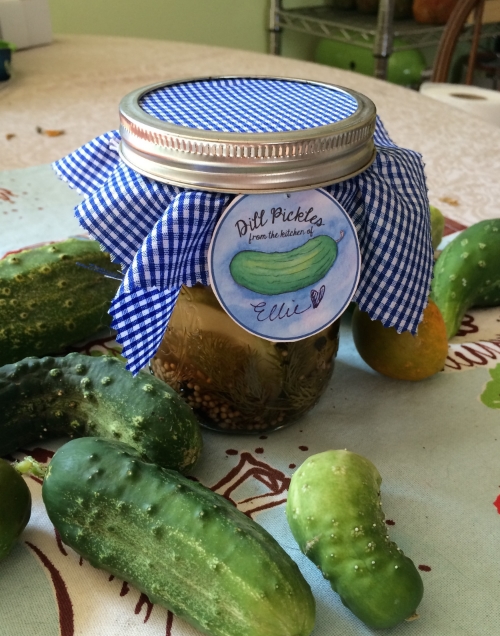
Once everything is cool, add some fabric and a cute tag and these pickles will be ready for great gifts or for you to enjoy all winter long!!


These look so beautiful!!! I’ve not canned my own pickles before, so I’m going to HAVE to give this a try. Neat! Also, we should get together again!! Hugs 🙂