This post contains affiliate links, please read our disclosure policy.
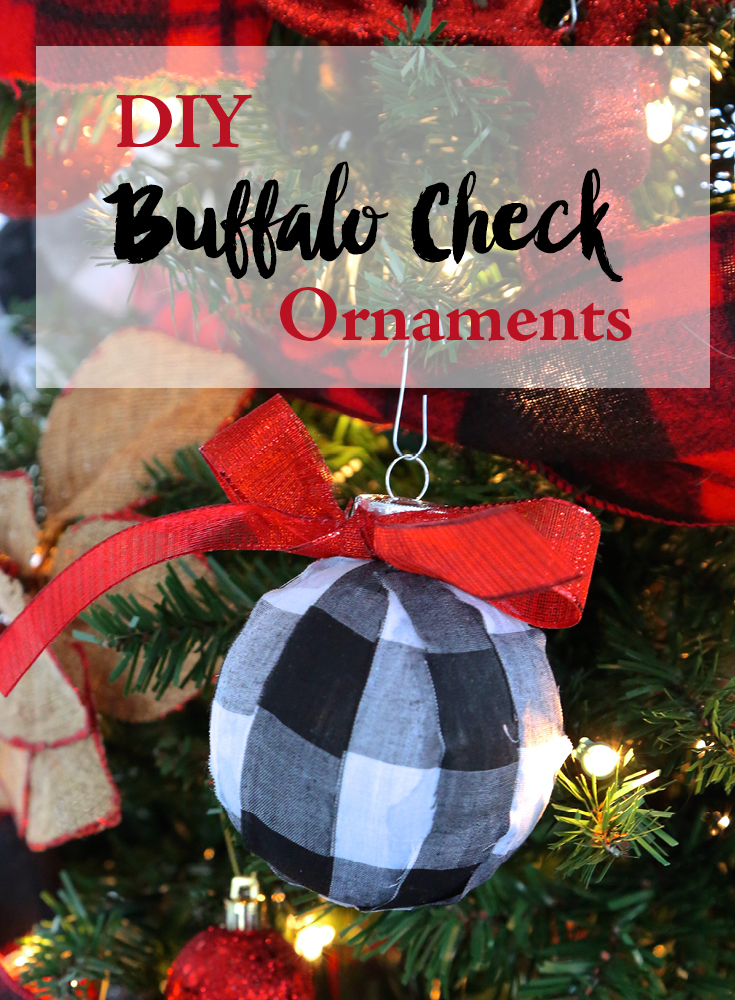
Create DIY buffalo check plaid ornaments with fabric strips and mod podge.

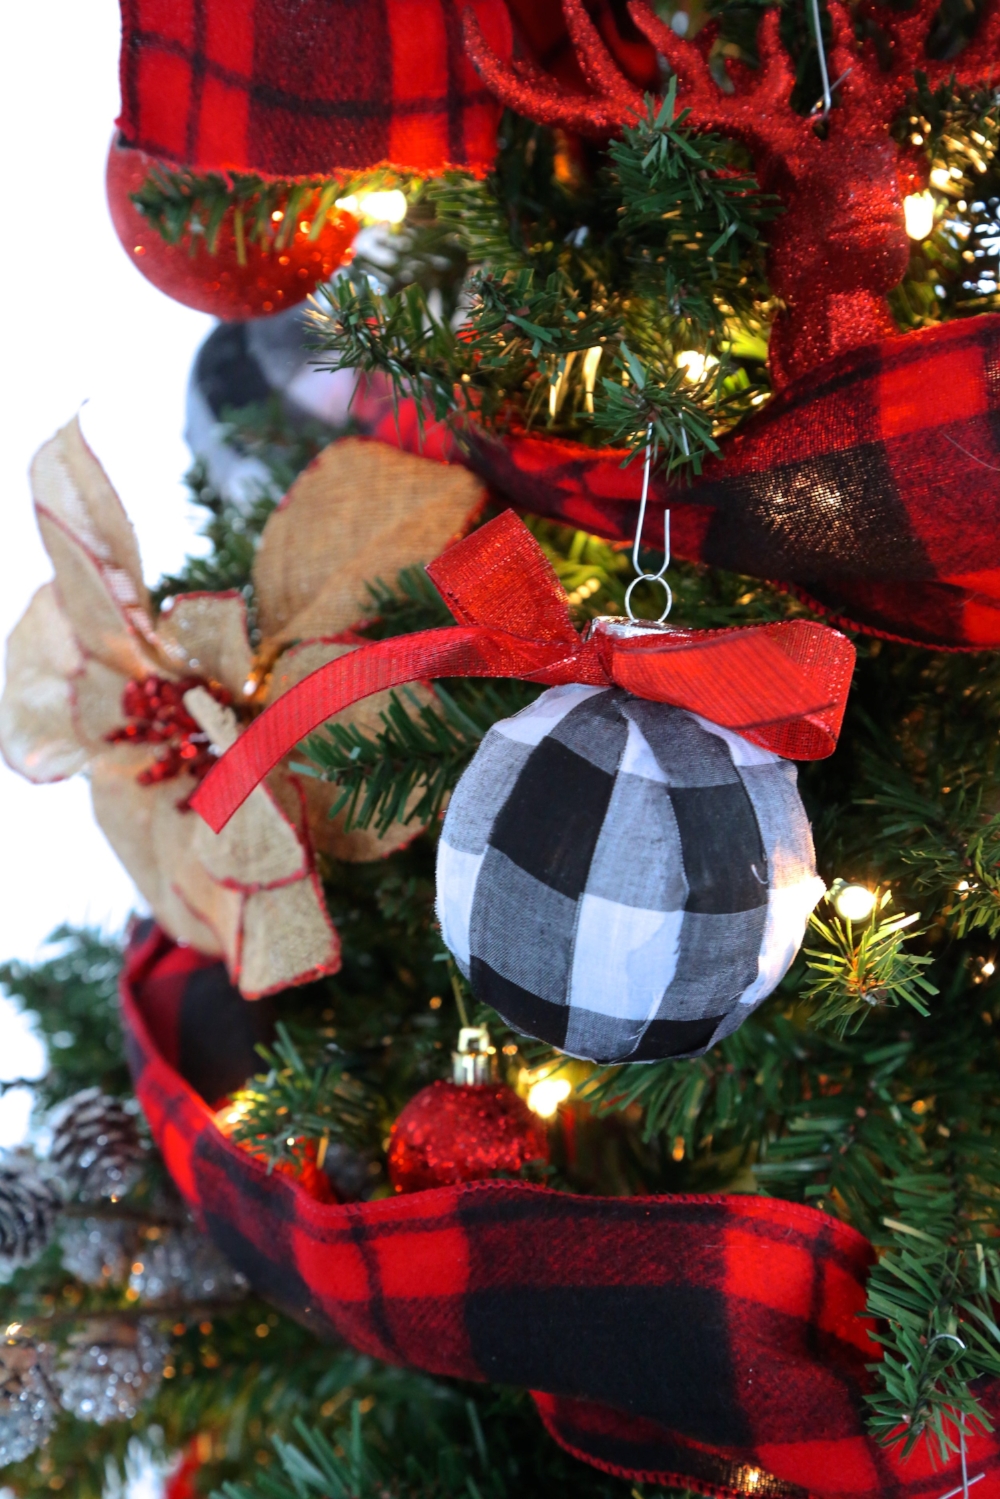
If you don’t know, my name is Michelle and I am obsessed with all things buffalo check. Infact I even have a buffalo check Christmas tree. I had one last year two and decided that I wanted to update it this year with a few new ornaments. While I had been on the quest for some black and white buffalo check ornaments I just couldn’t find any that I liked so I thought I would make some.
![]()
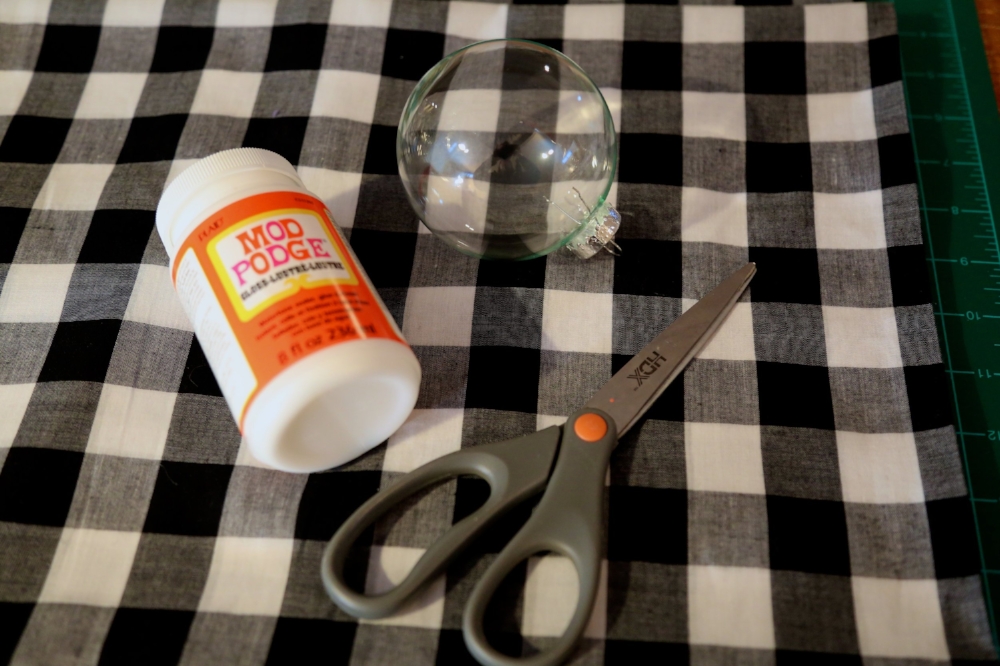
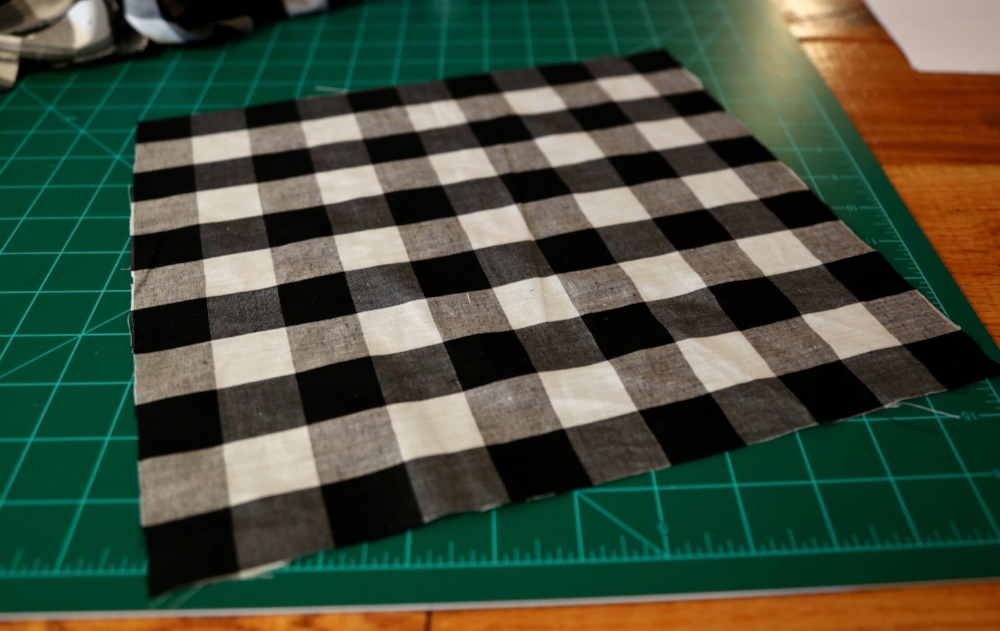
I headed to the craft store and picked up some thin cotton buffalo check fabric and modge podge. Now I had some glass ornaments from clearance of the year before so I dug those out. The next part was the hard part how do you put plaid gridded fabric onto a round surface?
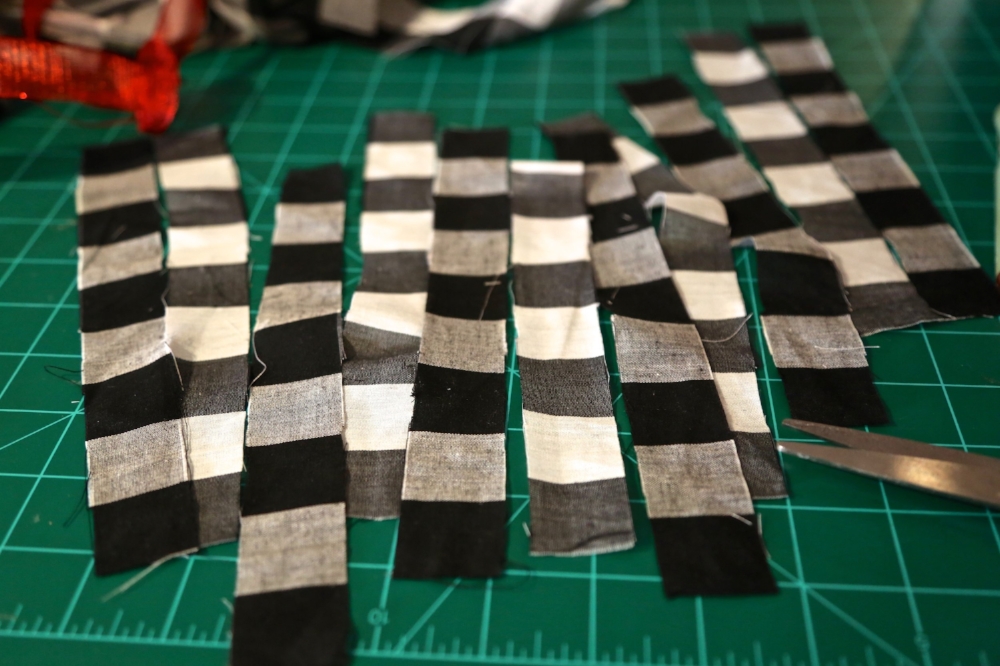
After trying a few techniques I cut the fabric into strips. I used the lines from the plaid to guide me with fabric scissors. Now if I had a rotary cutter this would have been done in seconds. Note to self add this to my wishlist.
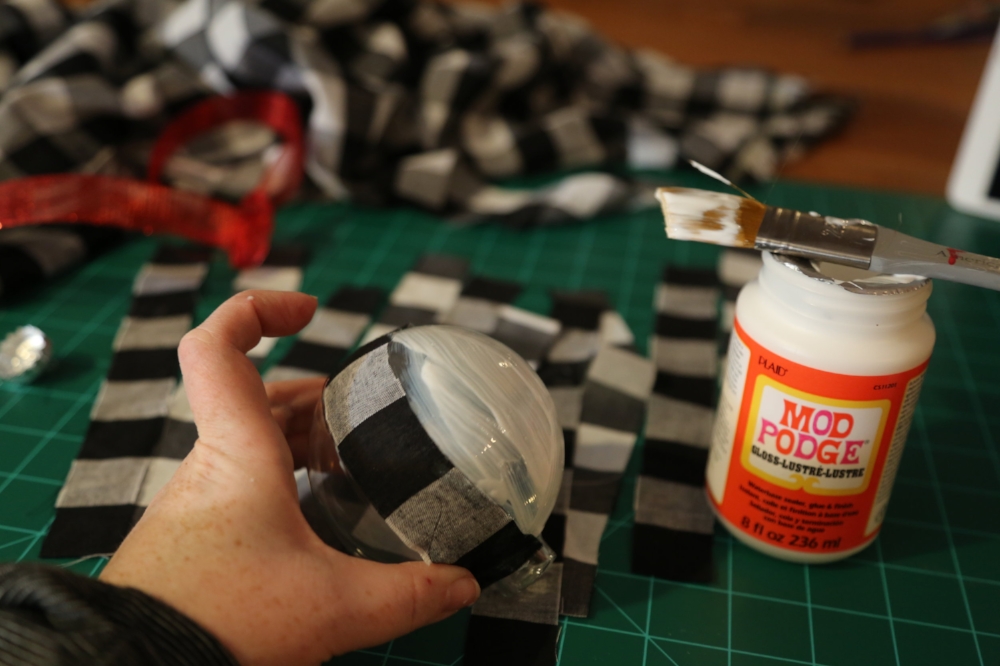
Once you cut out your strips and a thin layer of modge podge to your glass ornament. Place fabric spanning from one side to the next. Keep doing this alternating colors or shades of grey. You can add a clear coat to the top or leave the fabric texture be. Which is what I chose.
These ornaments were definitely easy to make. I love how imperfect it is. It’s almost an optical illusion because you would never notice while it’s on the tree.
I made about a dozen of these in one afternoon. It truly did transform the Christmas tree and set it apart for last years tree.

Since I wanted the black and white buffalo check to shine through I chose mainly red, gold or natural ornaments for the rest of the Christmas tree.


4 Comments