This post contains affiliate links, please read our disclosure policy.
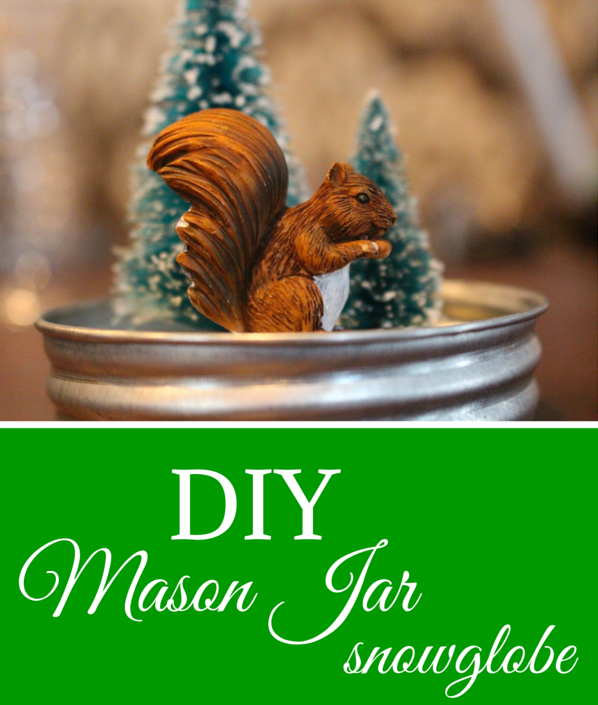
It’s day three of the Holiday Craft Party and I am joining up with Simply Kelly Designs, Two Purple Couches, The House Down the Lane and Where the Smiles Have Been! If you missed yesterday make sure you check out the five fabulous gift tags we created here. So before I tell you about DIY Mason Jar Snowglobes. Let me tell you more about this week. Make sure you stay to the end of this post a.) to see what the other party goers created and b.) to enter to win a $50 Michaels gift card or $50 to Minted!
So what’s in store this week?
Monday- Ornaments
Tuesday- Gift Tags
Wednesday- Mason Jar
Thursday- Wreaths
Friday- Home Decor

So I have never made a snowglobe before. Not even as a kid and I have always been so intrigued by them! I can’t even tell you how many I have pinned over the years. I even once had a coworker make these gorgeous snowglobes for everyone in the office. No joke they looked like they were straight out of an anthropologie catalog.
This past year or two we have discovered that my brother in law loves squirrels. So we’ve embraced it and let me tell you we cannot stop buying him squirrel things. He might be alittle squirrelled out by now. So when I was planning this craft and stumbled upon this squirrel at Joann’s I knew what I had to make!
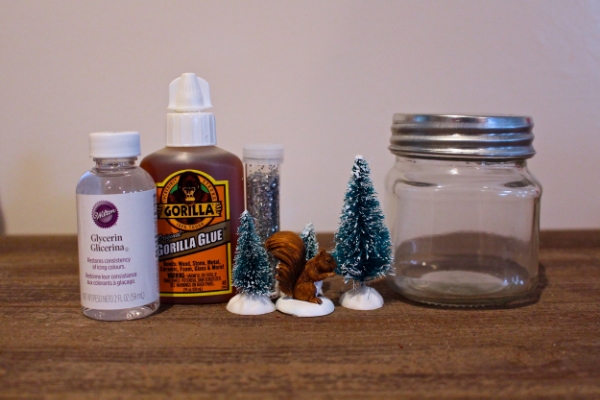
What You’ll Need
- Mason Jar (target dollar spot)
- Gorilla Glue
- Glycerin
- Chunky Glitter
- Squirrel or decorative figure of your choosing
- Mini trees
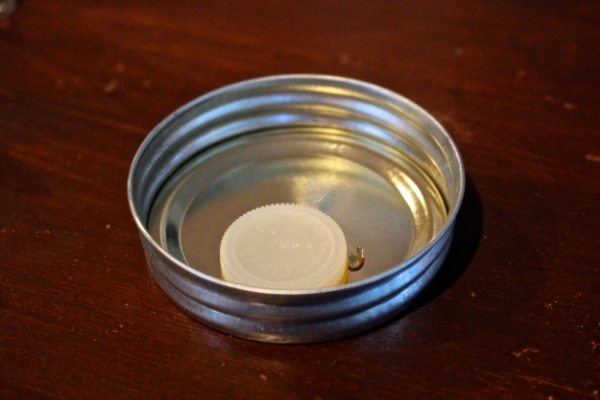
Now the squirrel wasn’t as tall as I’d hoped so I had to give him a bit of a platform. So I got crafty and searched my kitchen for some sort of pedestal to sit upon that you wouldn’t notice. My water bottle lid seemed to be like a perfect choice. I gorilla glued around the edges and glued it to the inside of the lid.
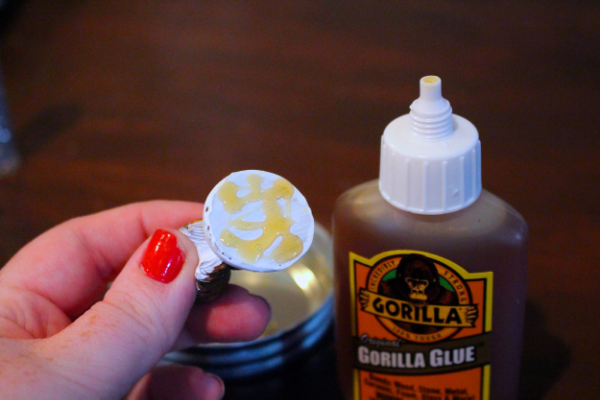
Using the gorilla glue I applied it as instructed to the bottom of the squirrel and trees creating a woodland scene.
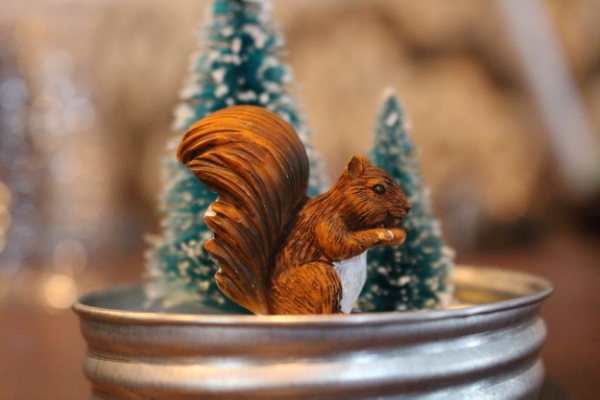
I let the squirrel and trees dry overnight to make sure the adhesive was completely dry.
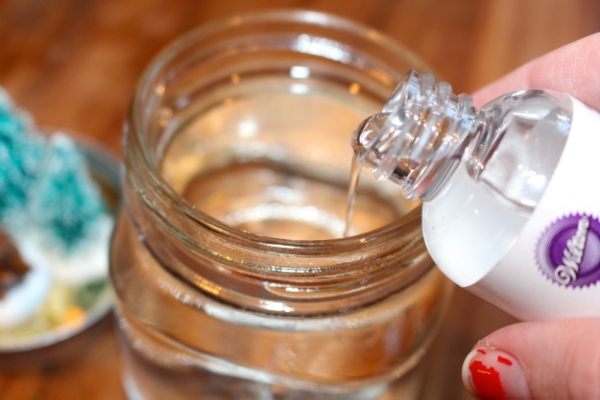
No fill the jar with water. Leaving a little bit of room from the top of the jar. You don’t want to fill it to high or it will overflow once you place the top with the woodland scene. Now you are going to add a splash of glycerine. I poured for about a second.
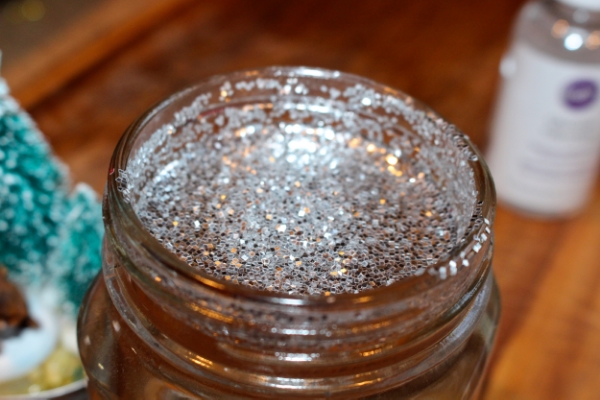
Next add tons of glitter! Add more than you think you will ever need. Just pour it in.
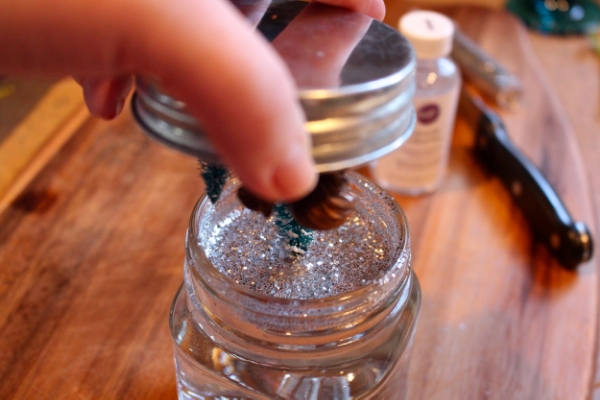
Place the lid back on the mason jar submerging your woodland scene.
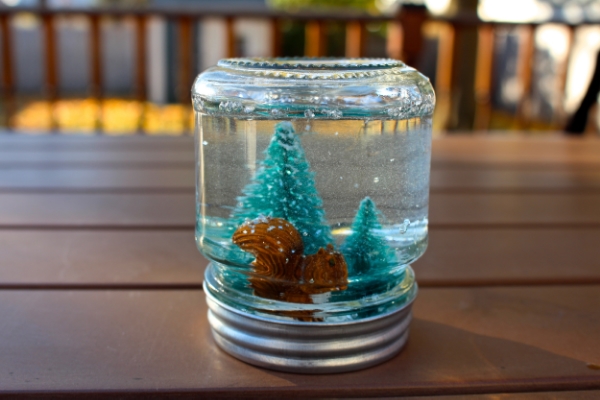
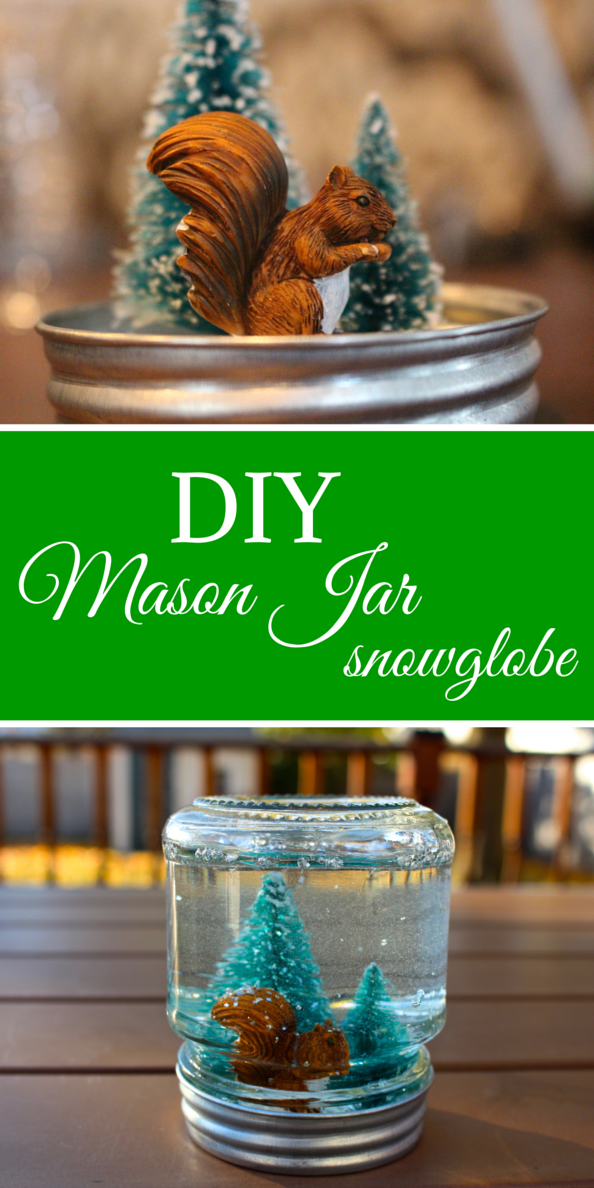
And viola you have a mason jar snow globe! And it was so easy. Do you know what wasn’t easy? Photographing it! The ridges on the jar make it hard to see this cute squirrel in the pictures. But I assure you it is the cutest in person! I might even have a slight squirrel obsession now!
Now here’s the moment we have all been waiting for. What are the other party goers up to today? What did these ladies make with their mason jars?! Make sure to check them all out.
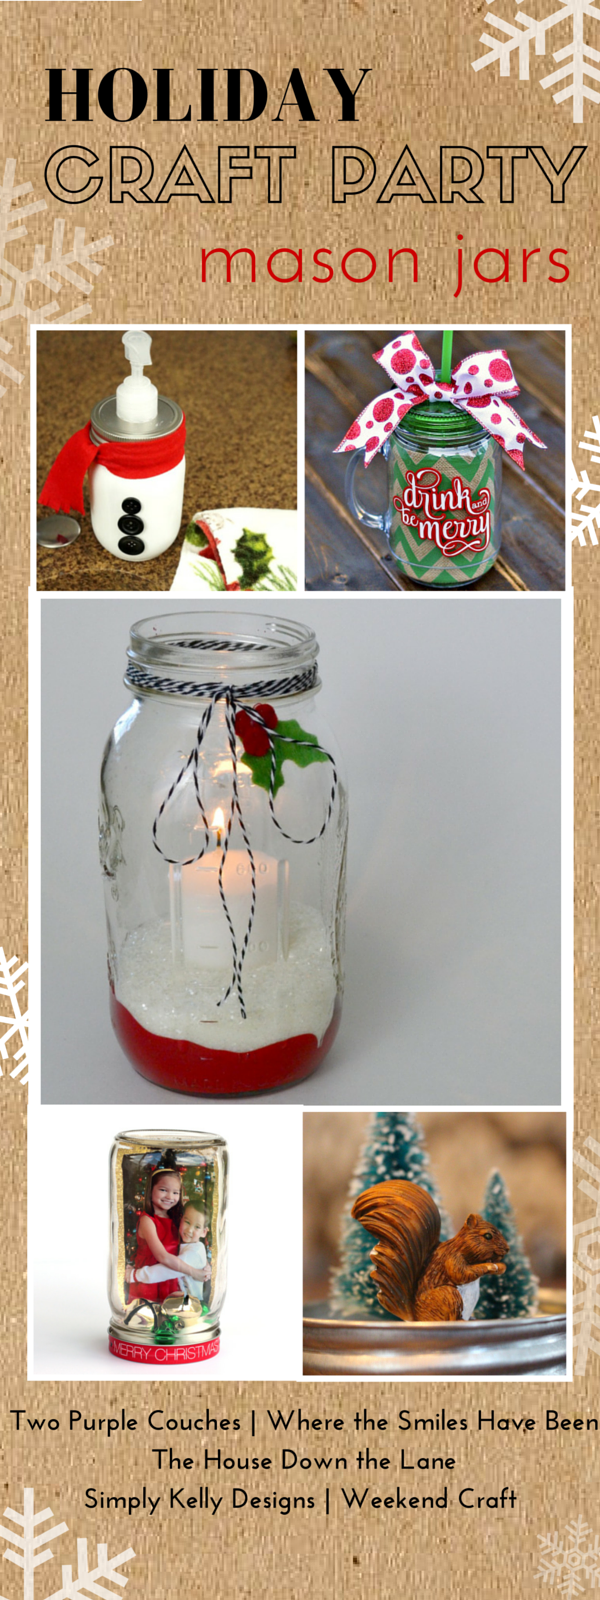
Snowman Mason Jar Soap Dispenser by Two Purple Couches |
Drink and Be Merry Christmas Mason Jar by Where The Smiles Have Been |
Winter Wonderland Mason Jar Candle Holder by The House Down The Lane |
Christmas Mason Jar Photo Frame by Simply Kelly Designs |
DIY Mason Jar Snow Globe by Weekend Craft
We are excited to give away some awesome prizes this week to 3 lucky winners. There are 3 prize two $50 gift certificates to Michaels and one $50 gift certificate to Minted. Three prizes three winners. Shout out to Minted.com for providing us with a $50 gift certificate to use towards holiday cards!
a Rafflecopter giveaway
//widget-prime.rafflecopter.com/launch.js


My kids would love to make these!
I love the squirrel – it’s so cute, especially with those mini trees! The last time I made a real snowglobe, I think I was in Girl Scouts!
Ooooooohhhhhh this is super cute!!! Thank you for the tutorial! Now I have an idea to do during the winter break with my daughters 🙂
This is just adorable! I had no idea it was so simple to make a DIY snow globe. I love how you made a mini one too…..everything is better in miniature! 🙂