This post contains affiliate links, please read our disclosure policy.
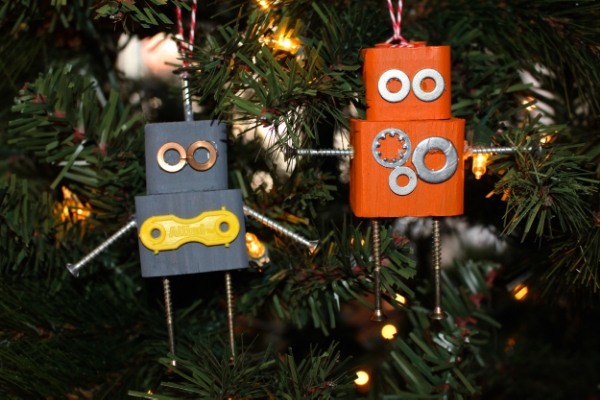
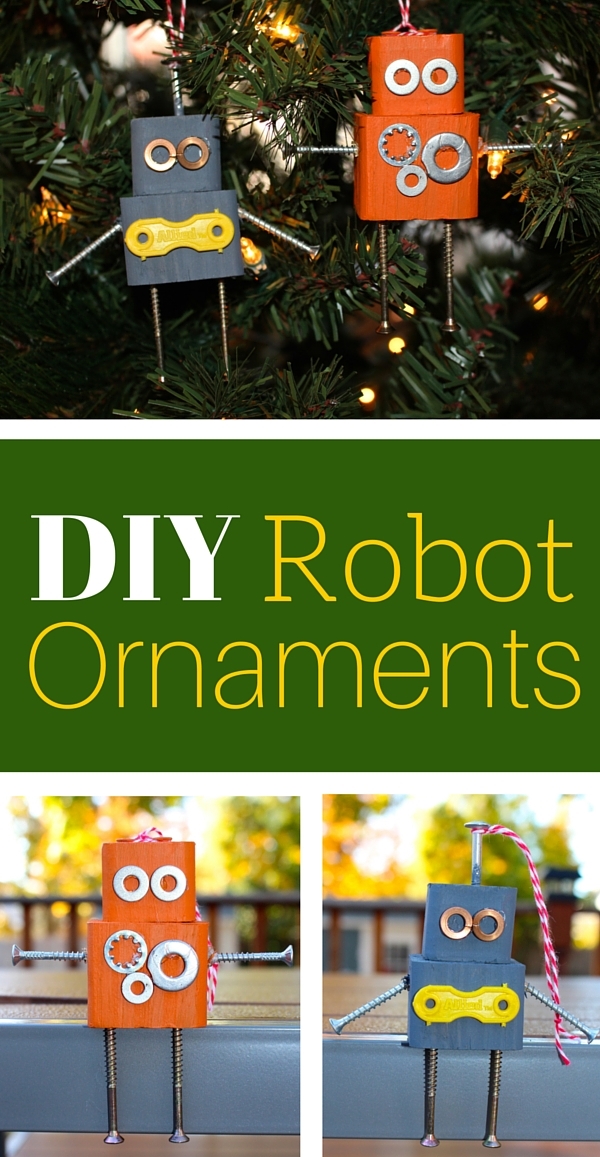
I am so excited to finally tell you guys what I have been working on! Robots! Yes Robot ornaments made from wood and just about any small odds and end I could find by my work bench. So why robots? This week I have teamed up with over 80 bloggers for an ornament exchange organized by Erlene from My Pinventures! And guess who my partner is. Amber from AmberDowns.net. Amber is a Floridian Children’s librarian who loves robots! I was a little stumped at first but then the pinterest gods struck. I found these awesome robot heads from my friend Vanessa of Tried and True Blog. And I thought what if I went one step further and added bodies to the ornaments.
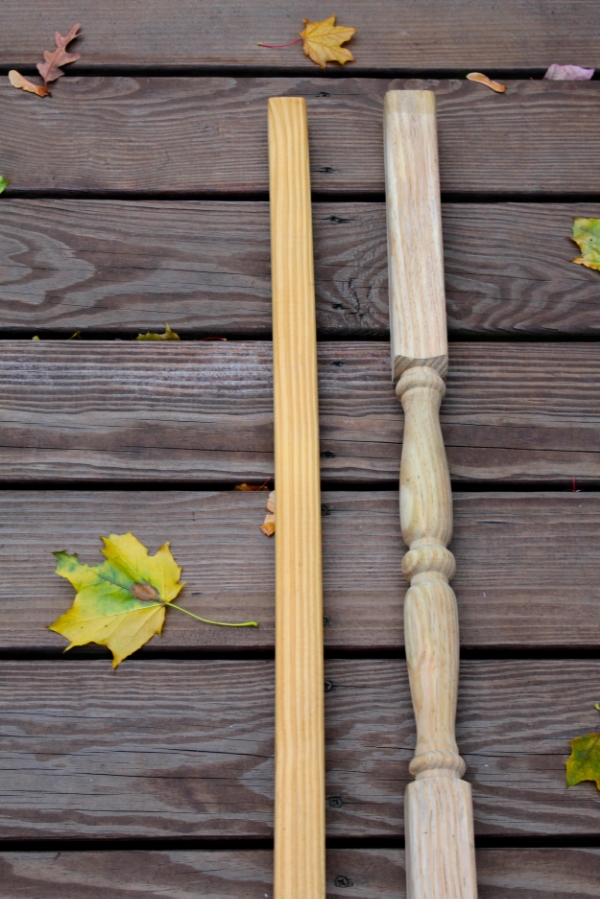
So off I went to Lowe’s in search of wood that could be cut into a small square head and a slightly bigger square body. Not going to lie I may have stopped by my parent’s house first to raid my Dad’s lumber supply but I didn’t find what I was looking for. I actually found these two pieces in the Lumber department by the stair railings. These two pieces together cost me under $4. I was also thinking you might be able to make these ornaments with wooden blocks.
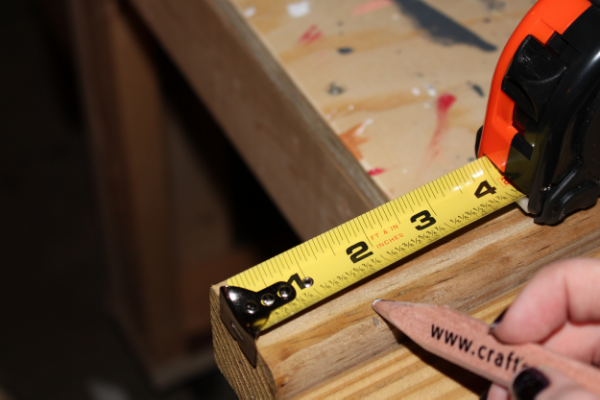
I measured and drew a cut line to insure the cut would be straight and square.
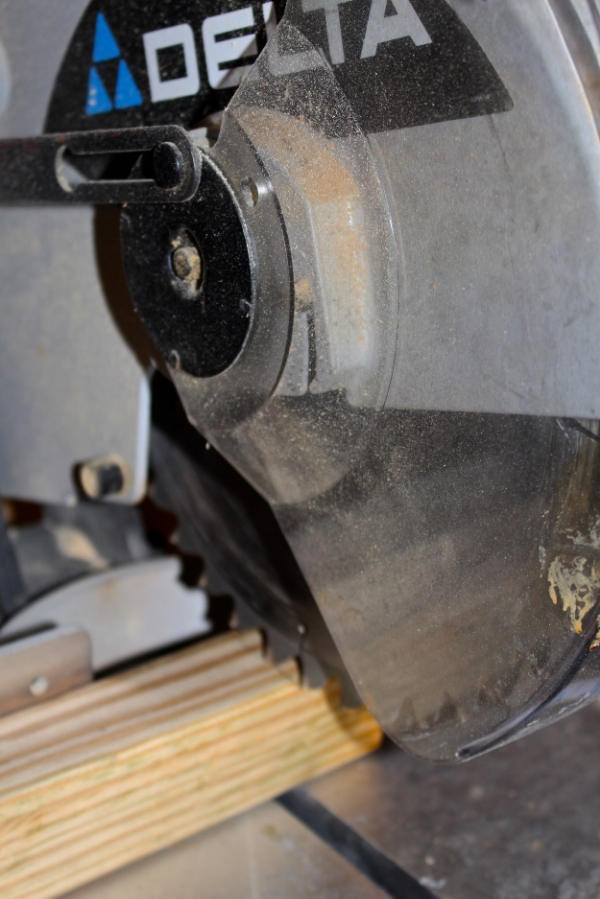
With my miter saw I used the line as the guide to cut the block for the robot head and body.
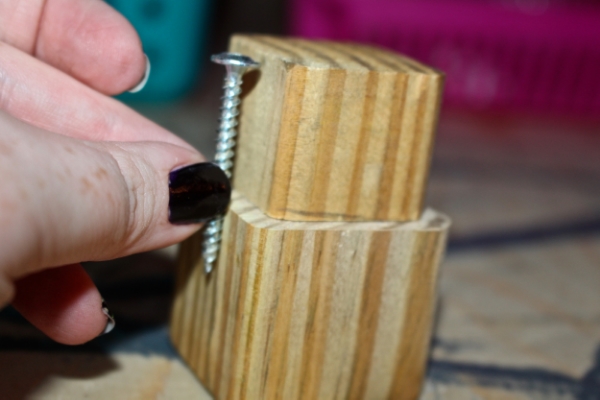
I sorted through my collection of screws until I came across the perfect size. I wanted the screw to go through the first block and about 1/4 of the way through the second. I thought this would hold better than just wood glue.
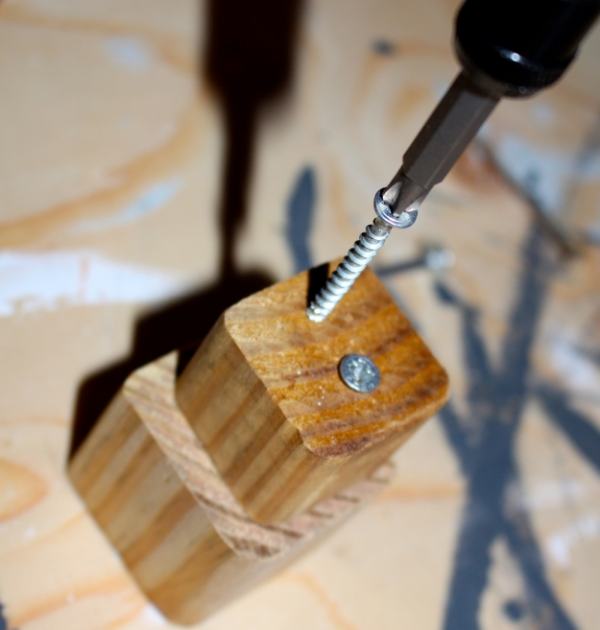
Grab your screwdriver or drill and screw the blocks into one another.
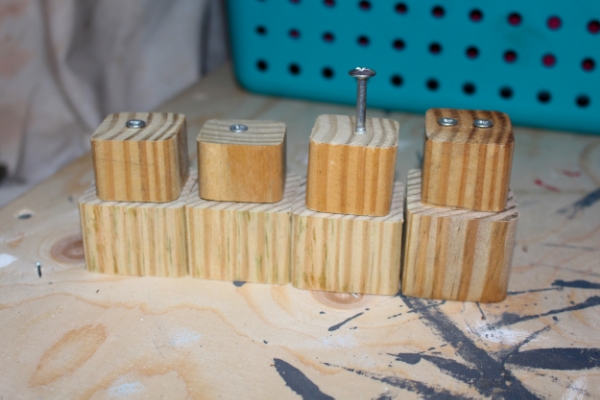
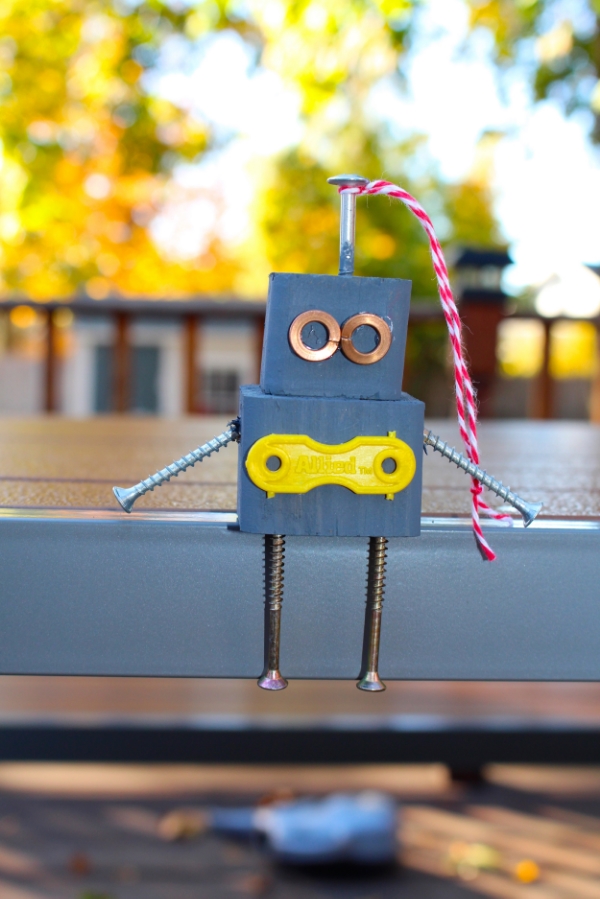
Have fun with this maybe add one screw or two. What about leaving a bit of the screw out of the top of the head. Give these robots some quirky features.

Now I just have a whole stash of craft paint so I just grabbed a few of my favorite colors from DecoArt.
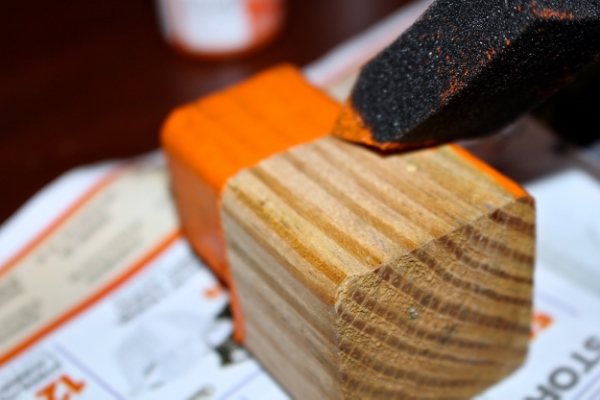
When painting wood, especially this small, I tend to use foam brushes. I find they leave less streaks and is an easy clean up.
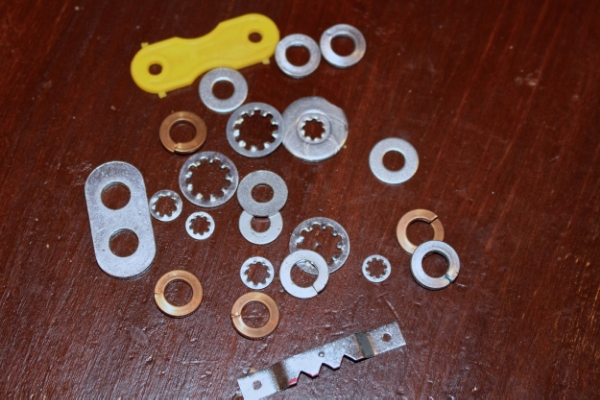
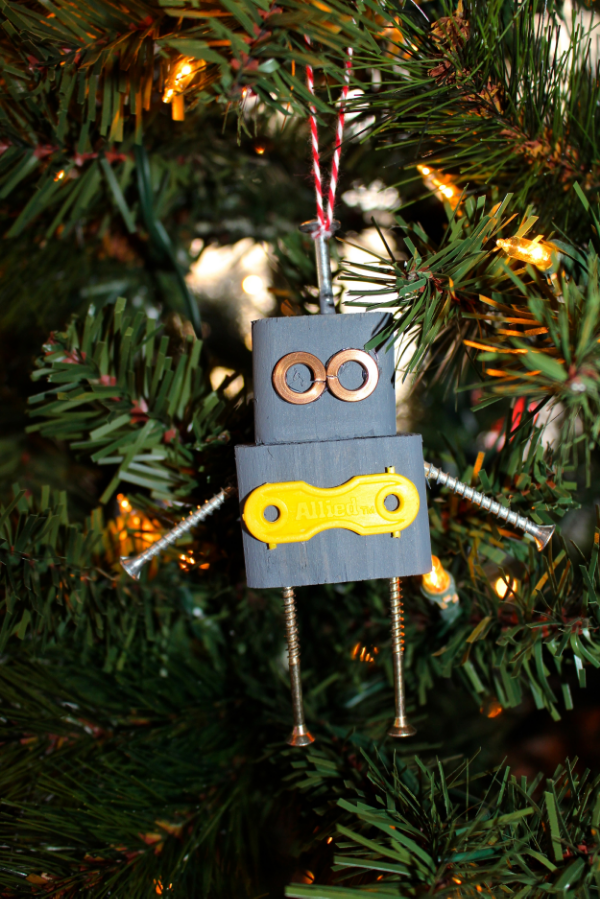
Now know how you always have leftover pieces from projects? I throw them all in a coffee can on my workbench. You never know when you will need an extra washer or nut. I grabbed a handful and started to see the robots coming together in my head. I used a high temperature glue gun to adhere the eyes and buttons (nuts and washers) to the painted bodies. I decided not to be done just there these guys needed arms and legs. I went back to my screw collection and found matching pairs. I used a screwdriver instead of the drill to add the arms and legs. Viola we have robots! Tie a bit of bakers twine on and you have an ornament!

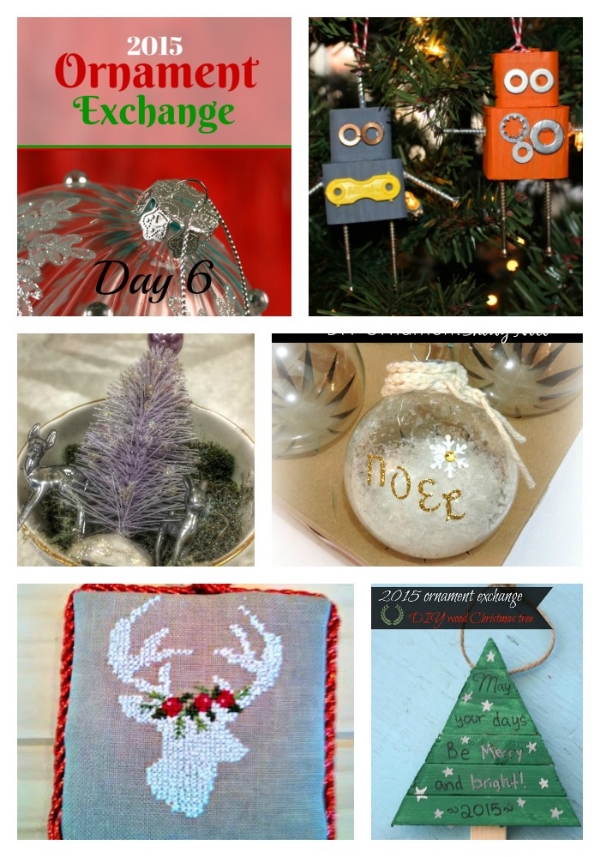
Make sure your checking back in over the next week to My Pinventures to see 84 amazing ornaments! Also I can’t wait to see what Amber made for my tree!
Stop by these sites to see what ornaments they came up with!


Wow. Nice working with these tools for decoration. We need such stuff in our homes in daily life. You have done a great work.
Wonderful idea, robots is decorated very well with lots of washers, amazing product, children certainly like such things.
Oh, this looks like so much fun. I have a 4-year-old who is in love with Robots right now. I know it isn’t Christmas, but I think we will make some to hang on his bunkbed