This post contains affiliate links, please read our disclosure policy.
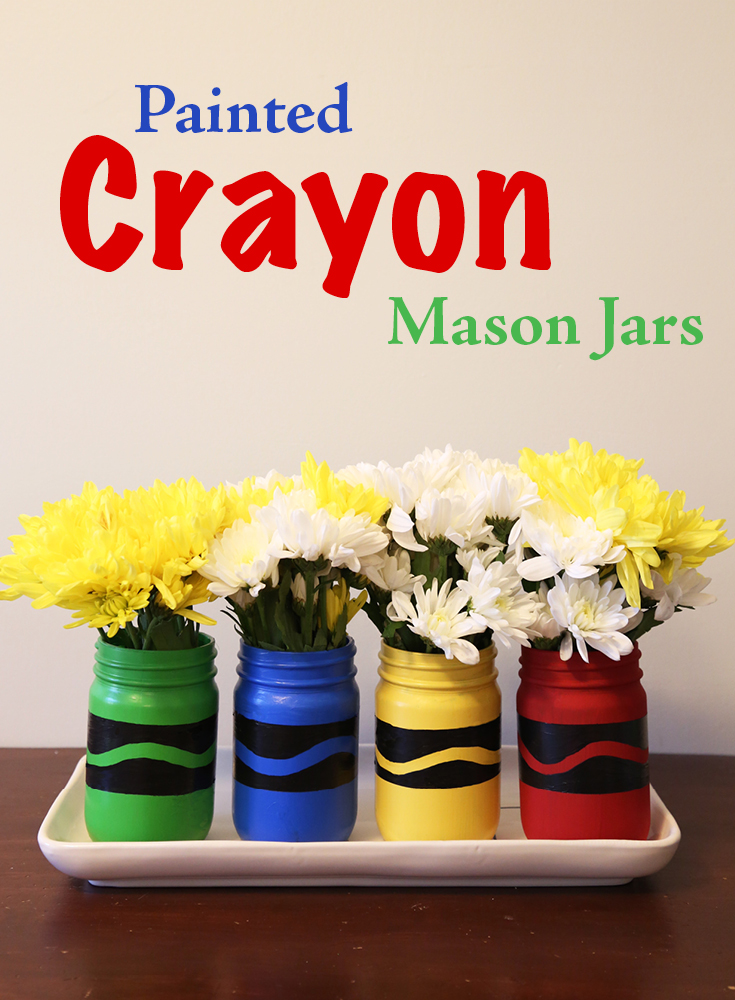
Create these DIY Painted Crayon Mason Jars that are perfect for teacher appreciation gifts, classroom organization and back to school home decor.
Painted crayon mason jars are a quick craft for back to school or even a teacher appreciation gift. It’s back to school time here in New England and I thought I would share a fun craft to get you in the spirit. This can be done with your kids or on your own. I am breaking painted crayon mason jars down into 5 easy steps.
When I was a kid I loved the end of August. Back to school time meant I got to go shopping for new school clothes. I always had my first day of school outfit picked out weeks before school would even start. I have always loved planners, notebooks and even pens. In fact I am known at work for being a pen snob. Also there is just something about a new notebook. Writing very neatly in that first page incase anyone flips it open and by page 10 I am all about the chicken scratch. Call me a geek or nerd I embrace it. I have always loved school.
What you’ll need
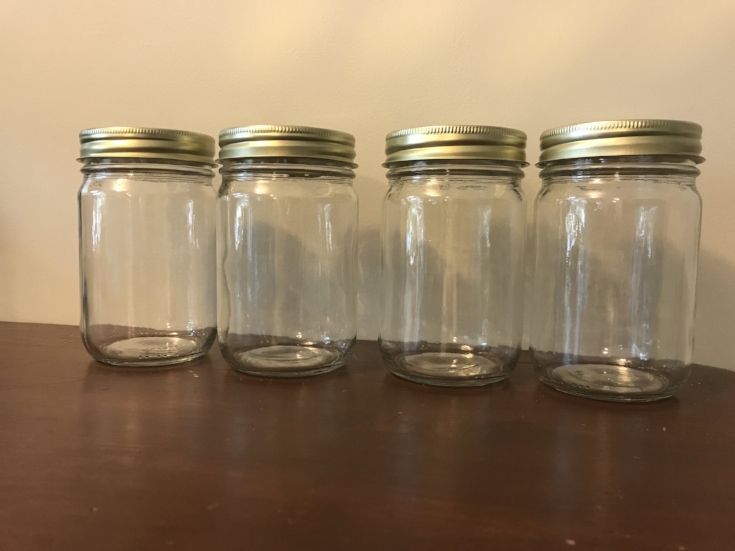
- Smooth Mason Jars
- Chalk Paint
- Paint Brush
- Small Detail Brush
- Frog Tape Delicate
Step 1: Paint Mason Jars
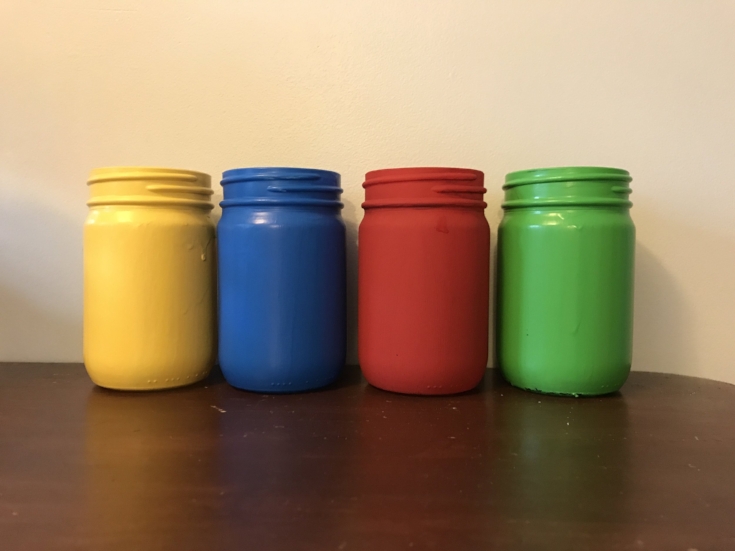
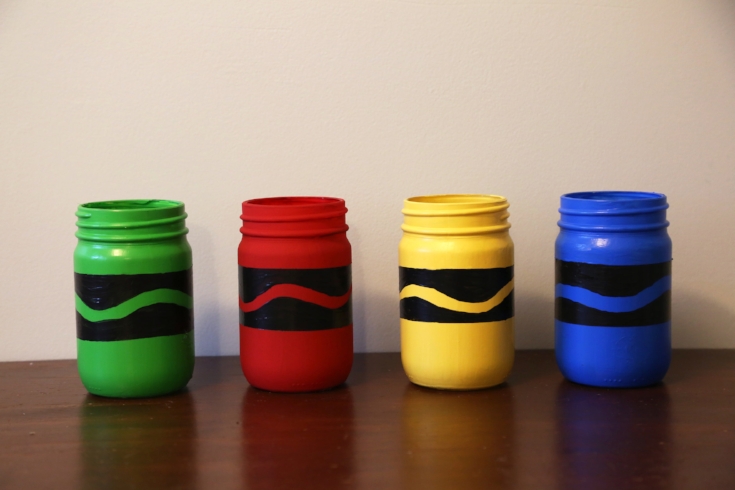
Painting mason jars can be a bit tricky. I like to use smooth mason jars when I am painting a design on them. I also like to use chalk paint it tends to be less streaky and doesn’t peel off if using frog tape. I painted two coats of red, green, blue and yellow. Allowing time to dry in between coats. I chose colors that I thought represented crayons and back to school so I stuck with primary colors (+green).
Step 2: Tape
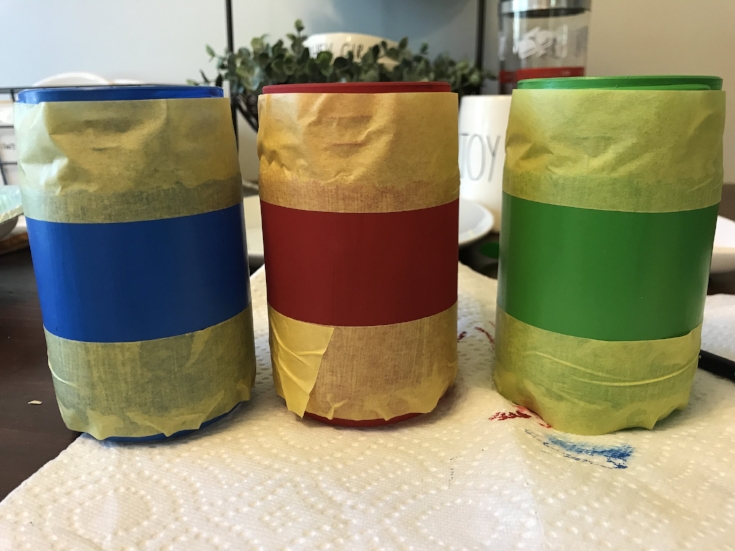
Now grab your tape. I suggest to use the FrogTape delicate. I choose to use this because it is less likely to take the paint off your mason jar. Make sure your mason jars are completely dry before using the tape. I suggest to tape all of your mason jars at the same time so the designs all fall along the same plane.
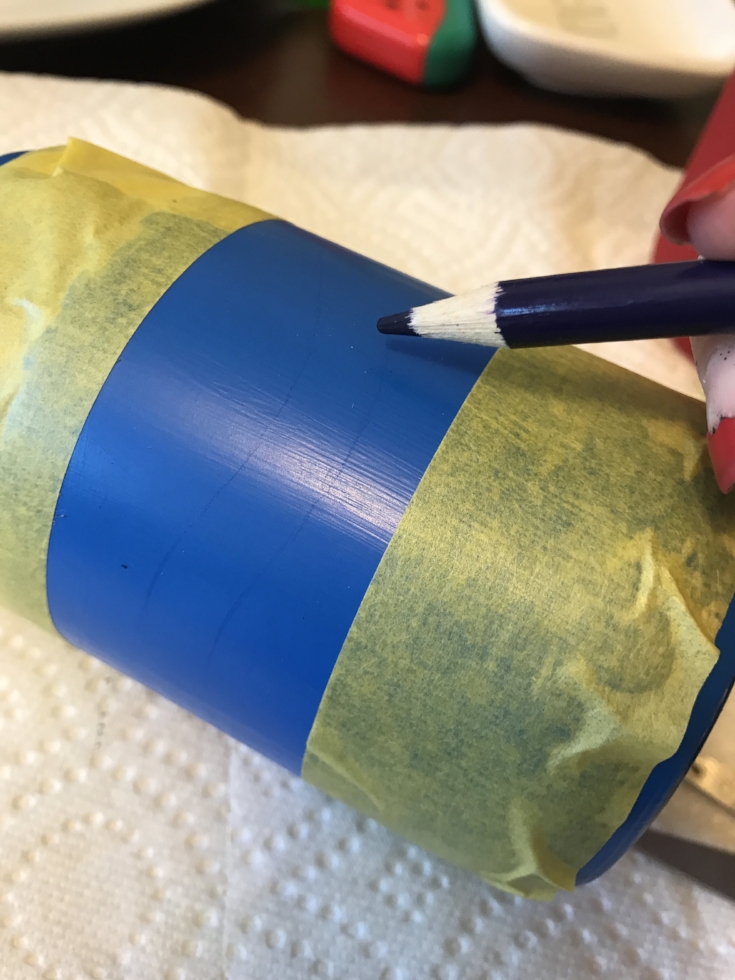
Step 3: Draw your design
Grab a pencil and google image search a crayon or if you have one handy, grab it. What’s iconic about the crayon is the black knockout squiggle. Now you don’t have to be an self proclaimed artiste to draw this! So don’t be intimidated. The straight edge of the tape provides two straight lines not it’s just up to you to draw a ‘squiggle’ that connects.
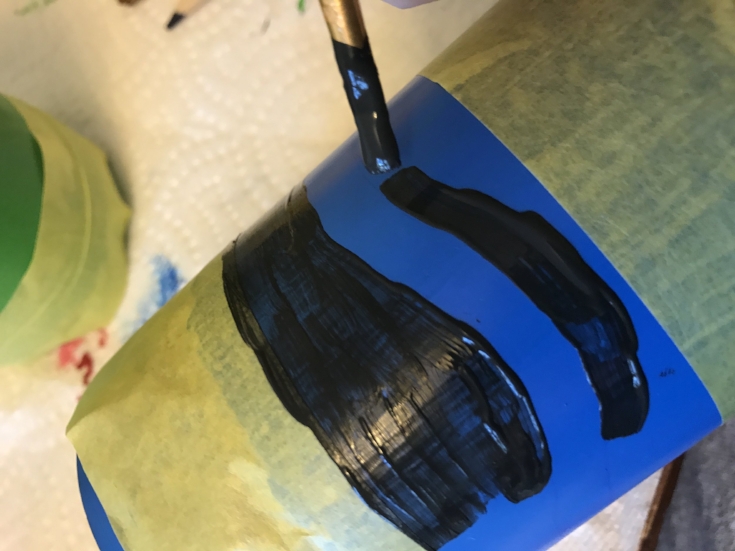
Step 4: Paint your design
Using your smaller detail brush start and black paint. Start to paint your design. I recommend outlining your squiggle in small areas and filling in the rest as you go. I had to do this in two coats.
Step 5: Remove tape
Remove the tape when the paint is still a bit damp. If any paint comes up with it use your remaining paint to touch it up.
Enjoy!
Just like that you have painted crayon mason jars. Aren’t they just the cutest for back to school.
Ways to enjoy
- Teachers Gifts
- Back to school decor
- Bus Driver Gift
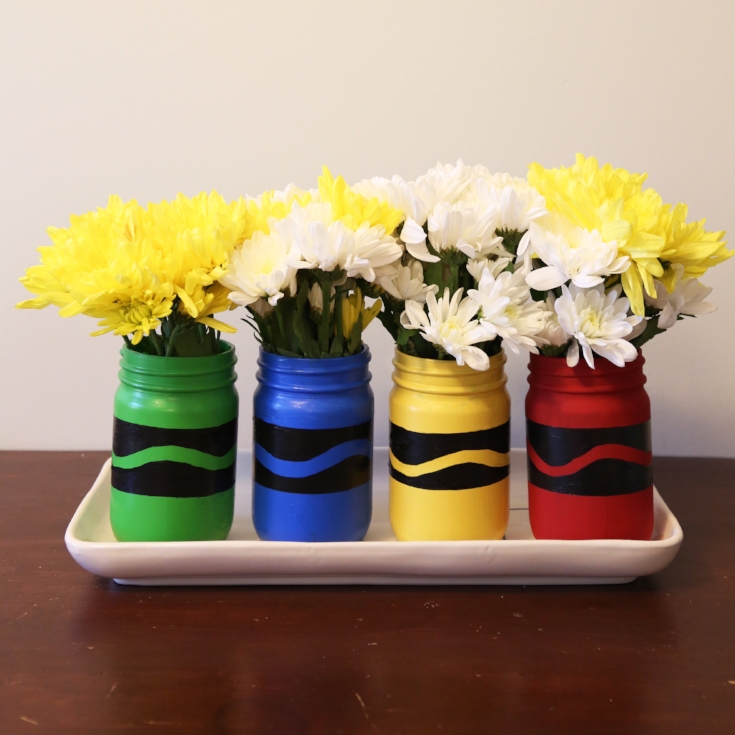
- Fill them with flowers
- Organize classroom or desk supplies (pencils, crayons, rulers).


This is so cute!